

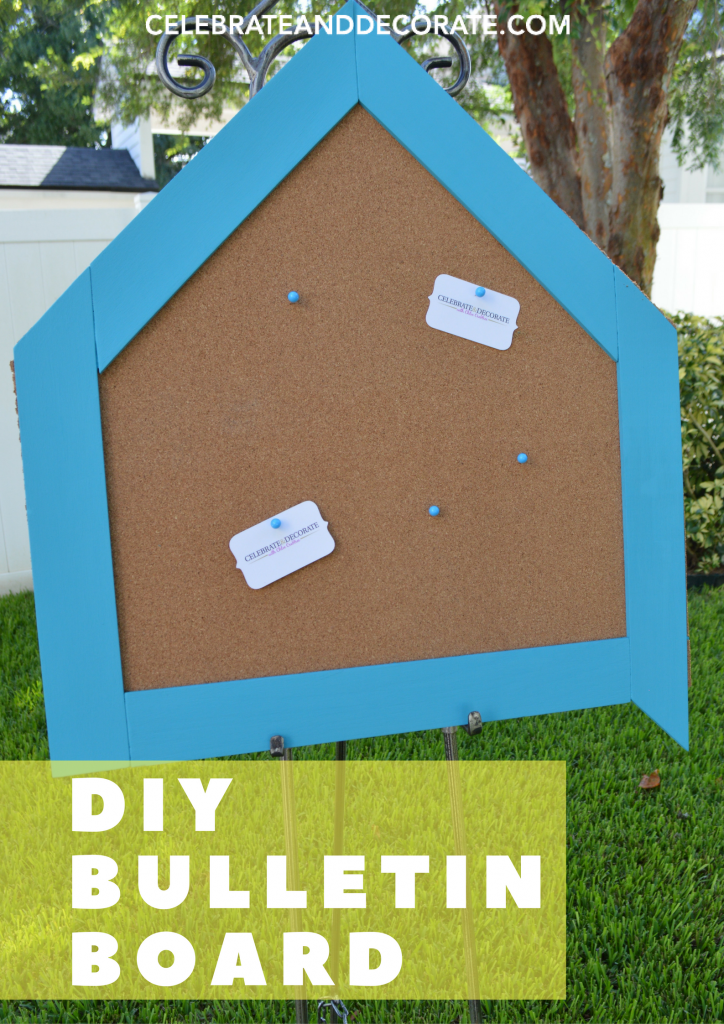
DIY Bulletin Board
Do you know how to make a custom shaped bulletin board? Here is my take on a DIY bulletin board. If you want to make some ornate design I may not be able to help you, but with straight edges and simple angles, I could do this. I was motivated to take on this project by a challenge by Hometalk to create a decorative item or wall art for them to use in their New York City headquarters. Challenge accepted!
This post contains some affiliate links for your convenience. Click here to read my full disclosure policy.
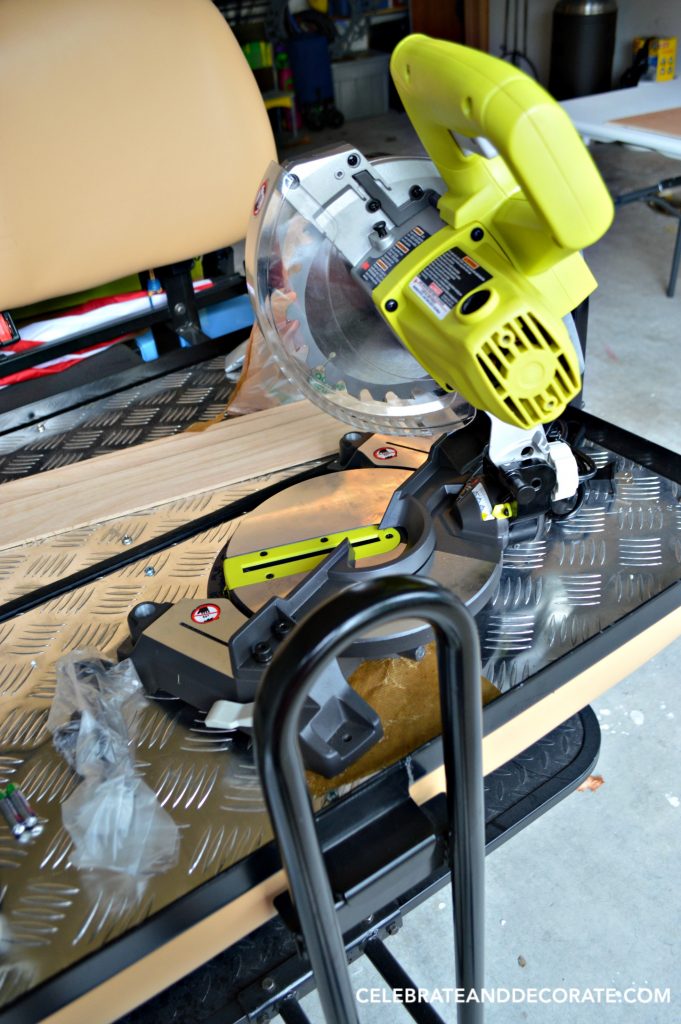
First of you are going to need a saw, and got my very first power tool for myself! Not something my husband has that I use, nope, my very own!! A trip to Home Depot and I have this great Ryobi compound miter saw! Here she is, my new power tool! I love it already!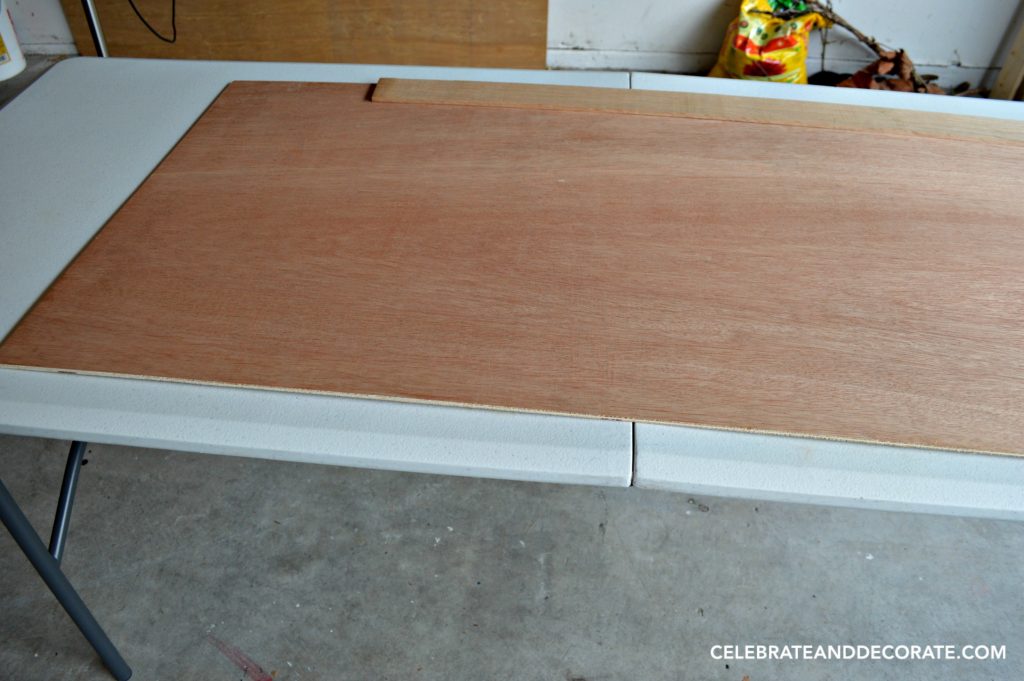 I began with a 2′ x 4′ piece of luan plywood. This would be the center of the bulletin board, with the cork attached to it. I laid it out on a table and then began with oak boards measuring 1/2″ x 4″ .
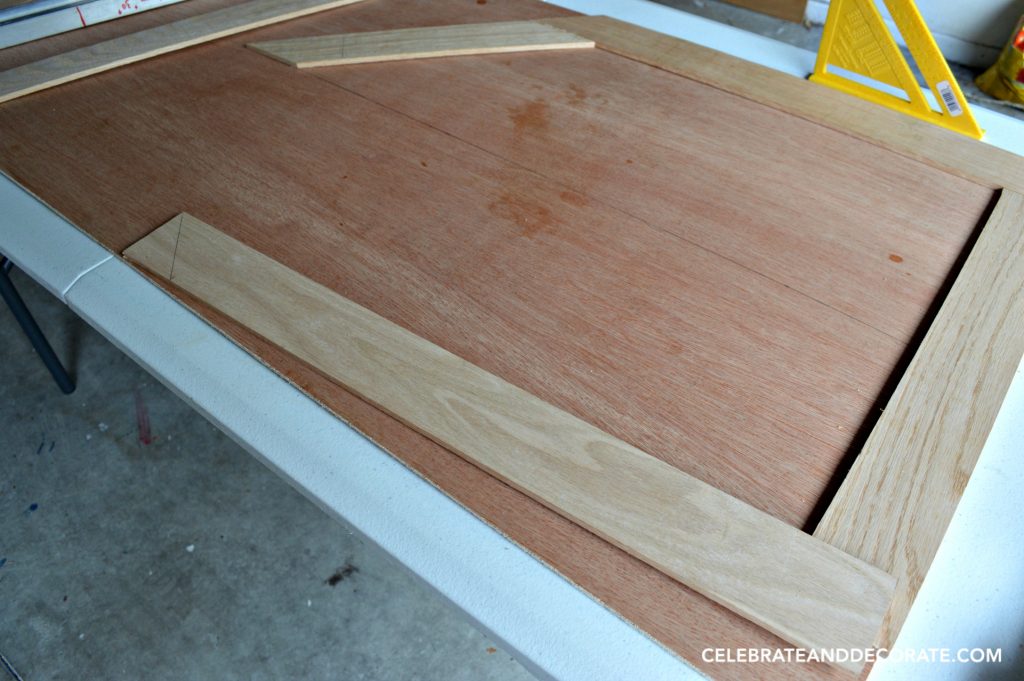 I put the the oak boards down trying to lay out the pattern I wanted.
 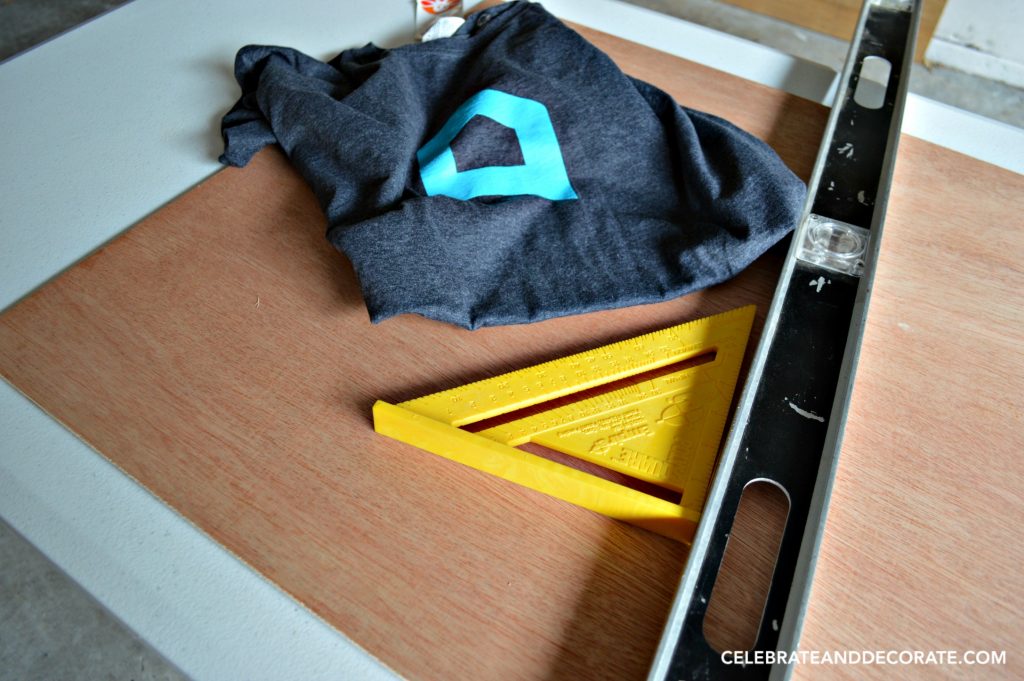 Here is the tee shirt I have with the Hometalk logo on it. This would be my model for the shape of my bulletin board. I took the shirt to the Home Depot to try and match the paint, but alas, they can’t match a color on fabric. I think the man at Home Depot and I did a pretty good job of matching the color. See that square and level? I used those a lot to make sure I got straight lines when drawing my lines for cutting my boards.
 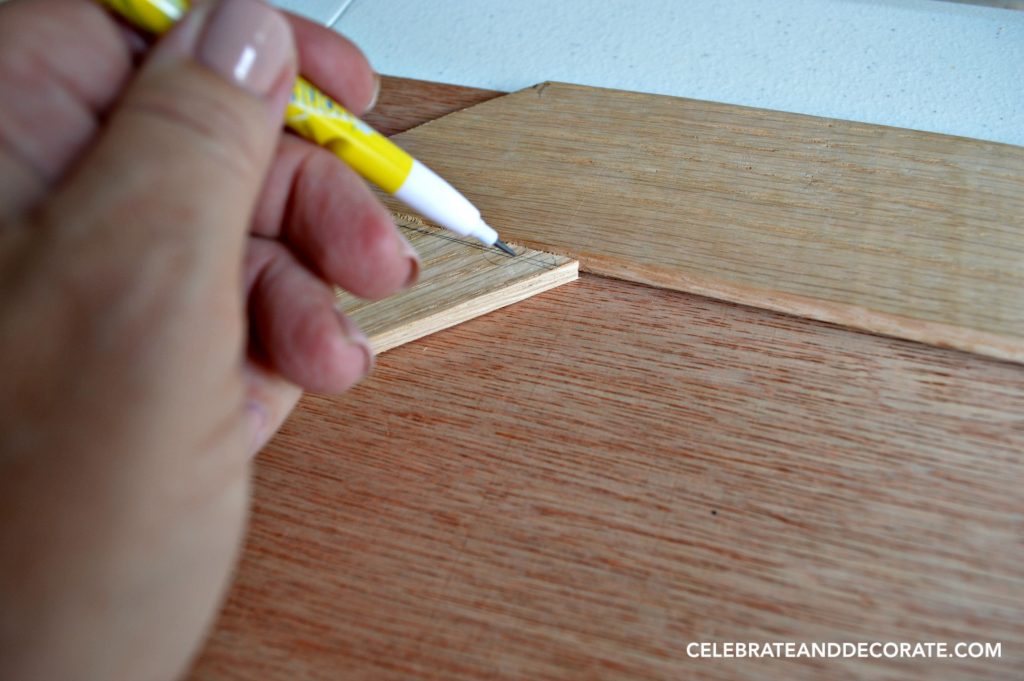 Measure, mark and measure again! Can you see all of those little lines on the end of the piece of wood? This piece would be the “roof” of the little Hometalk logo, so I needed to make sure it fit perfectly up against the “wall” of the ‘house’. These will be 45 degree angle cuts. All of my cuts for this project will be 90 degree and 45 degree angle cuts. I would suggest trying to find a design that can be done with straight lines unless you’re talented in cutting curves.
 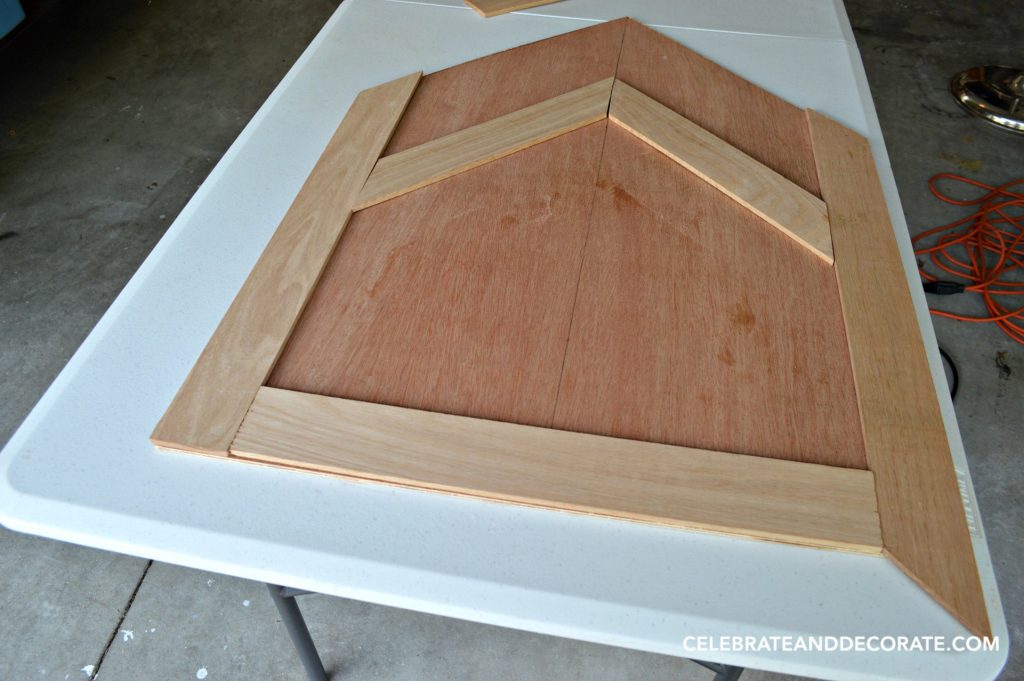 I found myself altering things as this project progressed. You can see I had cut the luan to make a much “taller” ‘house’ and comparing it to the logo realized it was way out of proportion, so it was time to “lower” the roof! See the pencil line up the middle of the luan? That is how I knew where my roof pieces were to meet.
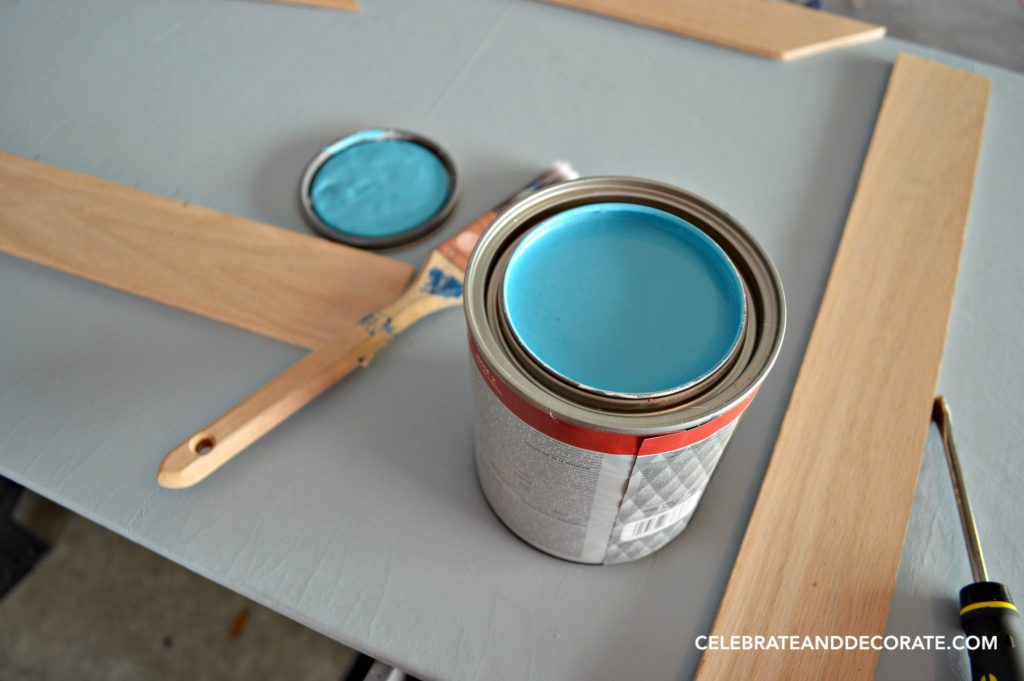 Time to get some paint on the frame!
 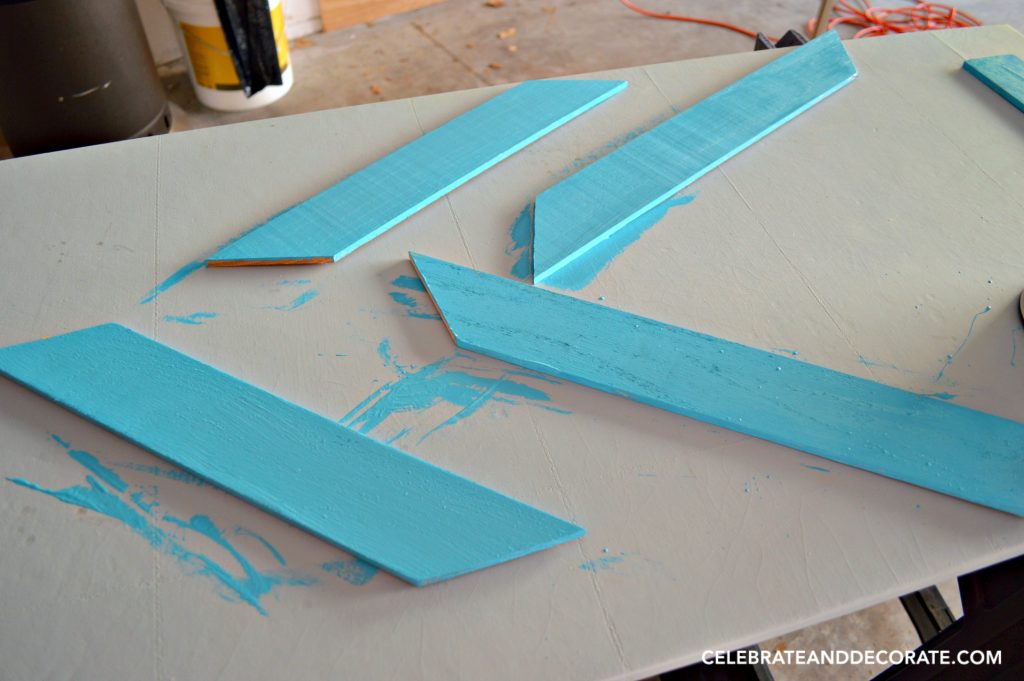 Here is one of my learning curves. See the long board in the lower right part of the picture? When I was cutting I didn’t pay attention that there was a ‘good’ side and a ‘bad’ side of the wood. There was a very rough finish on those that had the ‘bad’ side up. I knew this could be fixed with sanding. After the first coat of paint had dried I went back and sanded all of the painted pieces with 150 grit sandpaper. I cleaned all of the dust off and added a second coat of paint.
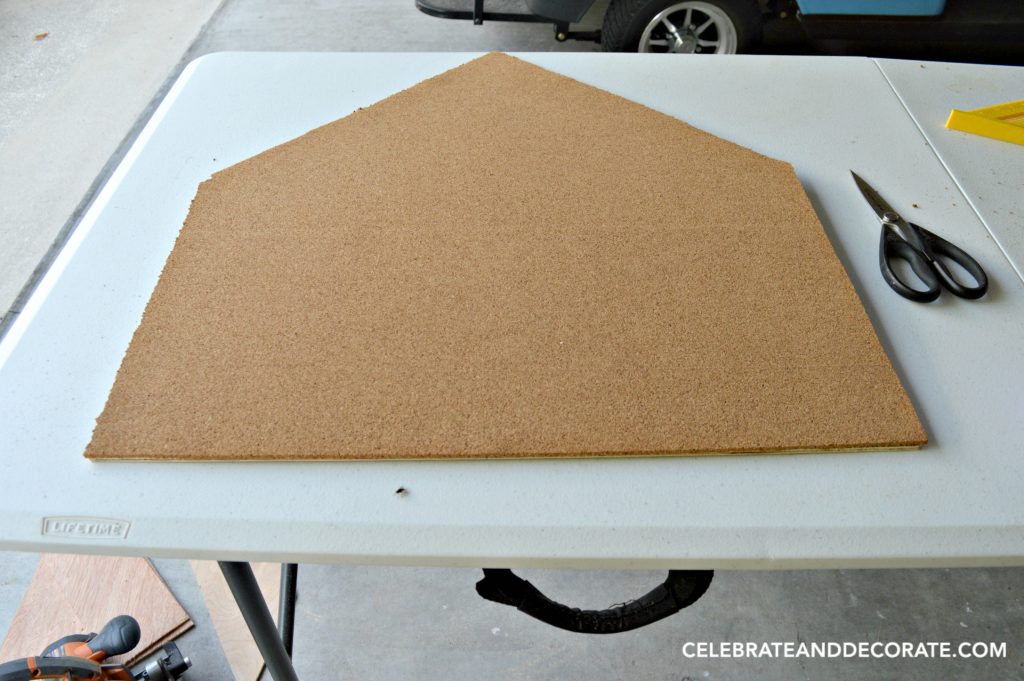 While my paint was drying I took the piece of luan and cut it where I had marked it with a pencil. I laid it on top of a roll of cork board cork I recommend using shears instead of a box cutter to cut the cork. See how the cork is rough on the left side? That was done with a box cutter, and the right was done with the shears. Cork tends to crumble under the box cutter. I used Krylon spray adhesive to coat on the luan and then carefully pressed down the cork onto the luan.
 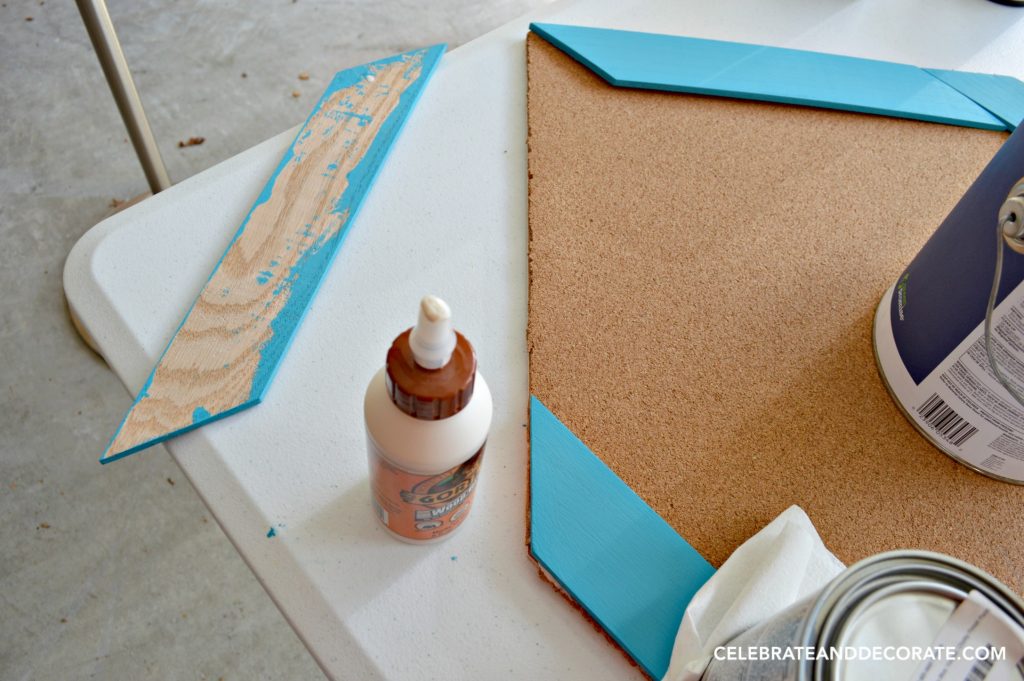 It is the moment of truth, putting the pieces onto the cork which has been glued to the luan. I was nervous they wouldn’t fit.
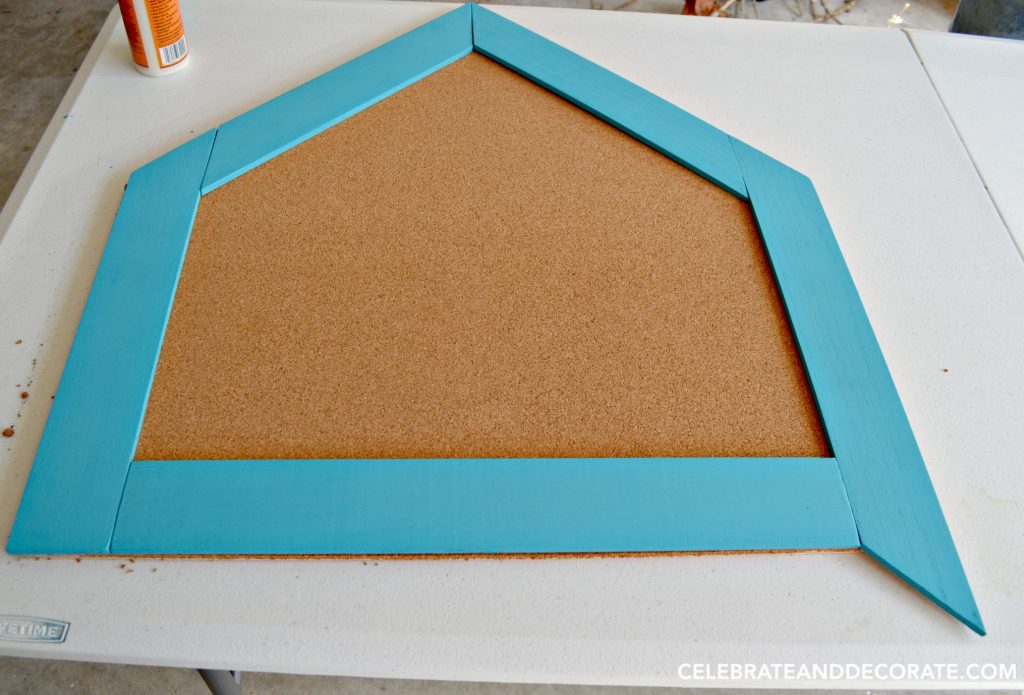 ALmost a perfect fit! There will be some trimming that needs to get done later.
 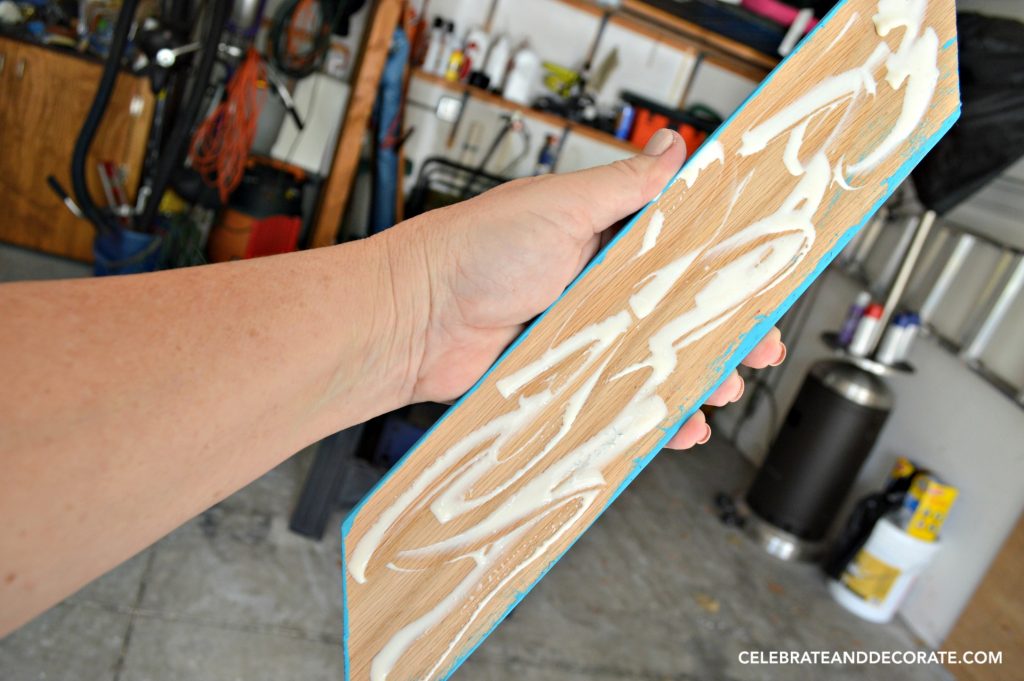 Time for glue! Fingers are crossed!
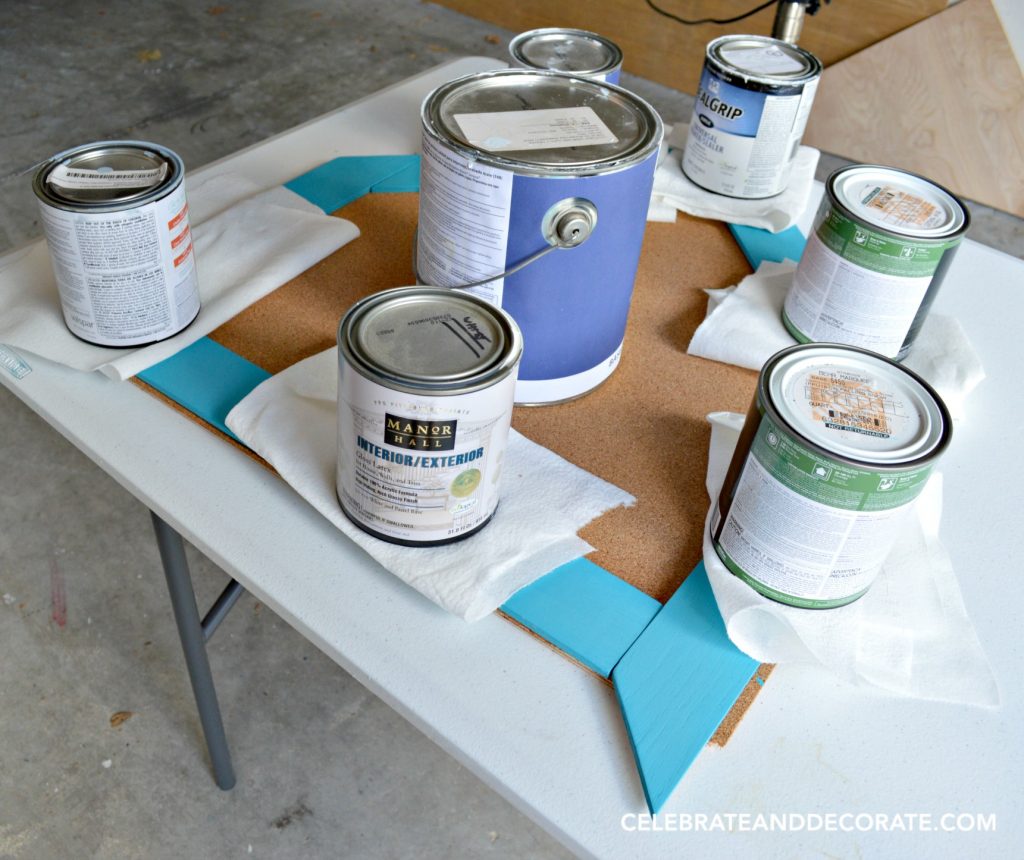
I don’t have clamps (another thing for the Home Depot list), so I used heavy paint cans to weigh down the pieces after I glued them. I put paper towels under them to make sure they didn’t damage my fresh paint. 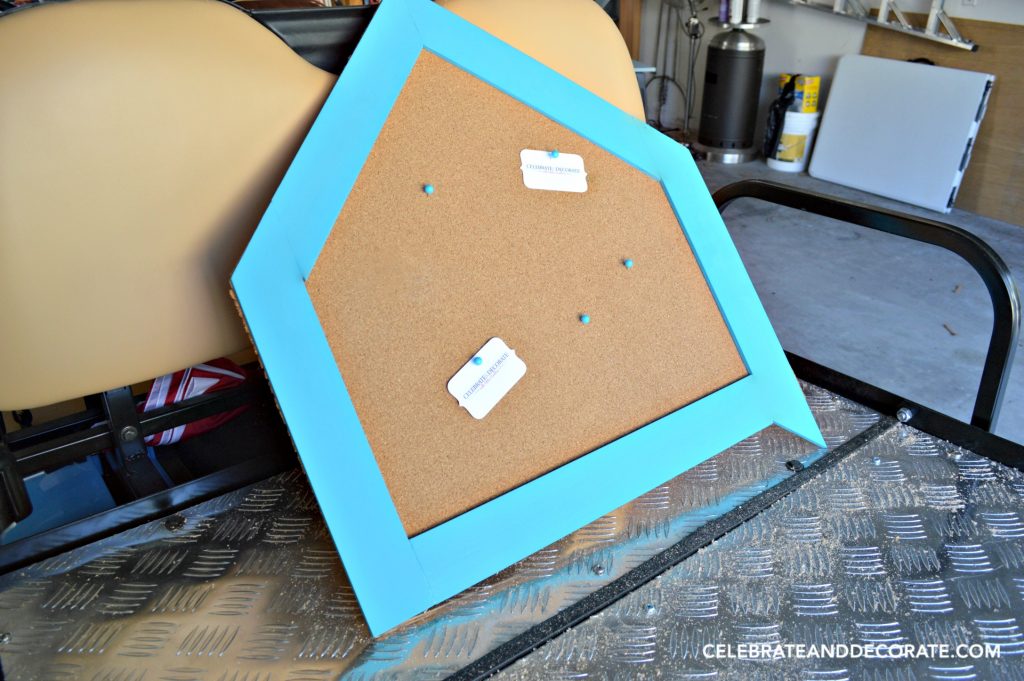
Here it is, looking pretty good, there are some spots that I need to trim and touch up. 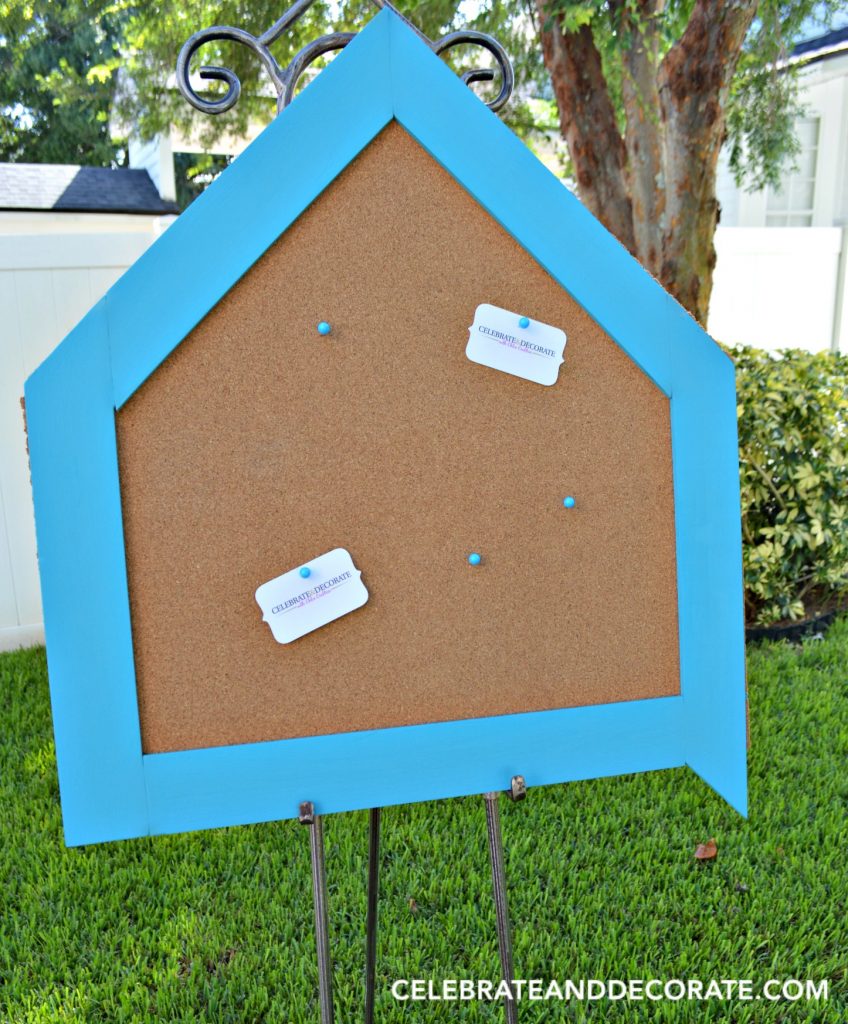
 I think now that I have made one DIY bulletin board, I could do a much better job the next time. I am really turning into a do it yourselfer! What would you create for a DIY bulletin board?
Shop This Project
Ryobi Compound Miter Saw – Home Depot
Cork Board Roll – Amazon
Glidden Paint – Home Depot
Various Lumber – Home Depot
Spray Adhesive – Amazon
Luan Plywood – Home Depot
Gorilla Wood Glue – Amazon


Love this! I am heading out too to get my first Ryobi Power Saw! See that you got one too, so excited for you and me too!
Maria
Have fun with your new saw!
It turned out so well!!! I know Miriam, Hannah, Tikva and everyone else will just love it!
Congrats, on using your new power tool. My husband thinks I am crazy,but a ask for some new tool each year for Christmas. I like having my own and not having to find his when I do a project.