

DIY Lighthouse Photo Collage Bookshelf
DIY Your Bookshelf Like This!
This post contains some affiliate links for your convenience. Click here to read my full disclosure policy.
My Mom and Dad have moved into an apartment over our garage and it is wonderful having them so close by. When they made the purchase of a new bookshelf, I knew I needed to step in and help them enhance the Walmart bookshelf to give it a little more personality. With their nautical and beach decor already established I decided to create a lighthouse photo collage bookshelf.
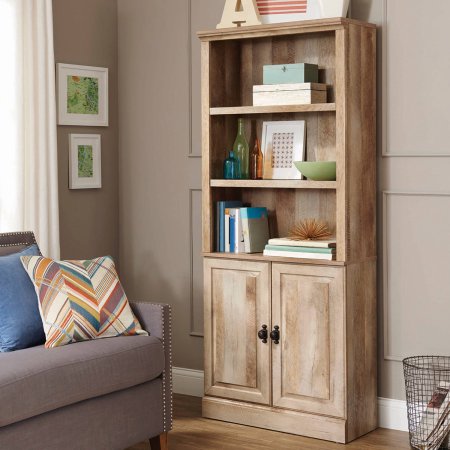
Mom and Dad are trying to do things on a budget, they would much rather use their extra money for taking cruises! So they bought this simple bookcase from WalMart for just $129.00! A bargain for sure, but Mom wanted a little more style, so I went to work. 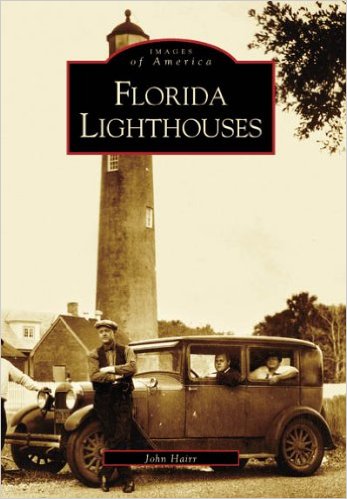 I am familiar with these series of books that have vintage images. If you aren’t familiar with them, you might be interested in some. They cover everything from Ellis Island to Malibu to Route 66, Biltmore and many, many more. After talking it over with my mother, I bought a used copy of Images of America – Florida Lighthouses on Amazon for less than $4.00. Since I was going to be cutting it apart, it didn’t really matter what condition it was in.
Step One: Select and cut out photos
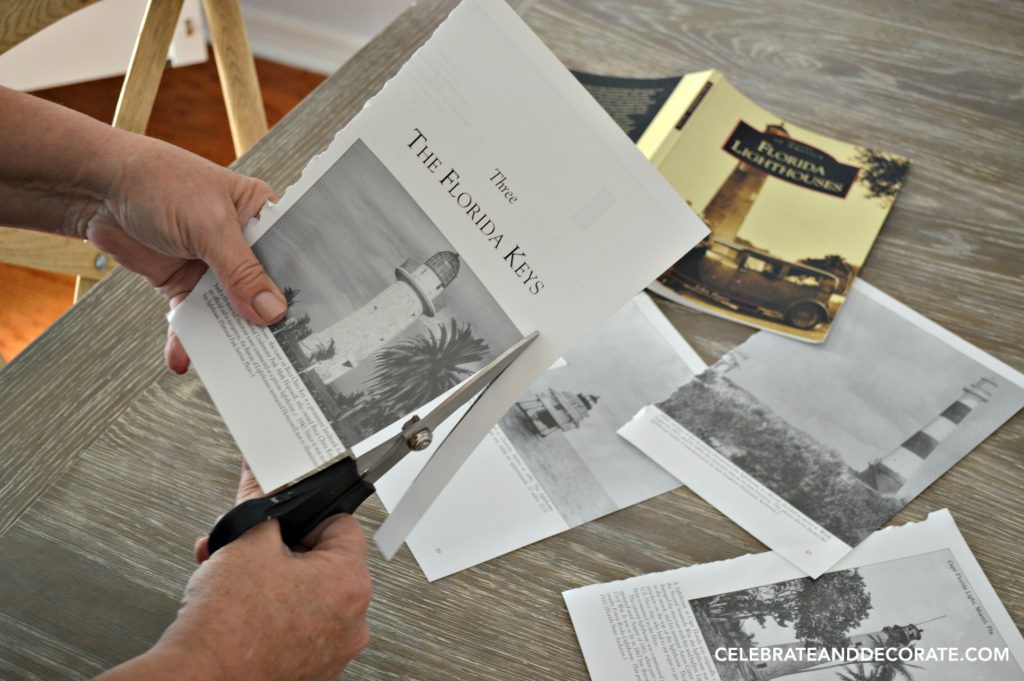
I then went through the book with my Mom and chose images of lighthouses, lighthouse keepers, and the cover page from the book. This was going to be give the vintage feel she wanted to her bookshelf.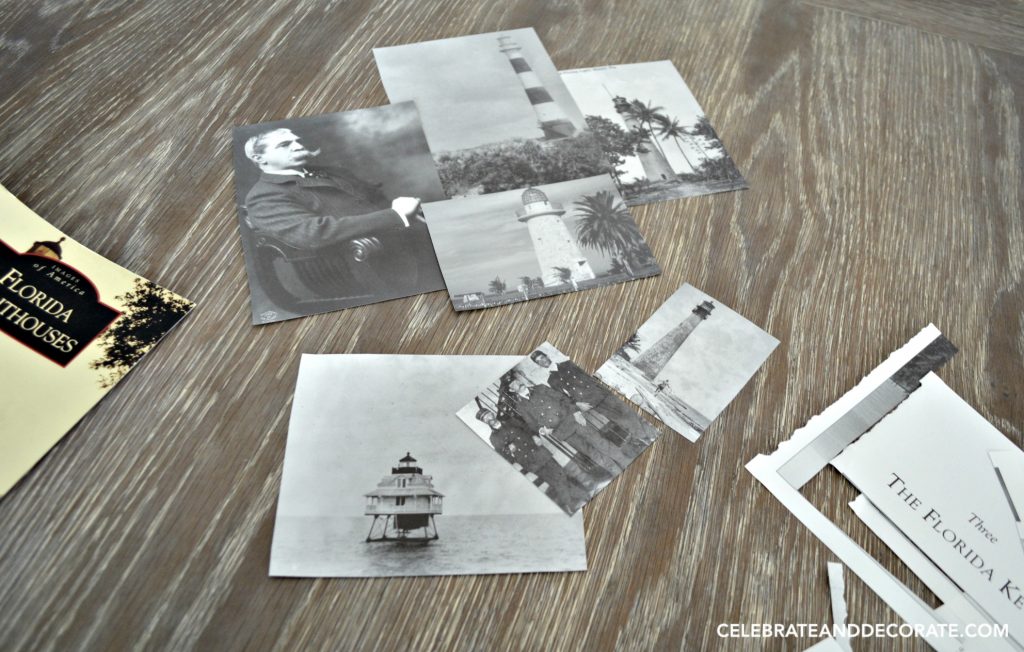
I laid them out in the various patterns until we were both happy with the look and then I went to work attaching them to the hardboard back of the bookcase.
Step Two: Assemble the frame of the bookcase
 It was time to assemble the bookshelf. Everything except for the back and the cupboard door fronts.
Step Three: Attach photos to the backboard
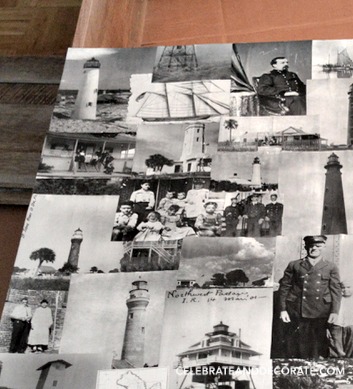
If you are familiar with these kinds of unassembled furniture, you may know that the back of the bookshelf part is just cardboard. I laid the the backboard on the floor on top of a spare piece of cardboard and went to work mod podging the images to the bookshelf backing. I let it dry overnight.

The next day I applied two more coats of Mod Podge, allowing it to dry completely between coats. This sealed the collage well.
Step Four: Final assembly of the bookcase
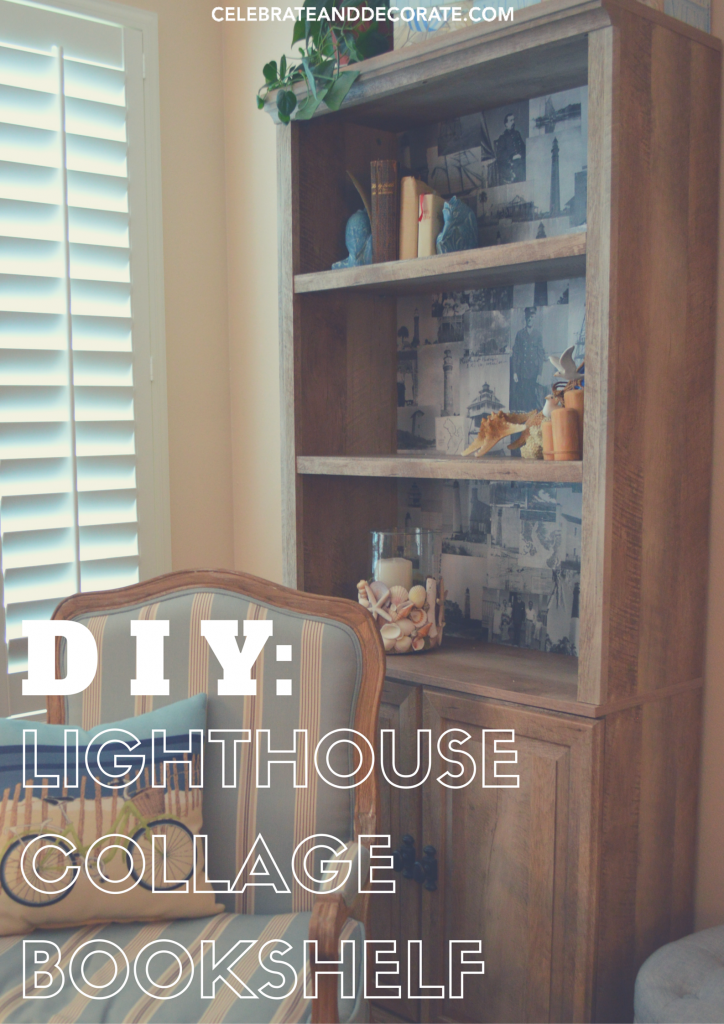
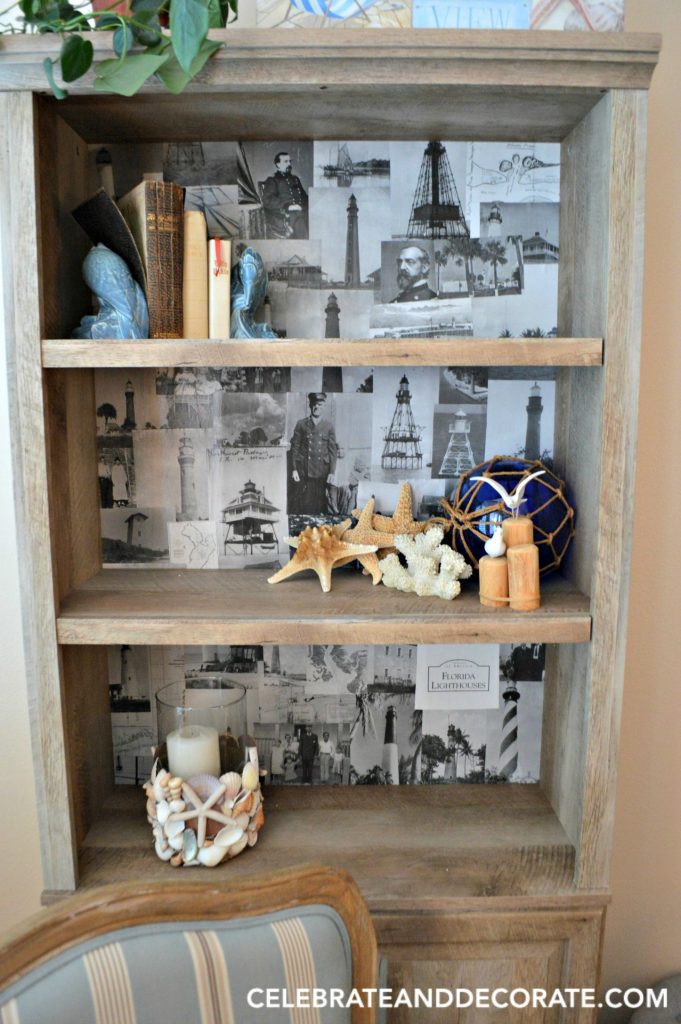
 Here is the completed lighthouse collage bookshelf. This really adds to the vintage coastal vibe they have created in their home.
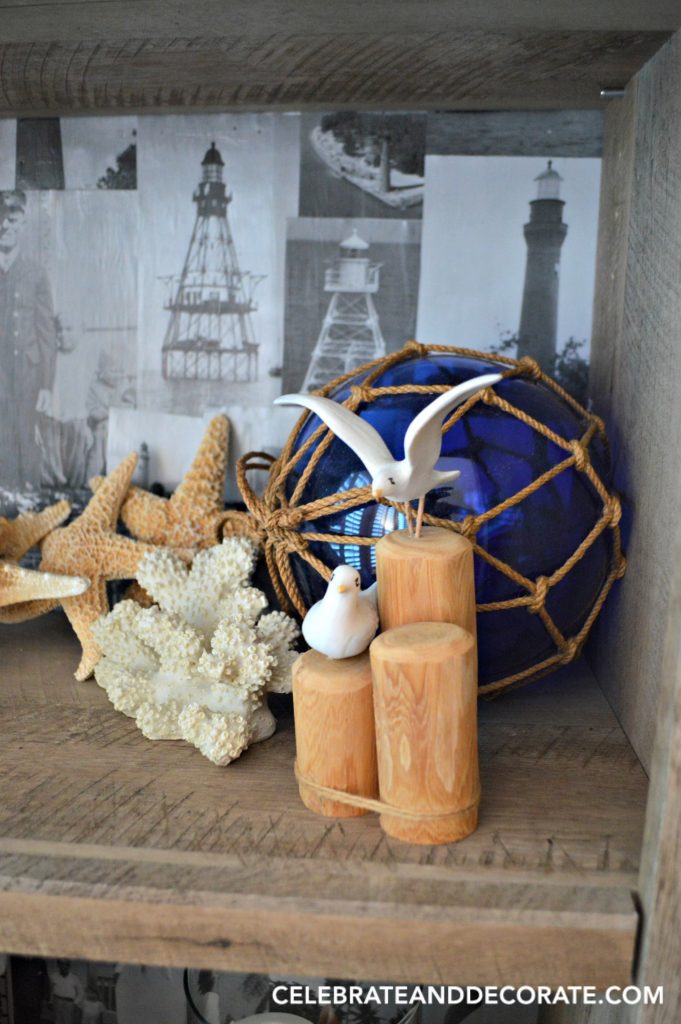
 This is now a lovely addition to their home, giving my mom a place to display some of her favorite collections and ample storage beneath.
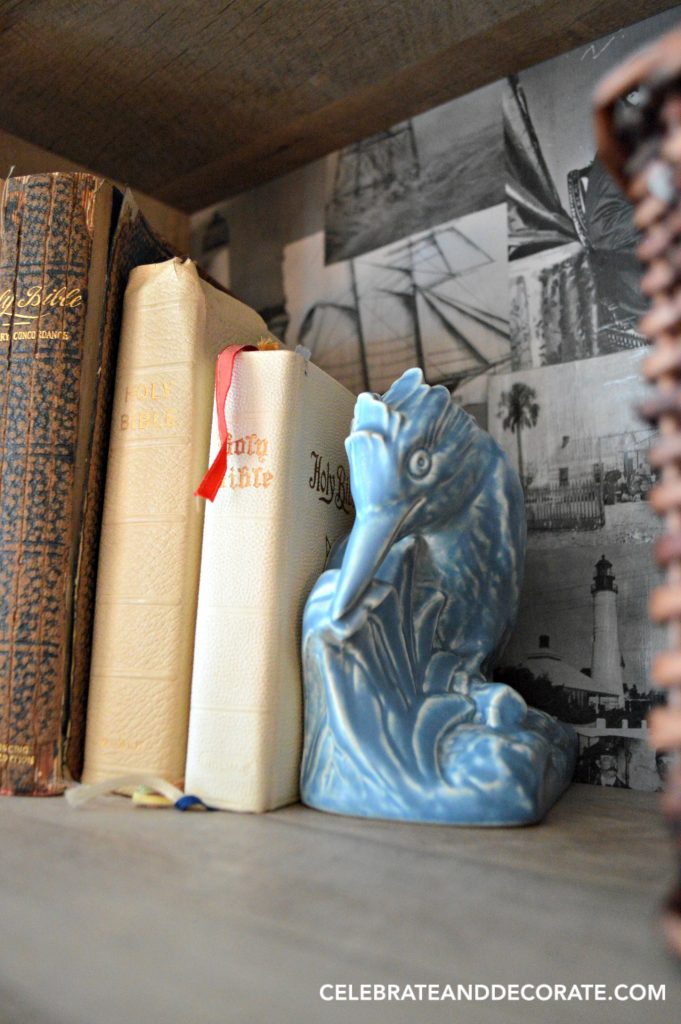
 My parents can enjoy studying these vintage images and the times around Florida when these lighthouses were integral to protecting ships approaching the coasts. Photos of the lighthouse keepers are reminders of how important they were in keeping the lighthouses working and ships safe.
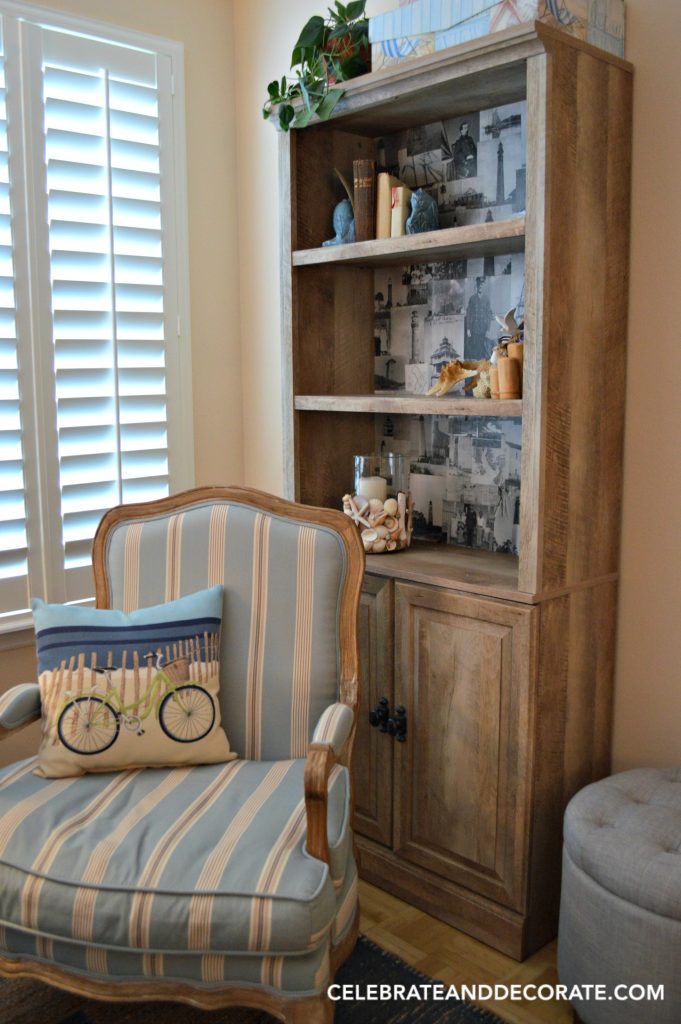
 I will be sharing this at the following link parties: Dishing it & Digging It | Amaze Me Monday | The Scoop | BTTCG Blog Party | Tips and Tricks Link Party | Create Link Inspire | Show and Share | Make it Pretty Monday | Brag About It | Waste Not Wednesday | The Creative Circle | A Bouquet of Talent | Over The Moon | Show and Share | Friday’s Five Features | Merry Monday | Do It Yourself | Metamorphosis Monday | Ta Da Thursdays | Home and Garden Thursday |Share Your Cup | Thriving on Thursdays |


Brilliant! I hate you for being so talented and creative… MUWAH!
Well done! I have seen wallpaper on the backs of bookcases but this is much more personal. Will we see more of the apartment?
What a fabulous project! So personalized and fun! So glad to have found you! Love your blog… now following along! ~Rhonda
What a great project for you and your mom to work on together. It looks very vintage and you are one creative lady!
What a great idea! I love how the lighthouse photos gave your mom’s bookcase a vintage nautical feel. I tried to do this once with burlap and it was a DIY fail.
love how this was created. My daughter loves lighthouses and she would love this and it would go in her house great will be sharing with her
come see us at http://shopannies.blogspot.com
love it. great project to customize a bookcase. How great that your parents can live above the garage. Cool space.
What a fun project for you and your mom to work on together. Thanks for sharing!
That is darling and I am sure they are very proud of it and showing it off to everyone! Lovely. Thanks for sharing and linking.
This turned out great. I love it and easy to switch out. Thanks for sharing at Dishing it and Digging it link party. We love having you.
This might as well be the oomph my bookshelf has been missing all this time. I’m sceptical about finding cardboard to use and I don’t want to plaster the photos directly on the plywood. I’ll consult with someone on this matter. Thanks for the idea 🙂
Try a pieces of poster board or foam board!
What a clever idea! I love it!!! & thank you so much for linking up to WASTE NOT WEDNESDAY link party. We love having you!
Yes I love how this turned out, such a great idea! Thanks for linking up with us 🙂
Great project with fabulous results. I love coastal and vintage…a great combo.
Thanks Carol, my mom is loving it too!
Dear Chloe:
This post was featured on my blog today – congratulations! Have a great Sunday!
What a great way to display memorabilia! Thanks for sharing on the Pleasures of the NW’s DIY party!
Thank you Helen! My Mom loves her new look!
What a great idea! Looks amazing and provides a perfect backdrop to her coastal decor. Good job!
Yes, and it is a great conversation piece. Thank you!
Really cute end product. And that bookcase was a steal! Inspirational and unique~
Uber creative Chloe! I know your parents love it!!
Thank you Jenna! I know my mom loves it, but I don’t think my dad cares at all! Haha!
Such a cute idea! May have to try it!
Thanks so much Mary Beth. This is a great way to add a personal touch to a bookshelf, with whatever is important to you. Even a child’s picture book could be used in a nursery.
I just love this idea Chloe!!!! And I love that series of books. I’m featuring you this week at Charming Homes & Gardens! Thanks for linking up!