
Get Organized With This Craft Project
Get Organized With This Craft Project
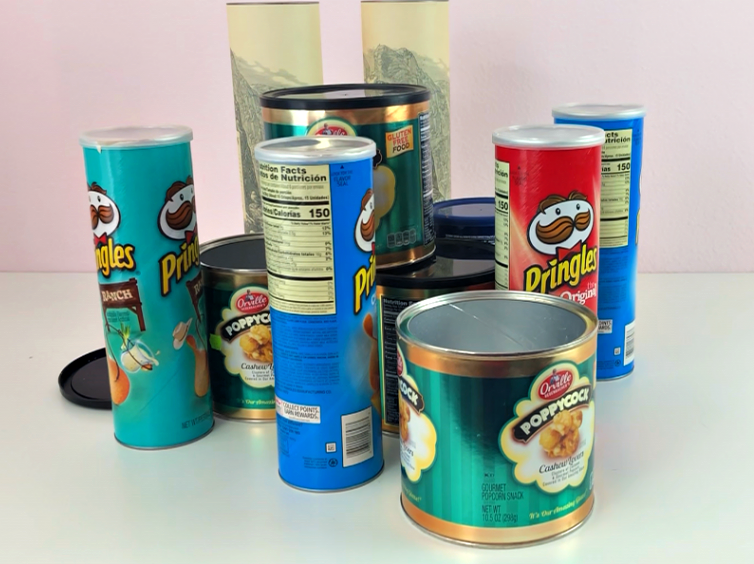
I have had these containers collecting on the top shelf in my closet pantry for nearly a year now. Part of organizing and cleaning up and out this January was time to get rid of these containers or do something with them. I had previously used some of these containers to make some containers for faux succulents. 
In addition to getting the pantry cleaned out, my craft room is getting a major overhaul and is actually going to be turned into a different room. (I know you will want to follow that story this year!) But, I digress…I am tired of sitting down to do a craft and not having my tools and supplies at my fingertips. The answer was suddenly apparent! 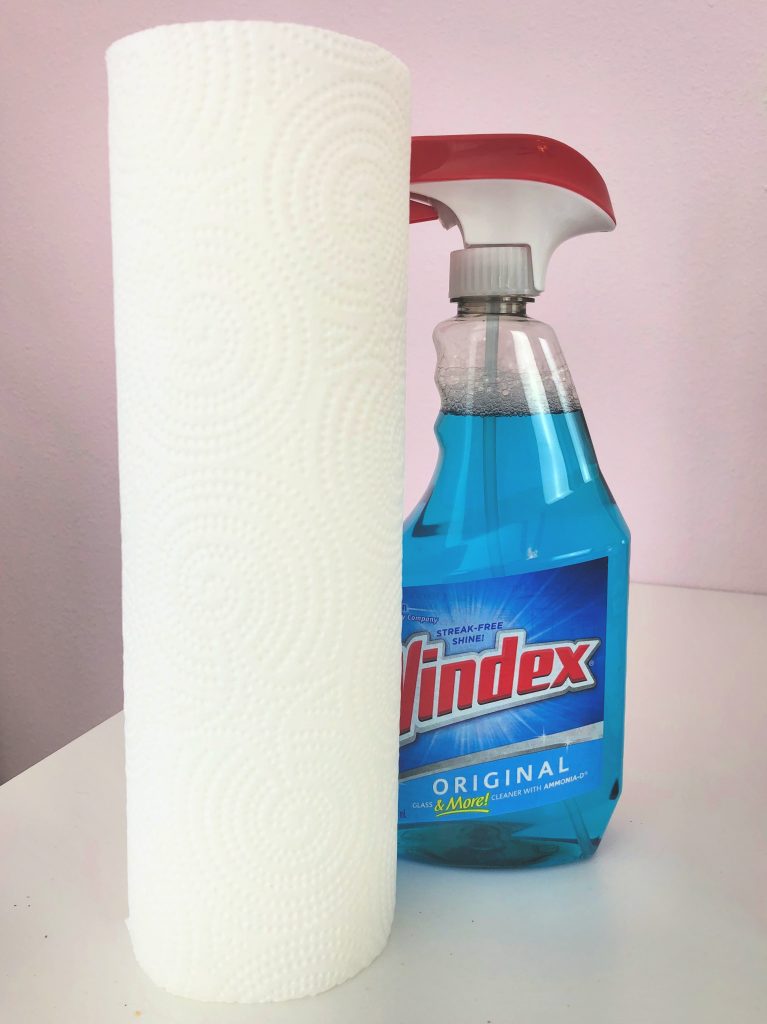
You might wonder why I am adding this step, but I saw a post over on Hometalk.com of a project done with Pringles cans and all kinds of people commented that wouldn’t the grease on the inside of the can get on things put in the cans. Come on, you would of course clean out the cans before you start this or another project with these former food containers. I would also like to say that you could do this with square and rectangular boxes, but I find that the round containers hold up a little better and are a little sturdier. A quick spray of Windex on a paper towel and then wiping out the containers will get them clean enough for this project. 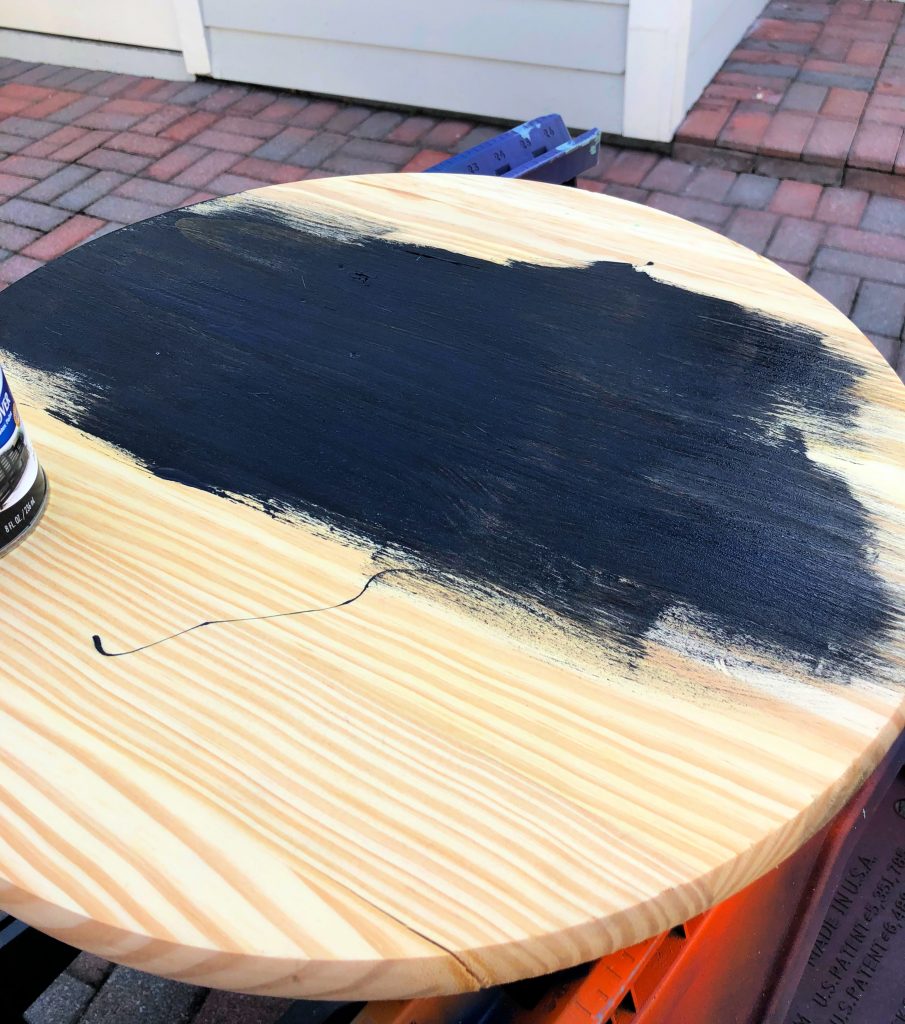
I had this tabletop round I have considered using for a project for sometime now. You can pick these up at The Home Depot or Lowes in a variety of sizes. You could also use a square or rectangular piece of wood, but you want it to be thick and sturdy like this one. The one I used for this project is 18″. I painted mine black with a paint that included primer. 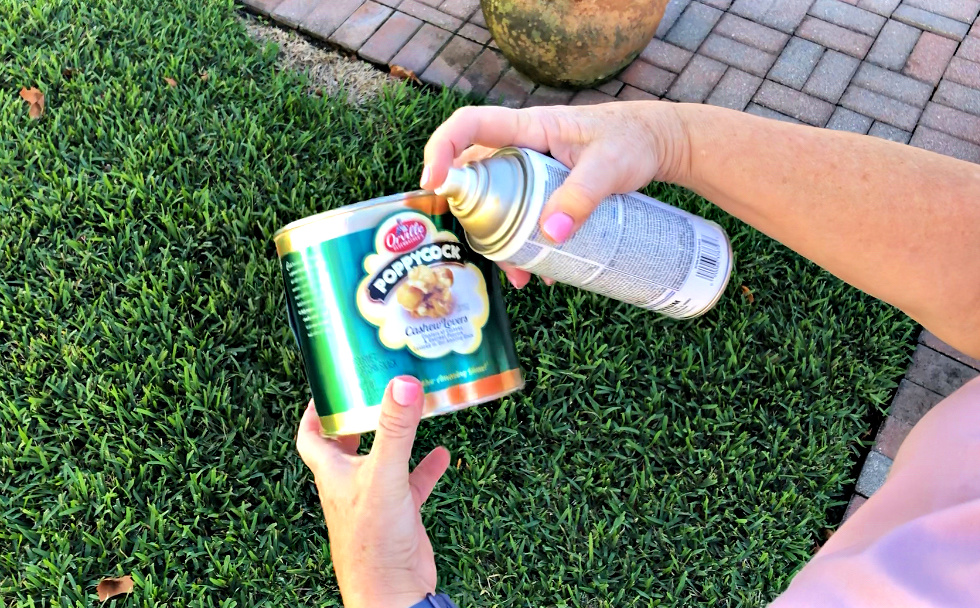 I spray painted all of my containers with a gold spray paint.
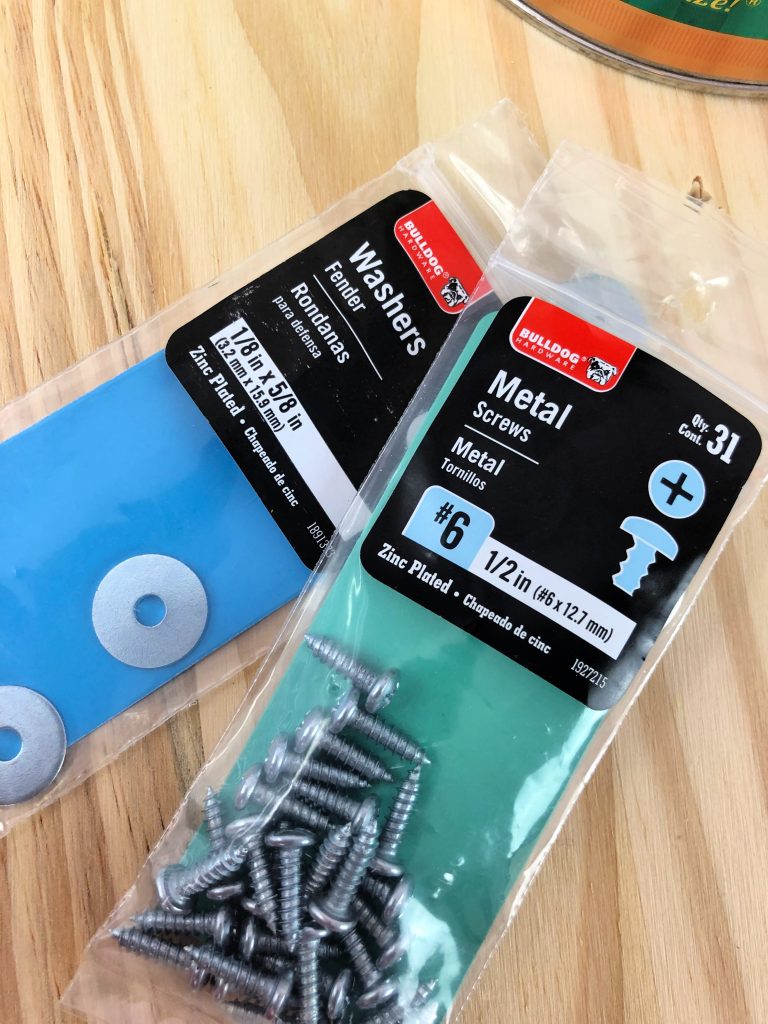
I used these washers and screws for my project. These are easy to find and easy to use for this project. Don’t skip the washers, you will want to use those to secure your screws in the bottom of your containers.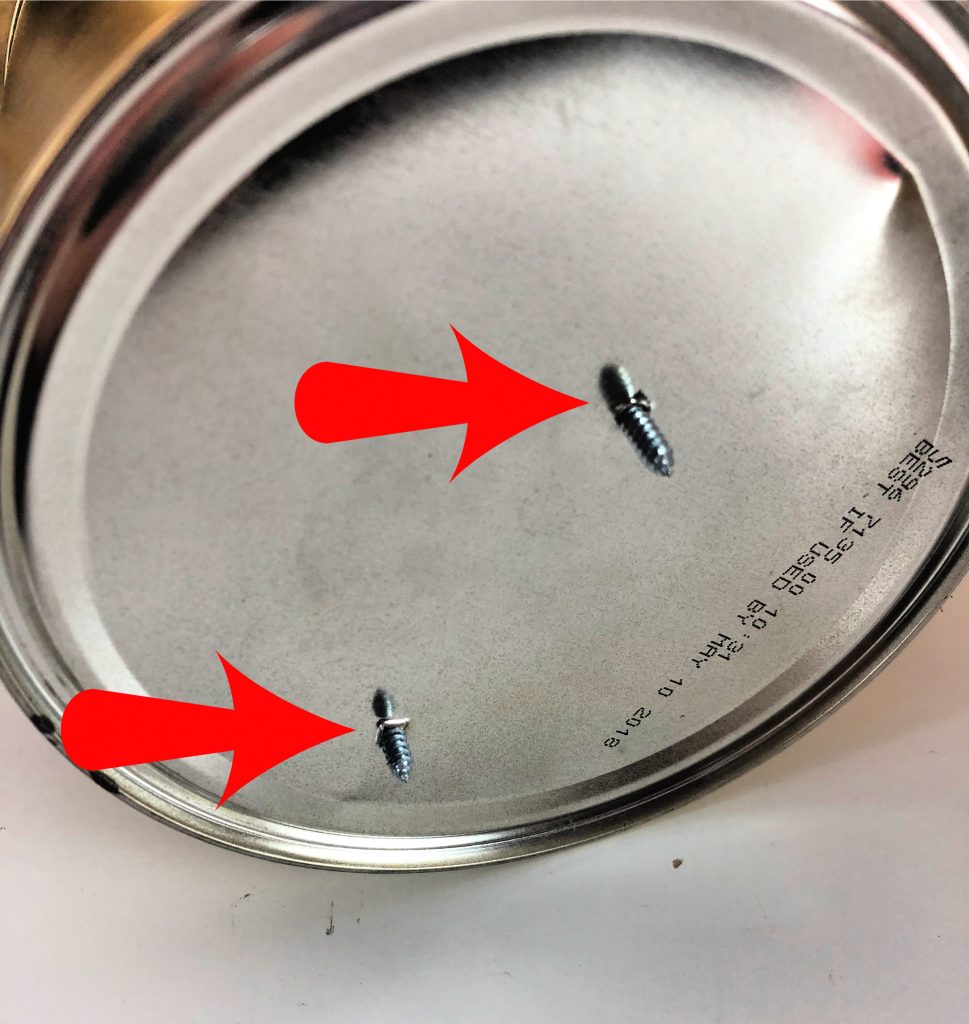 I used a phillips screwdriver with a hammer and put a small hole in the bottom of of my cans. Next I threaded a screw through the washer and then into the hole in the bottom of my can. For my short cans I used two screw/washers and for my taller containers I used a single one.
 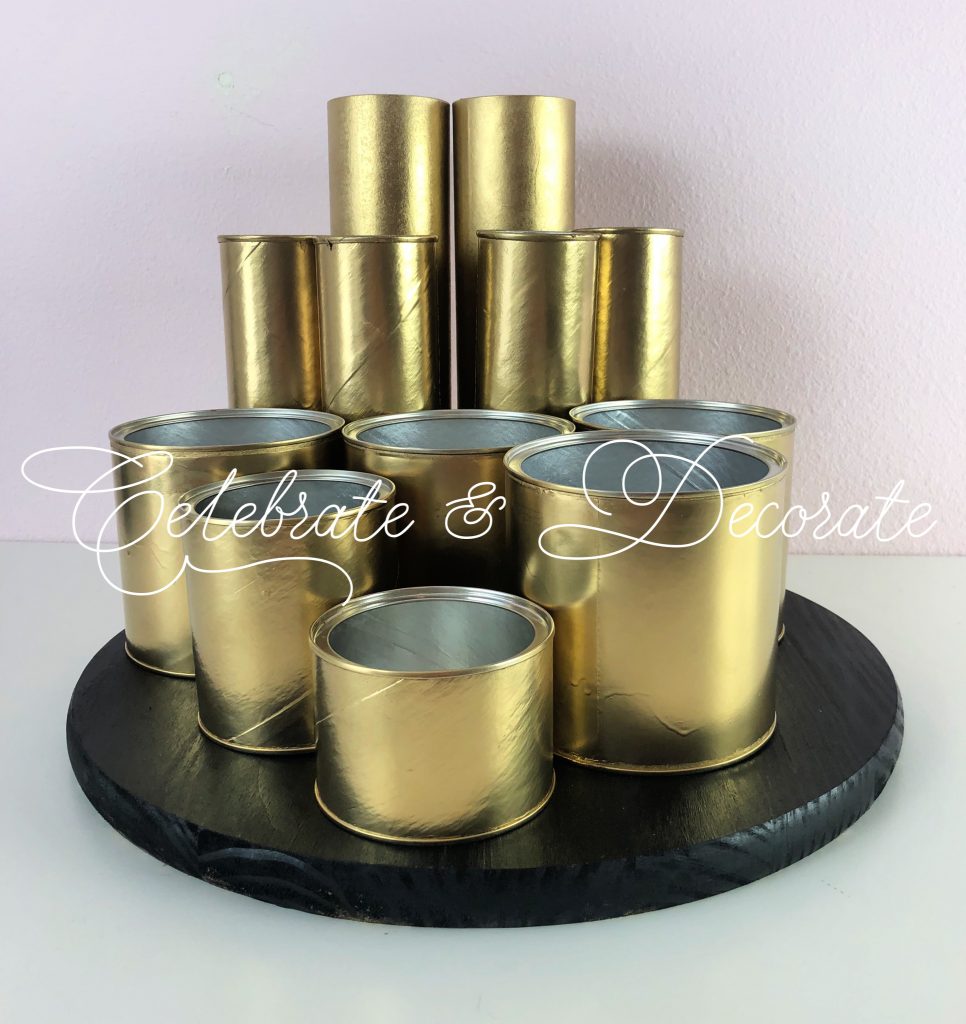 Before I started spray painting, I tried all of my containers on my tabletop to see how many and which size containers I would need. That let me know which ones I needed to paint. I considered putting lazy susan hardware like this on the bottom, but I am going to be using this in a wire cart and don’t think it would work well, If you are going to use this on a craft table, you might want to add the hardware to the bottom of your organizer.
 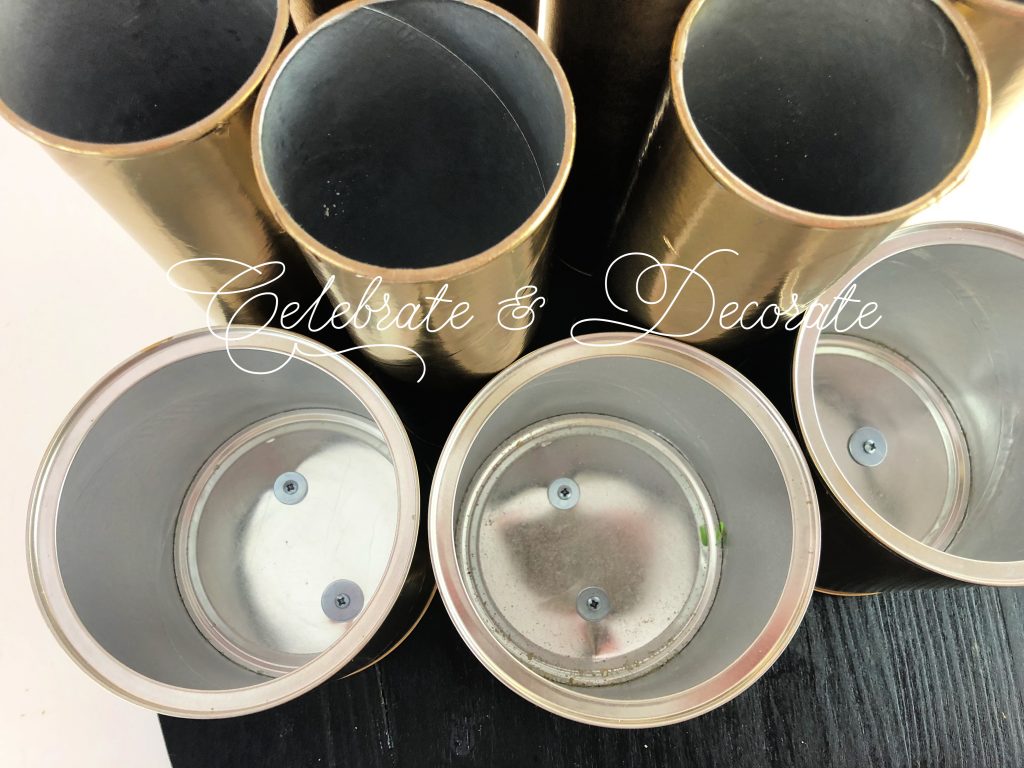 After all of your containers have the screws in the bottom of them, you can set them wrong end up on your base and one by one turn them over and screw each container down tightly to the base.
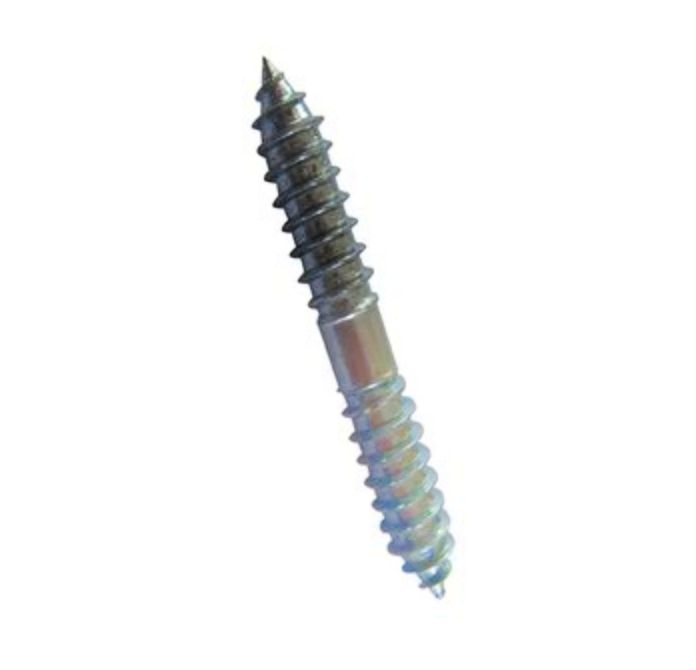
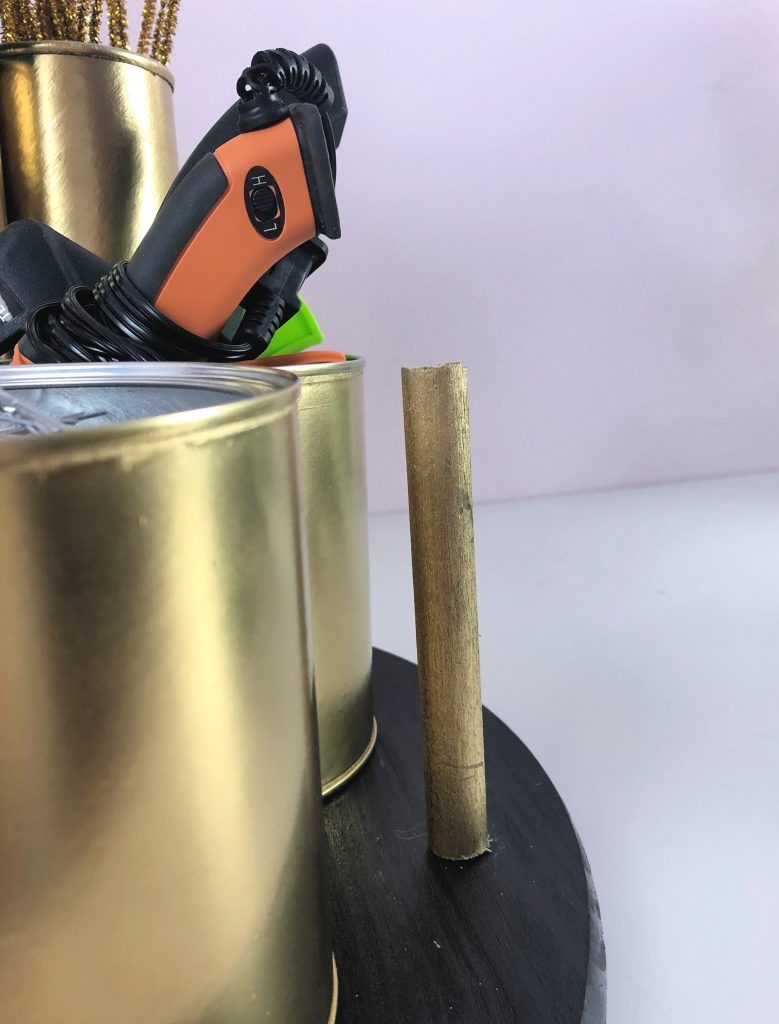
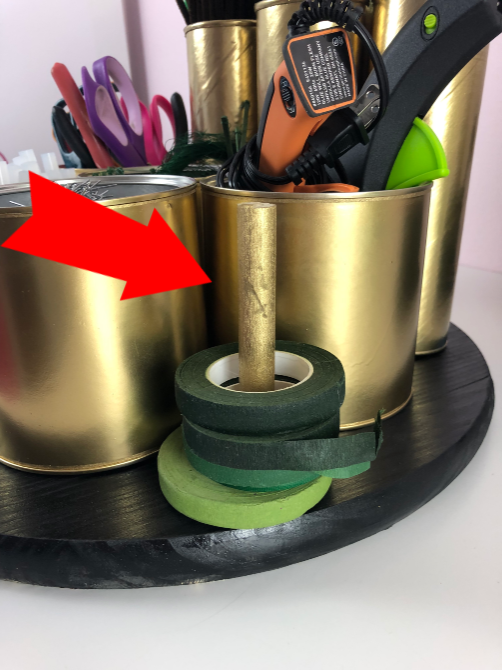
When I had it almost complete and began putting my supplies into my cans, I realized I would also like to have my floral tape handy, so I took a piece of a dowel, painted it gold and then used a wood pole joiner screw to attach the dowel to my base. This will keep my floral tape handy, but could be used for ribbons, too!
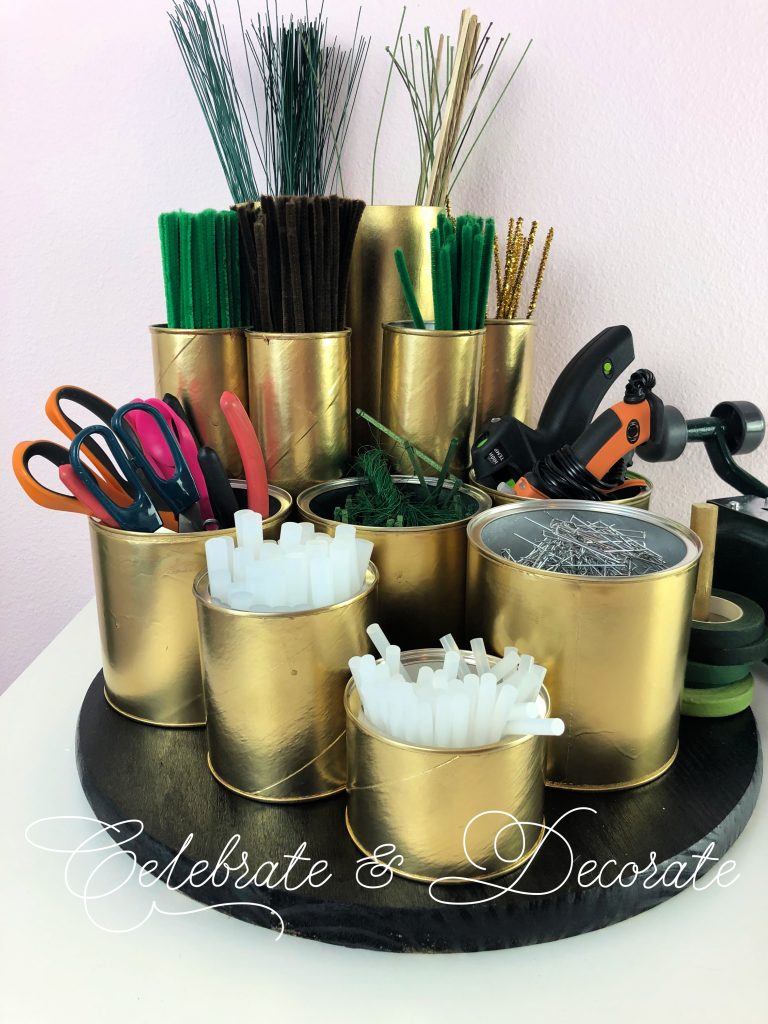 Now I have all of my regular supplies at hand, nice and organized! Not only that, they look nice, too!! This is a project that you can customize for whatever your crafting needs are. This one suits my needs, although I think I might make an additional one for some other items, too!!
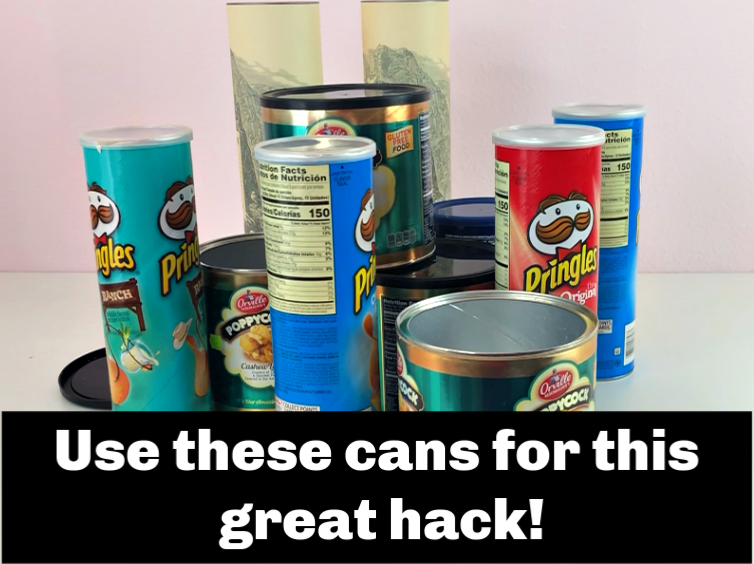
Will be doing this – thanks for sharing .
Thank you Daisy! I hope you can put one together to keep your craft supplies organized, too! I am so happy with it, thanks for the feedback!
This is so awesome! Love it!
Thanks, Bird! It is high time I got my craft supplies organized!
Chloe, this is such a great idea! Perfect for organizing supplies. I think I will make something similar to go in my closet on the shelf…awesome!! Have a great one! Hugs!!
Awesome as usual. You have the best ideas.
Thank you so much Jane! I am really happy with how it all turned out!
You have mentioned several times that you were going to do an organizer. This is fantastic. I do think I will do mine as a lazy Susan…… I think. Thanks for the inspiration.
Thank you Leah, I am really happy with mine. The great thing is anyone can customize this for what they regularly use and need storage for! I have another bigger project for ribbons I will share in a few weeks, too!
Great Ideas Chloe!!!!
Thanks
Christine
Thanks so much Christine, I am really happy with it!
Lots of work on this project, not to mention degreasing all those cans. Love that you explained the double/screw screw. I’m sure lots of ladies out there, didn’t know they existed. Great post!
Thank you so much Sandi, it wasn’t too much work, and I am SO happy with the results!
Awesome, awesome!
Thank you so much, Cheryl! I am glad you were like it, I really like having everything at hand!
Very very clever Chloe! I have one of those wood rounds that I bought several years ago, and I can’t remember what I was going to do with it! I love what you have created!!
Gold star for you Chloe this is a great idea! I could use several pegs for all the ribbon that I have and the cans would come in handy for so many things. Thanks for sharing!
Love this up-cycle project!
Thank you so much Jeanne! I am so happy with it!
Wow Chloe ! These turned out fabulously ! I used cans and plastic bottles just recently to make desk caddy’s. Just waiting to take pics and post as well.
I love the dowel idea for the floral tape – excellent !
Thanks so much! I am so happy even looking at the organizer, let alone using it!
That’s a great idea. I reuse a lot of tin cans for organizing, but I usually cover them with paper or fabric, and I never thought about making an organizing station like yours.
Thank you for sharing at The Really Crafty Link Party. Pinned.
Thank you Teresa! I am so happy knowing right where my supplies are now!