
Make a Floral Cake
Have you ever seen one of these floral cakes? It is actually very easy to make a floral cake and I will show you step by step. This is such a nice alternative to a cake when everyone is trying to eat healthier, and it might just last longer than a real cake! (It will at my house!) 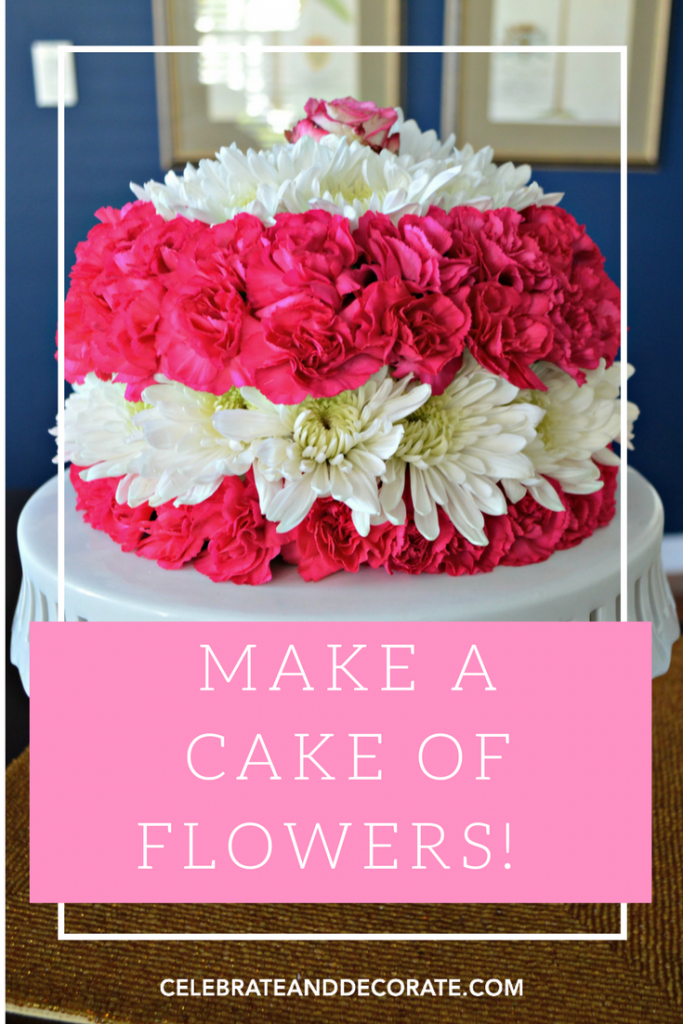
This post contains some affiliate links for your convenience. Click here to read my full disclosure policy.
You can buy a ‘cake’ of floral foam, but they cost about $8.00. I haven’t found them in any of my local stores, so I opt for regular floral foam which I can often get for less than $2.00 per block. I usually have the blocks of floral foam on hand, so I choose to use those instead.
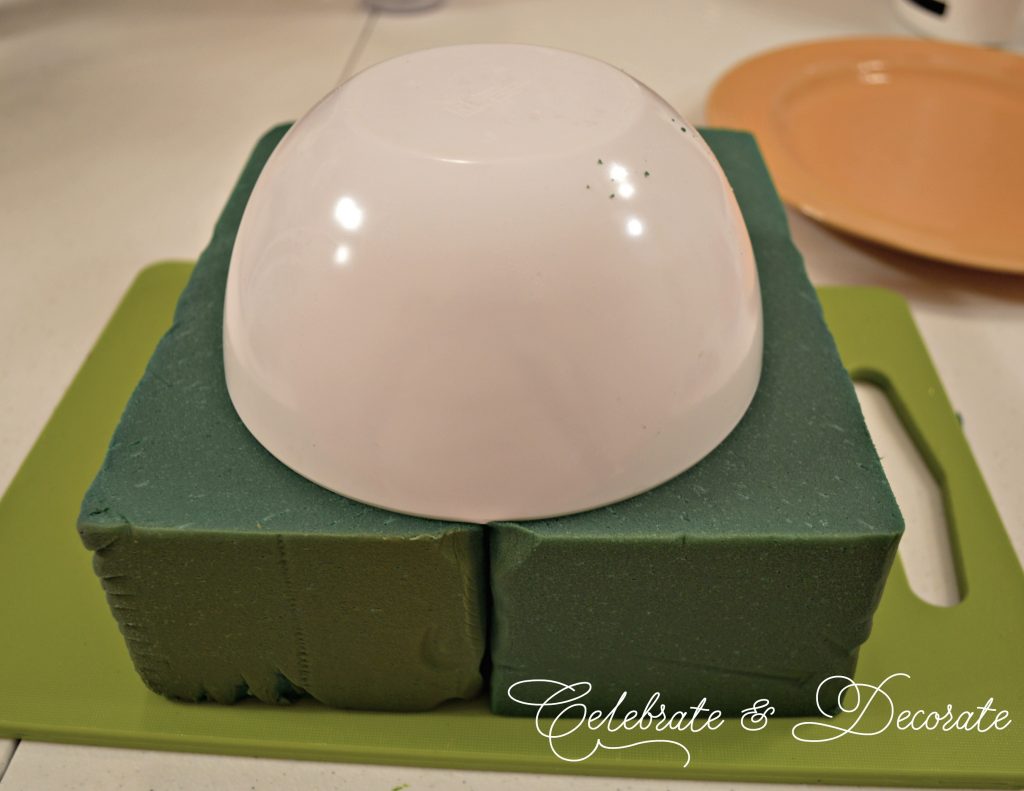
I begin by soaking two blocks of floral foam in water. I lay them down together on a cutting board and put a bowl on top of them. 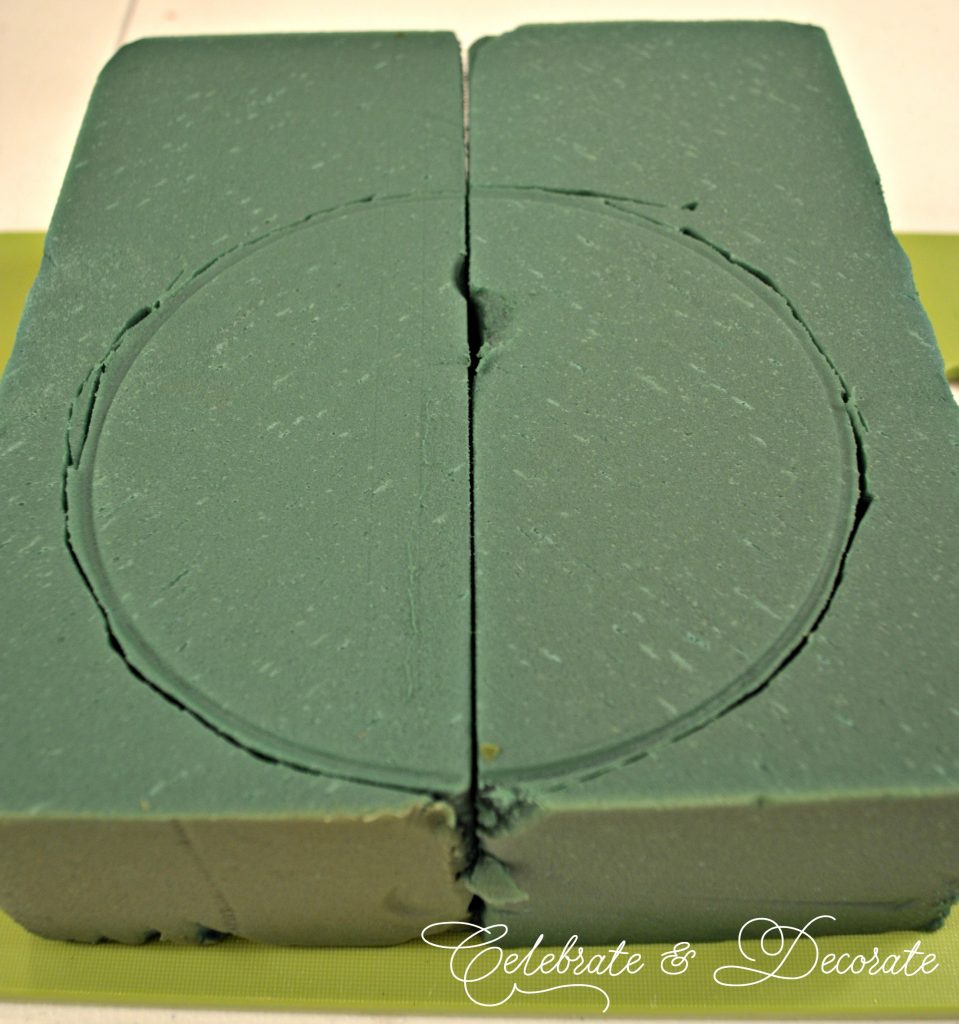 I press the bowl down slightly to leave an imprint in the foam for me to use as a guide for cutting.
 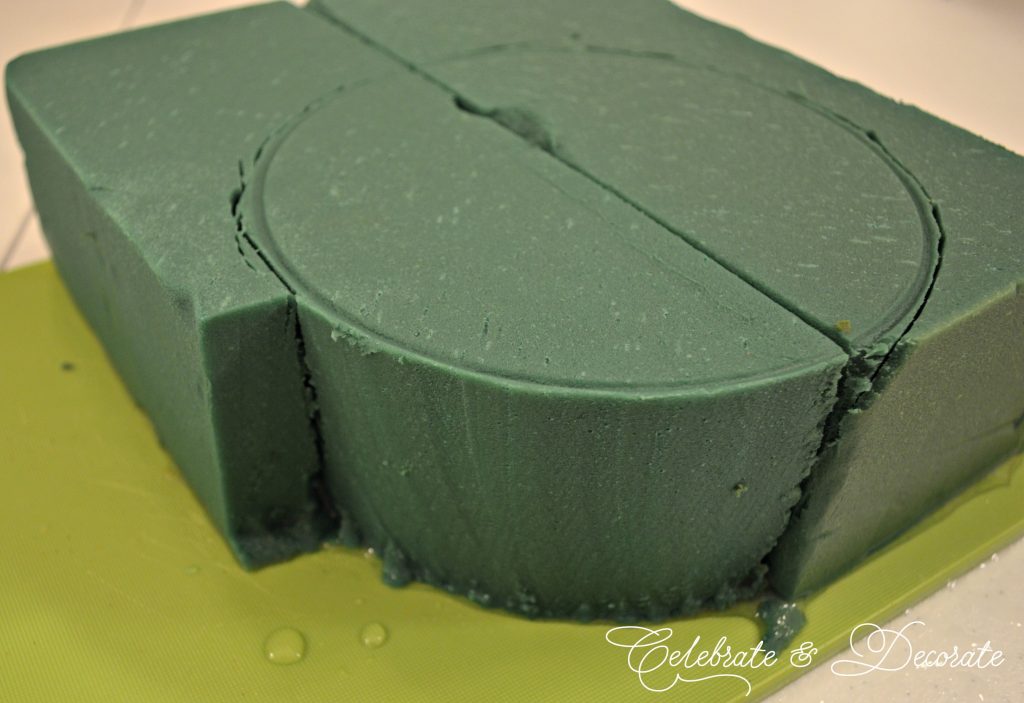 I use a knife to cut down all the way through the foam to begin to form my cake shape.
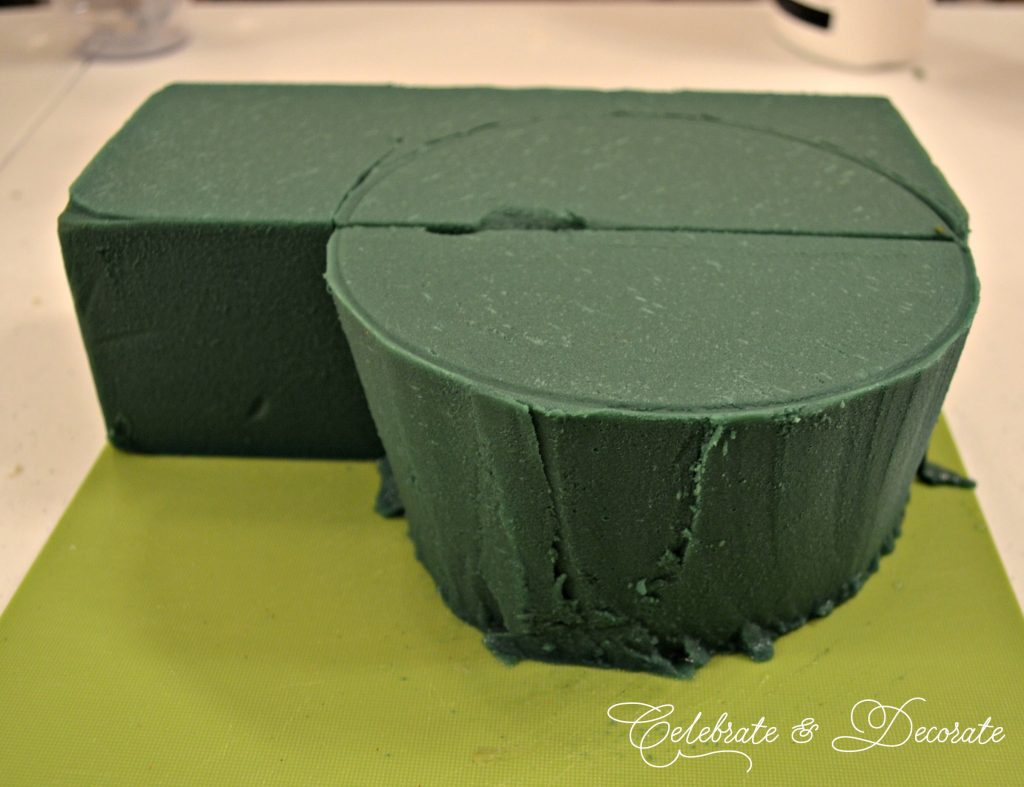 As I cut, I can easily break away the pieces of the foam I won’t be using for the time being.
 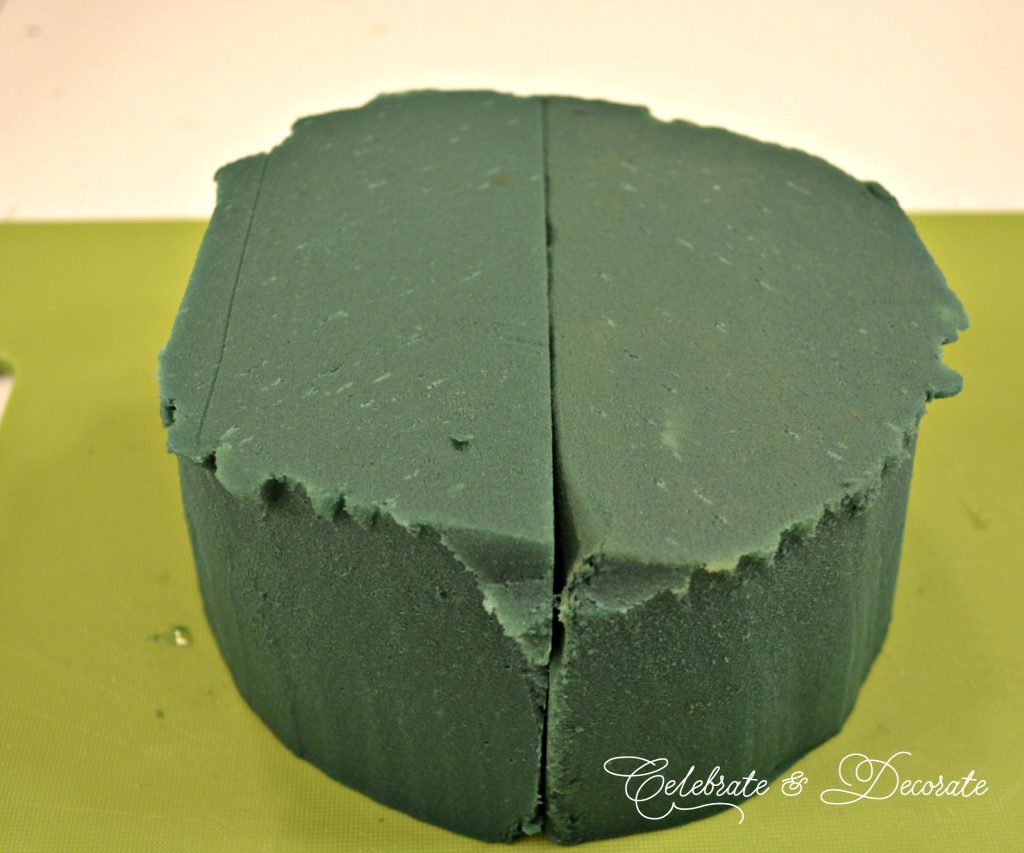 Once I have my cake shape I will be ready to make my floral cake.
 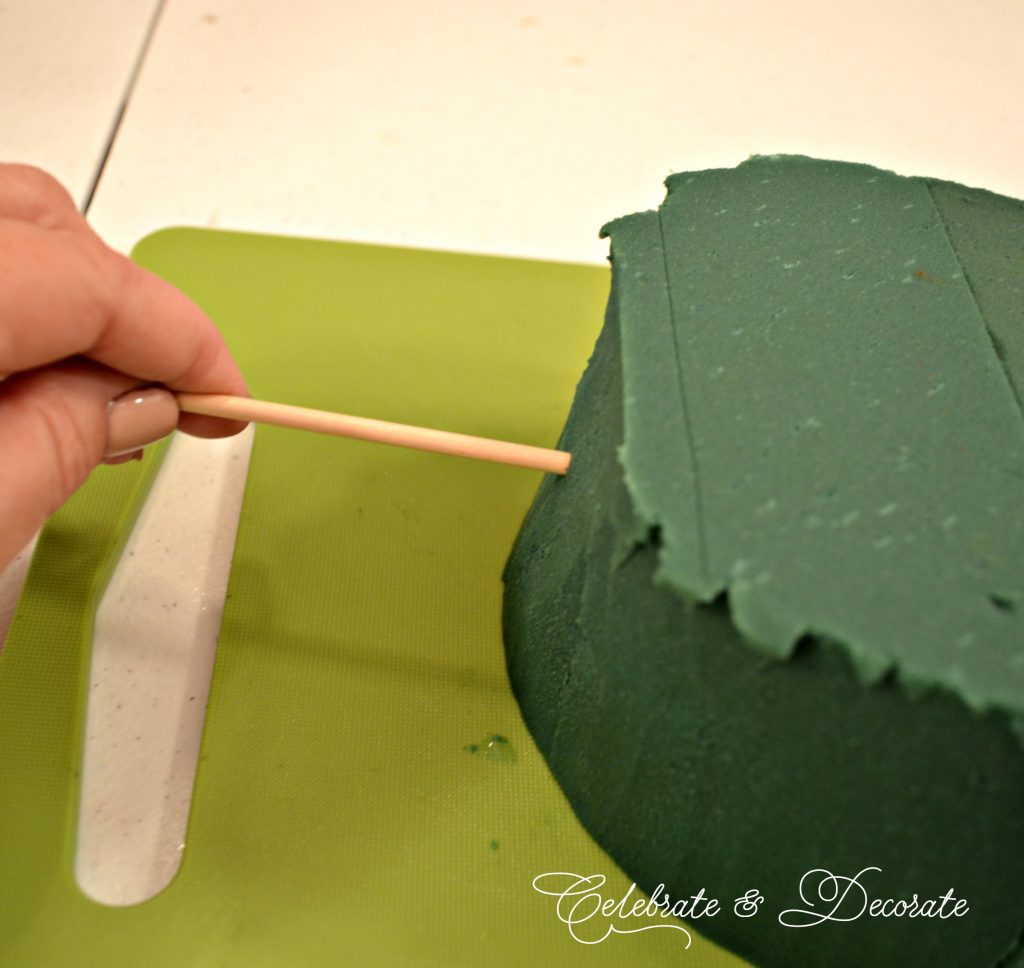 It is important to secure the two halves of the cake together which I do with one wood skewer pushed through so it secures both pieces together.
 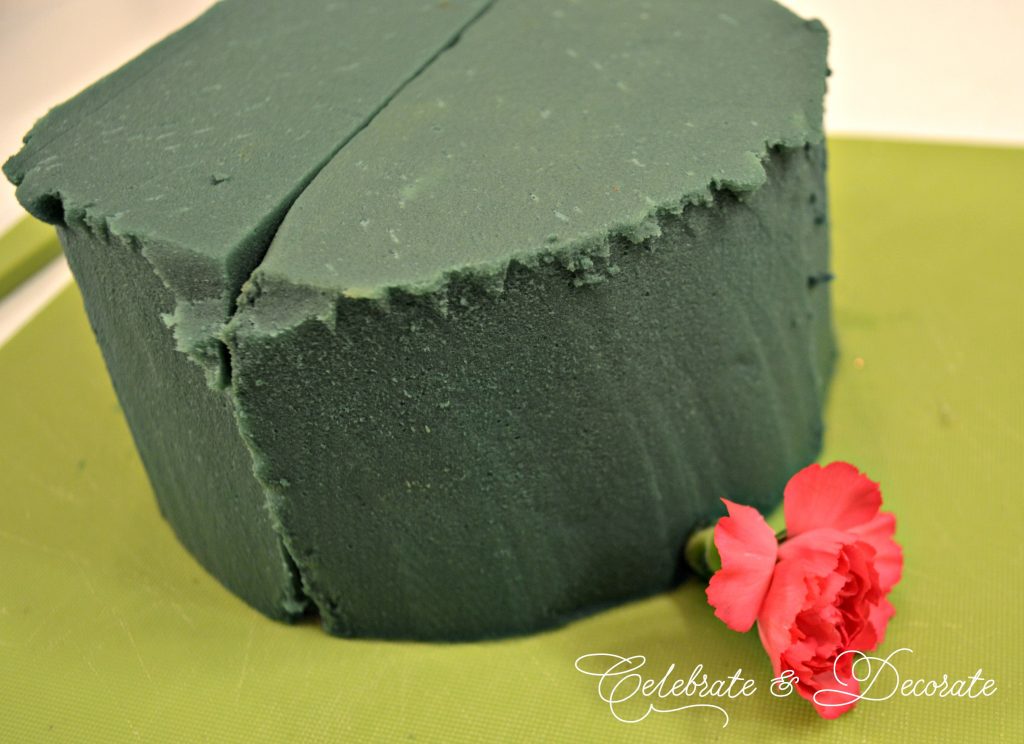 Now it is time to begin making the cake! This is the fun part! Cut the flower stems short and push them into the foam securely.
 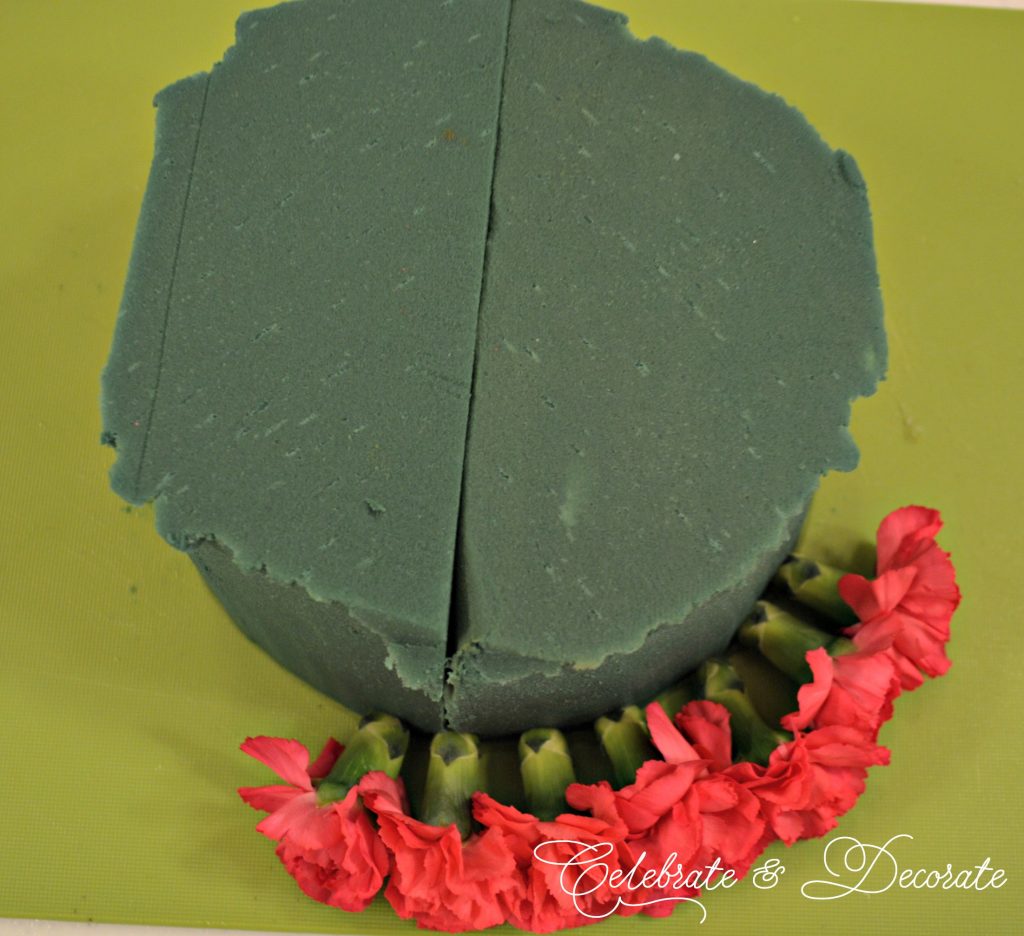 I began with hot pink miniature carnations. You can use all kinds of different flowers, but carnations and miniature carnations are particularly easy to work with and are long lasting. Push the flowers in close to one another leaving no gaps in between them.
 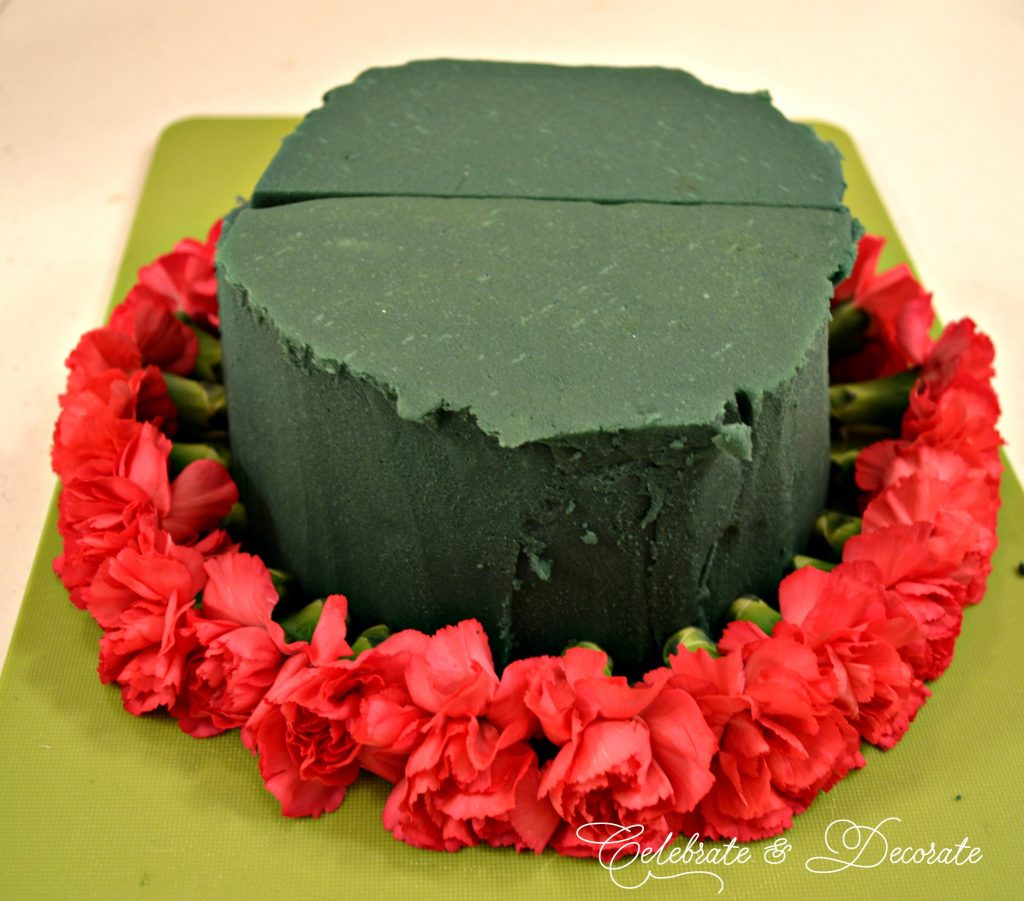 You can see that my cake of foam is not perfect, but when you get the flowers on, you won’t notice the difference. I put one row of the miniature carnations all the way around the bottom edge of the ‘cake’.
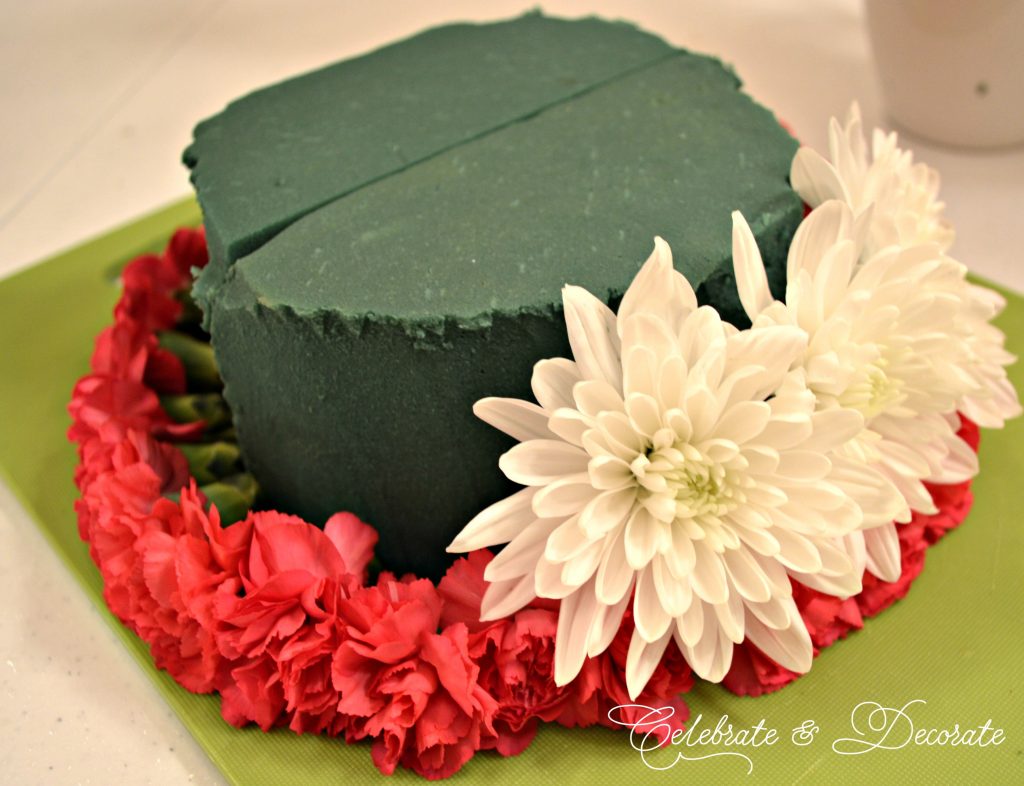 I kind of imagined my carnations were my icing trim around the edges of the cake and used white cushion mums as the regular frosting. Using full white mums, I put a row all the way around the cake.
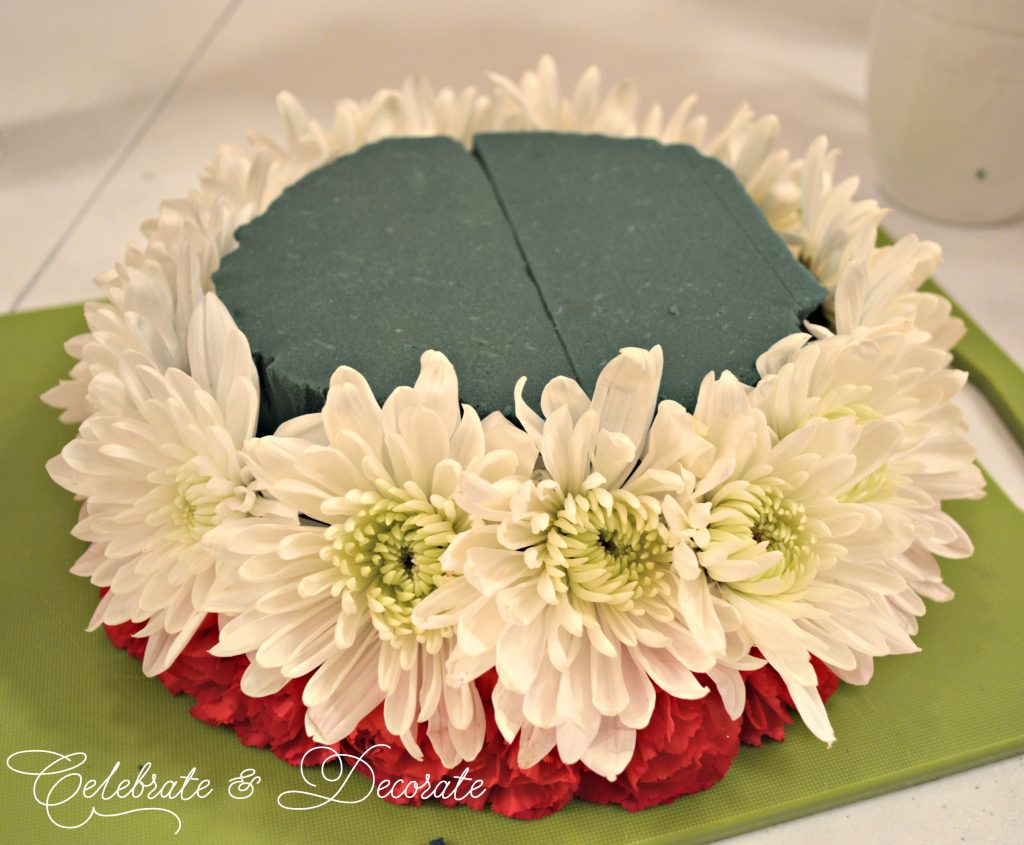 It isn’t looking so cake-like yet, but just wait!
 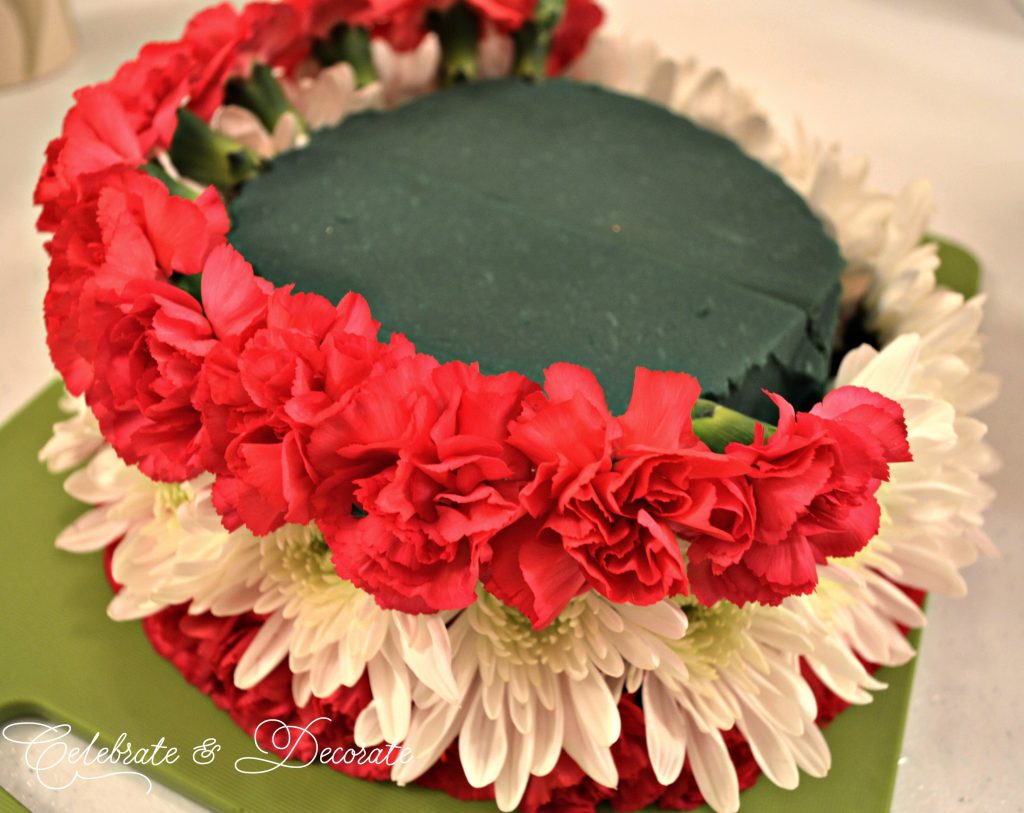 Time to add some more frosting trim around the top edge of the cake with more miniature carnations.
 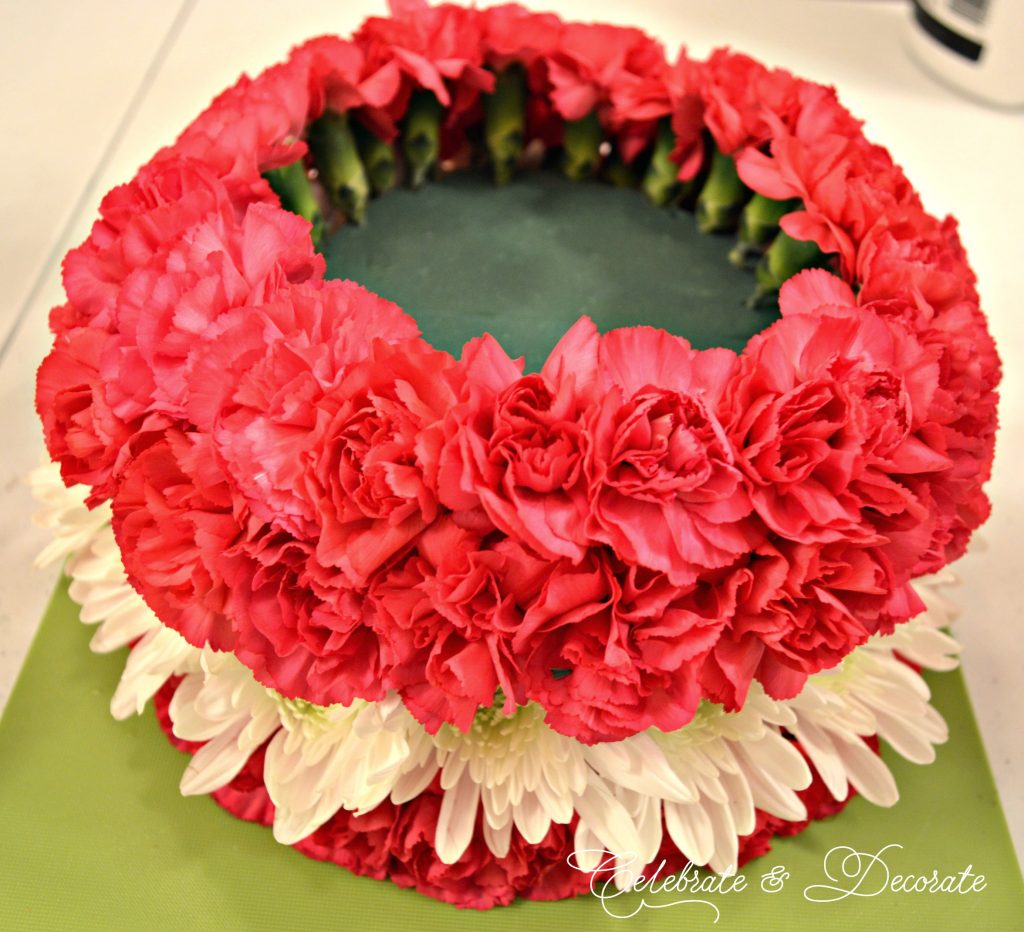 I actually decided to use two rows of the miniature carnations to ring the top edge of my cake.
 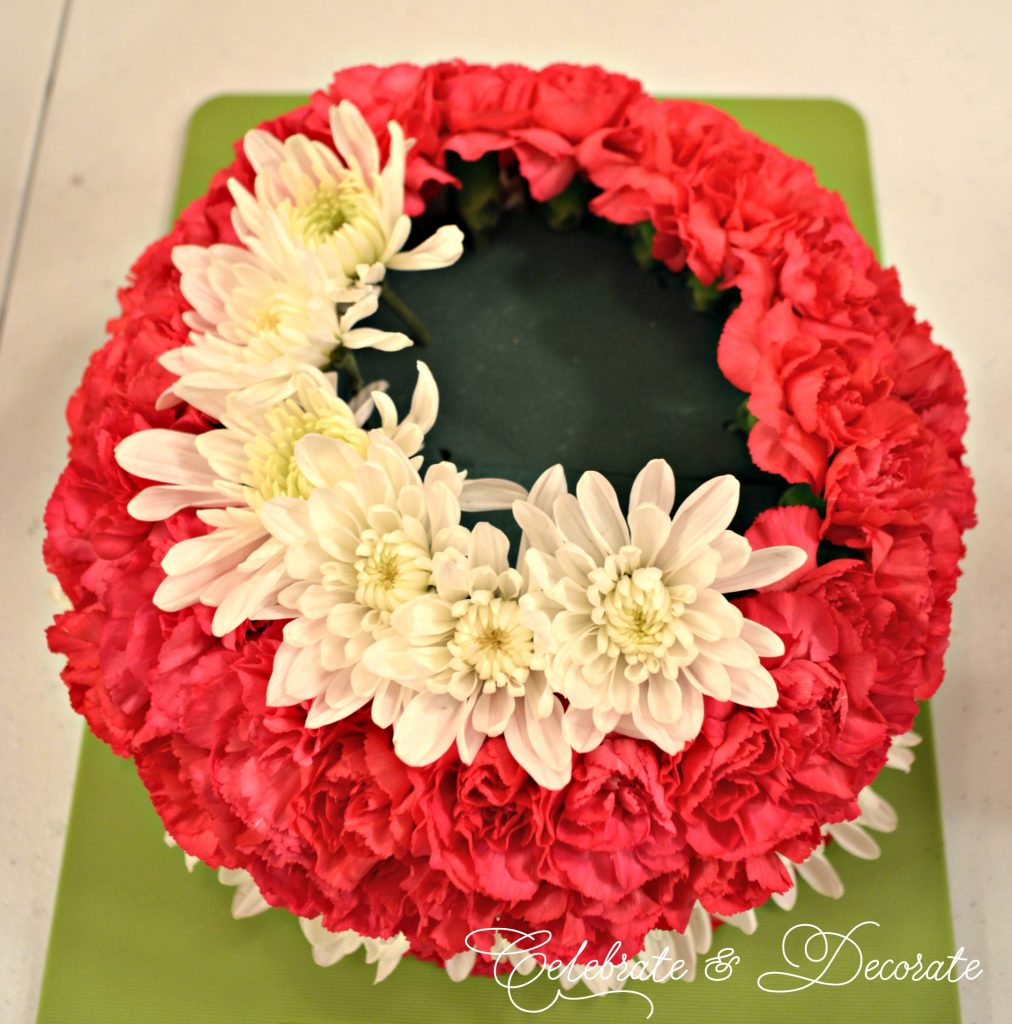 Now, to top my cake I will fill the top in with more of the white cushion mums. I used two bunches of miniature carnations and one bunch of mums for this cake which only cost me $12 at my local grocery store!
 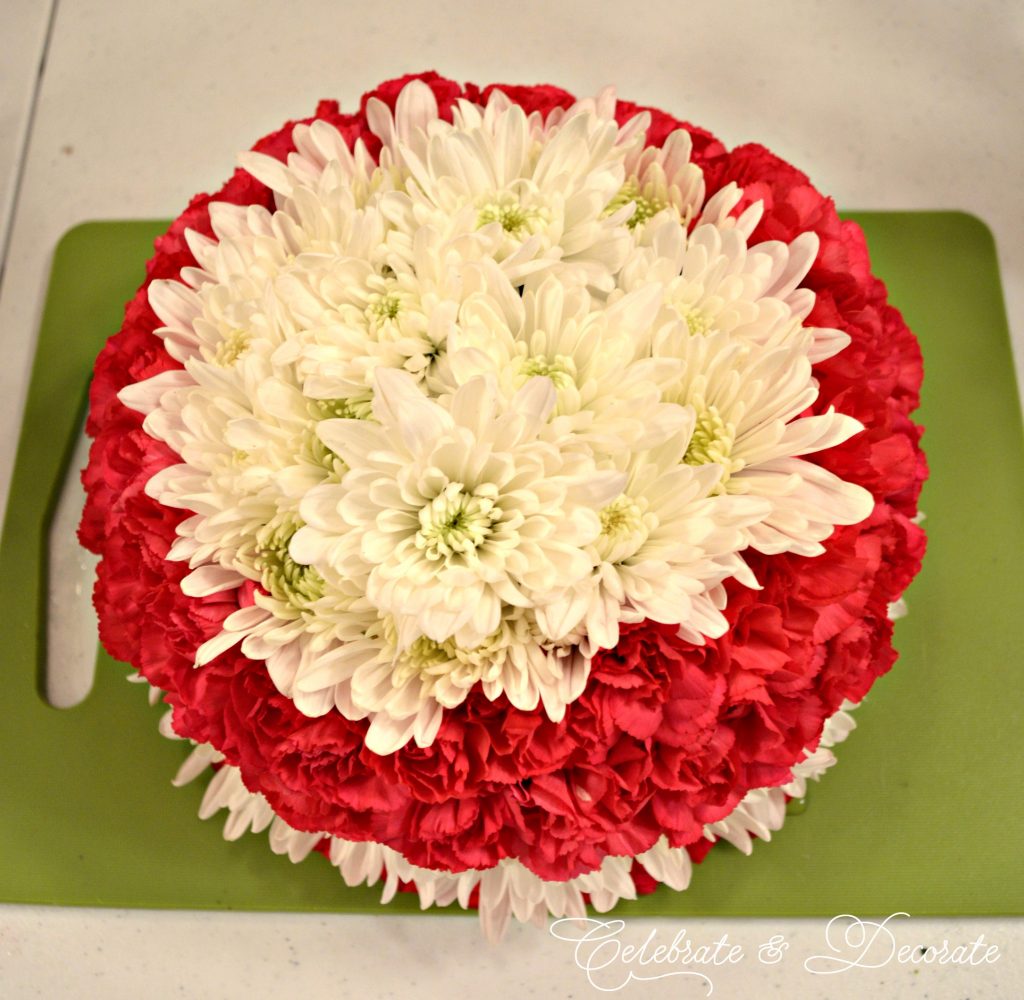 Our cake is almost done at this point!
 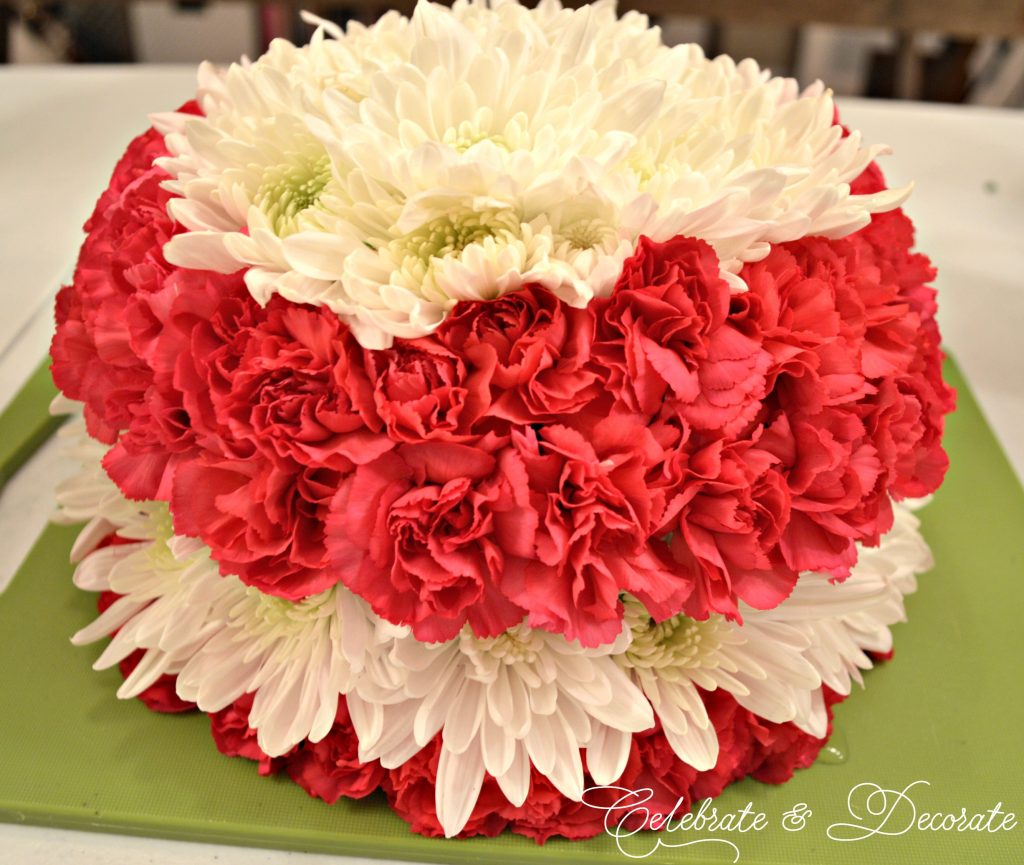 This combination makes a pretty floral cake but I wanted to top it off with a flourish!
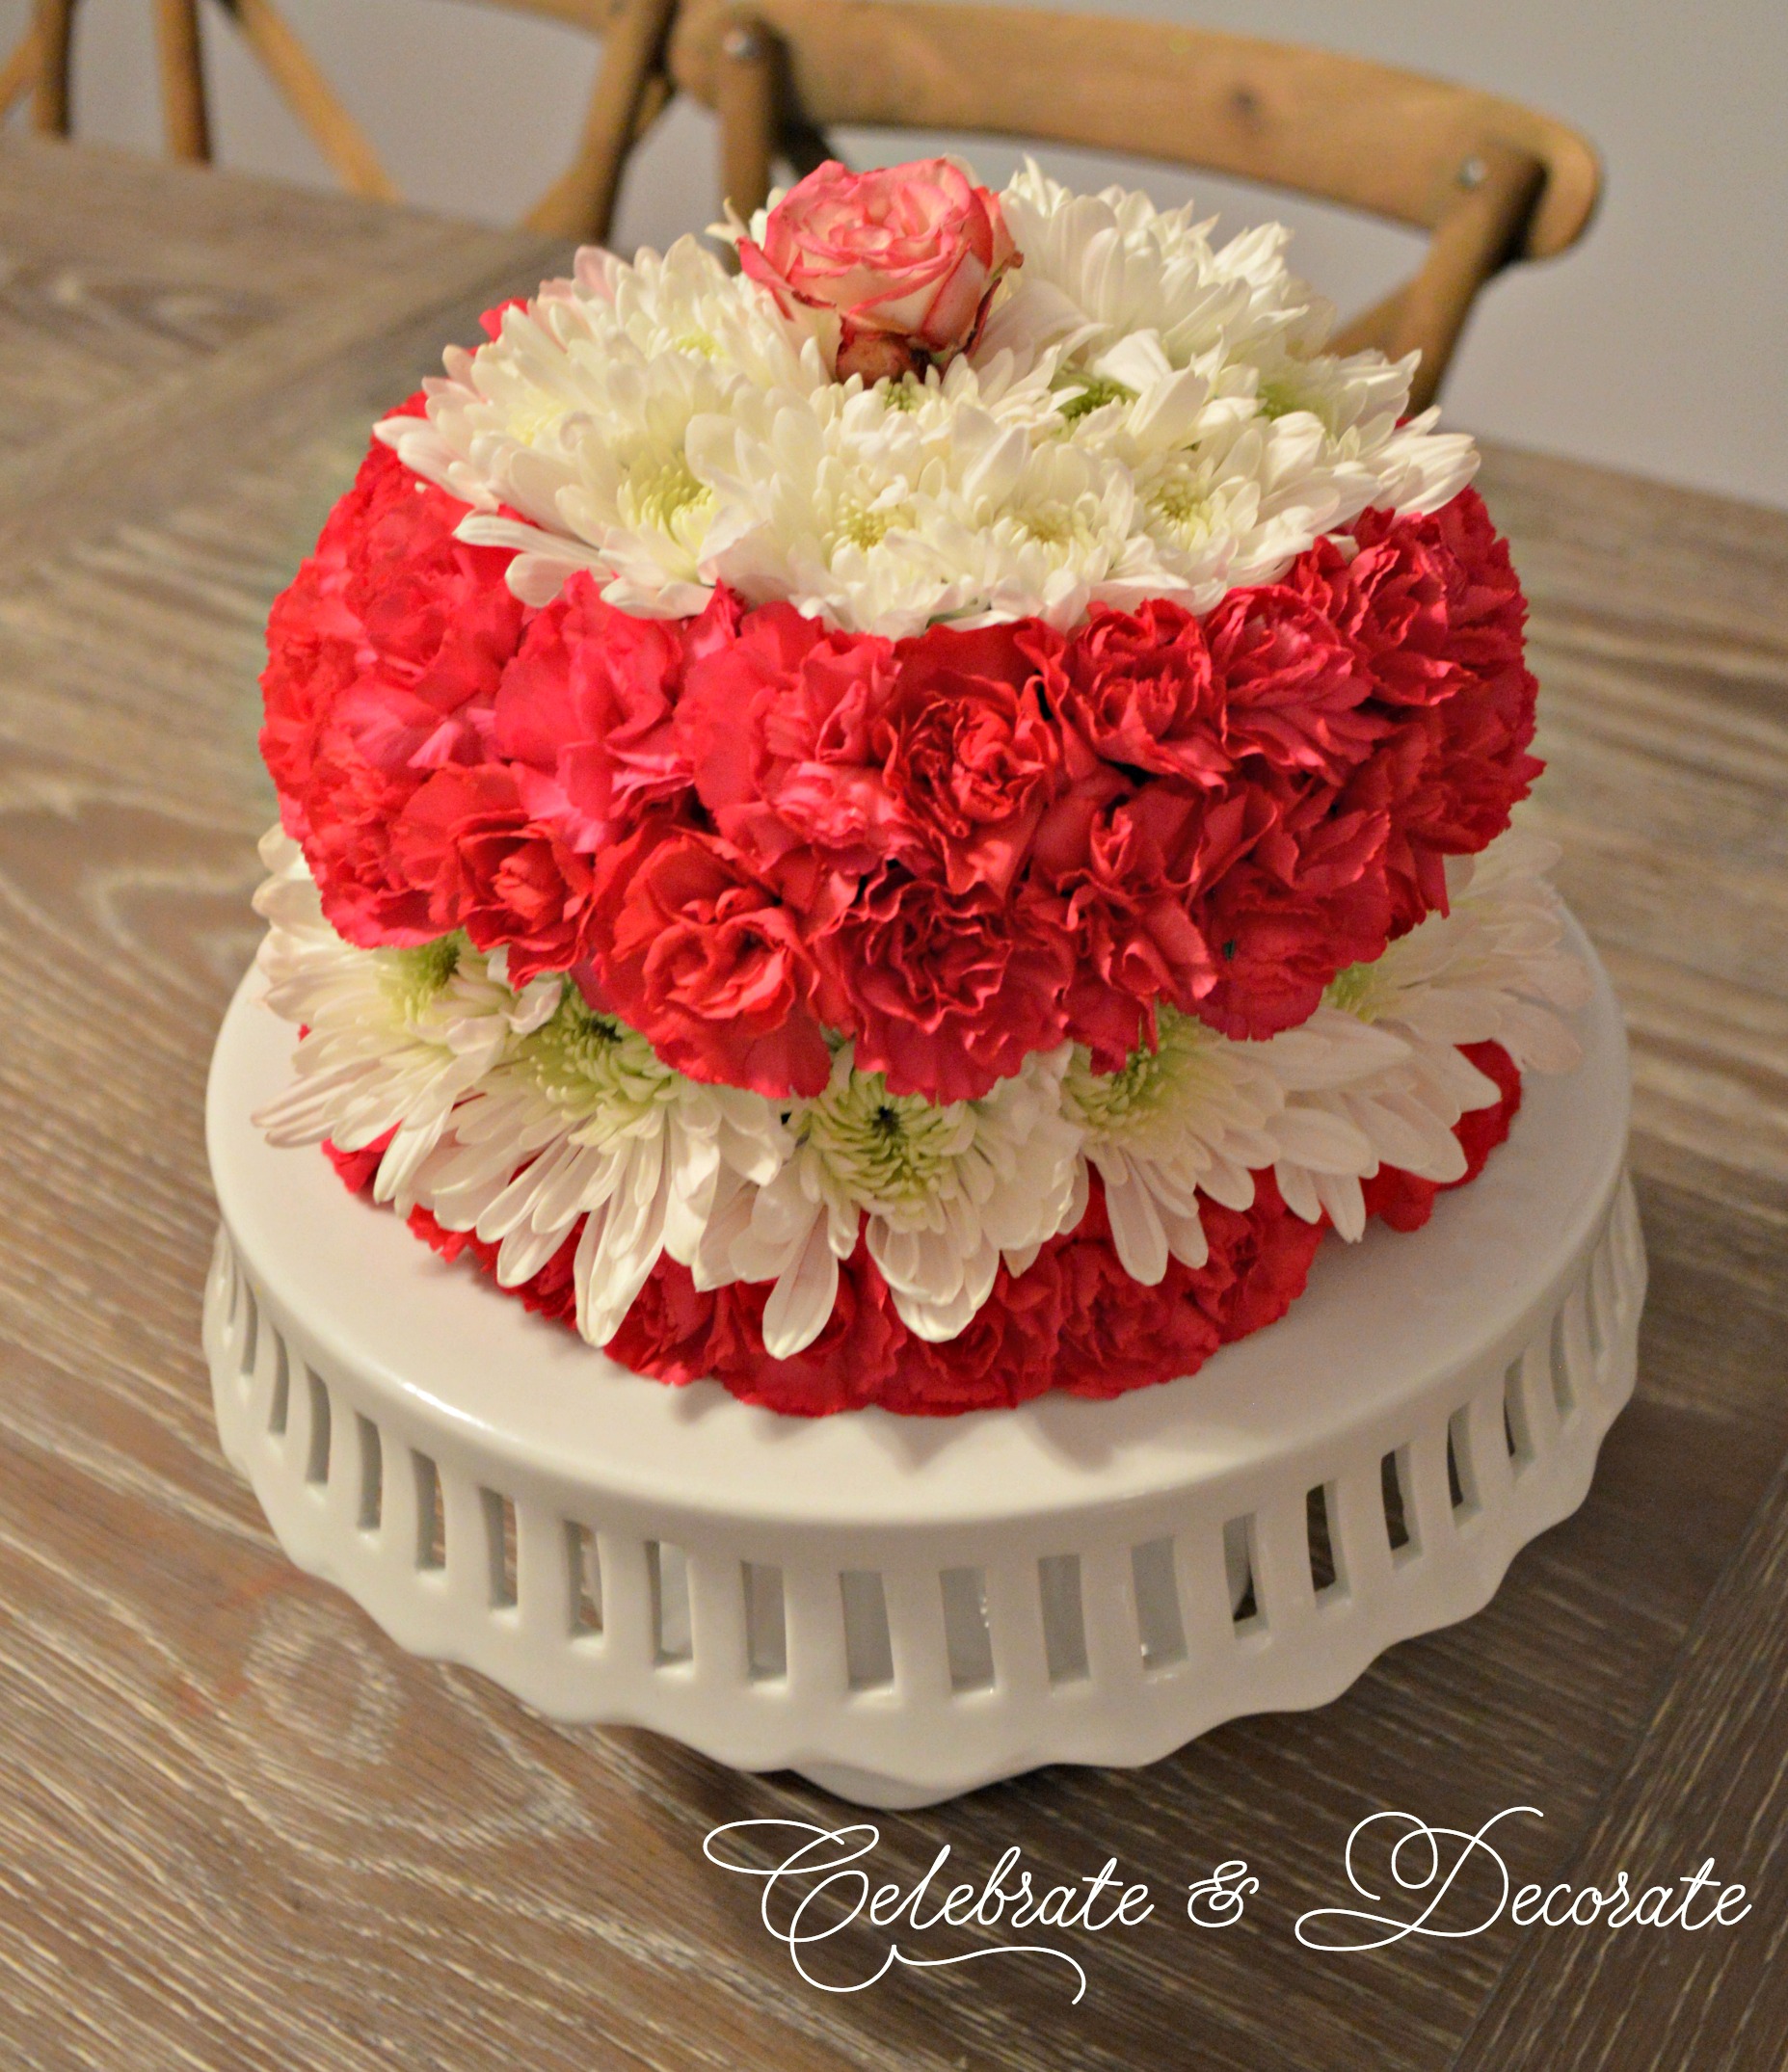
 I lifted my cake with a large spatula onto a pretty cake plate and topped it with a single rosebud! To make your cake last, set it on a clear or white salad plate with a bit of a ridge or higher rim and fill the plate with water. Add water daily and your cake could last up to two weeks! Have fun and enjoy making or gifting a floral cake!


Chloe, I read all the directions and this really sounds easy and it is so pretty! Anyone would love this as a gift…thanks for sharing the tutorial! Happy weekend!
What a festive centerpiece for a luncheon buffet. A perfect dessert for the eyes!
Your floral cake is beautiful, Chloe! Love your cake stand too. Thanks for preparing a tutorial for us. I’d love to try this.
Love this! Have 2 birthday girls coming up – will make for them. Many thanks! And even a stand for them too!
Oh Chloe I love this! So much prettier than a cake, and a lot less calories!!
Thank you Jenna! I agree, festive but not fattening!
Wow Chloe- that turned out so pretty! We gave one of these to my mom for her birthday and she loved it. Good to see a tutorial on how to make one because they are expensive to send from the florist!