
DIY Picture Frame Wreath
Every year, there comes a moment right after the Fourth of July when my front door starts to feel…finished. The patriotic decorations have been packed away, but it’s far too early for pumpkins and autumn leaves. If you’re anything like me, you still want your home to feel welcoming—you just don’t want to rush the seasons.
That’s where this DIY picture frame wreath comes in.
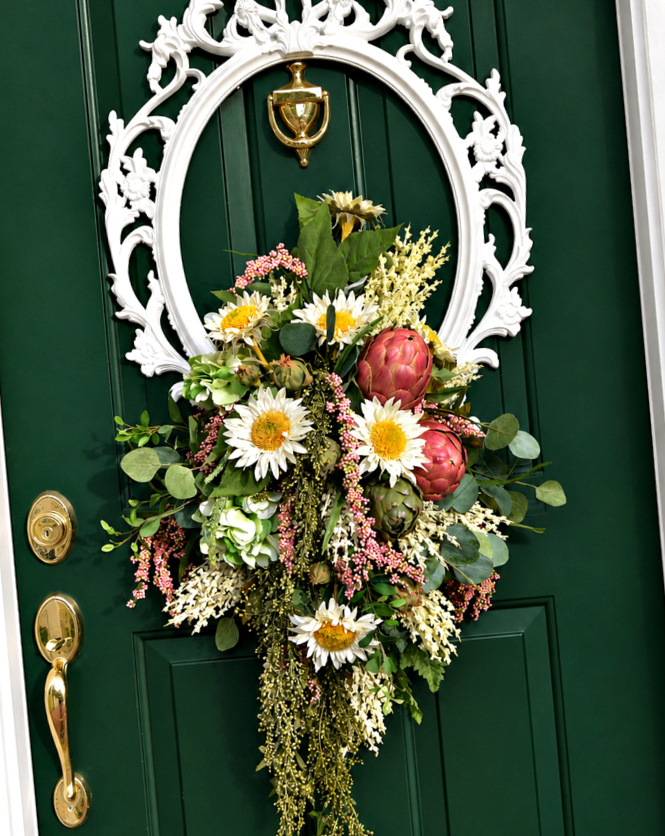
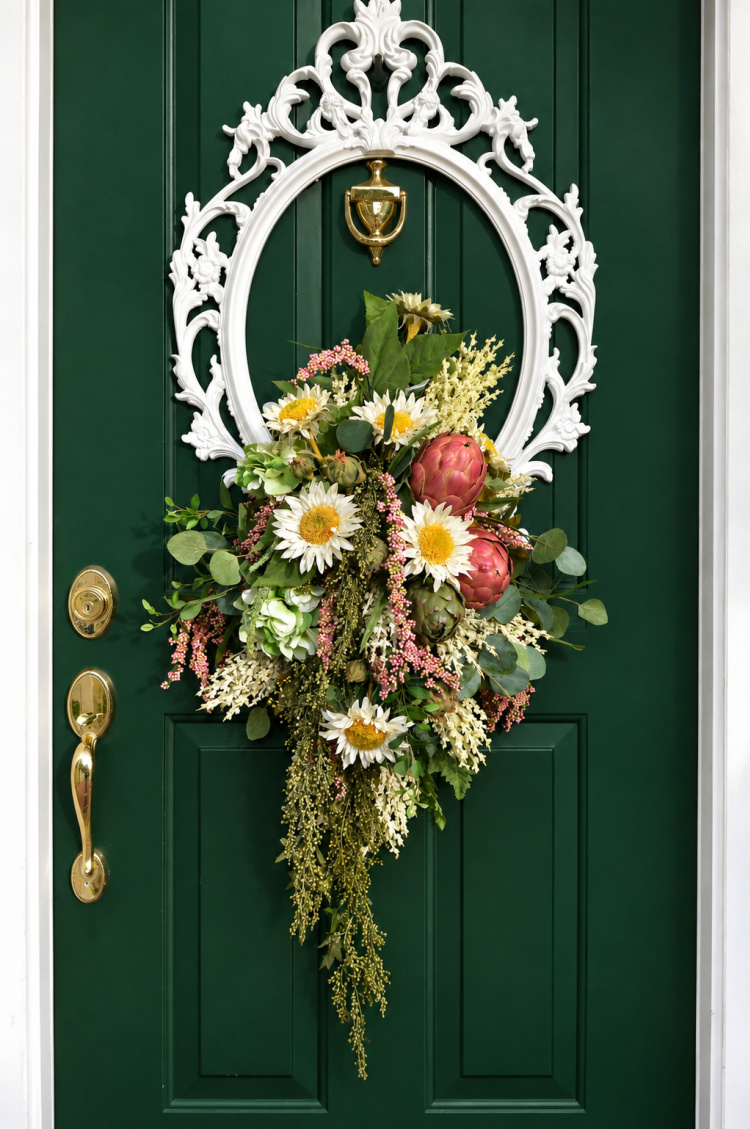
Instead of traditional fall colors, this unique floral wreath celebrates that beautiful “in-between” season with late summer blooms, lush greenery, and unexpected textures. It adds warmth and personality to your front door while honoring the last weeks of summer before autumn officially arrives.
I love using these ornate plastic frames to decorate for parties or holidays. I made a Fourth of July ‘wreath’ with my frame, painting it gold. The summer holidays are beyond us and it was time to re-address my front door for late summer. This is another take on a DIY picture frame wreath.
This post contains some affiliate links for your convenience. Click here to read my full disclosure policy.
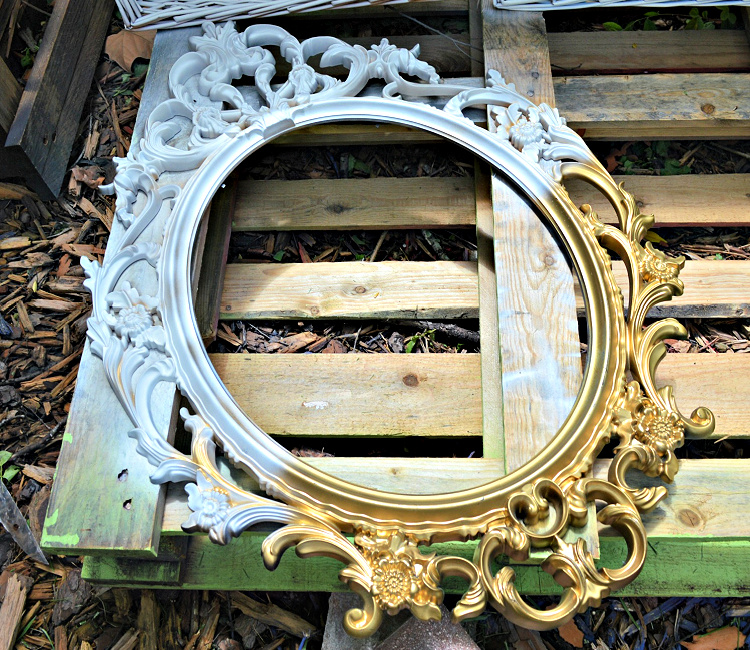
I began by spraying my frame white. Don’t you love my fancy paint booth? Eventually I will tackle a project with these pallets I collected!

Even a simple frame hanging on your front door can look very pretty.
These frames aren’t available at Ikea any longer, but I have found a couple of great alternatives on that will work just as well! Here is a single gold frame, and a whole set of four that would be great for year round decorating and perfect for photo ops!
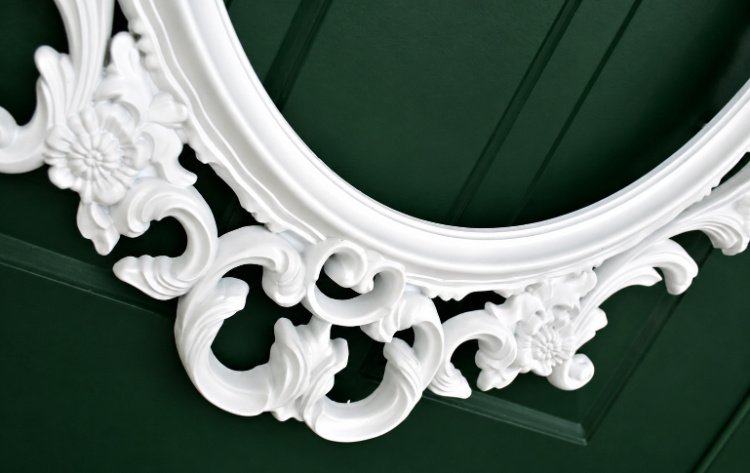
I love the detail of these frames, they look so much more ornate and expensive than they are.
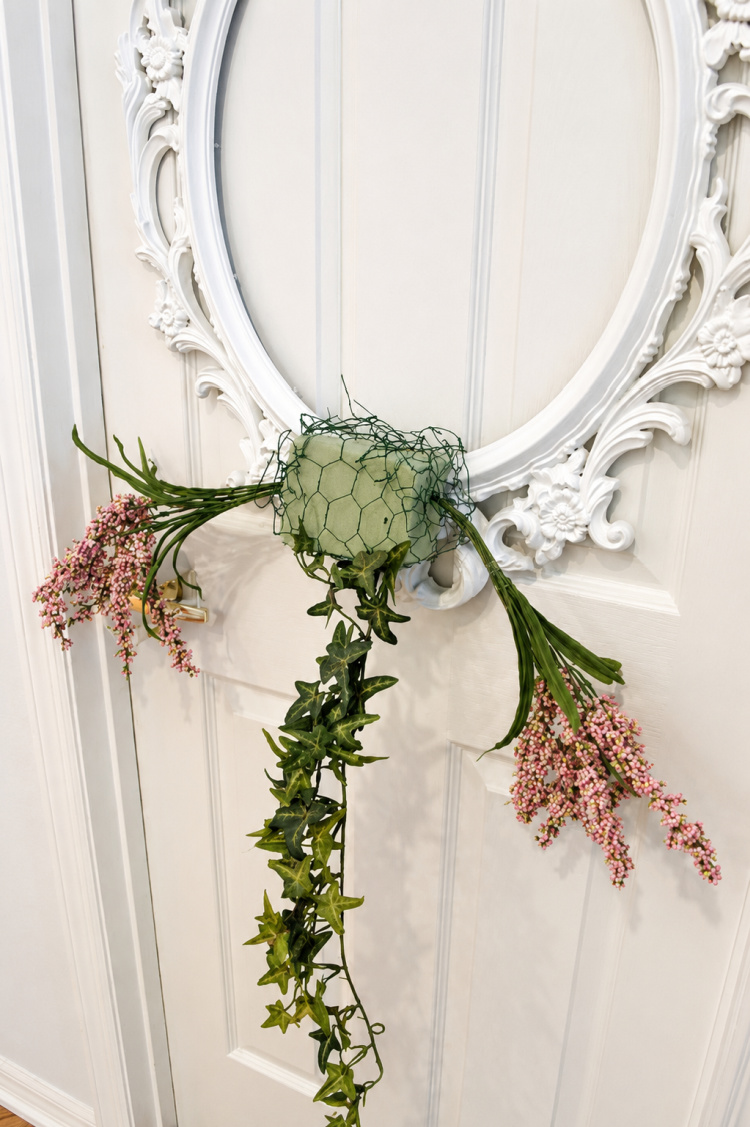
After painting my frame, the next step was to make a base for my arrangement. I used about 2/3 of a block of dry floral foam and then made a little cage for it out of chicken wire. This doesn’t have to be pretty, none of this is going to show after your arrangement is complete.
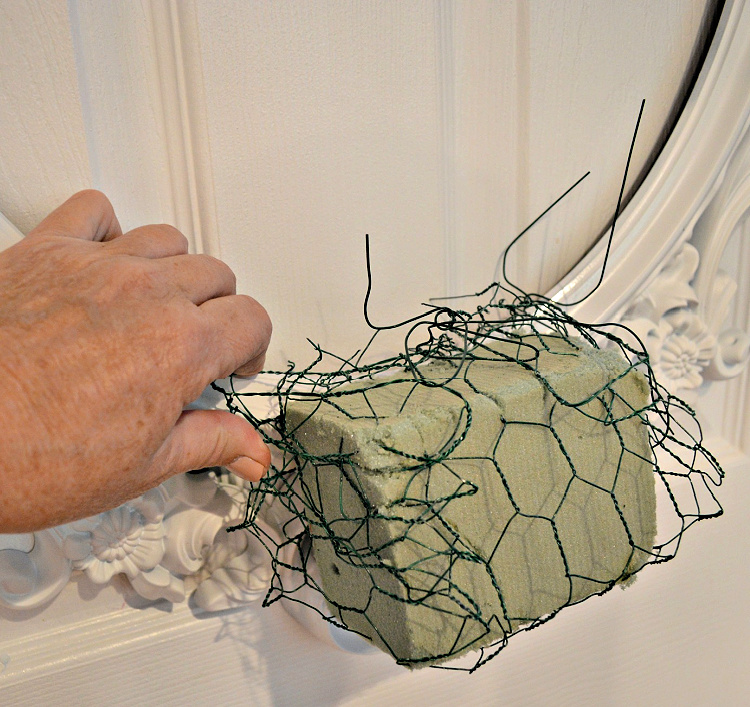
I attached a small floral cage filled with dry floral foam to the bottom of my picture frame. For convenience, I hung the frame from a hook on my pantry door while I assembled the arrangement. Begin by inserting a few longer stems of artificial greenery and flowers to establish the overall shape and create the foundation for your design.
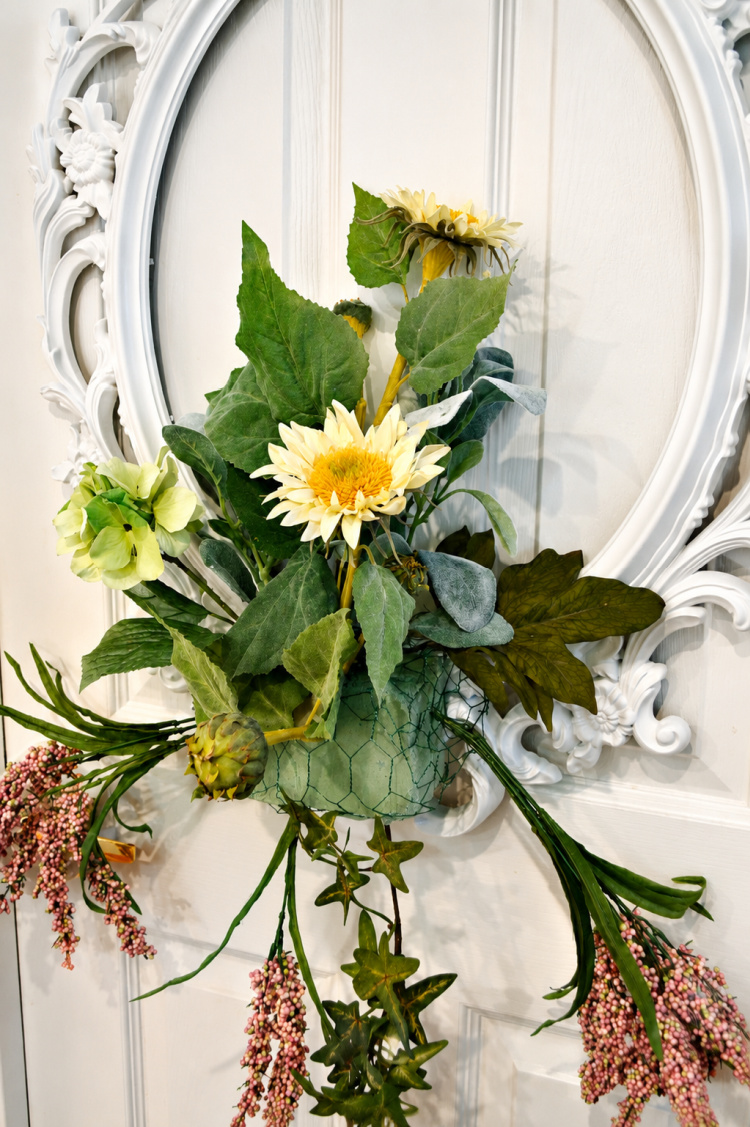
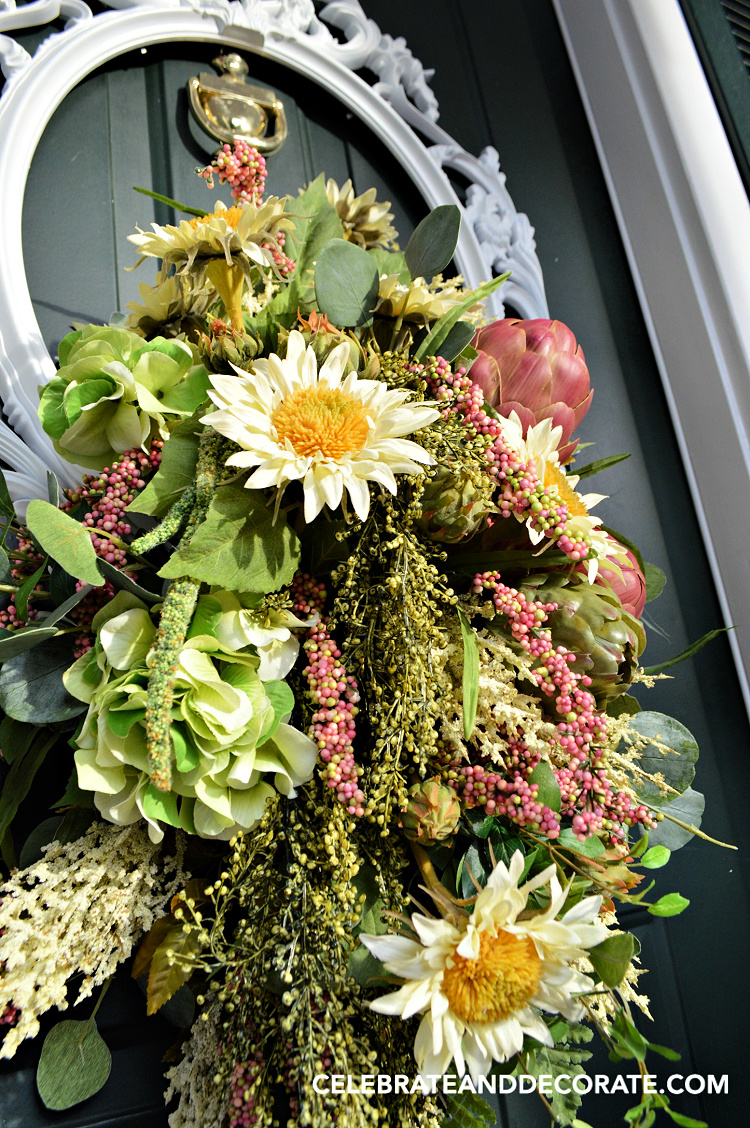
Next, start filling in the center of your arrangement. Add some foliage to hide the mechanics of your arrangement and then begin adding your flowers. You can cut the foliage from the stems to place it where you want. I knew I wanted to use sunflowers. I always think of sunflowers as the official flower of late summer. It is this time of year when their heads grow so heavy with seeds, they have difficulty holding their faces up to the sun any longer. I came across a couple of green hydrangea that I added in addition to all of the foliage that was already on the artificial sunflowers.
Continue to fill the arrangement until you are happy with it. You can adjust this for any season by changing up the choice of greenery and flowers! I just continued to fill in with various flowers and foliage, and finished off by adding in 3 beautiful faux artichokes to complete the lush look I was going for. If you have an idea of the space you want your arrangement to stay within, like I did with my first floral placements, it is easy to keep your arrangement within that and make a well balanced arrangement. The artichokes are so unexpected tucked in among the flowers, but provide beautiful color and an entirely different texture.
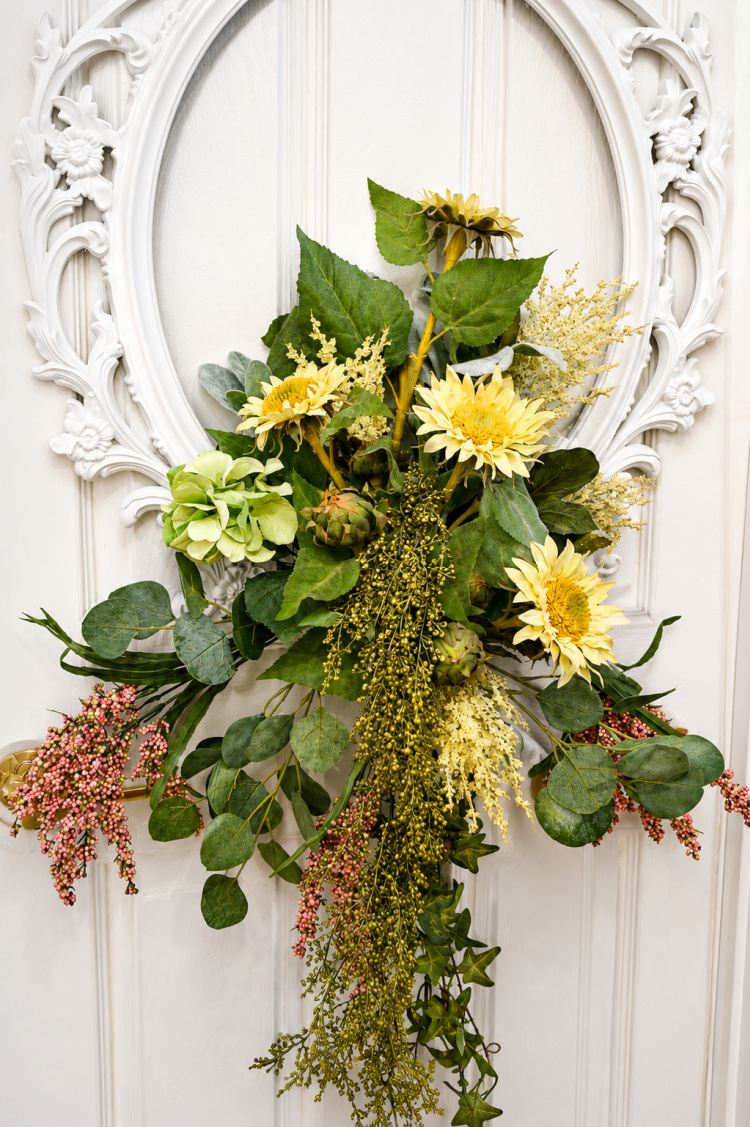
Shop these items to create your own picture frame wreath:
- Single gold frame
- Set of white frames
- Craft chicken wire
- Dry floral foam
- Artificial artichokes
- Command hooks
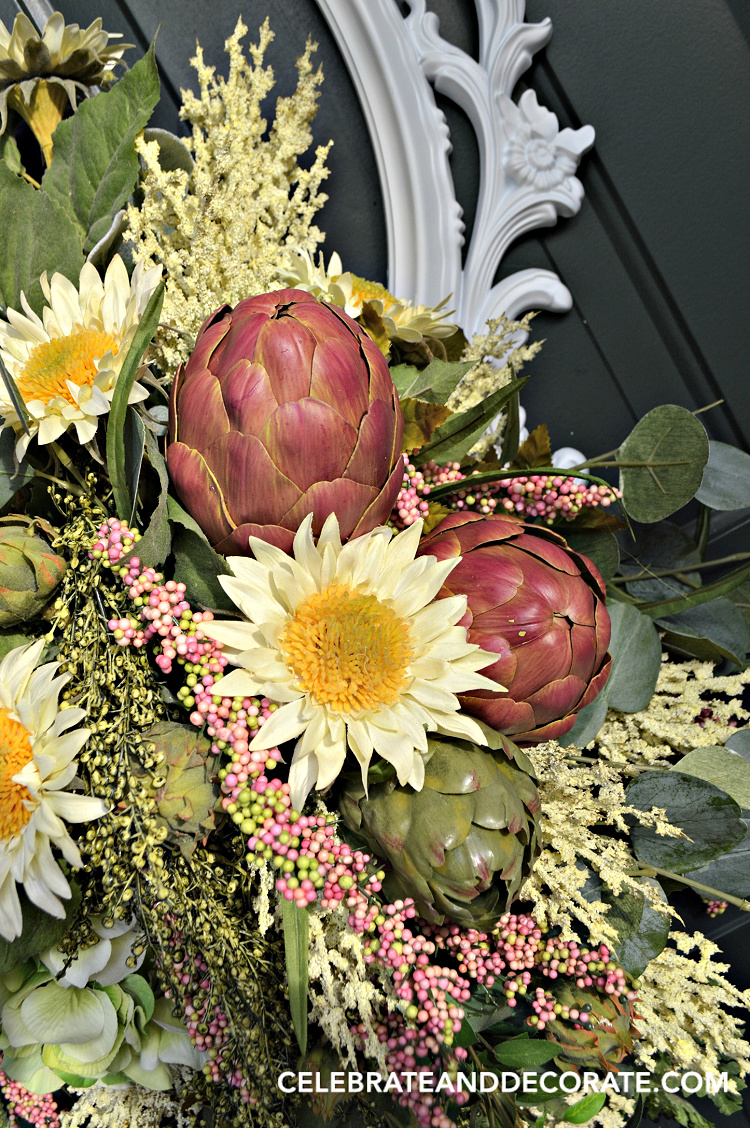
Sometimes the most beautiful decorating ideas come from seeing everyday objects in a new way. An inexpensive picture frame becomes a one-of-a-kind wreath, a few faux flowers create a warm seasonal welcome, and your front door suddenly has a look that’s completely your own. I hope this project inspires you to experiment with items you already have tucked away in a closet or thrifted for just a few dollars. With a little creativity, you can create a custom wreath for every season—and I have a feeling once you make your first picture frame wreath, you’ll already be dreaming up the next one. Happy decorating!