
DIY Placemats From Shopping Bags!
I have been wanting to try my hand at DIY placemats from those Home Goods/Marshall’s/TJMaxx shopping bags for some time now and finally spotted a couple of bags I knew I would use! Full disclosure here, I tried a few different methods and managed to melt one bag and waste some seam binding when my final result turned out to be much quicker and easier! 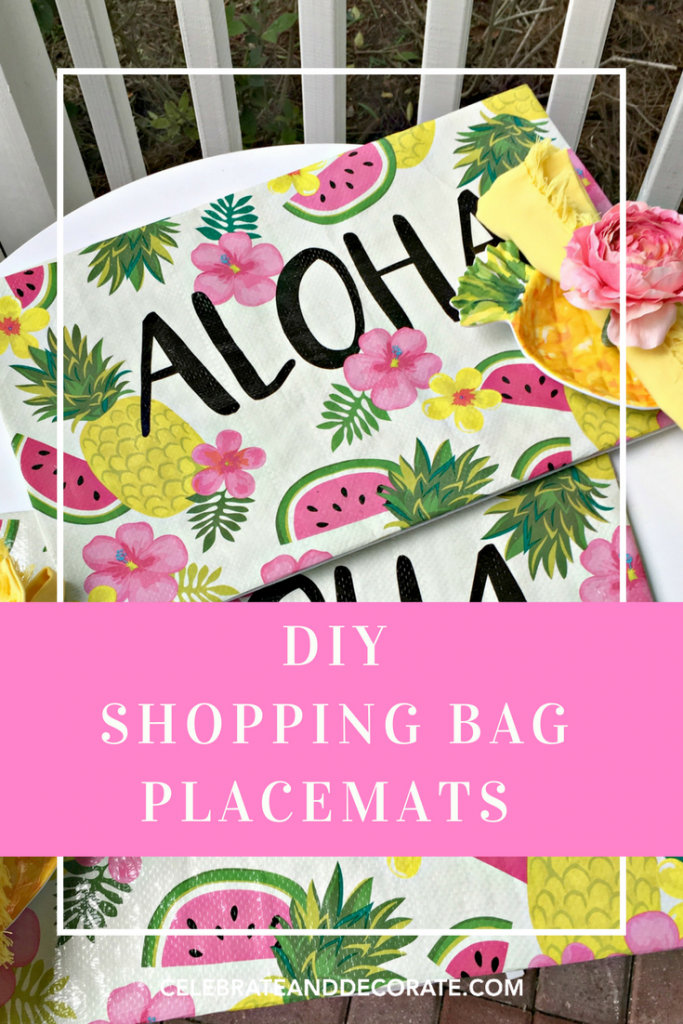
This post contains some affiliate links for your convenience. Click here to read my full disclosure policy.
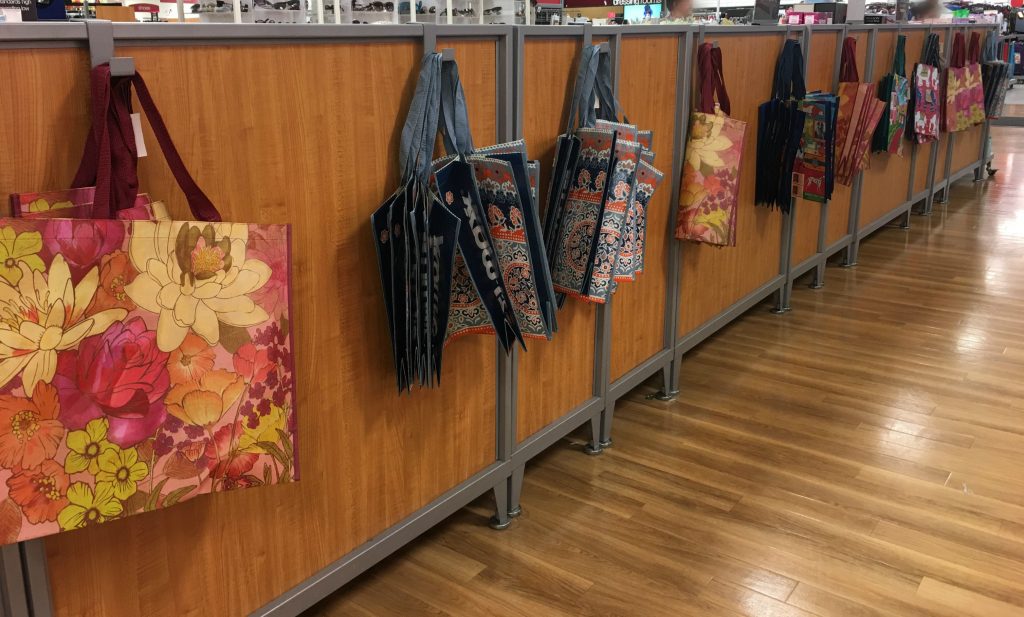
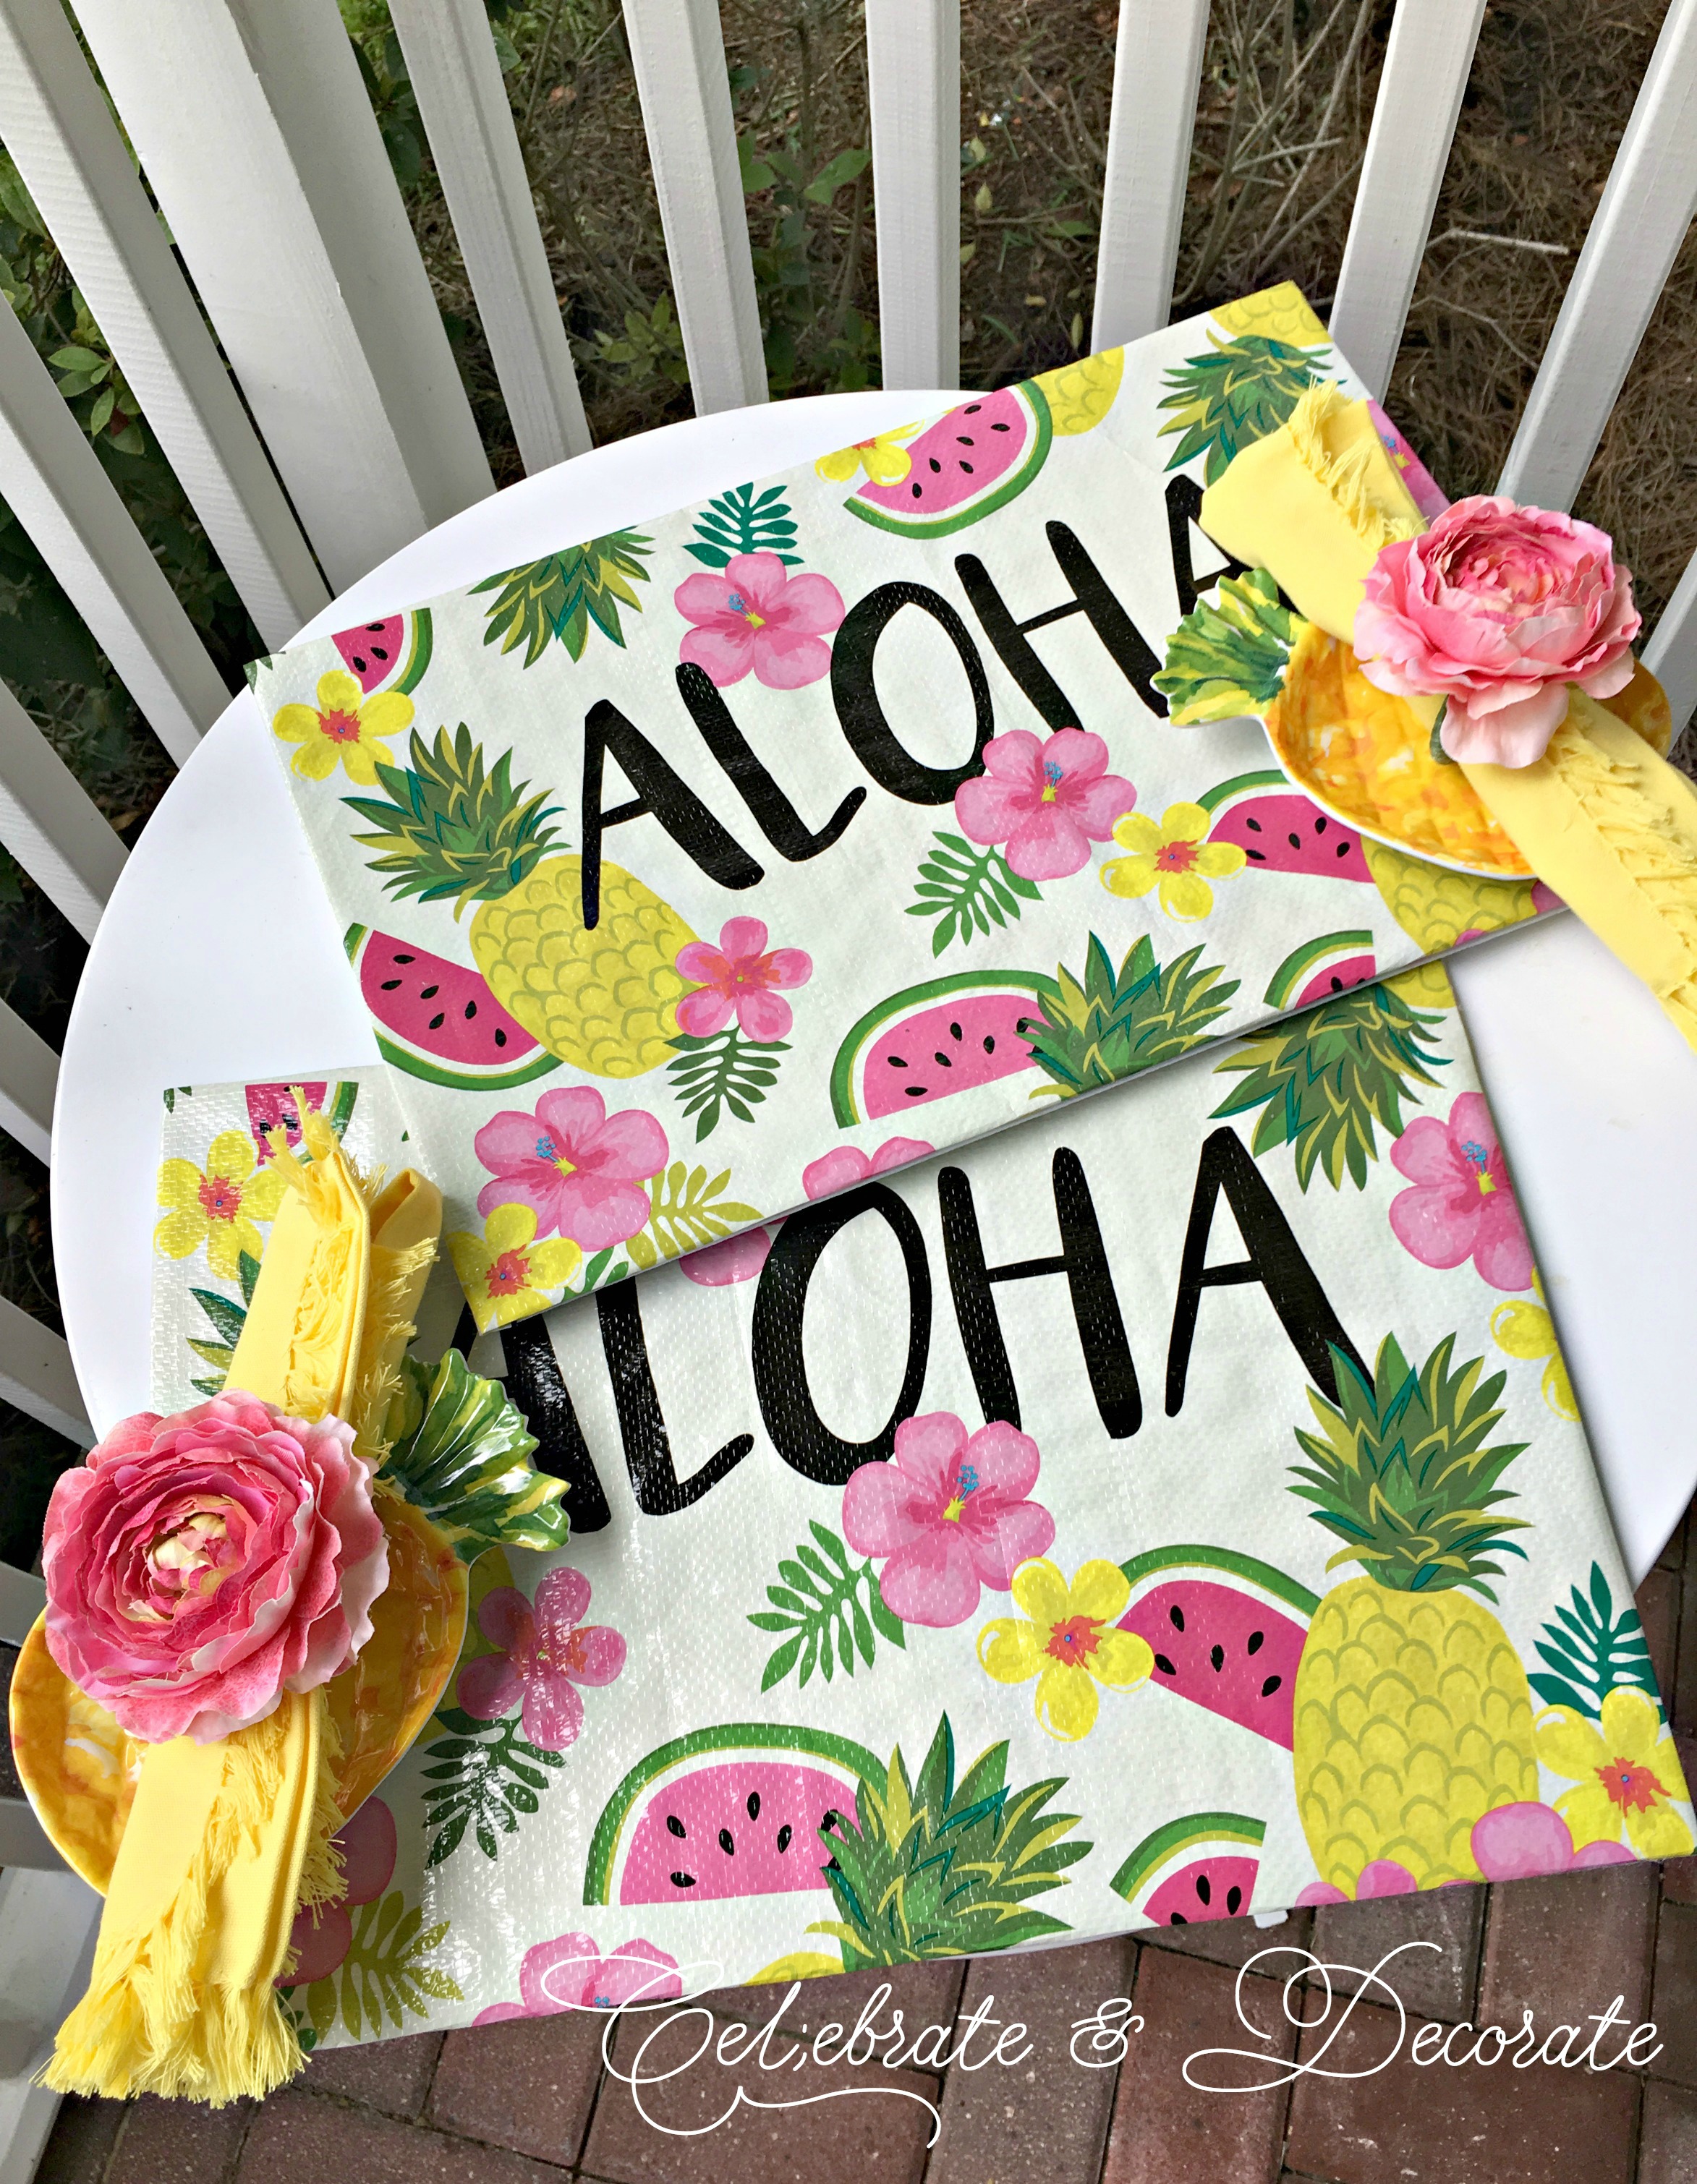
Head out to your local store that sells these shopping bags made from recycled plastic bottles and pick up those you want to use for your placemats. The variety changes all of the time and they have seasonal patterns, too! I chose these fun ALOHA bags to set a fun luau-themed table for some summertime fun. I purchased two bags for .99 each which will make four placemats.
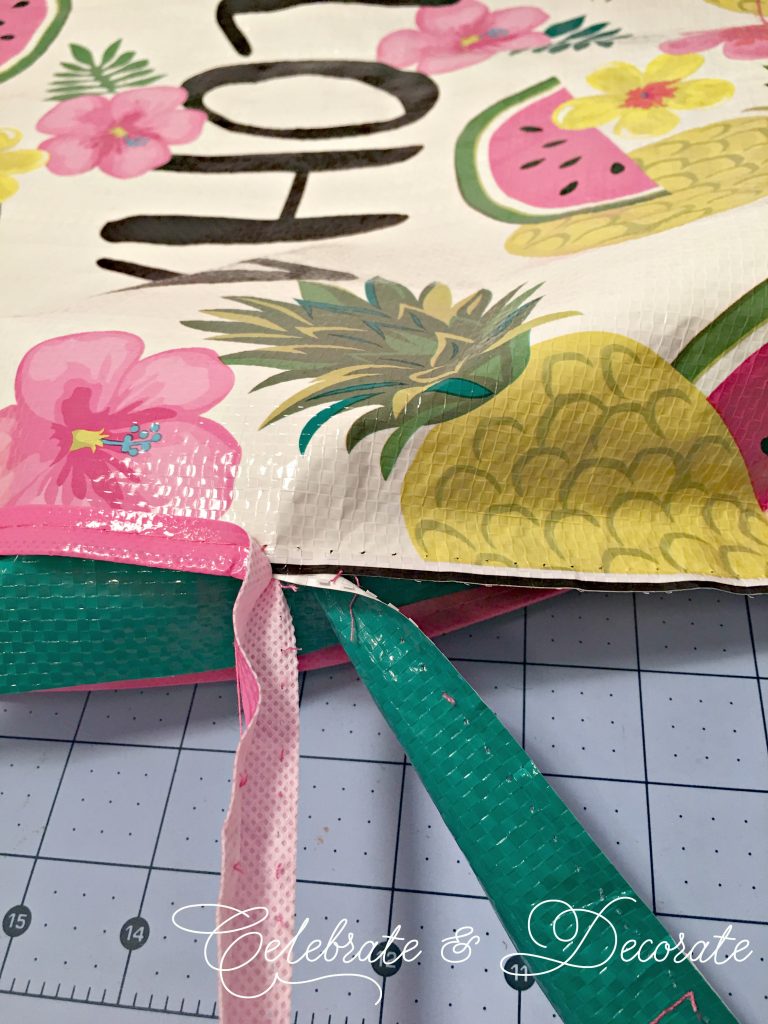
Open up your bag and go to work with a seam ripper or a pair of scissors and remove all of the seams along the sides of your bag. 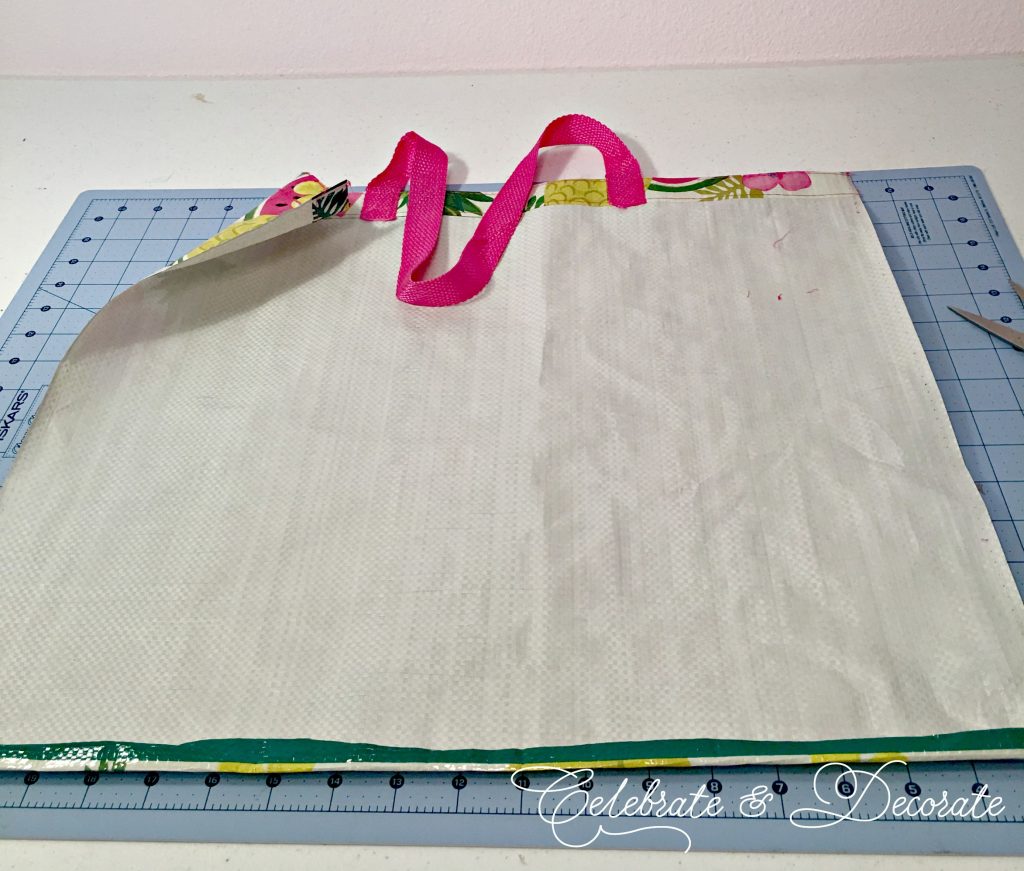 I learned that many of the bags are made differently, but for this one, I needed to cut the bottom off. Trim it as shown and you will be left with this. You will then want to cut the top edge with the handle off of the bag. I like to use a rotary cutter for this project, it flies through the bags.
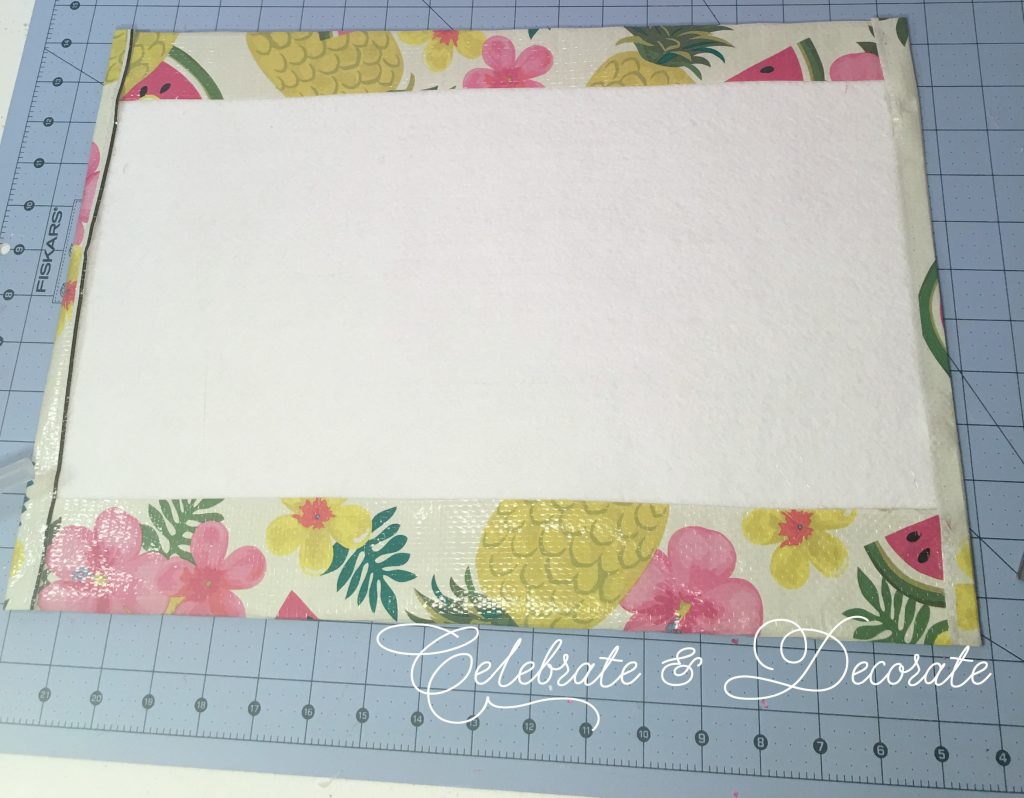 Take a piece of 12″ x 18″ stiff felt, spray it with a spray adhesive and lay it on the back side of your bag and begin to press firmly. You will then want to fold the edges of the bag over the edges of the felt. I used a very little bit of hot glue to seal down my edges. If you are patient, you can also use craft glue, just put something heavy on your edges and wait for it to dry completely.
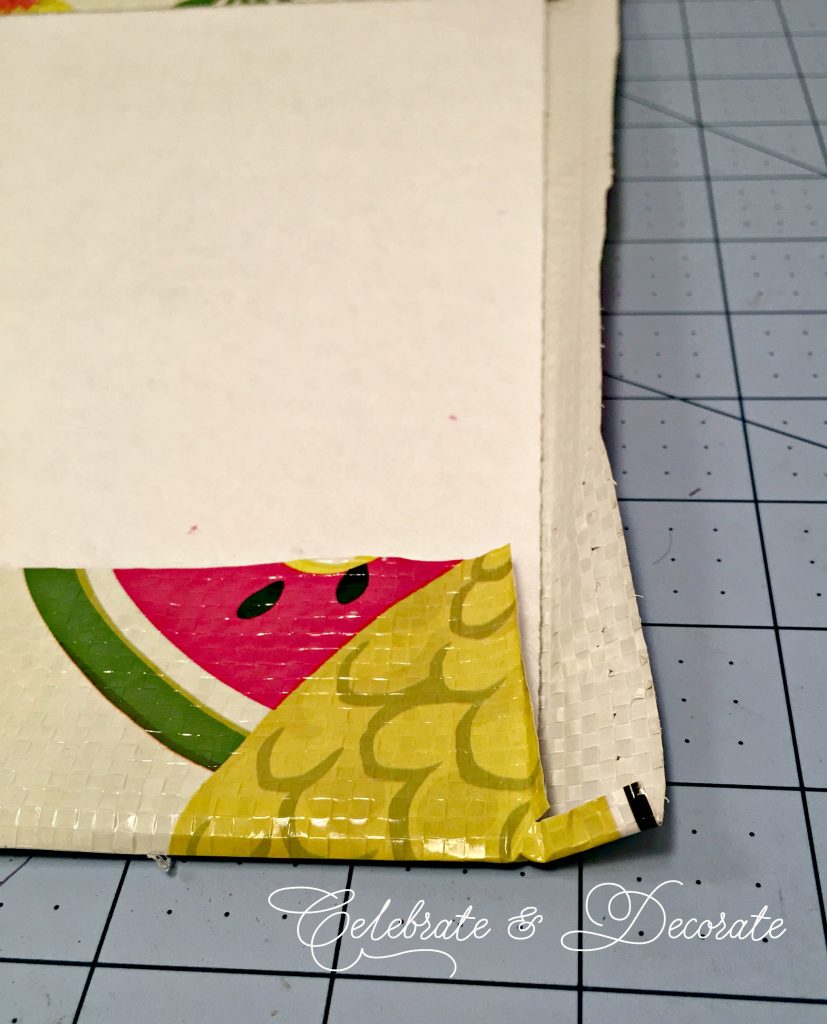
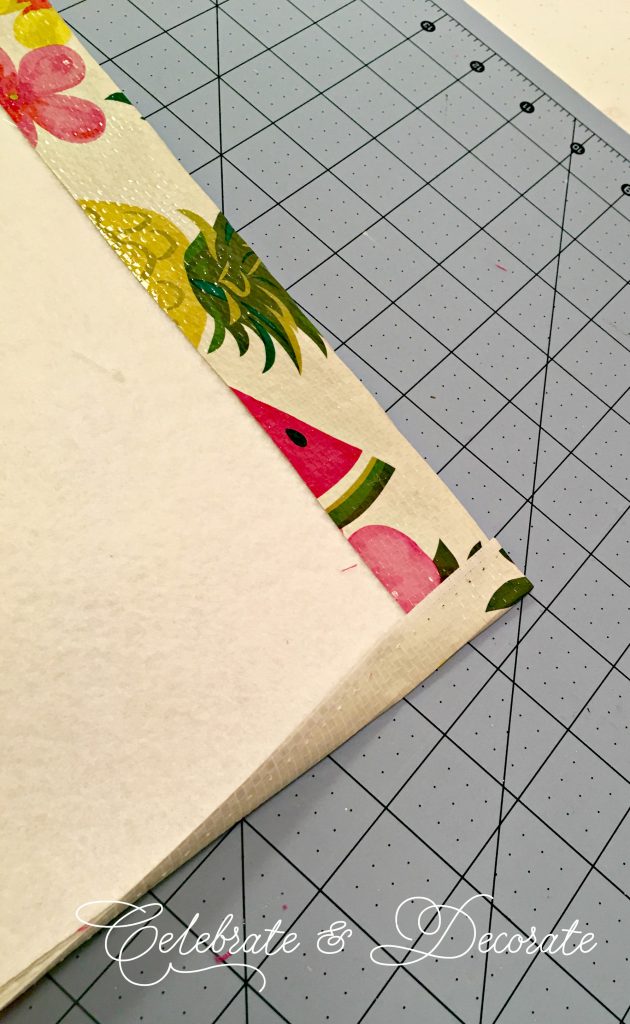 You will want to be very exact with your corners. I find it it best to trim a bit of the excess bag before folding the corner. I secured the corner and the edges with a very little bit of hot glue. Make sure your hot glue is not too hot or you will melt your bag. (Guess why I know this!!!)
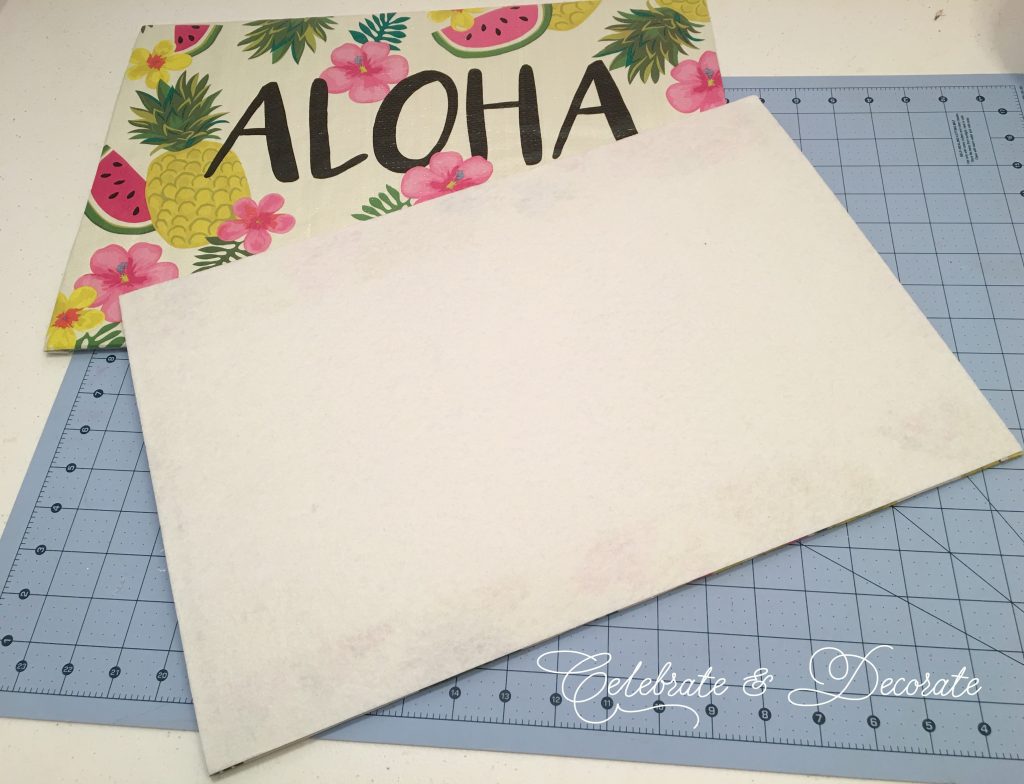 Use a second sheet of the stiff felt, spray it with the adhesive and stick it firmly to the back of your placemat and you will be finished! I found some brands of adhesive needed a little bit of help, and added a little bit of hot glue to secure the back to my placemats.
 My placemats are all ready! I will be styling my table later this week and sharing it all LIVE on Hometalk’s Facebook page at 3:00 PM ET on June 9th! Tune in then, or check out my tablescape next week here at Celebrate & Decorate!


This is brilliant Chloe and the ‘Aloha’ pattern is perfect for summer dining or a luau! I’ve seen so many cute patterned shopping bags at HG/TJ Maxx too!
Thank you Mary, there are so many of those cute bags, aren’t there?
Chloe, you are so creative! What a great idea with all of the cute shopping bags out there in stores!
I have been looking at all of the beautiful bags for years (I spend way too much time at Home Goods!) and knew I wanted to do something with them. I have a couple of more ideas!
Love how these turned out! So adorable! Hugs and blessings, Cindy
Thank you so much Cindy!
These are darling, and what cute shopping bags! Hmmm. Something new to stalk, shopping bags. 😉 Great post.
Thank you Pattie, I was so disappointed when I went back after a couple of days and there were no “ALOHA” bags left!
Chloe, you amaze me at how you come up with so many great ideas! These placemats are a perfect idea. Thanks for the great instructions. Happy Thursday!!!
Oh, thank you Shannon, sometimes I wish my brain would rest and let me skate on through with just setting pretty tables!
I will never look at a reusable bag the same way again Chloe!! Incredibly clever and such a cute pattern! I have painted pineapple glasses on my to do list, perhaps they need an hibiscus blossom too! Aloha!
Your paintings are so good, I can’t wait to see those! They will be perfect for summer!
So creative and your instructions are easy to follow, Chloe! Thank you. Rosie @ The Magic Hutch
Thank you Rosie!
I will never look at those shopping bags the same way again. One of the best ideas ever Chloe! The price is great and the technique is simple. Time for me to invest in a rotary cutter. Love this!
I think I have been imagining this idea for a year, sometimes it just takes the right timing! I LOVE my rotary cutter (I find them much cheaper on Amazon than even with my half price coupon at Joann’s)
Genius! You could also make runners too. Great share and so simple! Thanks!
Great idea, Naomie, I love all of the feedback and ideas people suggest like that! I will have to try a runner or two!
Very cute idea Chloe!
Thank you so much Liz!
How clever and cute. In the third photo, I thought maybe you were making an apron to match.
Thanks Myrna, I will have to try craft aprons for my granddaughters!
How cute. Love the “Oloha” – Perfect for a summery feel!
Thank you Carol, they are fun and bright for summertime!
I love this idea! Cracker Barrel also has this type of bag, the selection is always changing. I can’t wait to try this project!
Thank you Barbara, I rarely go to Cracker Barrel, but I have one nearby, I guess I will be stopping in soon!
This is plain brilliant! I never would have thought of that. Thanks for sharing. I am happy to have found your blog today :).
Thank you Delia! I am glad you found Celebrate and Decorate, too!!
I’m SUPER late to the party, but I love this idea. Thank you!
Thank you, and you are welcome! You can style these any time of year…like Fall ones, now!
How many inches do you leave on the sides of the shopping bag to over lap over the felt.
I don’t cut the sides, I wrap whatever is left over the edges, but if you are trimming it, I would leave at least one inch on each side.
I have been contemplating turning bags into placemats. This is wonderful!
Will def be on the lookout for these bags.
A question: Could you turn a paper bag (like the pretty printed ones at Dollar Tree)
into a placemat? How to stiffen and seal it, I wonder?
I think ModPodge would work well!