How to Arrange Grocery Store Flowers Like a Professional (Even if You’re a Beginner)
Today’s arrangement was created entirely with Trader Joe’s flowers. One of the reasons I love shopping there is the variety, freshness, and value. The good news? You can use these same techniques with flowers from almost any grocery store.
One of the biggest misconceptions about arranging flowers is that you have to be born with a special talent. I simply don’t believe that’s true.
This post contains some affiliate links for your convenience. Click here to read my full disclosure policy.
Over the years, I’ve created hundreds of floral arrangements for my home, my tablescapes, and countless celebrations. People often tell me, “I could never do that,” but I always smile because I know they can.
Like any creative skill, flower arranging becomes easier with practice. You don’t need a florist’s training or an expensive flower shop. Some of my favorite arrangements have started with a few bunches of grocery store flowers from Trader Joe’s and a willingness to experiment.
In this post, I’m going to show you exactly how I approach arranging grocery store flowers, step by step. My hope is that when you’re finished, you’ll feel inspired to pick up a few bouquets, create something beautiful, and discover that you really can do it.
How to Arrange Grocery Store Flowers Like a Professional (Even if You’re a Beginner)
Have you ever admired a beautiful floral arrangement and thought, “I could never make something like that?” If so, you’re not alone.
One of the biggest misconceptions about arranging flowers is that you have to be born with a special talent. I simply don’t believe that’s true.
Over the years, I’ve created hundreds of floral arrangements for my home, my tablescapes, and countless celebrations. People often tell me, “I could never do that,” but I always smile because I know they can.
Like any creative skill, flower arranging becomes easier with practice. You don’t need a florist’s training or an expensive flower shop. Some of my favorite arrangements have started with a few bunches of grocery store flowers from Trader Joe’s and a willingness to experiment.
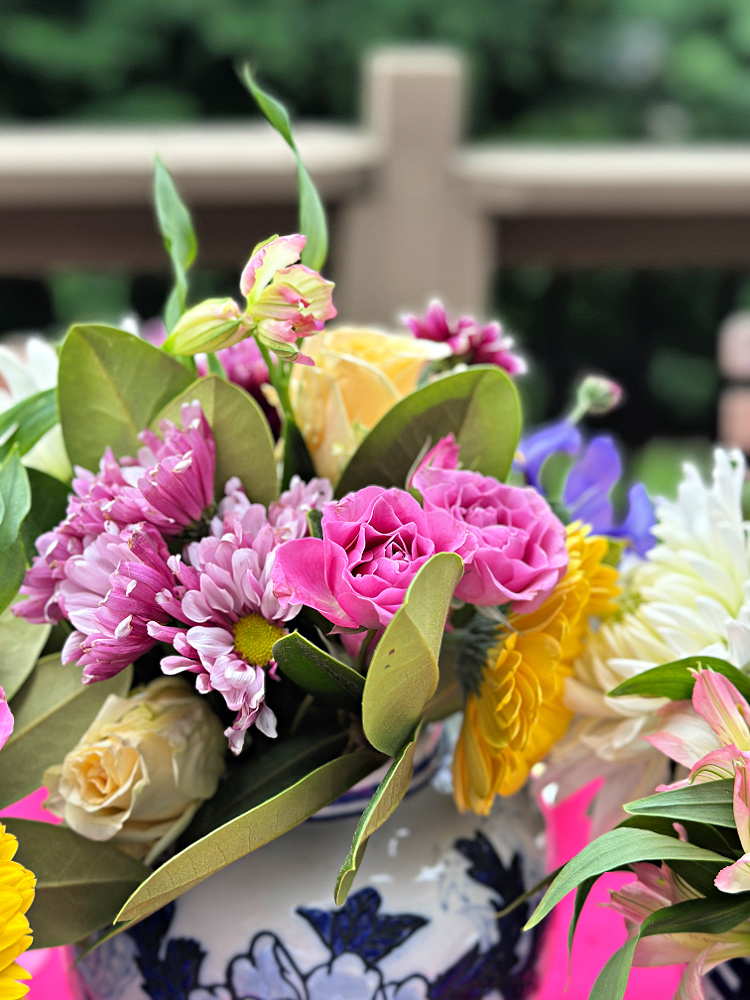
Today’s arrangement was created entirely with Trader Joe’s flowers. One of the reasons I love shopping there is the variety, freshness, and value. The good news? You can use these same techniques with flowers from almost any grocery store.
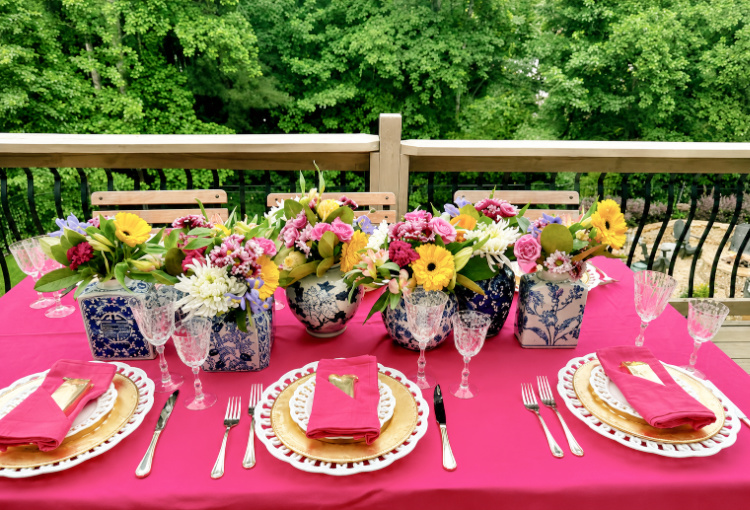
Before we get started, if you’d like to recreate this colorful summer table, I’ve linked the flowers, floral arranging tools, and tablescape pieces I used below. When an exact item wasn’t available, I’ve included a similar option.
🌸 Fresh flowers and greenery
- Trader Joe’s seasonal flowers
- Rhododendron leaves from my garden (or eucalyptus, salal, or Italian ruscus as substitutes)
- Floral snips
- Floral knife
- Chinoiserie cachepot
- Chinoiserie container
- Floral frogs
- Waterproof floral tape
- FloraLife Clear crowning glory solution
🍽️ Tablescape Sources - Hot pink tablecloth
- White lattice dinner plates
- White lattice salad plates
- Gold dinner plates
- Navarre clear wine glass
- Navarre clear water goblet
- Gold trimmed flatware
- Gold-wrapped chocolate bars
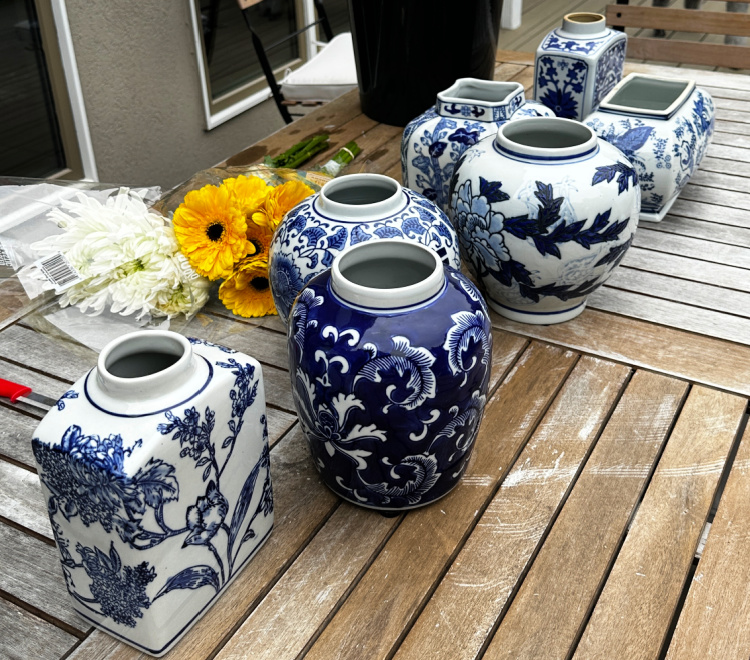
Choose Your Container Before You Buy a Single Flower
One of the first decisions I make has nothing to do with flowers.
Before I ever leave for Trader Joe’s, I decide which container I’m going to use. The size and shape of your vase or container determine how many flowers you’ll need to purchase and what type of arrangement you’ll create.
✂️ Floral Arranging Supplies
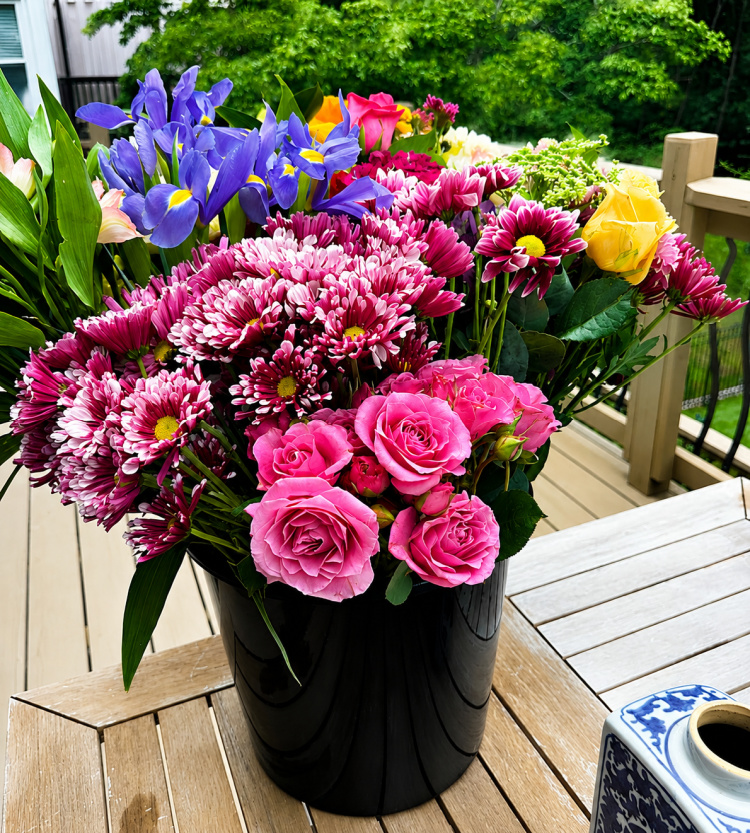
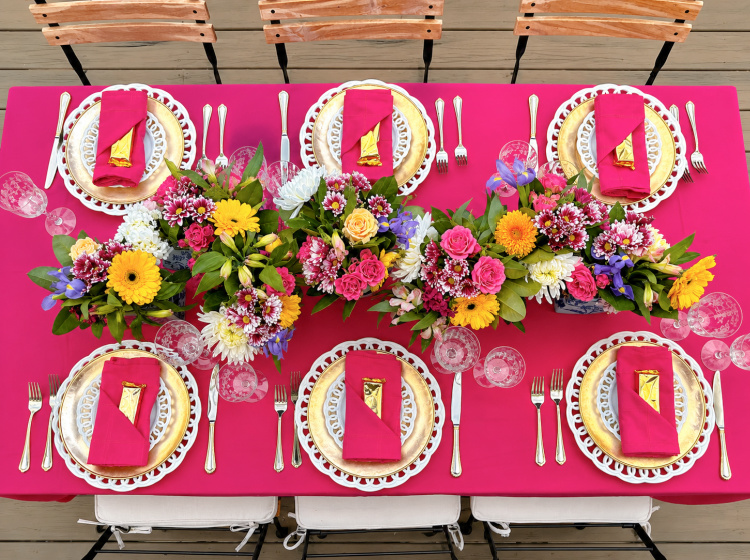
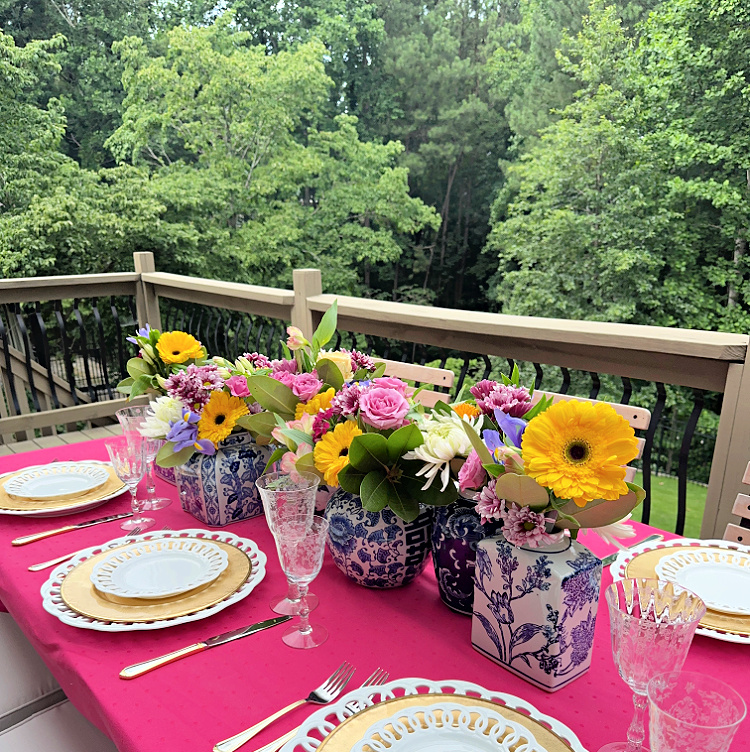
For this arrangement, I already knew I wanted to feature my blue and white chinoiserie collection. My table was dressed with a vibrant hot pink tablecloth, so I envisioned filling the containers with beautiful pink flowers.
There was just one problem.
Trader Joe’s had very few pink flowers that day. They mostly had mixed bouquets.
Years ago, that might have frustrated me. Today, I simply pivot.
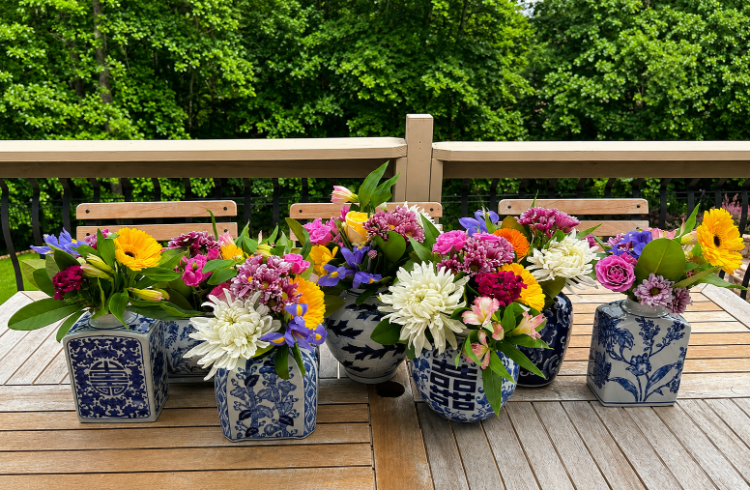
Instead of forcing my original idea, I selected a cheerful mix of bright blooms that I knew would complement the table beautifully.
One of the biggest lessons I’ve learned over the years is not to become so attached to one vision that you can’t adapt. Flowers are seasonal, and grocery stores receive different shipments every week. Sometimes the best arrangements are the ones you never planned.
🌸 Chloe’s Tip: Decide on your container before you shop. It will help you choose the right number of flowers and keep you from overspending.
Give Your Flowers a Drink First
The moment I arrive home, I unwrap every bouquet, trim the stems, and place the flowers in fresh water.
Then…
I walk away.
I let them drink for about an hour before I begin arranging them.
Hydrated flowers are happier flowers. Giving them time to recover from transportation helps them last longer and often makes arranging much easier.
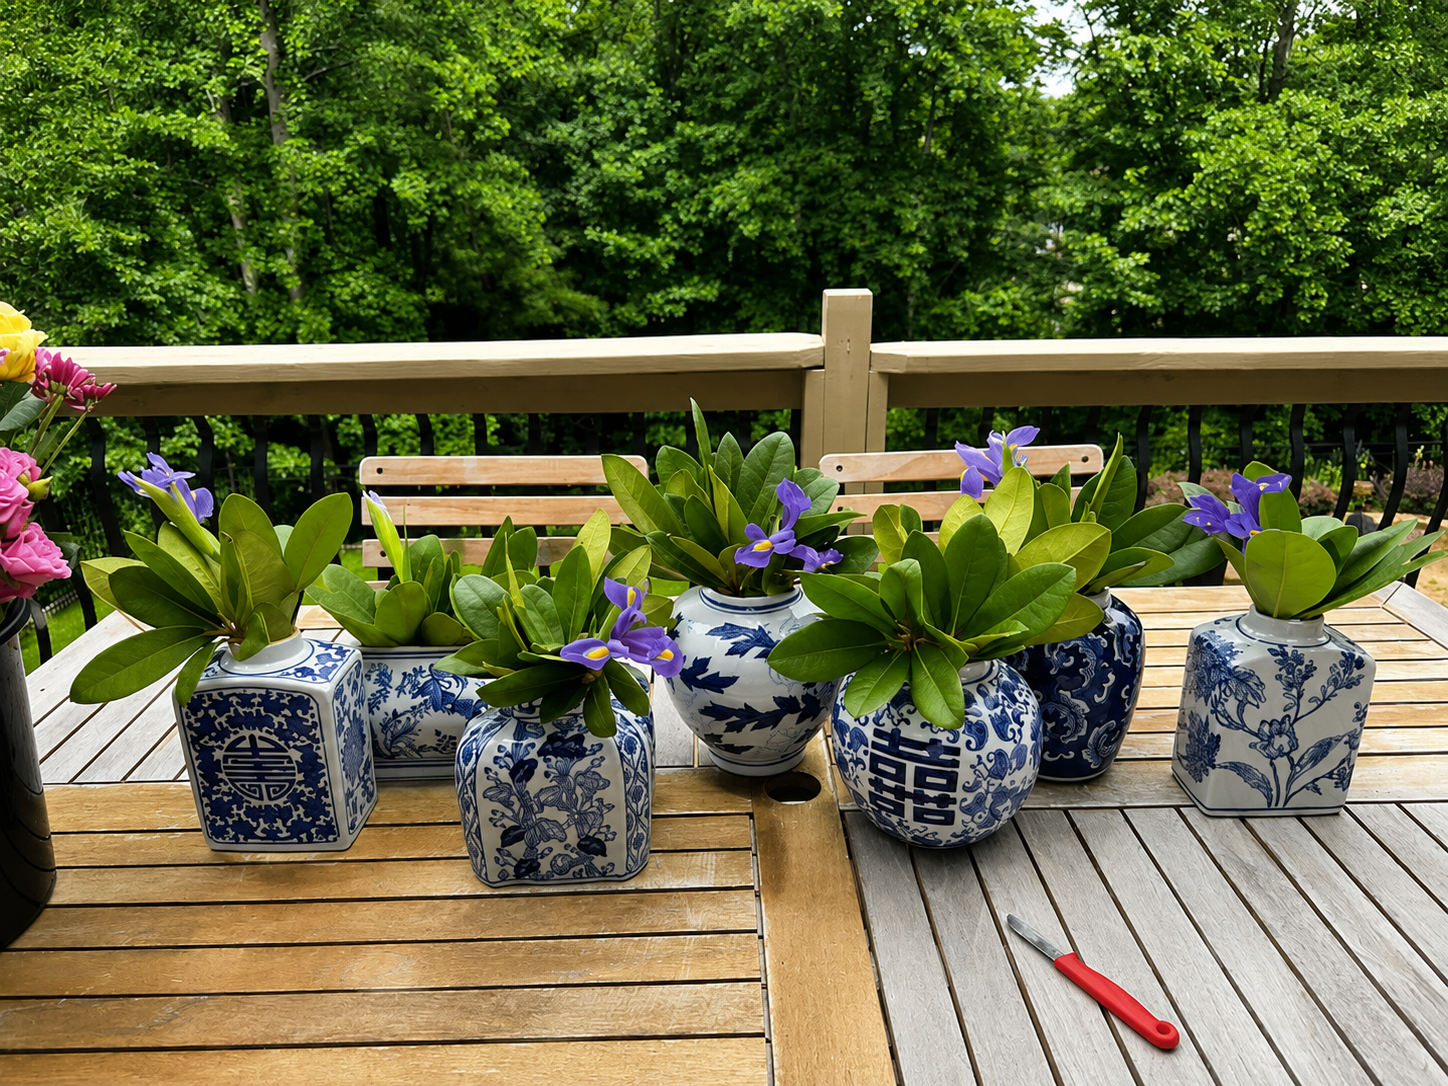
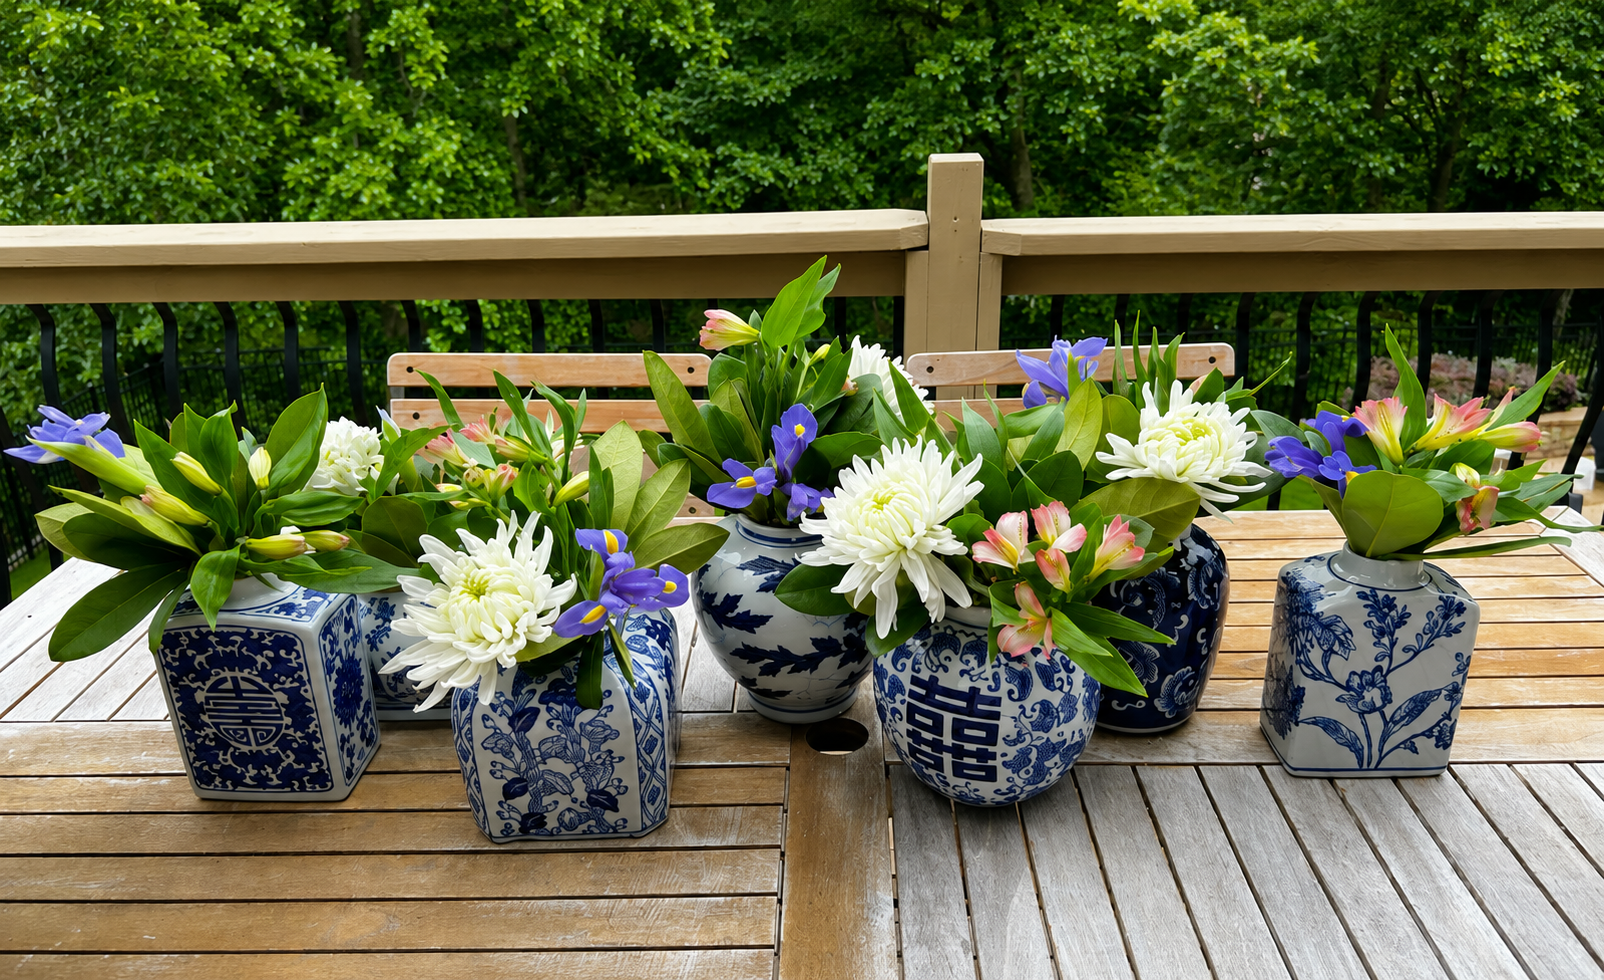
Start with Greenery
Many beginners immediately begin placing flowers into the container.
I almost always begin with greenery.
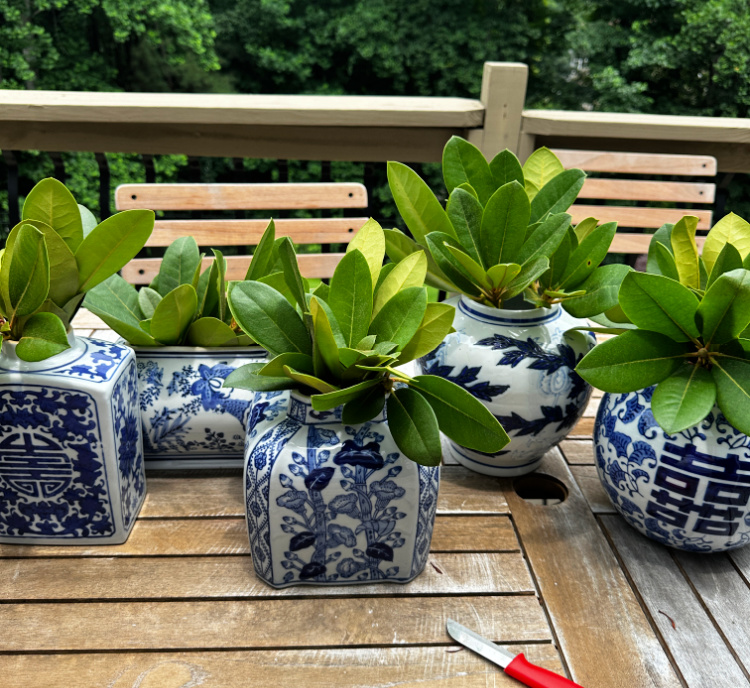
For this arrangement, I clipped fresh rhododendron leaves from my garden. Not only did they provide a beautiful backdrop for the flowers, but they also established the overall shape of each arrangement.
Don’t have rhododendrons? No problem.
Eucalyptus, salal, Italian ruscus, or other grocery store greenery work beautifully too.
The greenery creates the framework. Once that’s established, everything else becomes much easier.
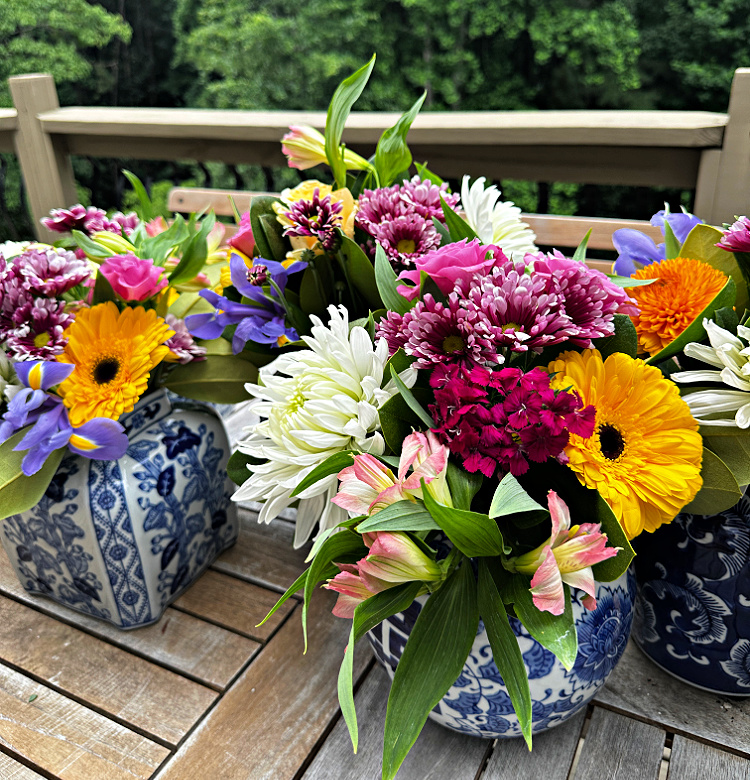
Build the Arrangement One Flower Variety at a Time
After the greenery is in place, I begin adding the largest flowers.
Rather than placing flowers randomly, I work around the arrangement using one flower variety at a time.
For example, if I’m placing roses, I distribute all of the roses throughout the arrangement before moving on to the next flower.
This keeps one side from becoming “rose heavy” while another side has none at all.
Then I repeat the process with the next flower.
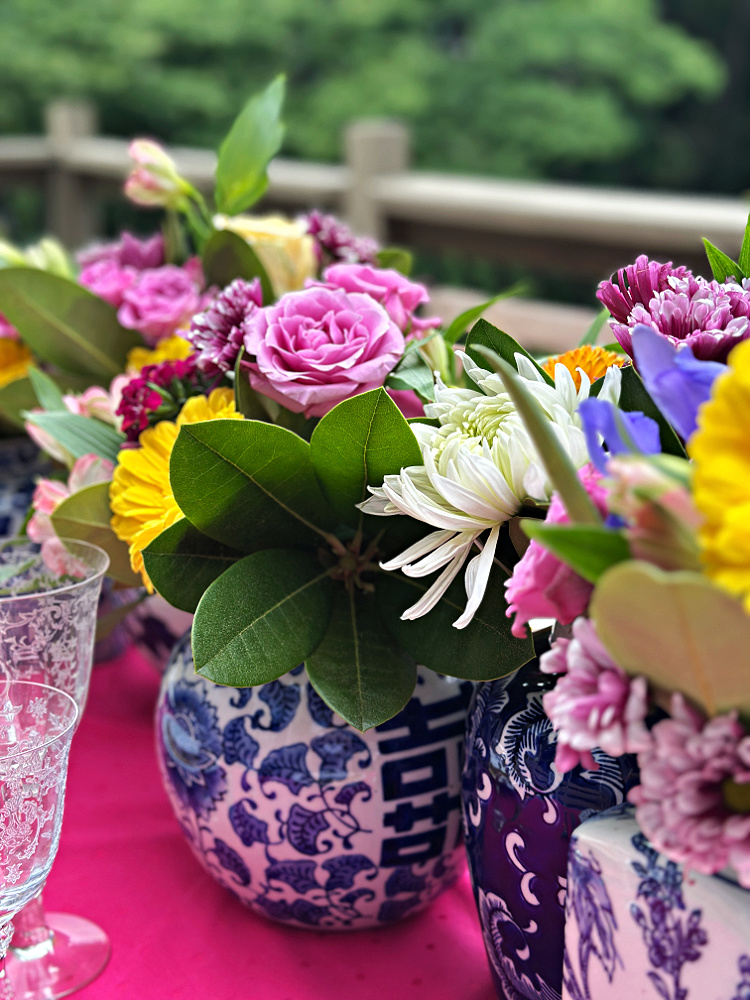
As the arrangement begins to grow, I add filler flowers and allow plenty of greenery to remain visible.
One of the biggest mistakes beginners make is creating what I call a “solid ball of flowers.”
Beautiful arrangements need breathing room.
The greenery, filler flowers, and even a little open space allow each individual bloom to shine.
Keep Turning the Arrangement
One thing I do constantly while arranging flowers is turn the container—or walk around it.
I’m checking for:
- Empty holes
- Color balance
- Texture balance
- Overall shape
Years ago, I would finish an arrangement, place it on the table, and think it looked wonderful.
Then I’d take an overhead photograph.
That’s when I’d discover one side sticking out farther than the other or realize the entire arrangement leaned in one direction!
Thankfully, that doesn’t happen very often anymore.
Experience has taught me to recognize those imbalances before I ever call an arrangement finished.
But here’s the good news…
That experience comes with practice.
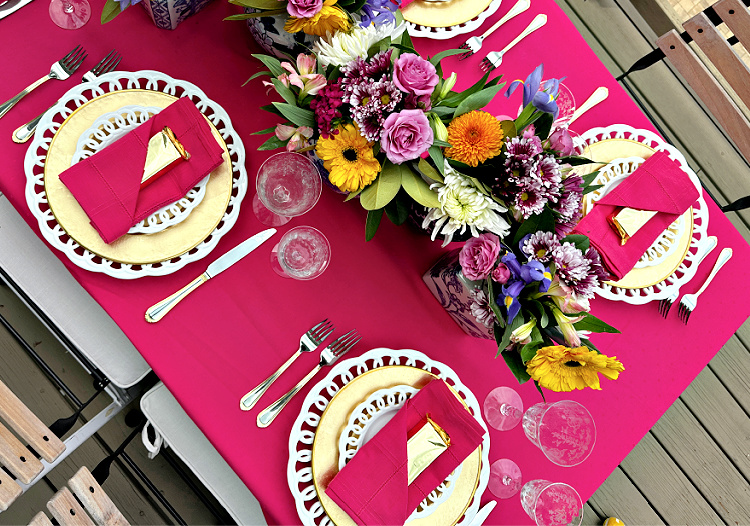
🌸 Chloe’s Tip: Every few minutes, step back and take a quick photo of your arrangement with your phone—especially from above if it’s a centerpiece. A photograph often reveals imbalances your eyes miss while you’re focused on placing individual stems.
How Do You Know When You’re Finished?
For beginners, this is often the hardest question.
How do you know when to stop?
For me, the answer is simple.
I stop when there are no obvious holes and my eye moves effortlessly around the arrangement.
Nothing feels too heavy.
Nothing sticks out awkwardly.
The colors feel balanced.
The textures feel balanced.
And the arrangement looks beautiful from every angle.
One of the biggest mistakes beginners make is continuing to add flowers because they’re afraid the arrangement isn’t “full enough.”
More flowers don’t always make a prettier arrangement.
Often, they do just the opposite.
The Three Biggest Mistakes Beginners Make
1. Making the Arrangement Too Full
Flowers need room to breathe. Allow the greenery, filler flowers, and featured blooms to work together rather than competing for attention.

2. Forgetting the Greenery
Greenery isn’t just filler.
It provides shape, movement, and contrast while allowing your flowers to truly stand out.
3. Making the Arrangement Too Tall
If you’re creating a centerpiece for your dining table, your guests should be able to comfortably see one another across the table.
A beautiful arrangement should enhance conversation—not block it.
🌸 Chloe’s Pro Tip
If you don’t like how your arrangement looks…
Take it apart.
Seriously.
Rearranging flowers is part of the creative process. Sometimes my second attempt is even better than the first. Every arrangement teaches you something new, and that’s exactly how your confidence grows.
The Best Part Isn’t the Flowers
My hope isn’t simply that you create a beautiful arrangement.
My hope is that you feel proud.
I still feel that sense of accomplishment every time I finish a floral arrangement, style a tablescape, or complete a room in my own home.

Every arrangement teaches you something.
Every arrangement builds your confidence.
And before long, you’ll find yourself walking through the flower department at your local grocery store thinking, “I know exactly what I can create with these.”
That’s one of the greatest joys of decorating a home—discovering that you really can create something beautiful with your own hands.
So the next time you’re at Trader Joe’s or your favorite grocery store, pick up a few bunches of flowers and give it a try.
You might surprise yourself.