
DIY Christmas Decorations with Boxes
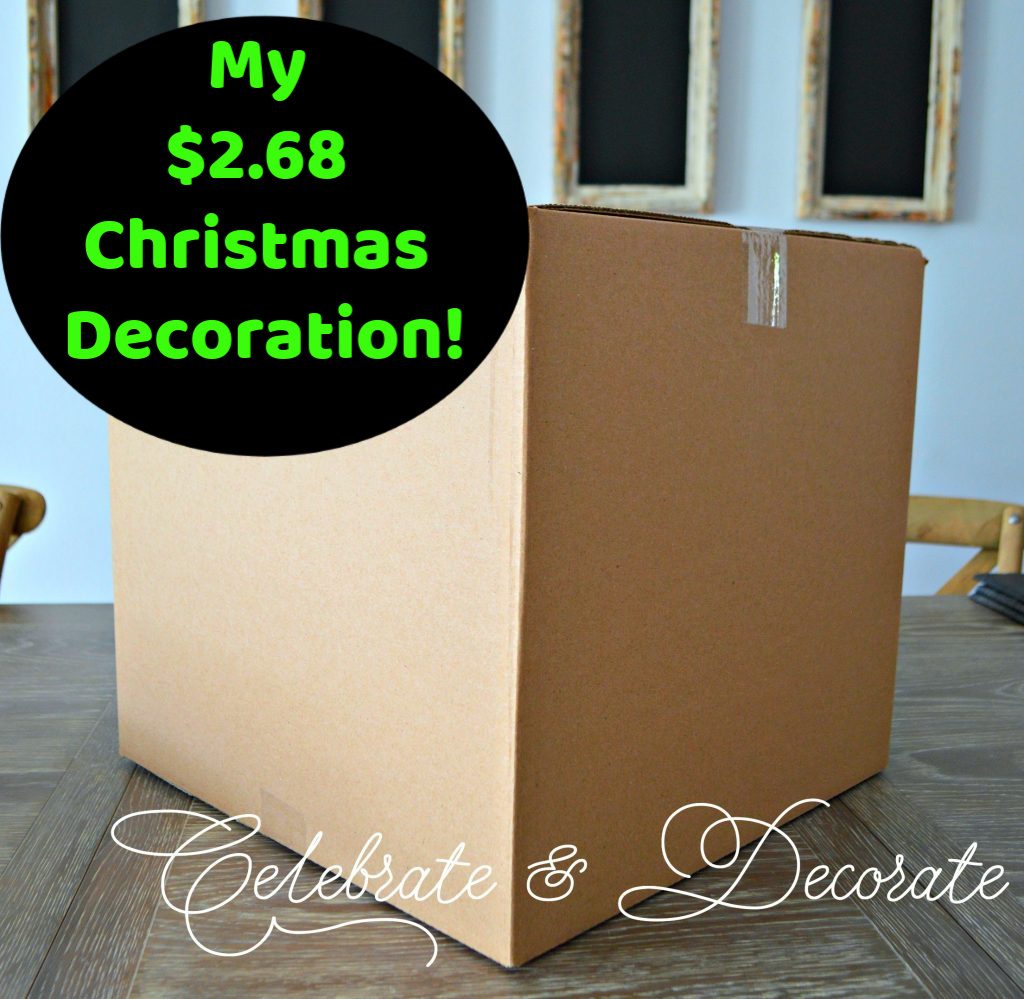
Today I am going to share some DIY Christmas decorations made with boxes. Last year was our first Christmas in this home and I grew tired of spending money on various Christmas decorations on top of furnishing the new place. By the time I got to the urns on our front porch I decided to spend as little as possible. I came up with my $2.68 Christmas Decorations! This year I decided to up my game and I will be sharing these DIY projects on Monday, November 28th at 7 PM ET on Hometalk’s Facebook Live! 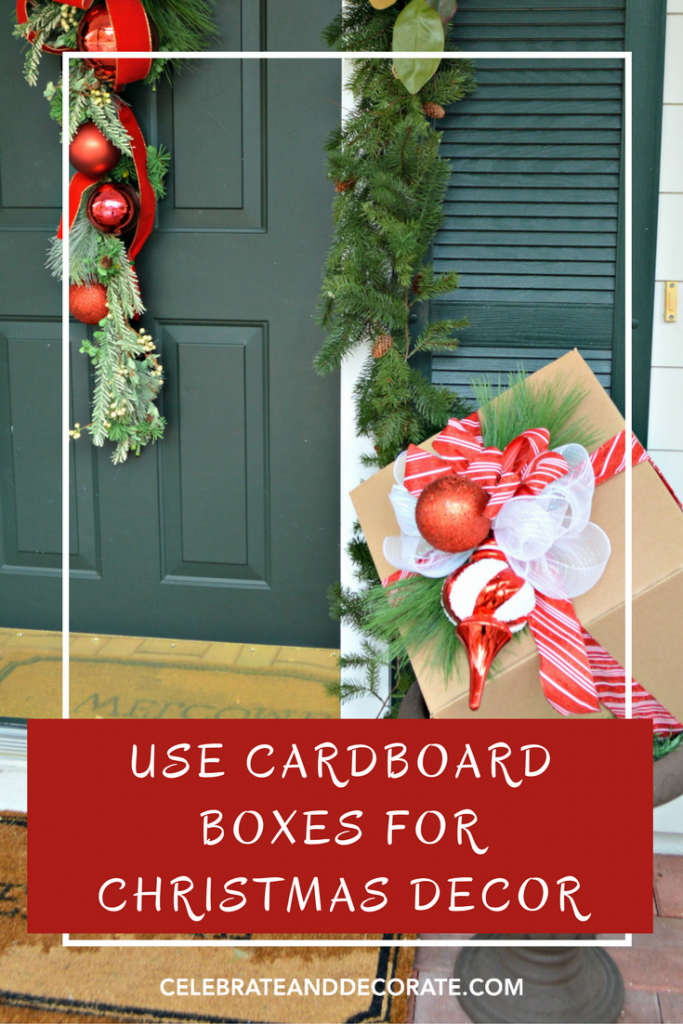
This post contains some affiliate links for your convenience. Click here to read my full disclosure policy.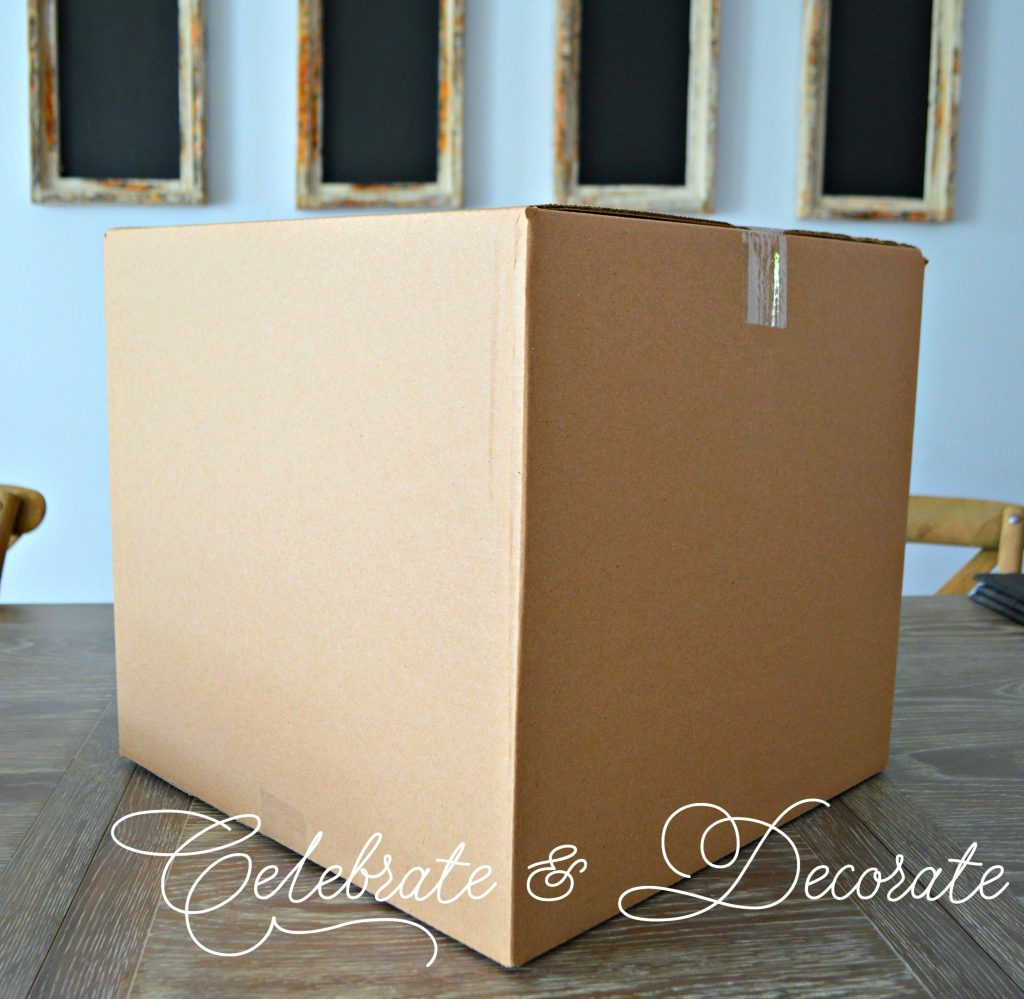 It is so easy to put cardboard boxes to work as Christmas decorations and you can get them in so many sizes! I have found the best prices on boxes to be at Walmart. The boxes I bought were 16 x 16 x 15 inch for $1.32, 12 x 12 x 10.5 for .67 each, 14 x 14 x 14 for .68 and 6 x 6 x 6 for .48. You can see that these are bargain prices!
 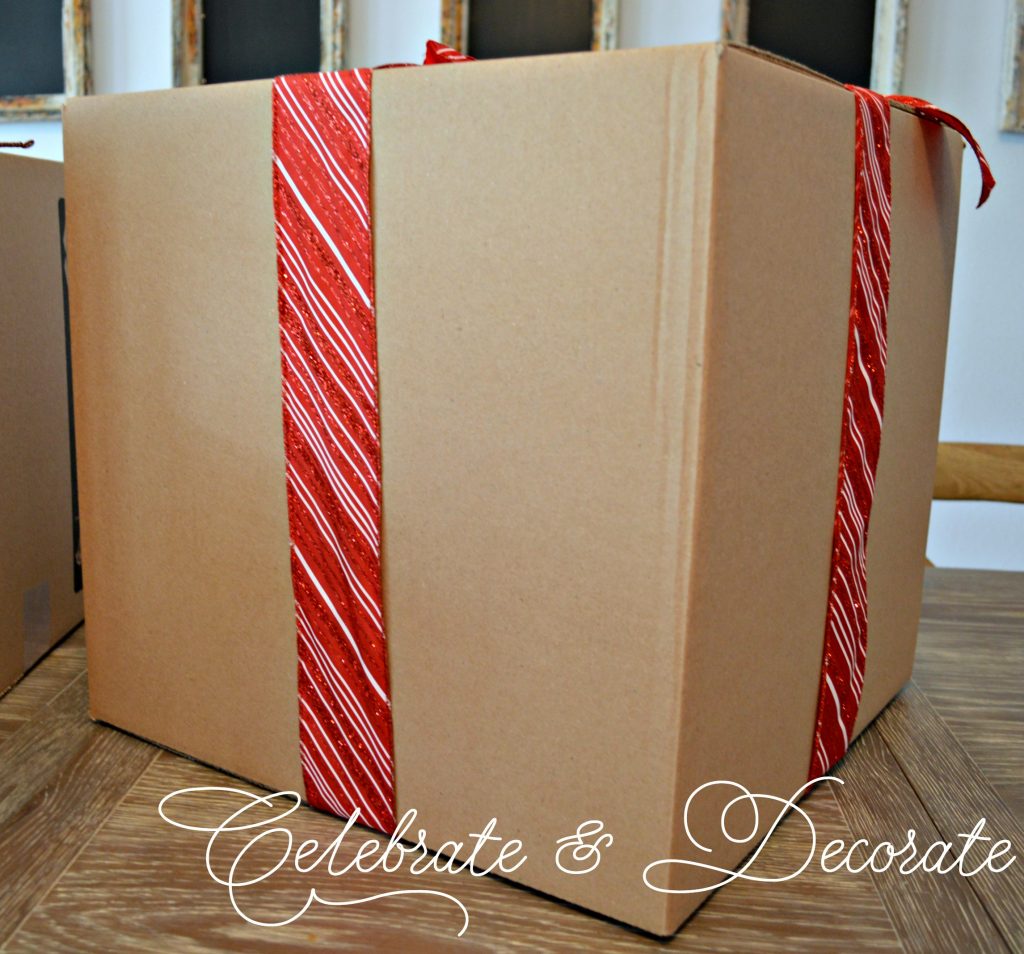 The first box I am going to show you I chose to decorate with this fun candy cane striped ribbon! First step was just to wrap the box with the ribbon on all sides and tie it securely on the top. You may want to add a few stones or a small bag of sand inside your box to keep it from blowing if you are placing it outside. My boxes will be outdoors, but on a covered porch. If you don’t have a covered area, you will want to wrap your box in a plastic-backed wrapping paper or foil paper to protect it from the weather.
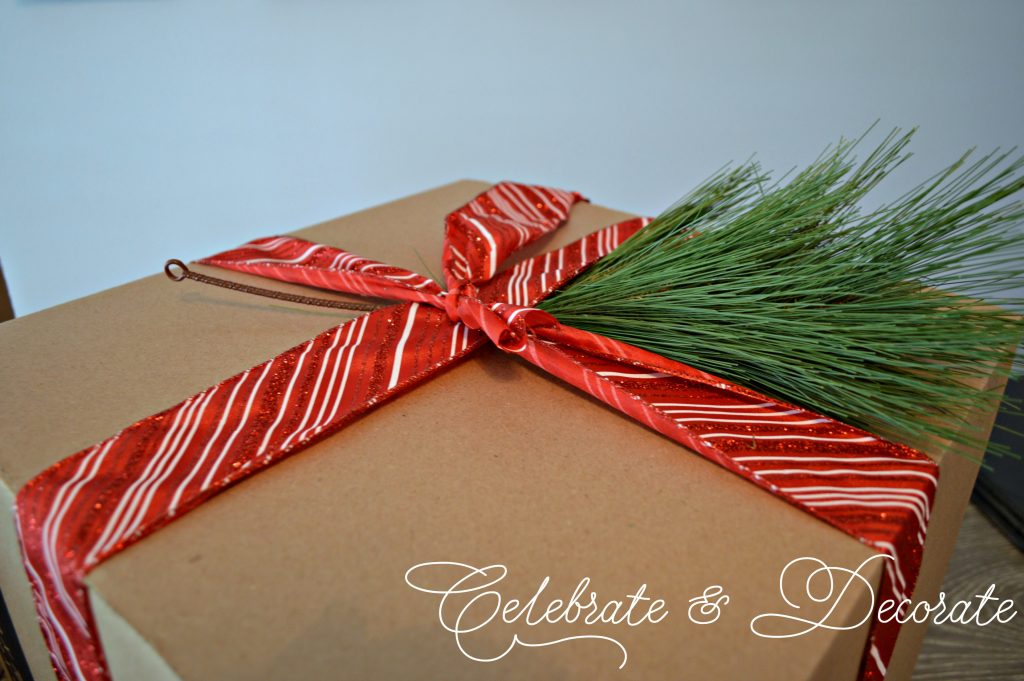 I wanted to add a little greenery to the top of my box, so I just tucked a small pick of faux white pine under the ribbon.
  I tied a bow with the remainder of the ribbon. The ribbon was too short to tie a nice size bow so I added a little white mesh ribbon to my bow. I added another pick of white pine and a couple of shatterproof ornaments.
 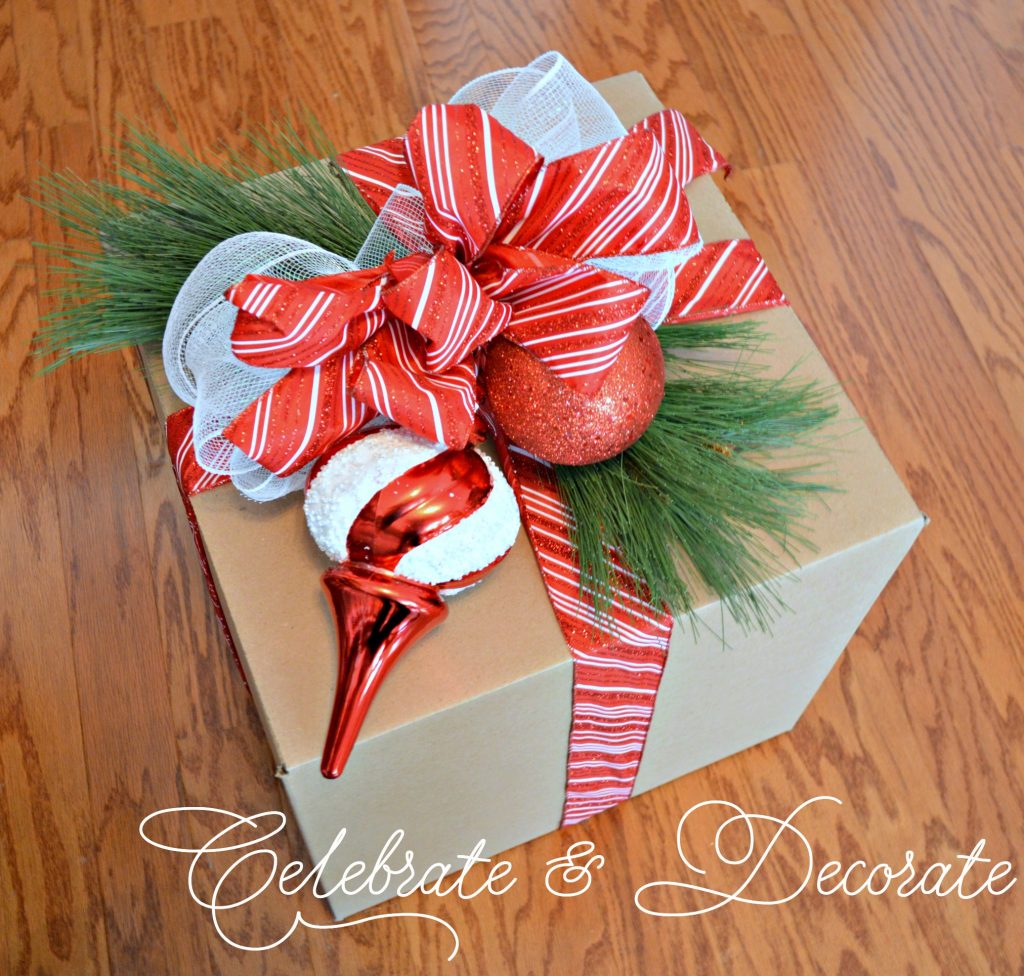 The box I used for this is one of the 16 x 16 boxes.
 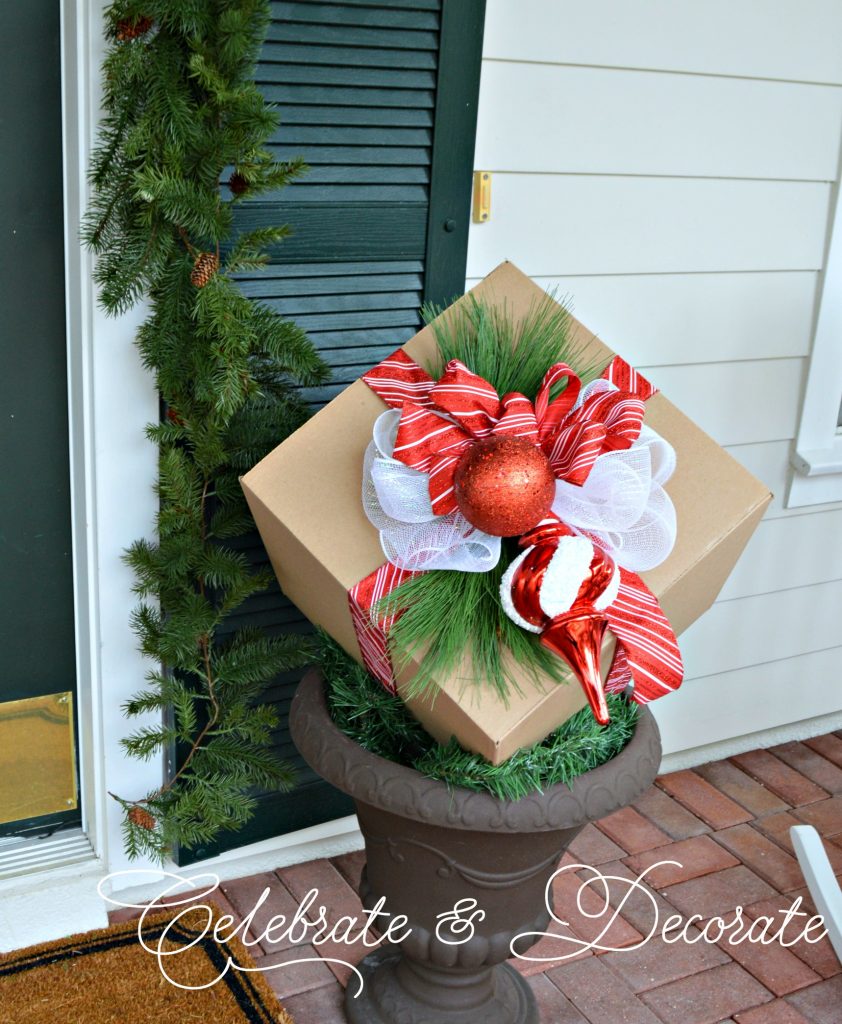 I propped my box in an urn with the bag of sand holding the one corner down in the urn and tucked a little bit of dollar store greenery around the base. I think this is a lovely way to greet guests, don’t you?
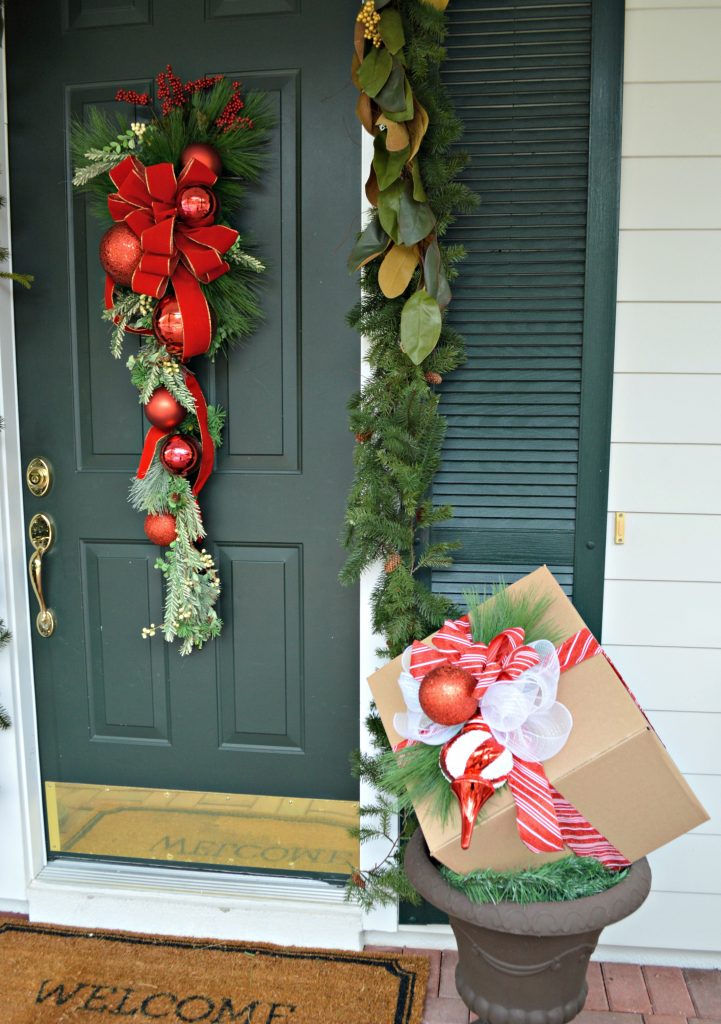 I will probably change my box up to coordinate with my front porch decorations. Now it is time to show you a different alternative!
 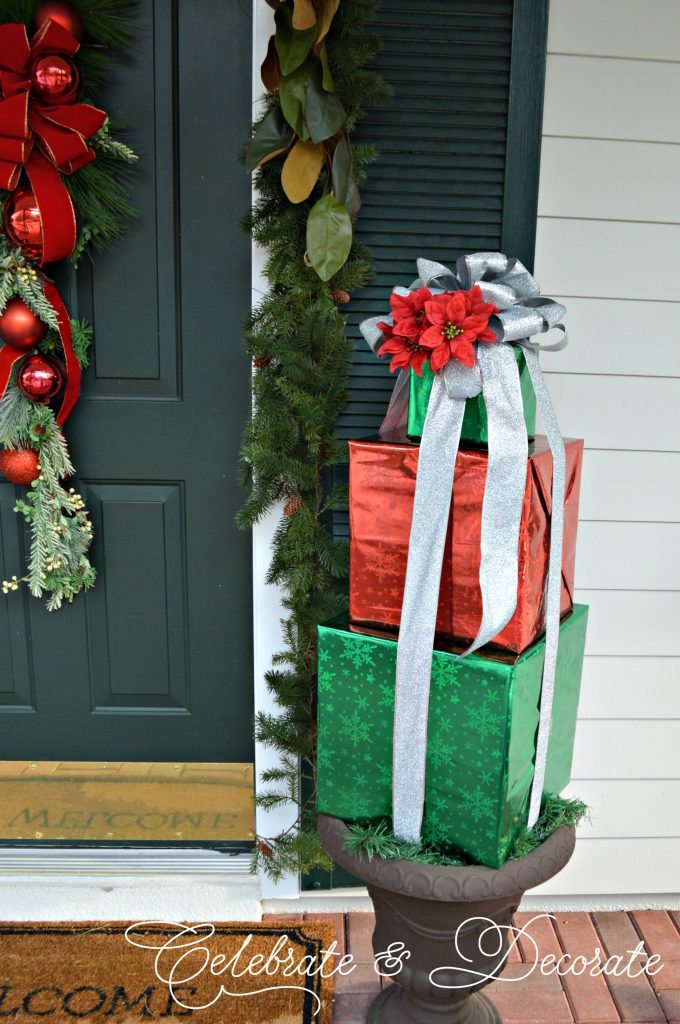 For this decoration I wrapped three boxes, two in green and one in red and tied them together with silver ribbon.
  This looks pretty on the front porch or would look pretty sitting by your fireplace. If you are using these indoors, of course you could use them to hold Christmas presents, too!
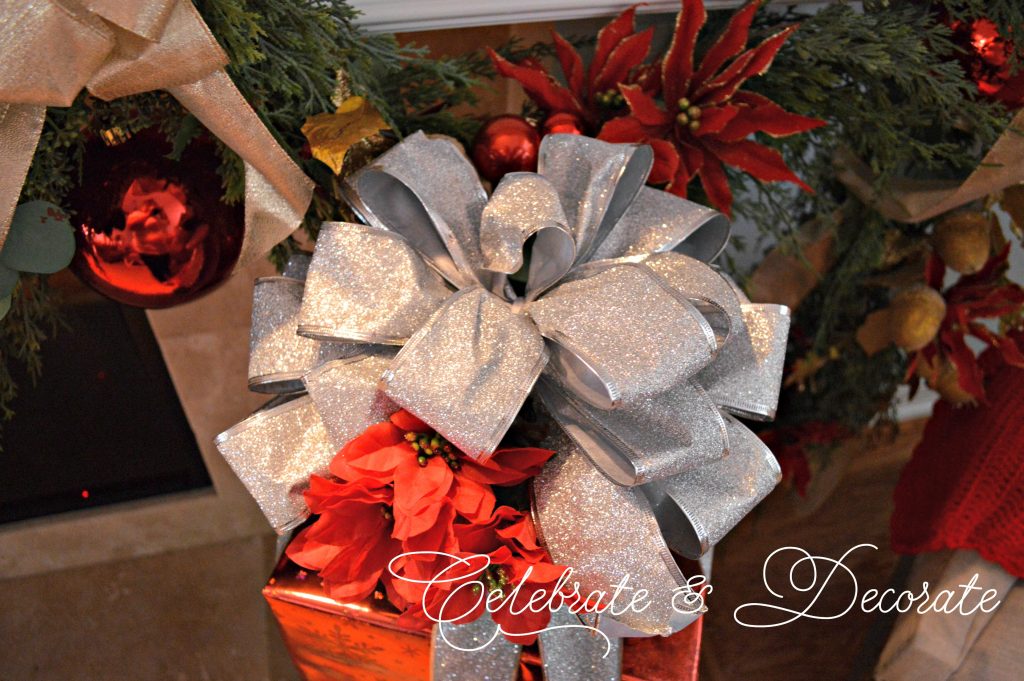

Good posts, beautiful blog.
Congratulations.
Welcome to see my creations:
http://paintdigi.com
Thank you!
That’s a pretty nifty idea! As long as we don’t have any snowstorms this would work, LOL!!!
Stay toasty warm up there, Sandra! I am lucky with a deep covered porch here in Florida!
Your porch looks so beautiful. And all from plain cardboard boxes. No one would know it, now they are so pretty.
Everything you share is beautiful and so fun!!
Love these as a addition to the porch.I have a very tiny narrow porch that I wish was bigger.
Love these packages.So cute.
How do you protect the boxes from the elements??
I have a deep covered porch so I didn’t have any trouble with the weather. You can always use plastic holiday tablecloths to wrap them!
In addition to the sand, you could use a tall plant stake stuck into the cardboard at the back. Most of them are green, and easily disguised with greenery. Anyone who has spray paint hanging around from other projects could save $$ by spray painting Amazon boxes and then recycling them at the end of the season.
Great idea Judy!