
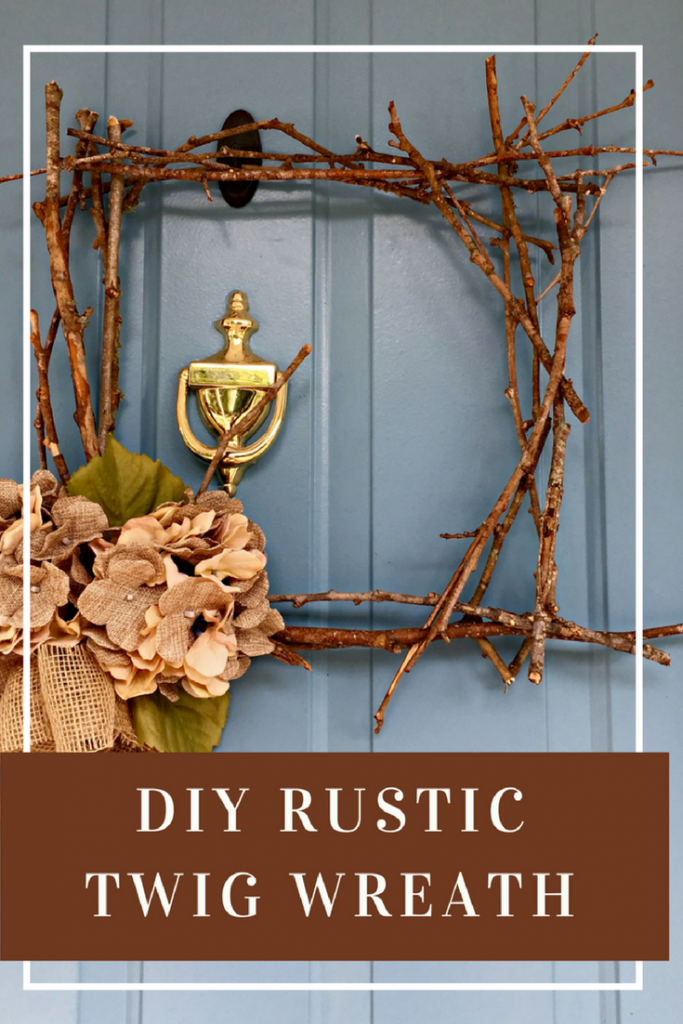
DIY Rustic Wreath
DIY Wreath
 This post contains some affiliate links for your convenience. Click here to read my full disclosure policy.
With all of the storms we have had in Florida, my yard has been littered with twigs. This seemed like the perfect time for a DIY wreath. Instead of purchasing a wreath form, I simply gathered twigs from the yard and brought them in to begin making my wreath. 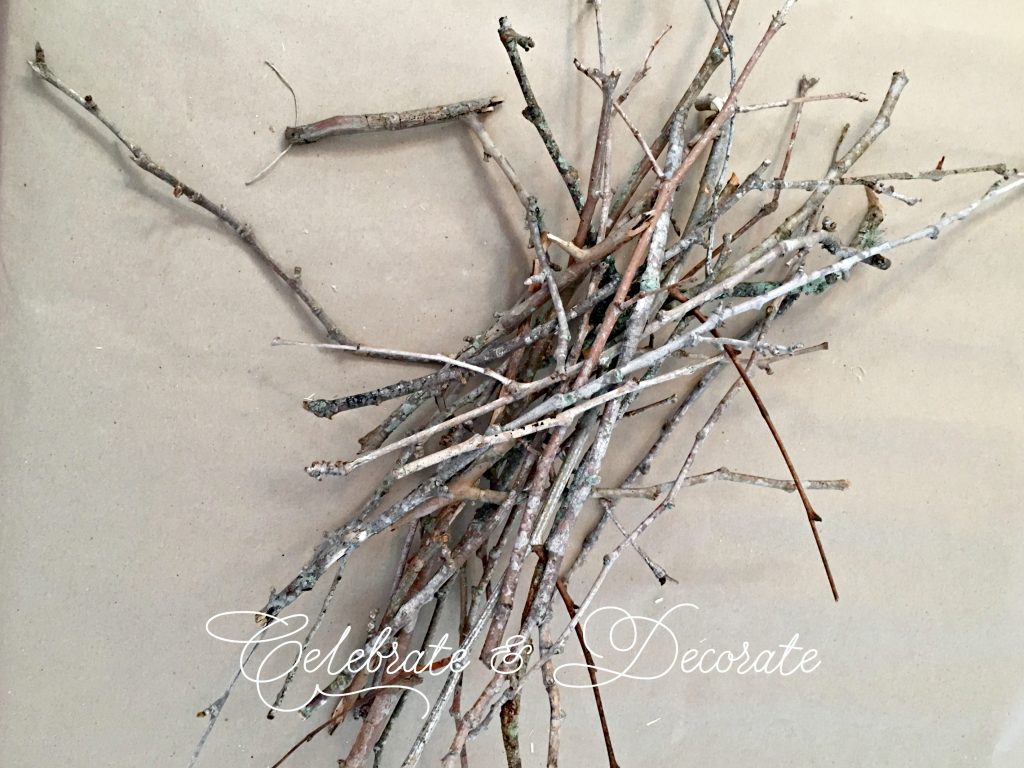 I began with this pile of twigs and started sorting out the straightest ones for my wreath. I knew ahead of time I was going to make this a square wreath.
  This was as simple as just laying out my twigs in the shape and size that I wanted. This is such an easy DIY wreath.
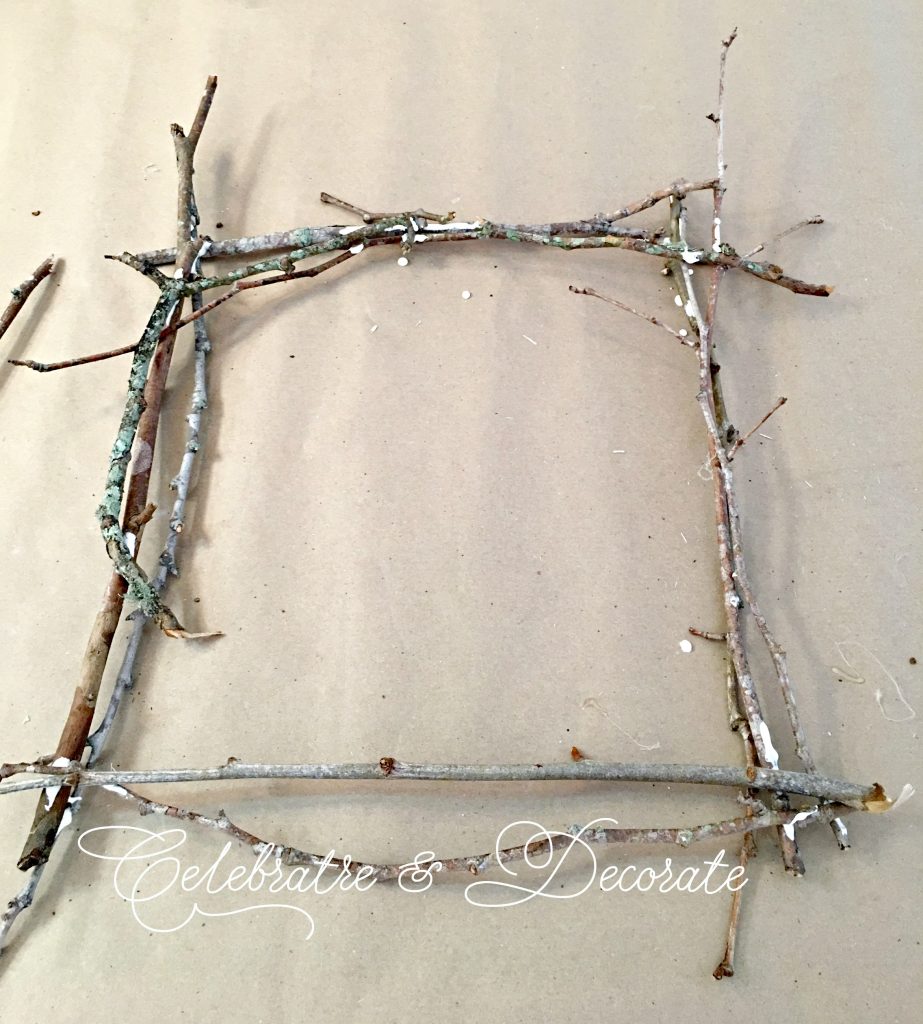 I continued to lay out the twigs in my square pattern using multiple twigs on each side. I just kept building it up until I was happy with how the wreath was beginning to look.
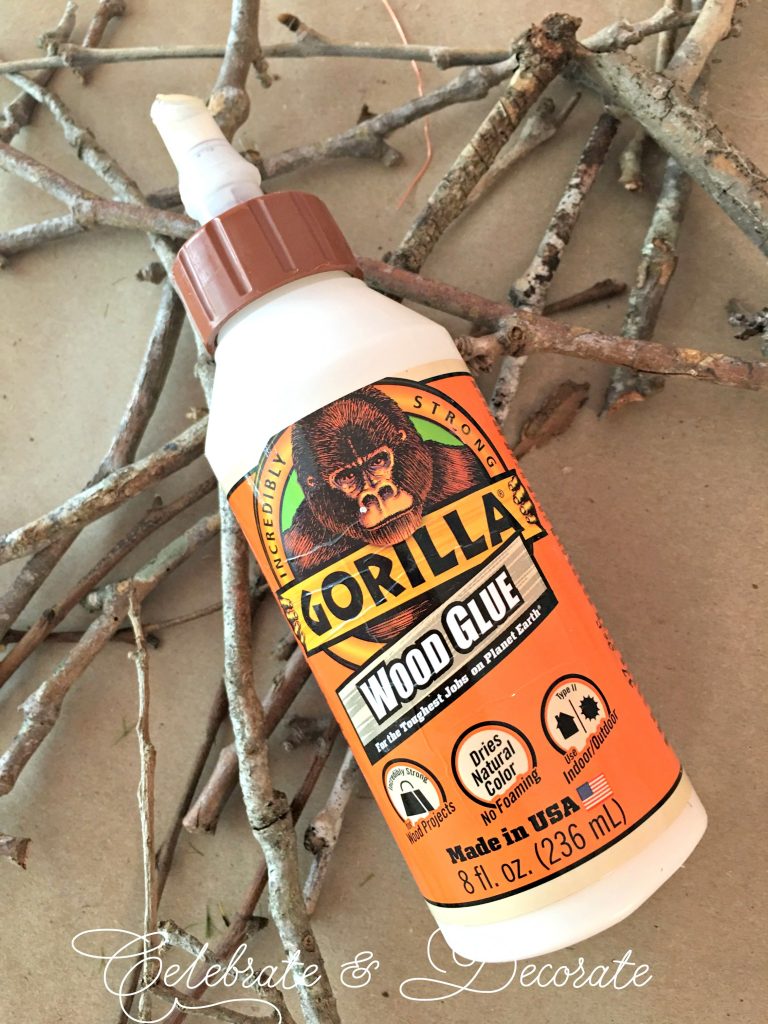 I decided the best choice to put this together with was Gorilla Wood Glue. I started by adding glue to any spot wherever my twigs touched each other.
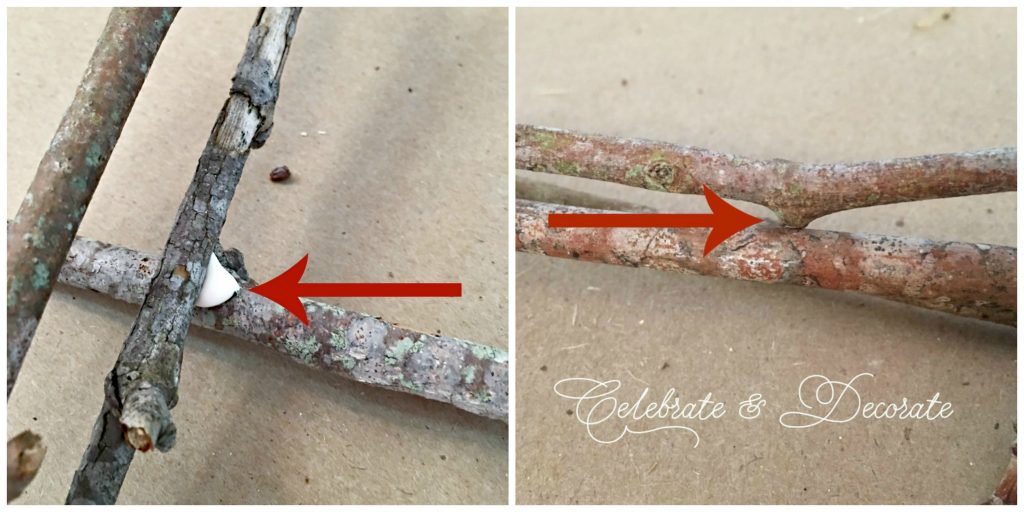 In spots like this where the twigs crossed, I added a generous amount of the Gorilla Glue. Gorilla wood glue dries a natural color so it won’t show up at all on your finished wreath. Make sure that your wreath is firm to the touch and none of the twigs wiggle or you will need to add additional glue. If your wreath is not firm, add additional twigs for stability.
 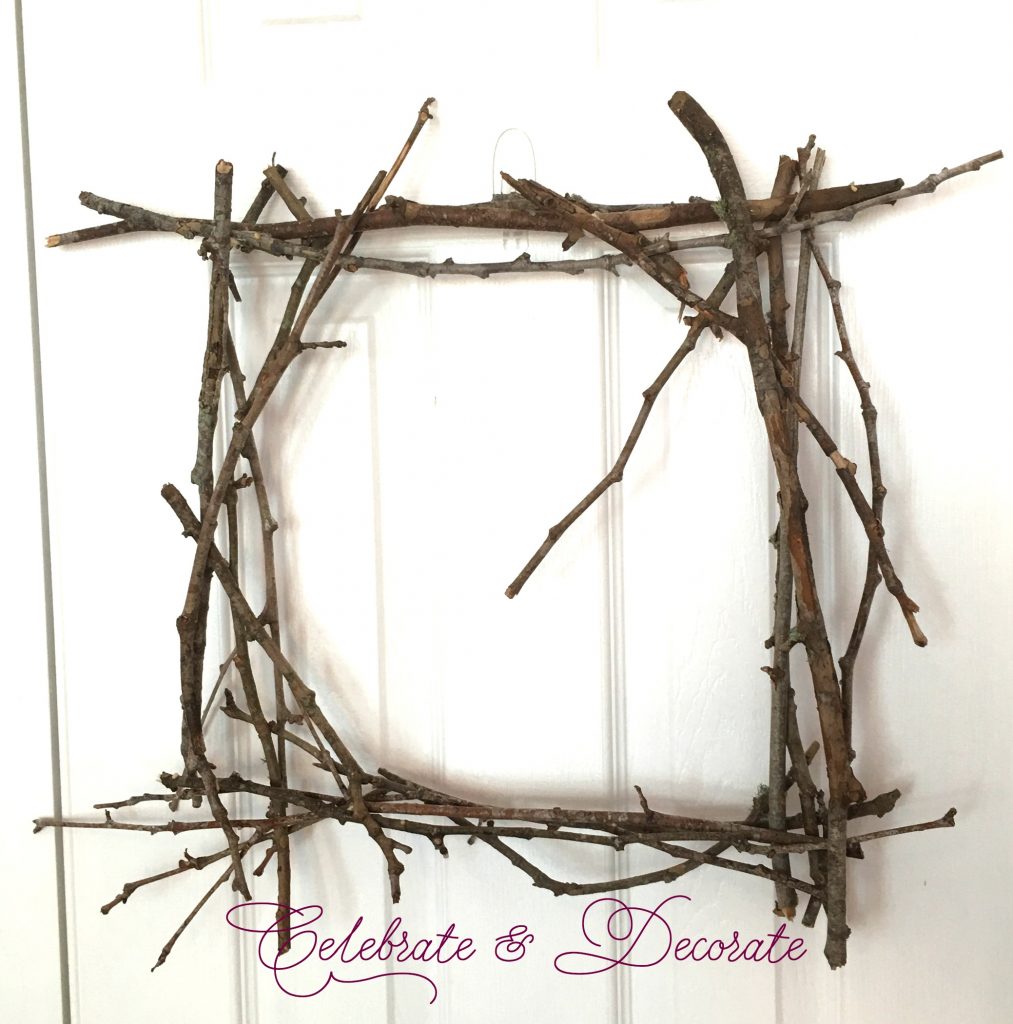 I was pleased, when I hung up my wreath that it was strong enough to hang from a Command hook and it was completely secure, ready to be adorned.
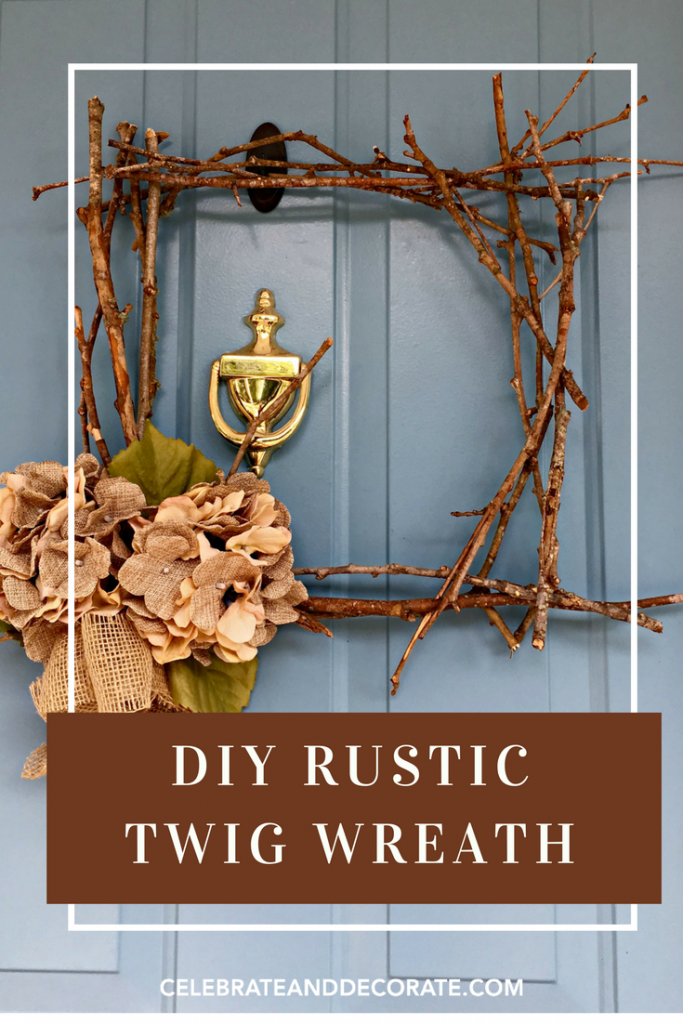
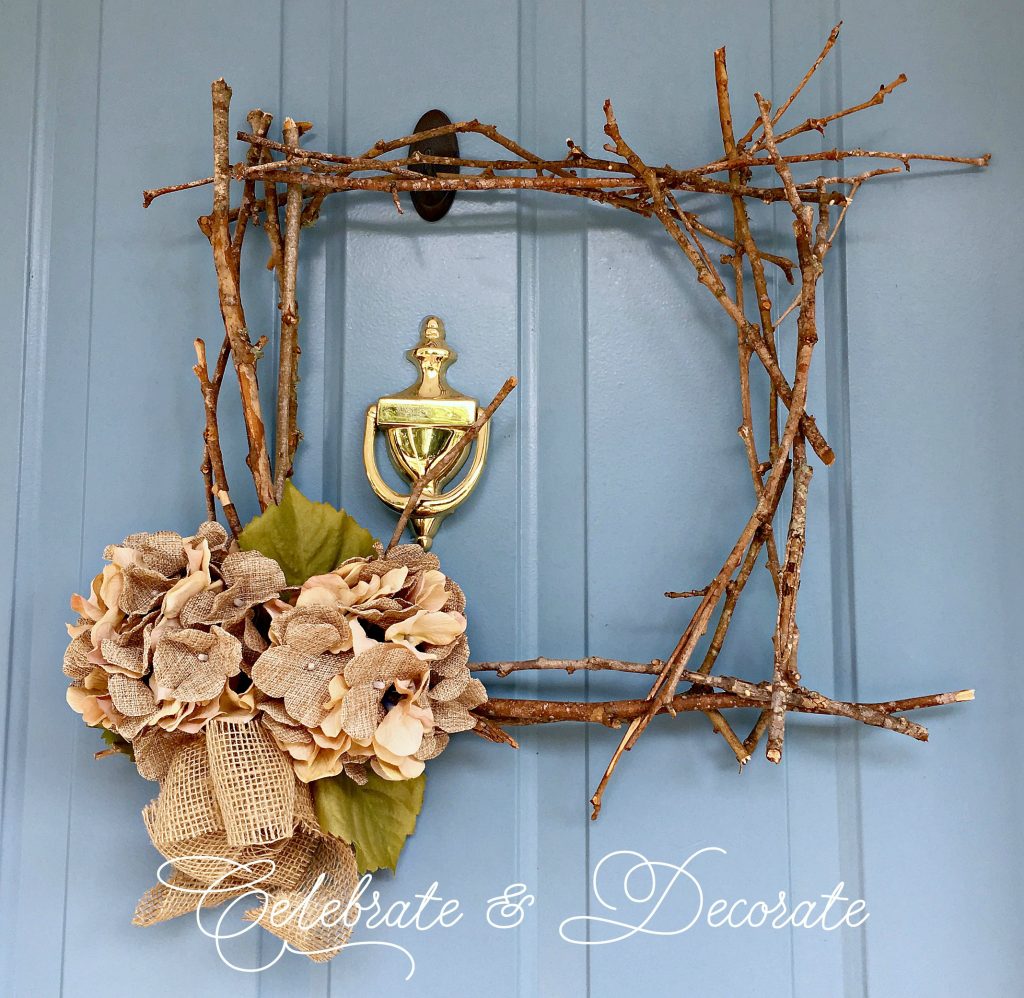
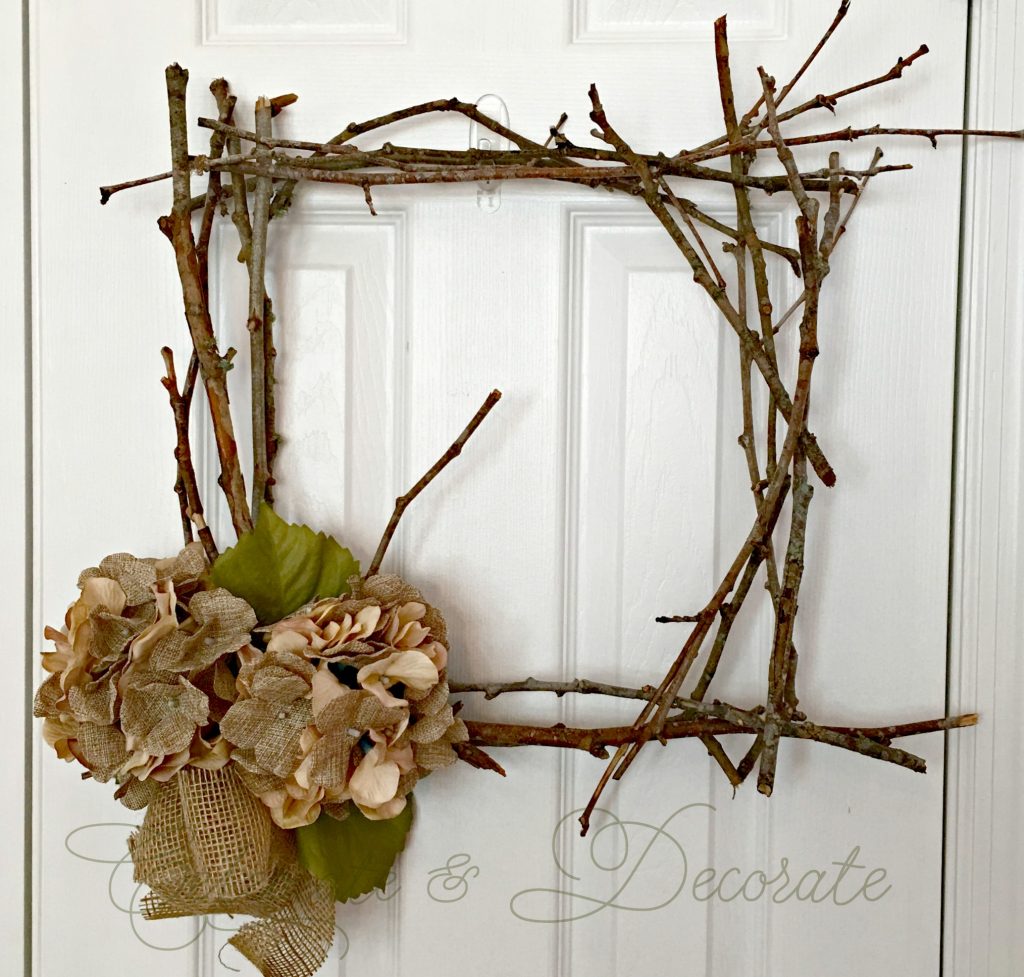
The natural look of the twigs is what I want to see when I look at this wreath, so I needed to add very little embellishment. I simply added two artificial burlap and fabric hydrangea blossoms. I glued them securely with Gorilla glue. I added three of the leaves from the hydrangeas and a simple burlap ribbon. 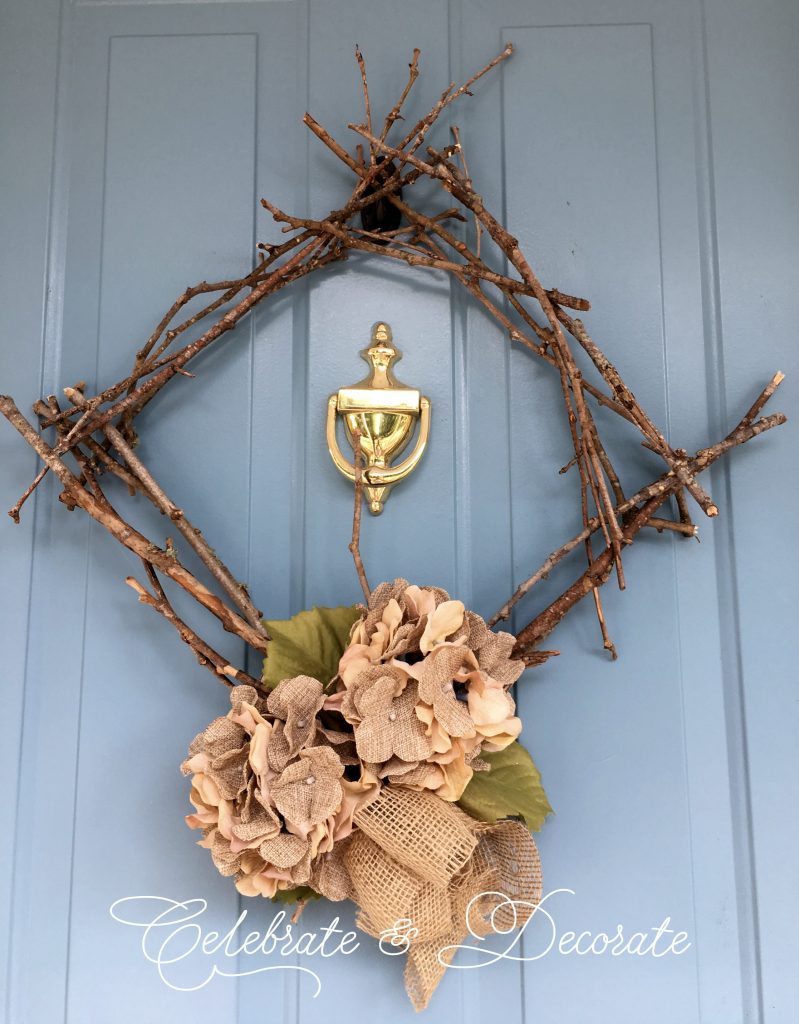
I first hung this on on my door on an angle. This is not how I planned on displaying it, but it certainly could be hung this way.
 What do you think? Should I display it square or at the angle? I had the Gorilla Glue on hand, so all I needed to make this wreath was two faux hydrangea blossoms and a $1 roll of burlap ribbon!
Supplies
- Twigs
- Gorilla Wood Glue
- Two large artificial blossoms
- Burlap ribbon
 I will be sharing this at the following link parties: The Scoop | Amaze Me Monday | Share Your Style| Waste Not Wednesday
What a clever idea Chloe! I love it both ways, but I think I prefer the angle. You are so talented!
Oh, thank you Kari!
Great and simple look. I like the square. 🙂
Thank you Rita, and a bargain, too! I decided on hanging it square also!
I love the simplicity of this wreat, Chloe. I like it hung as a square. Have a wonderful weekend!
Thank you Pam. I have decided on hanging it square, too!
saw this live on hometalk! i love it! have some branches from our liquid amber that i collected in the winter…i now have something to do with them, besides snowman arms!!! thanks!
Thank you Debi! Thanks for watching on Hometalk and coming over to Celebrate and Decorate! Snowman arms are cute, too, though!
Very clever Chloe! I’ll never look at a twig the same way again!
Thank you Jenna, a quick and easy project!
Loving this! No this is something you won’t see on everyone else’s door. I love that, plus it sounds like it took you very little time to make. Great job Chloe!
It was quick and easy, thank you!
I like it at an angle but it looks good both ways. How clever to make a wreath from the twigs. I love the rustic simplicity of it.
Thank you Debra, I am thinking about making a beefier one for Halloween with black birds on it.
Absolutely GORGEOUS!
And thanks for linking to Waste not Wednesday!
Thank you Deborah!
I prefer the angle because of the door knocker. Just the concrete sequential person in me coming out!