How to Make a Giant Fabric Bow
There’s something undeniably charming about a beautiful bow, especially when it’s oversized and made of gorgeous fabric! Whether you’re looking to add a finishing touch to a holiday display, or a grand photo opportunity, maybe you have a special little girl who would love a giant bow on her wall! A giant fabric bow makes a stunning statement. In this post, I’ll guide you step by step on how to create a showstopping bow that’s both elegant and easy to make. Get ready to add a touch of drama and sophistication to your decor with this simple yet eye-catching DIY!
Step one:
Read through all of the instructions and collect your supplies for your bow. Cut all of the pieces of fabric, reflectix, and Pelon.
Cutting instructions:
Fabric:
Cut 121″ of fabric for the bow
Cut 115″ of fabric for the tail
Cut 26″ x 26″ of fabric for the center
Reflectix:
Cut 106″ of 16″ Reflectix for the bow
Cut 100″ of 16″ Reflectix for the tail
Cut 24″ of 12″ Reflectix (cut down the 16) for the center
Pelon:
Cut 110″ for the bow
Cut 104″ for the tail
Cut 26″ x 14″ for the center
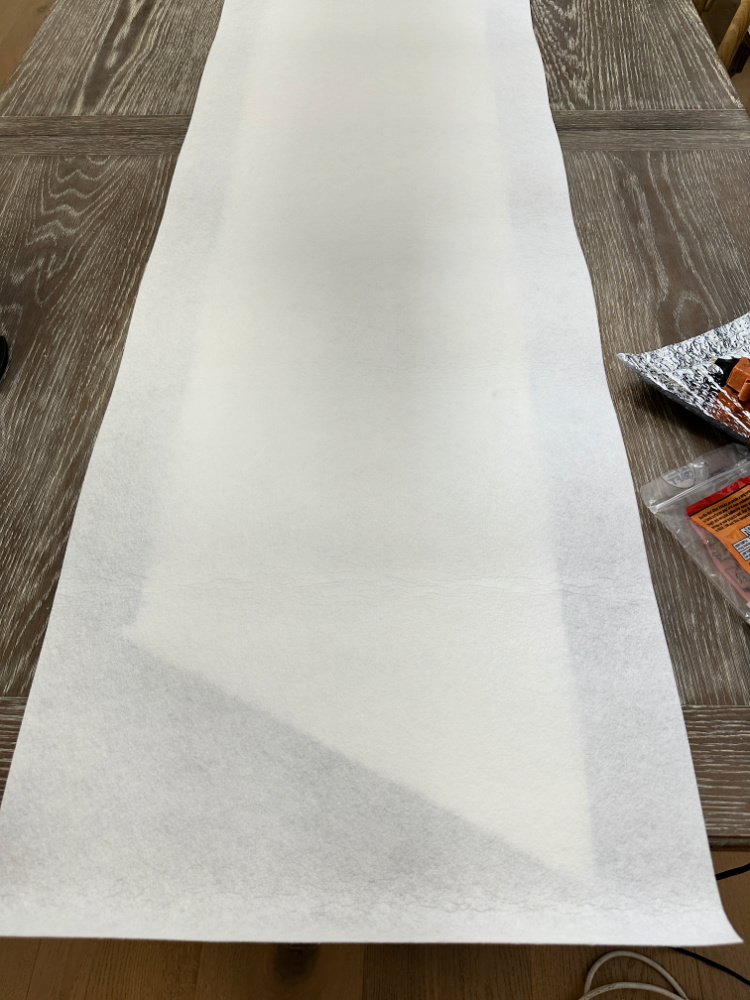
This is the Pelon I used:
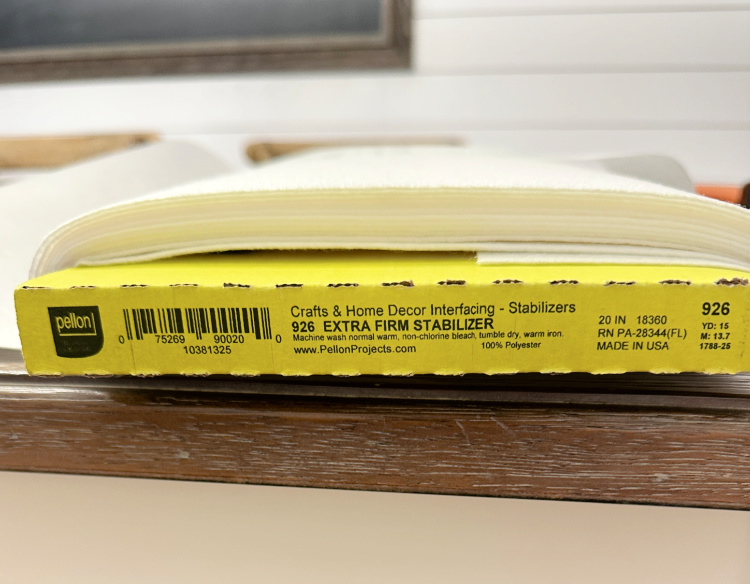
This is not the fusible kind. Since this is 20″ wide, instead of cutting it down I wrap it around the edges of my Reflectix.
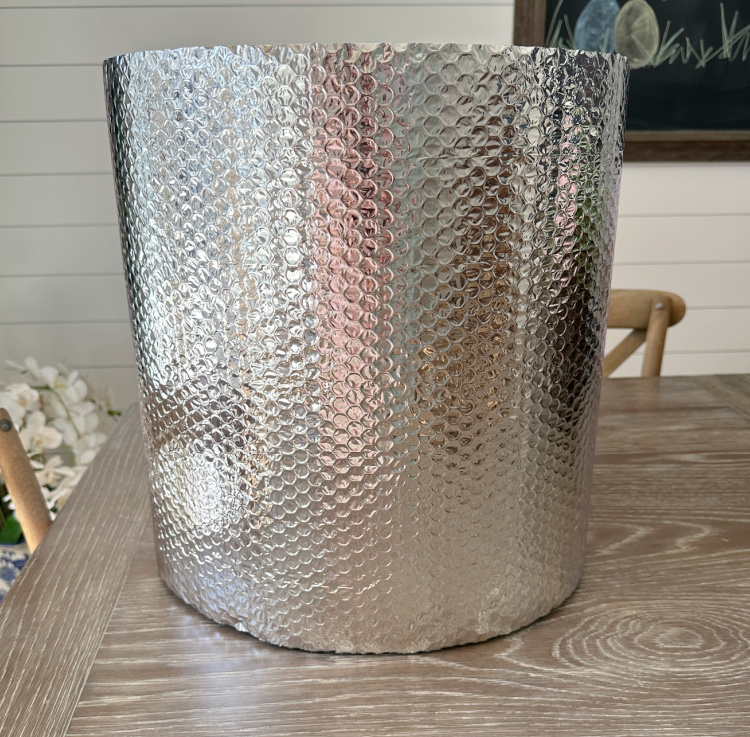
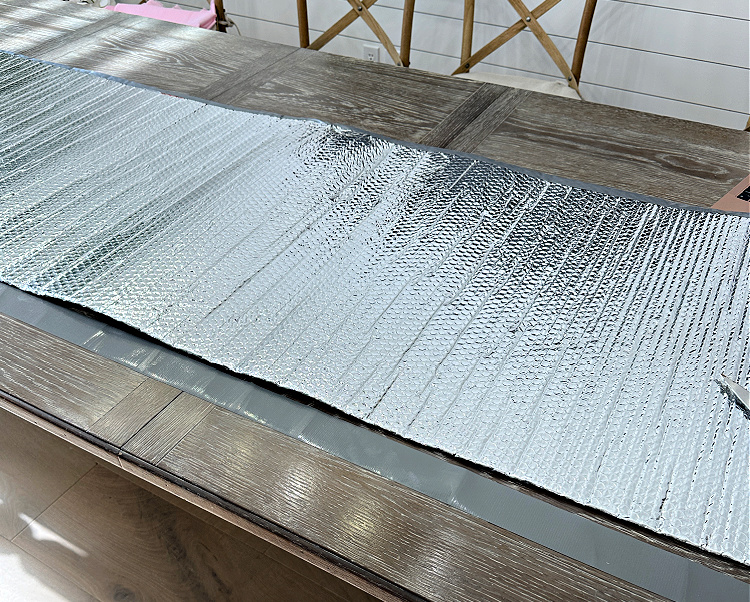
The rolls of Reflectix look like this. I used 16″ Reflectix to make this bow. Reflectix comes in 16″, 24″ and 48″ widths. You can buy larger OR cut the 16″ down to make a smaller or larger bow.
I choose every product I use or feature. I may earn an affiliate commission if you buy from one of the product links, at no extra cost to you. This income supports this site. See the full disclosure.
Supply sources:
Pelon
Gorilla duct tape
Wire
Reflectix
Gorilla glue gun
Gorilla glue
If you prefer a video, watch the video tutorial right here:

Prepare the pieces of your bow:
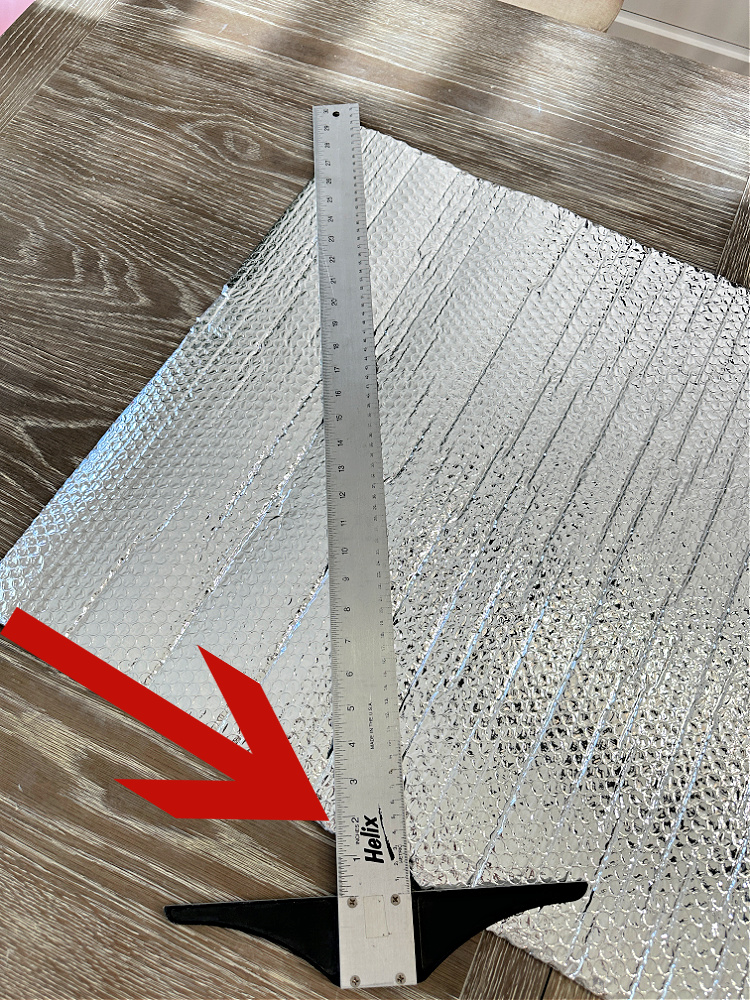
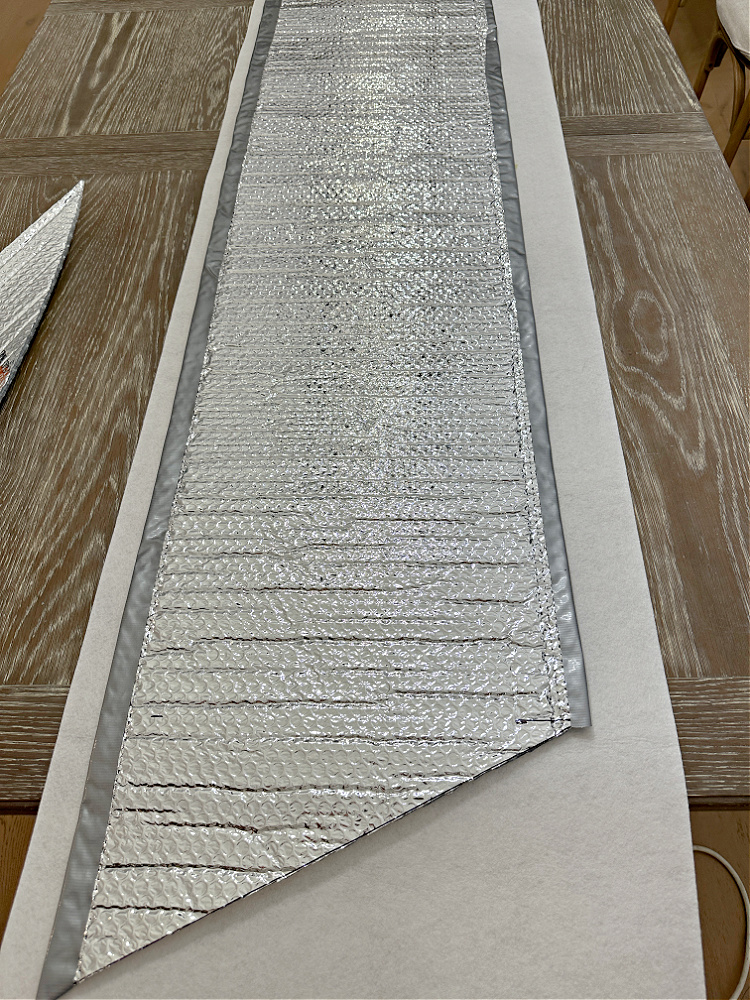
Begin with your tail piece (100″) laid out on a cutting surface. Measure up 8″ from the bottom on one edge (the red arrow). Mark that spot and then from there to the opposite corner draw a straight line. Cut along that line to give an angle to the bottom of the tails. Repeat this on the other end of your tail piece.
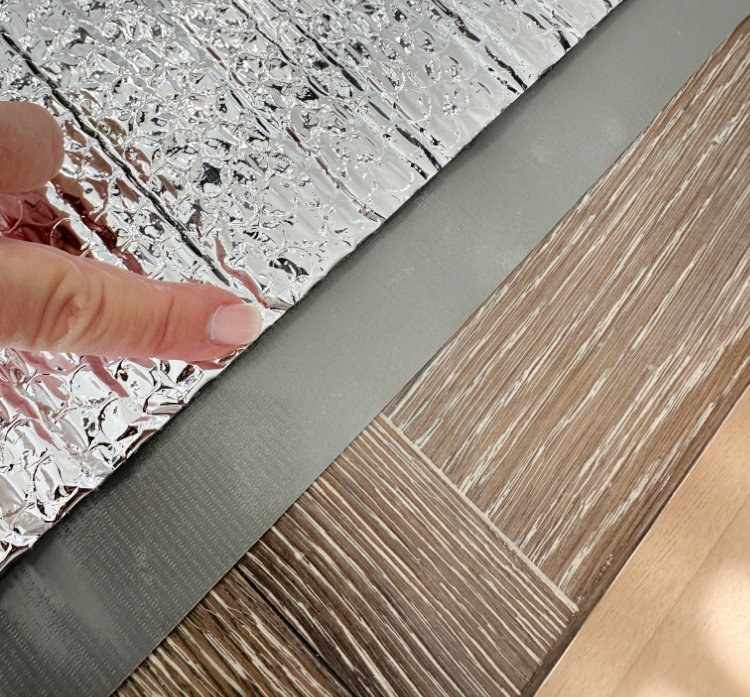
Lay out the tail piece of your Reflectix and lay a piece of Gorilla duct tape along the edge as shown below. The tape should be only half on the Reflectix.
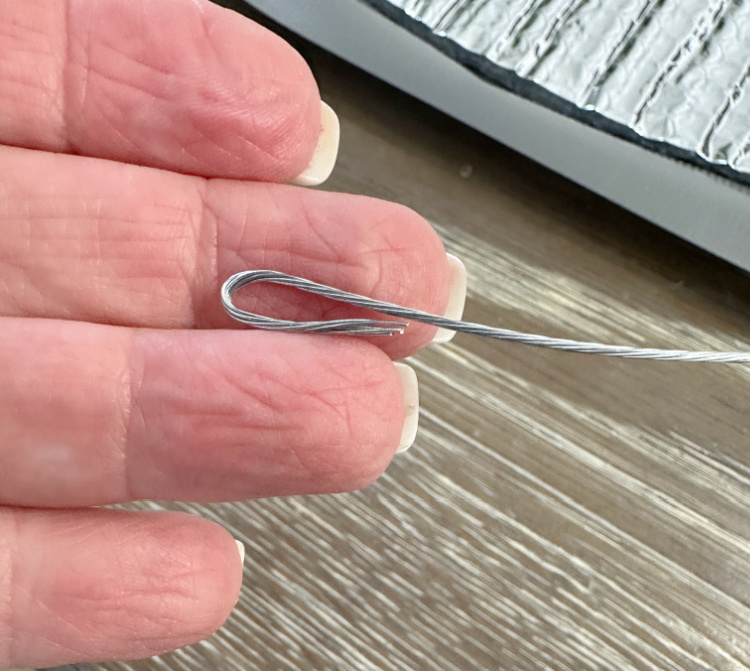
Fold over the end of your wire as shown below. You don’t want any sharp ends sticking out and poking through your fabric.
Stick that end of your wire down at the edge of your Reflectix onto your duct tape. Continue to unroll your wire while pushing it down onto the duct tape. Finish this to the end of one side of your tail piece. Repeat this down the other side of your tail piece.
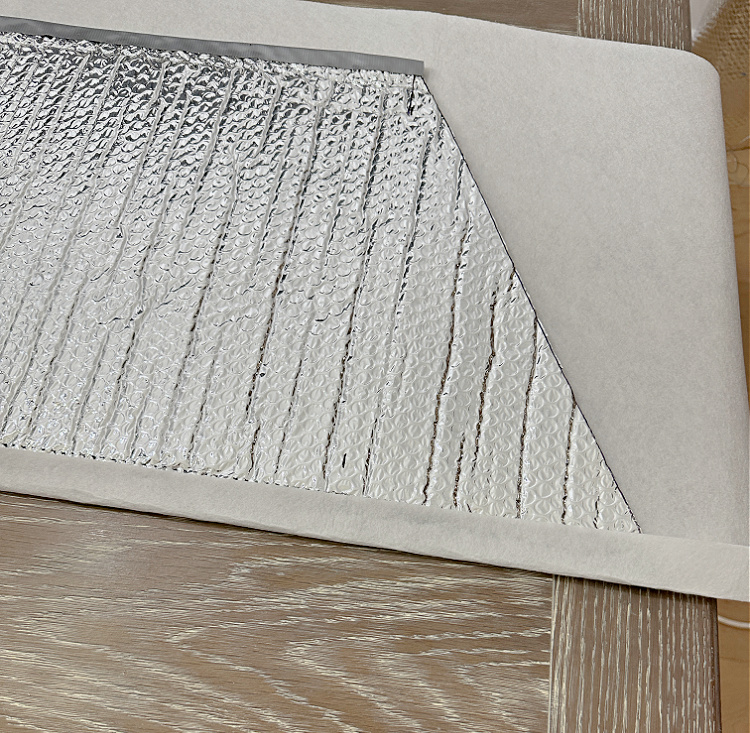
Next step is to take your piece of Pelon and lay it on top of your wired piece of Reflectix. Cut the same angle across the end of your Pelon allowing a few inches to be able to wrap it around the end of the Reflectix.
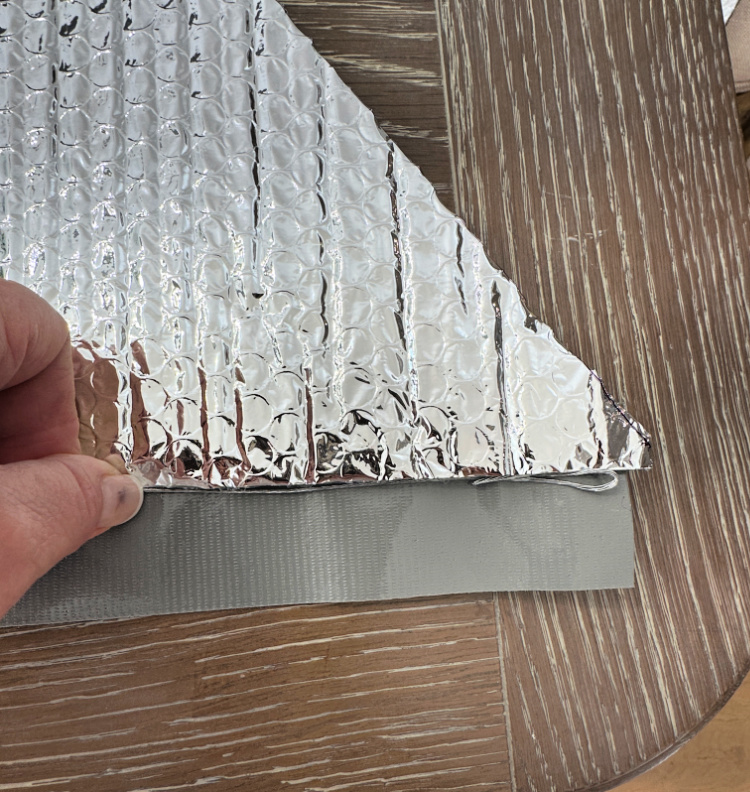
Turn your Pelon and Reflectix over as shown below.
Use a hot glue gun and wrap the Pelon securing it snugly to the the edge of your Reflectix. Fold over the ends as if you are wrapping a gift, again, securing it with hot glue.
Put the Pelon covered piece of Reflectix with the Pelon on side face down on top of the fabric with the right side of the fabric face down also. Take hot glue with your glue gun and affix the fabric to the back side of your Reflectix tail piece.

Complete the three pieces of your bow repeating the the same steps:
1) Attach the duct tape and the wire to the Reflectix.
2) Use hot glue to attach Pelon.
3) Use hot glue to cover the Pelon with the fabric.
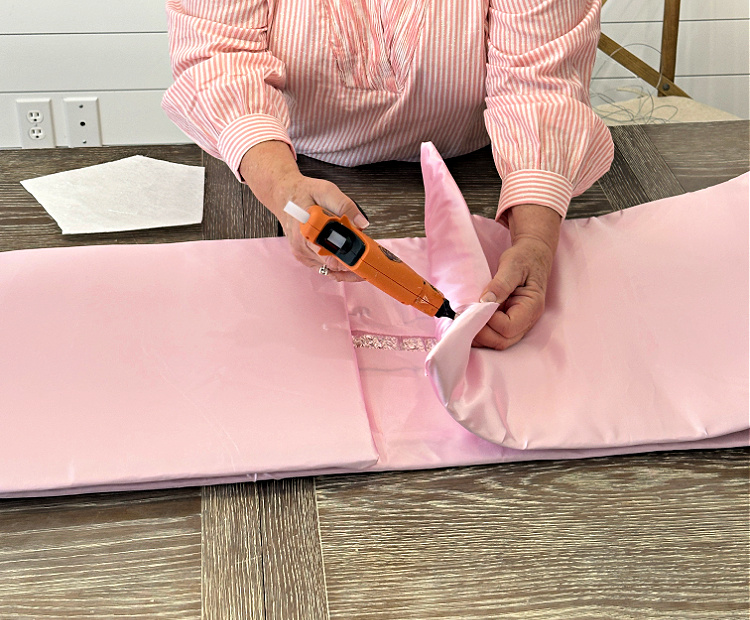
When you have all three pieces, the bow, the tail and the center finished, it is time to assemble your bow. Start with the bow piece. Fold the bow piece in half, making sure both halves are the same. Where they meet, use hot glue to secure the pieces together as shown below.
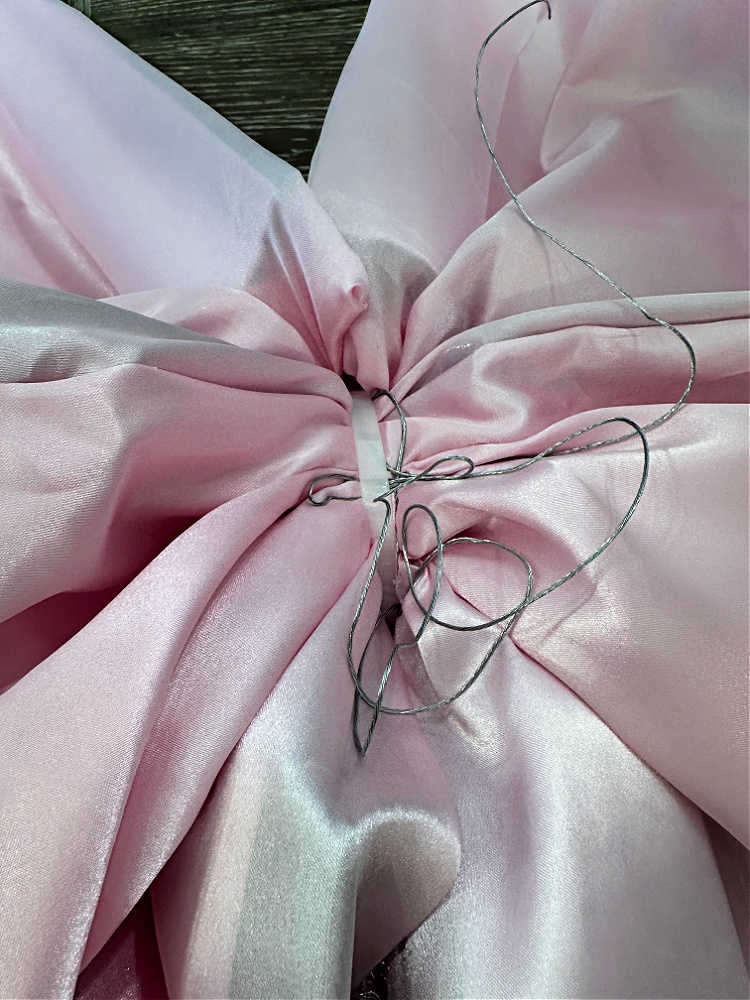
After you have let the glue dry completely, fold the bow piece over lengthwise so that the bow will have some pleating in it as you proceed to assemble it. After folding and unfolding the bow take a piece of the wire and wrap it as tightly as you can around the center of the bow. Leave the extra lengths of the wire.
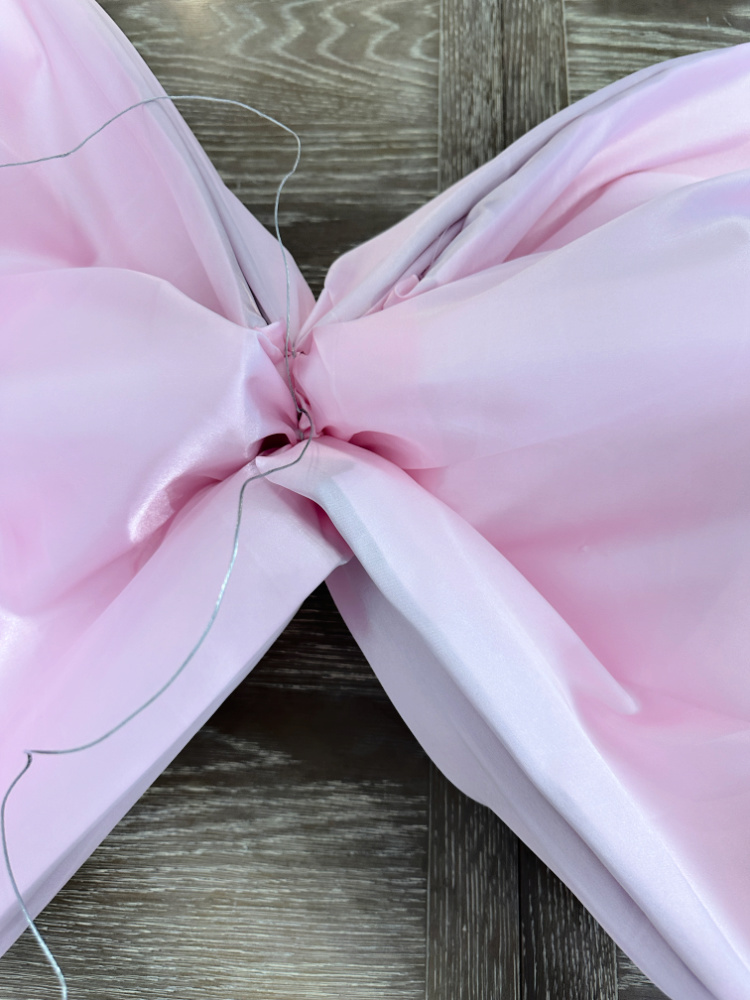
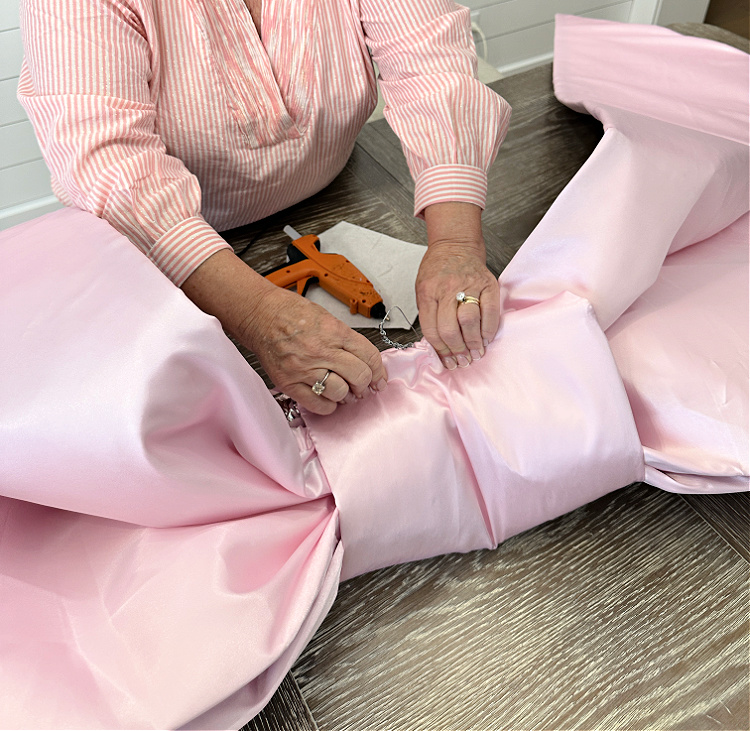
Take the tail of the bow and making sure the front side of the tails are facing forward, gather up the middle of the tail piece. Use the wire and wrap it around the tail piece in the middle. It is difficult to get this tight enough, so use a long zip tie around the bow piece AND the tail piece and pull it as tightly as you can. Leave the wires out, one pulled to either side. These will later be used to make a loop to hang your bow.
Make a loop with the wires and wrap the center piece around the bow and the tails and hot glue them together until they are secure. Leave the loop of wire coming out between the ends of the center piece.
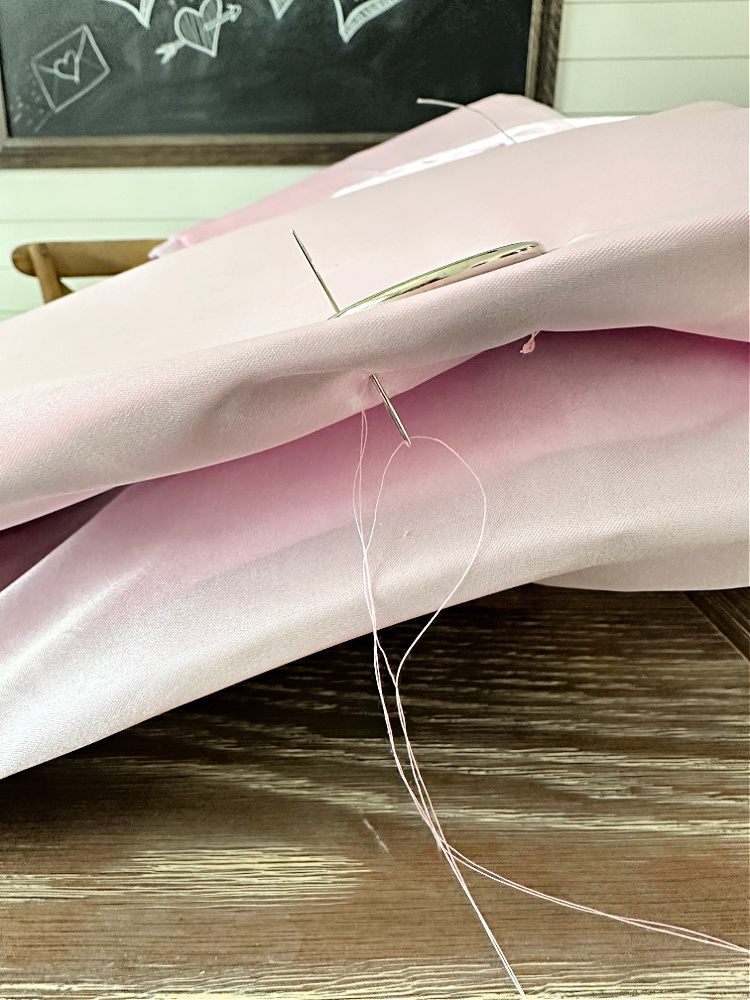
Use a needle and thread to attach a loop or a “D” ring to the upper backside of each of the loops. These will help you hang and display your bow.
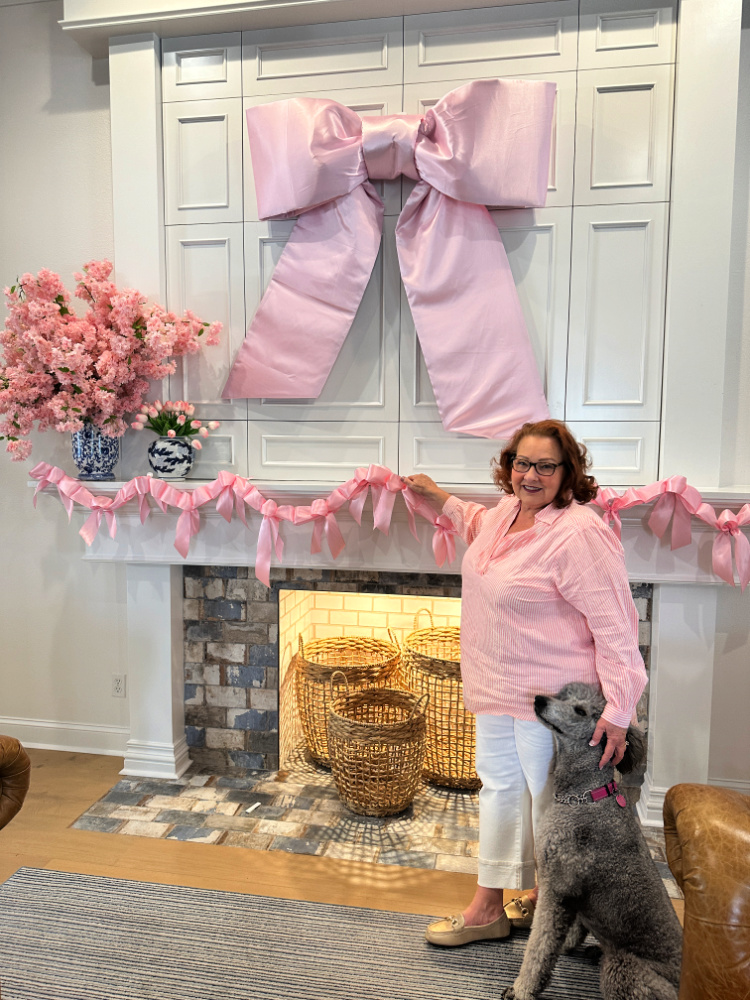
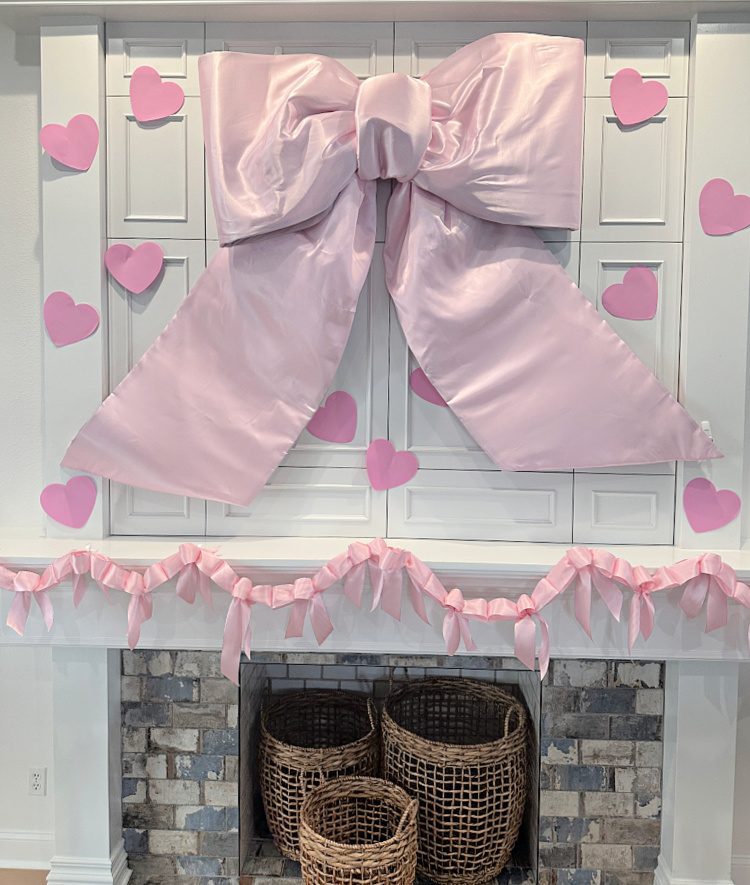
Your bow is now ready to hang and display! This bow is one I made with 16″ Reflectix using all of the measurements I supplied in this blog post.
This is a bow I made with the 24″ Reflectix.
Here is a photo of the larger bow to give you another idea of how large it really is!

If you prefer to watch me make this bow, you can see the YouTube video instructable here.
Hi love your bow I’m trying to make one for Christmas but wanted to know is it necessary to use the insulation can the peloton be used without the insulation
I am not sure that it will be stiff enough without the insulation to hold its shape!
Hi Chloe! I’m making one of these and curious to know what the purpose of the pelon is? Just to smooth the texture so it’s not bumpy like the reflective layer?
It both keeps the fabric smooth, AND adds more stability to the fabric.