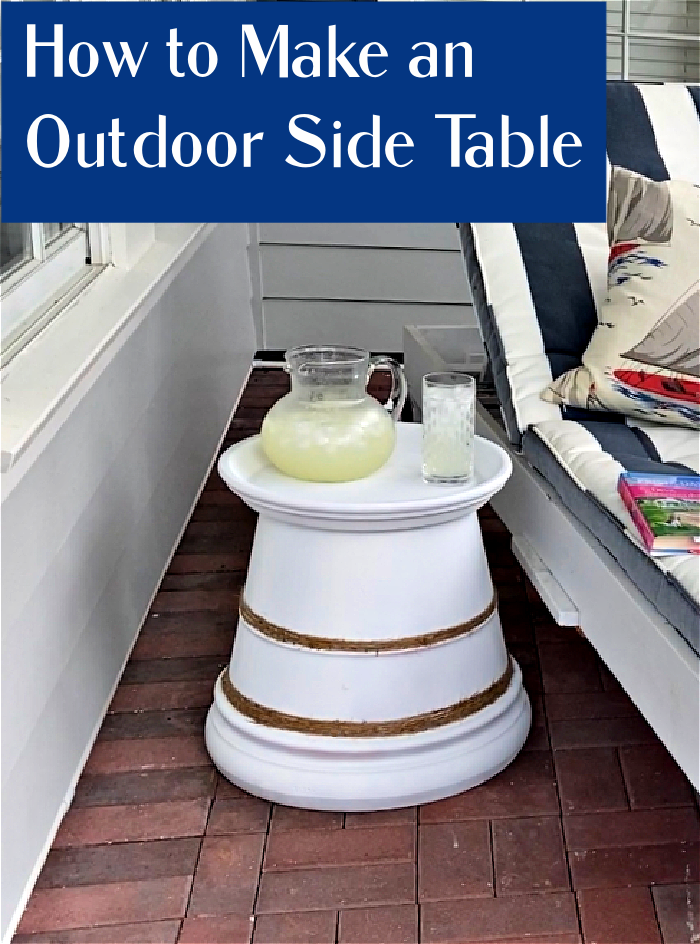
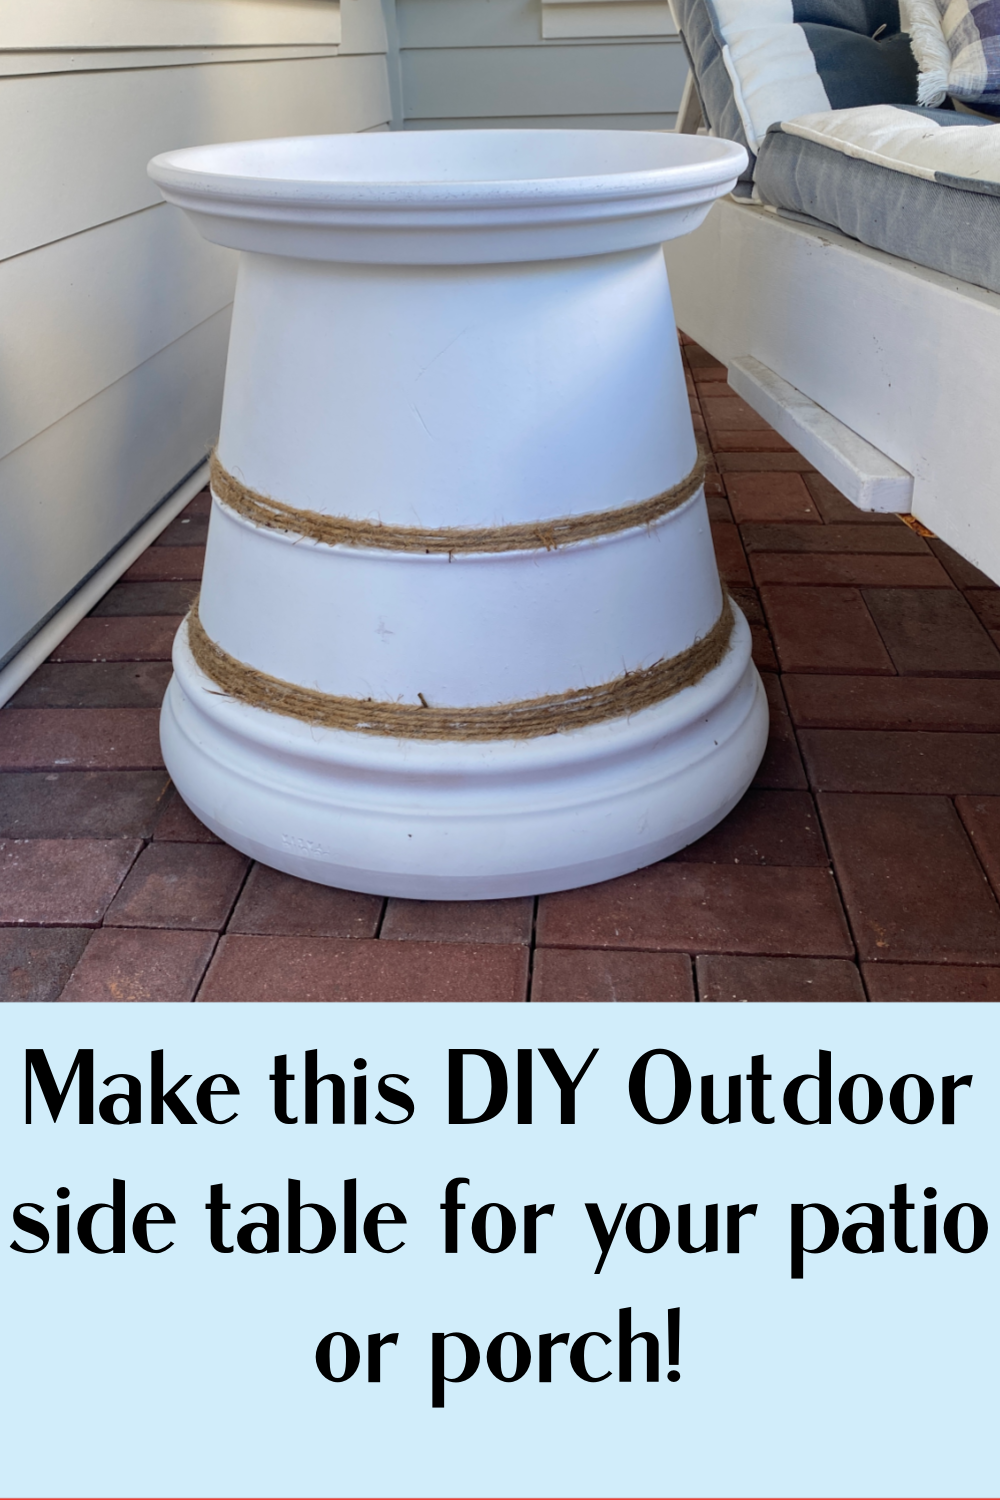
How to Make an Outdoor Side Table
If you need some small side tables for outdoors like I did, I have just the answer and the best part is that you can customize them exactly how you want for your taste and style! Try this DIY side table for an addition to your summer outdoor space!
This post contains some affiliate links for your convenience. Click here to read my full disclosure policy.
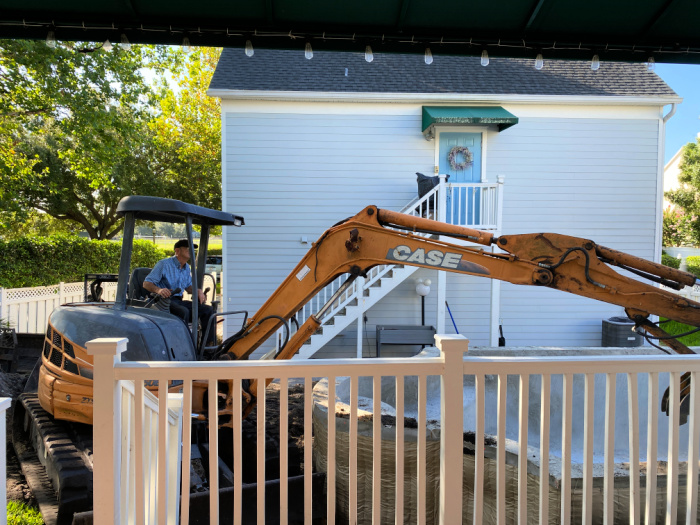
I am so fortunate to have my big wrap around front porch. Because it wraps around the front and two sides of the house, it give us a variety of places to sit out of doors. This is particularly important this summer because our backyard is completely unusable. The backyard is currently a construction zone. No kidding, this is what is happening right now, as I write this, in my backyard. Yes, it will be lovely, we will have a swimming pool a new garage and a lovely place for outdoor dining, but for now the front porch is the place for outdoor living.
So, back to the front porch. The reason a wraparound front porch is so nice is because if it is sunny one one side, you can go over to the other to get out of the sun. On a rainy afternoon, you can go to where the rain isn’t blowing to stay dry and listen to the gentle pitter patter of the raindrops. Sitting out there when it rains is one of my favorite things.
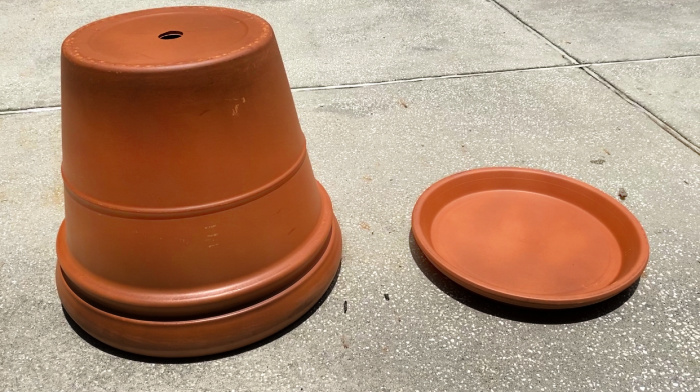
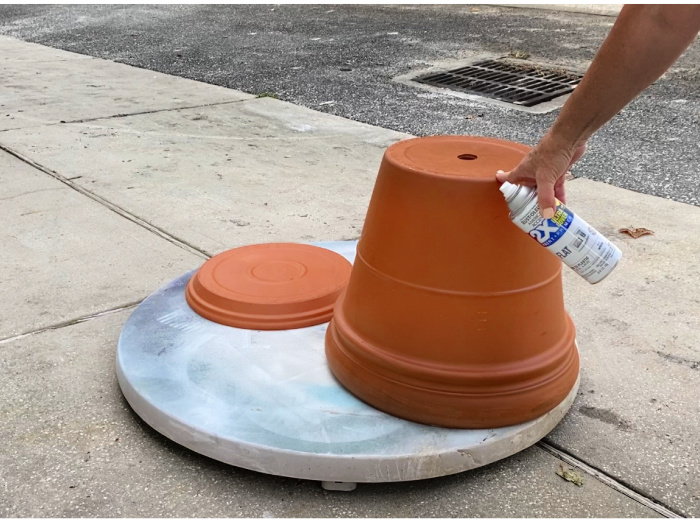
This project starts with a large terracotta pot and a terracotta saucer. I measured the chaise lounge I wanted to sit mine next to. You can measure the chairs you want to sit yours next to so you can decide which size pot and saucer to use. The pot I picked was 17 inches high and the saucer is 16 inches across.
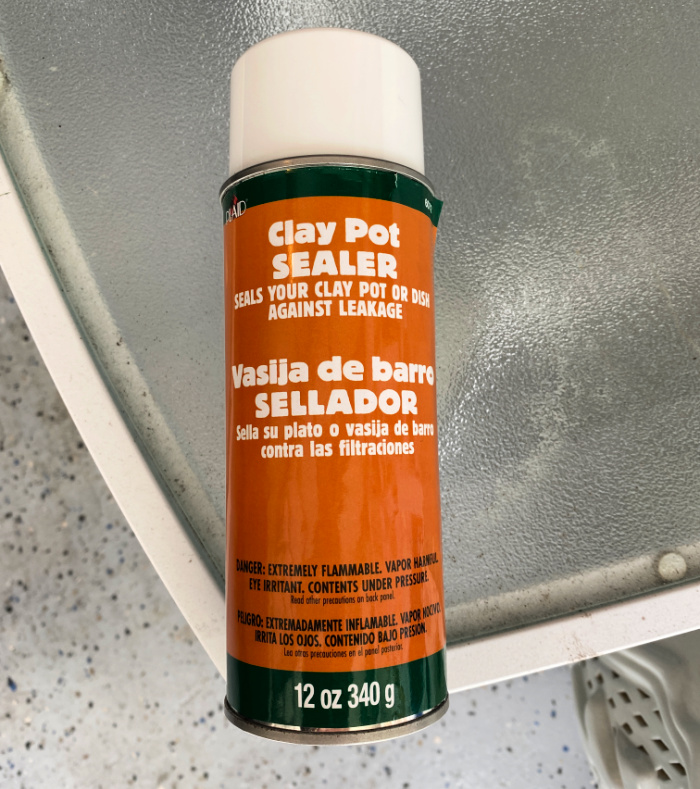
You can leave your pots totally natural if you would like, but I want to show you what I did to mine! The thing I love about DIY and crafting is that you can customize things exactly like you want them to be, and this is one of those projects! Begin by spraying your pot and saucer with Clay Pot Sealer. I like this brand from Plaid and had it delivered from Amazon. Follow the directions and make sure you spray them and let them dry completely. I sprayed the pot both inside and out.
After you have let the pots dry thoroughly from the sealer, you will want to paint them. I selected white for my table. Make sure you use a paint that is waterproof and suitable for those wet locations if you will be using yours outdoors like I am.
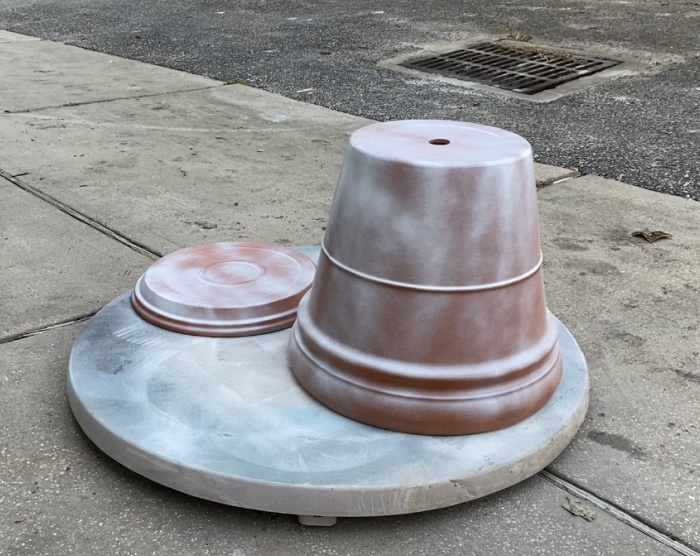
Spray paint your pot and saucer in a well ventilated or outdoor setting. Make sure there is nothing around like a car or the side of your house that will catch the overspray! Shake the can well and check the can for the proper spraying distance and drying time.
After applying three or four coats of white spray paint and letting my pieces dry completely between coats, I was ready to bring my project indoors to finish.
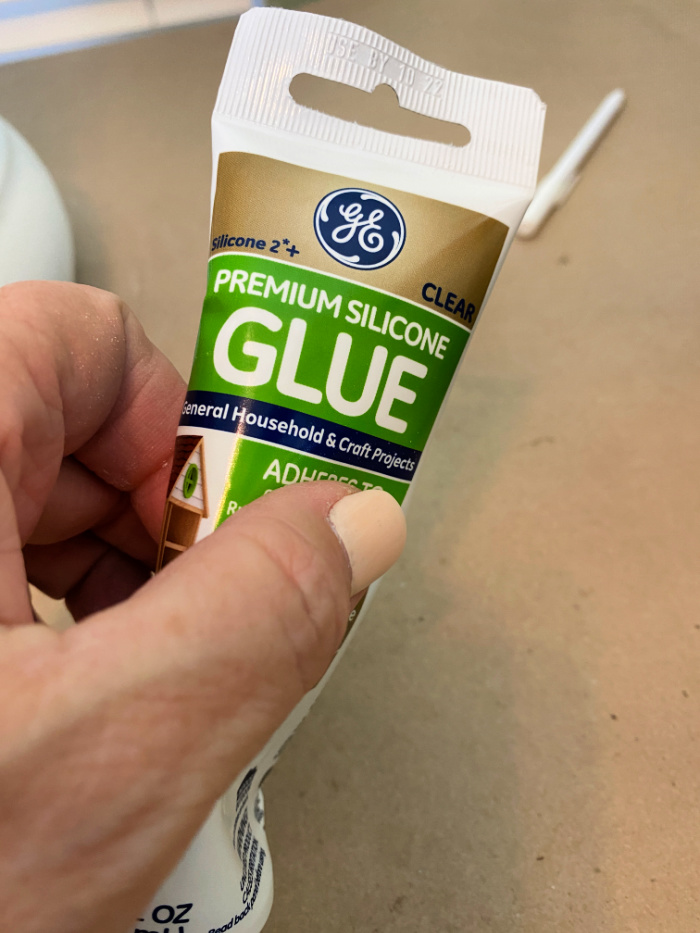
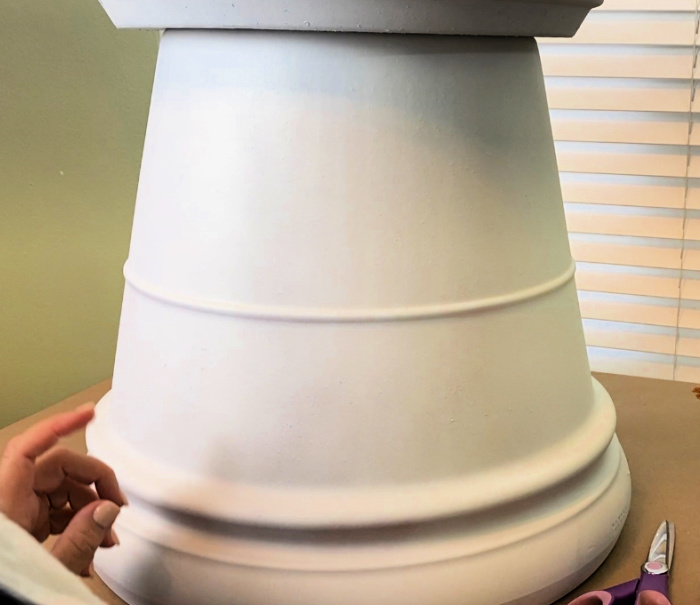
Because I will be using my table out of doors in a damp location I used a silicone glue to attach rope to my pot.
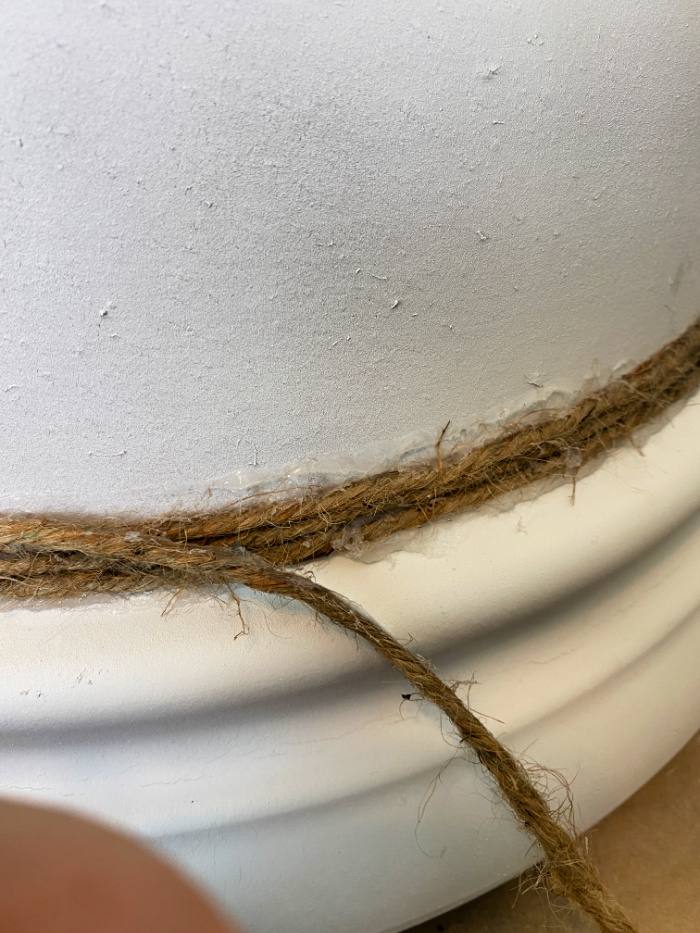
Simply squeeze a bead of the glue out around the edge of the pot and firmly push your rope into the glue so it is secure. It will dry and stay right there, even in wet or hot and humid conditions.
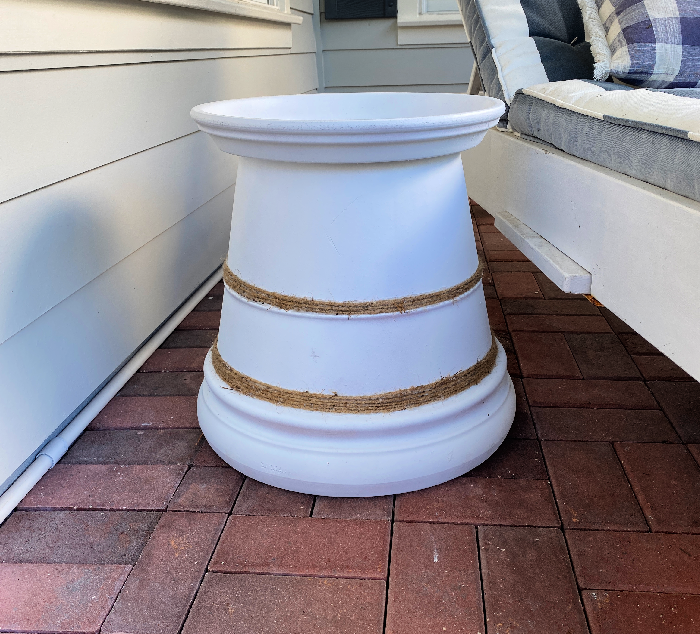
The pattern I decided on for my pot was just two bands of rope as shown above. You can do anything you want. If I did it again, I would likely use a coarser rope. I am also considering making these side tables for out by our pool and spray painting the rope white, so there is just the texture, but the tables would be all white without the rope being just a texture.
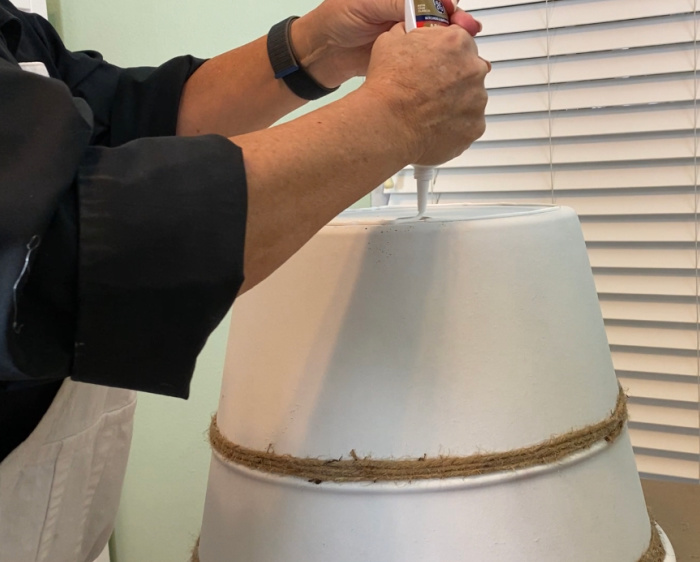
When you have completely decorated your pot like you want it to look, it will be time to attach the saucer to the top. The saucer will serve as your table top. Use a strong bonding silicone caulk or a construction adhesive to the top (which is really the bottom) of your large terracotta pot. Follow the instructions for the adhesive you are using. Apply a generous amount to the surface and then put the saucer down on it pressing firmly.

Now I have the perfect little side table nice and handy next to the chaise on our front porch. I will be ready to settle in with a good book and my puppy. It’s a nice afternoon in Florida, and this side of the porch is getting a little breeze. I have a big pitcher of lemonade and am ready for a rest. My new table will keep my drink nearby and no spilling! Let me know if you need some side tables out of doors and might take on this project! How might you decorate or design yours? I tried some stenciling while I was at Haven and am thinking some palm leaf stencils would be cool, what do you think?
Love this, I’m going to make two for my patio around the pool. I plan to decorate very similar as yours but will be adding some stenciled “Red Crabs” and “Blue Crab” to mine, since my last name is also “Crabtree”.
Thank you for sharing this. Once they are made I’ll share a picture.
Oh Rebecca, That is a great idea! I look forward to seeing them! It is always nice to hear from another Crabtree! Is your Crabtree family from Southern Ohio or Northern Kentucky?
Cute, cute table!
Thanks so much CC! That is what my granddaughters call me…CC!
I like this idea. Since I have a bad back, I’d use some of those heavier plastic pots and saucers from a dollar store. I found some nice ones several years ago for potting arrangements and found that I preferred those lighter versions to the heavy clay ones I’d purchased earlier.
I think these would also look nice with a painted stripe to match or complement your chaise. Did you apply some sort of sealer after painting? I think I might have to since I live in a colder climate!
Always enjoy receiving posts from you, Chloe!
Sandra, Thank you so much for your kind comment. I REALLY do enjoy hearing from my readers! I would think the plastic pots would probably work as well as long as you don’t have a lot of wind. We get a lot of wind here in central Florida, so they may not stay where we put them. I like the idea of a stripe! The best thing about crafting items yourself is the chance to customize them exactly the way you want! I didn’t seal mine, but I did use a paint that was waterproof and good for plastic, so that would probably work for you! If you use a sealer, make sure it is one that dries clear. A lot of them tend to yellow as they dry!
Thanks! Great suggestions. I also didn’t know that some sealers dry yellow.
And yes, we can get some nasty winds. Living “in the hollers” between mountains, the wind gets funneled off the peaks and a lightweight side table would be at risk of ending up in the river. It may end up getting stored between use on the front porch, along with my lightweight folding chairs.
Sounds like a good idea, Sandra! Don’t get blown away!
Chloe, what a great idea! I love the fact that you can customize them to serve your needs. And what a fun picture of your sweet dog! I would love to sit there and have lemonade with you. Thanks for sharing….you are so talented!
Thank you Mary! I would love to have you sitting right here on the porch having lemonade with me…and Lily! Perhaps come October! I am sure it will still be warm!
Hi Chloe
Just another great and inspiring project.
Thank you so much Edmee! It is so nice to hear from you!
It looks like Lilly likes the table. What a
Great inexpensive solution. I love the lounge chair. What a great spot to read. Thanks for sharing this.
Thanks so much Andrea, I like to have a table nearby to keep something to drink on! Especially in the summertime here in Florida!
I really love how this project turned out, how easy and useful it is, and can be adjusted to anyone’s style. Thank you so much for sharing!
This is such a great idea for a table, Chloe! Your sweet puppy looks pretty happy out there.
Thank you Kim! I don’t know if you have issues being on the water, but we can’t keep metal or wooden tables with the humidity and this is a great answer!
Love your table. Im thinking of trying it by matching the colors with the pool tile, use and browns and maybe stenciling some sealife on the top.
Gayne
Thank you Gayne! Oh, I like that idea! I haven’t decided how we will furnish things around our pool, but this sounds perfect!
Beutifull table
Thank you so much Clara, I think it will be perfect for our front porch!
Chloe:
I absolutely loved your blue and white tablescapes. I’m changing some colors in a few rooms and blue
and white are the new colors. I am busy trying out how to fit those blue charger plates into one of my birthday
gift suggestions. Really Beautiful!
Thank you so much Ann! Since moving into this home 8 years ago, I have totally changed my interior style and find that I am really attracted to blues and whites. I guess you can see how much I love those chargers, I use them a lot. I hope you get them as a lovely birthday gift!!
Love the table. So easy to make.
Thank you so much Charlotte! It was so easy to make and has held up so well! No rust on this baby!