
Re Styling A Catch All Box
It was high time to for re-styling our catch all box. Do you have one of these? This is where all of the keys, glasses and mail land before we get a chance to sort through it. This same box has been used for many years, but it was time for the leopard print to go. This definitely did not meld with my coastal interior.
This post contains some affiliate links for your convenience. Click here to read my full disclosure policy.
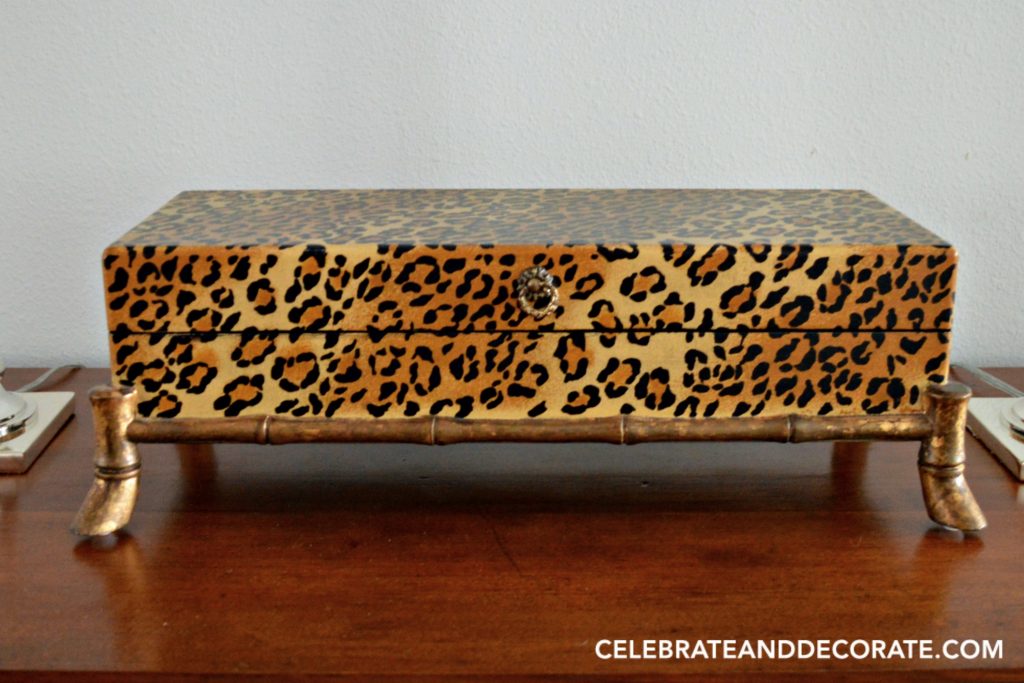
It has been a great box, it is well built, but I struggled what exactly to do with it with the oriental bamboo-looking trim and legs. This was not going to take on a coastal look very easily. I happened upon some map image wrapping paper and knew that would do the trick! This would go well with the nautical touches I have added to our coastal style home.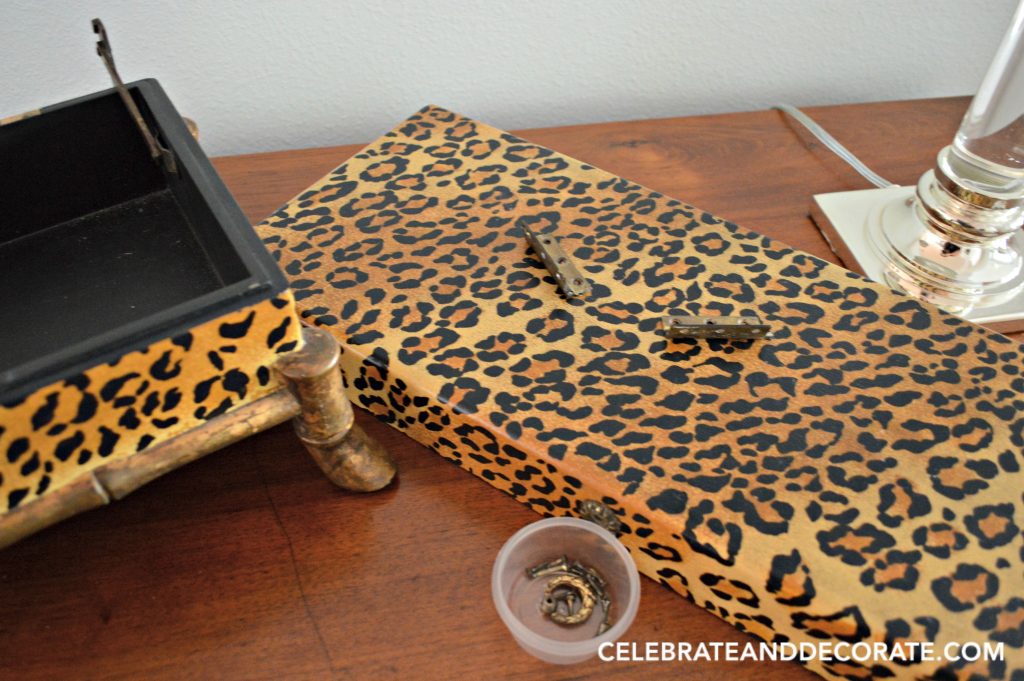 The first step was to totally disassemble the box, removing all of the hardware.
 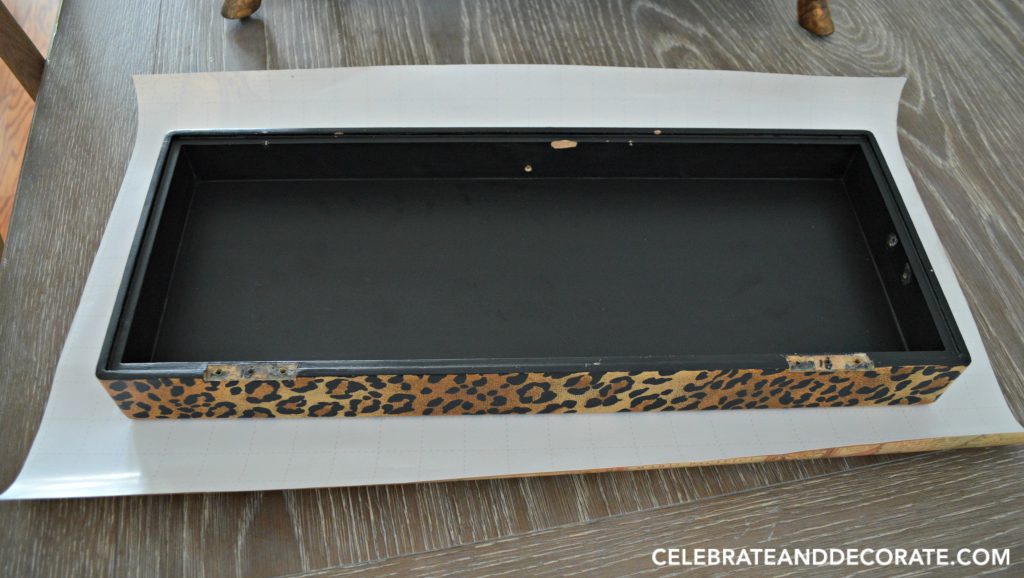 Then I simply began by cutting the pieces of paper to fit the pieces of the box.
 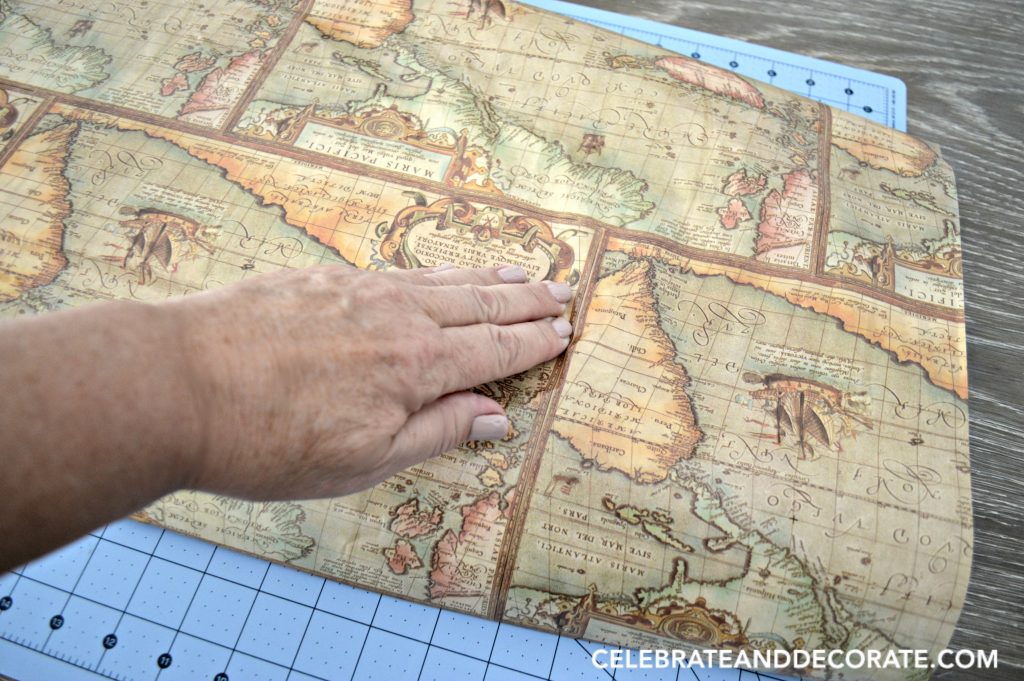 I began to cover the pieces of the box with the wrapping paper, using Mod Podge as my “glue” and sealer.
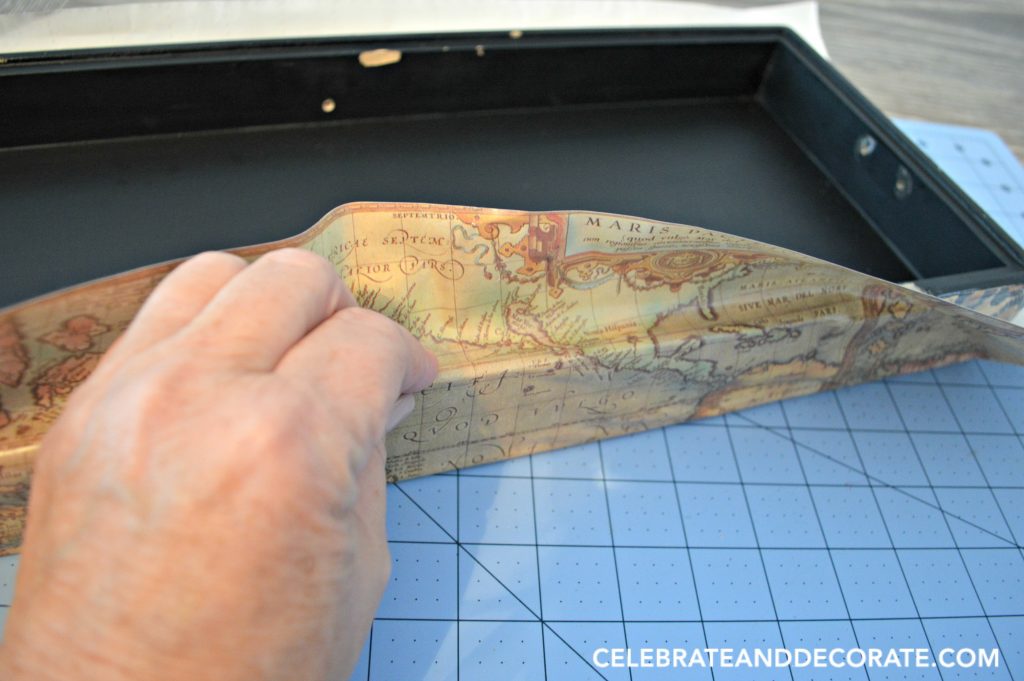
I had to be very careful and purposeful as I folded the paper around the edges and corners, as to not tear the paper and make sure the entire surface of the box was covered. 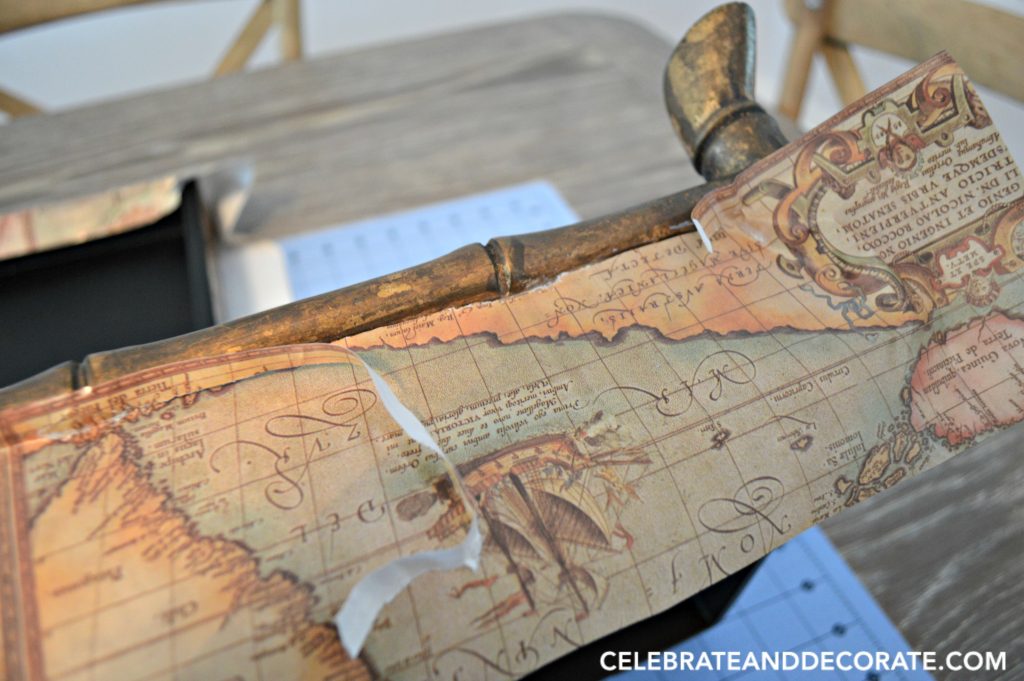 I used an x acto knife to trim along the uneven edge of the box where the bamboo-like trim was. I wasn’t worried about how it looked, you will see why later.
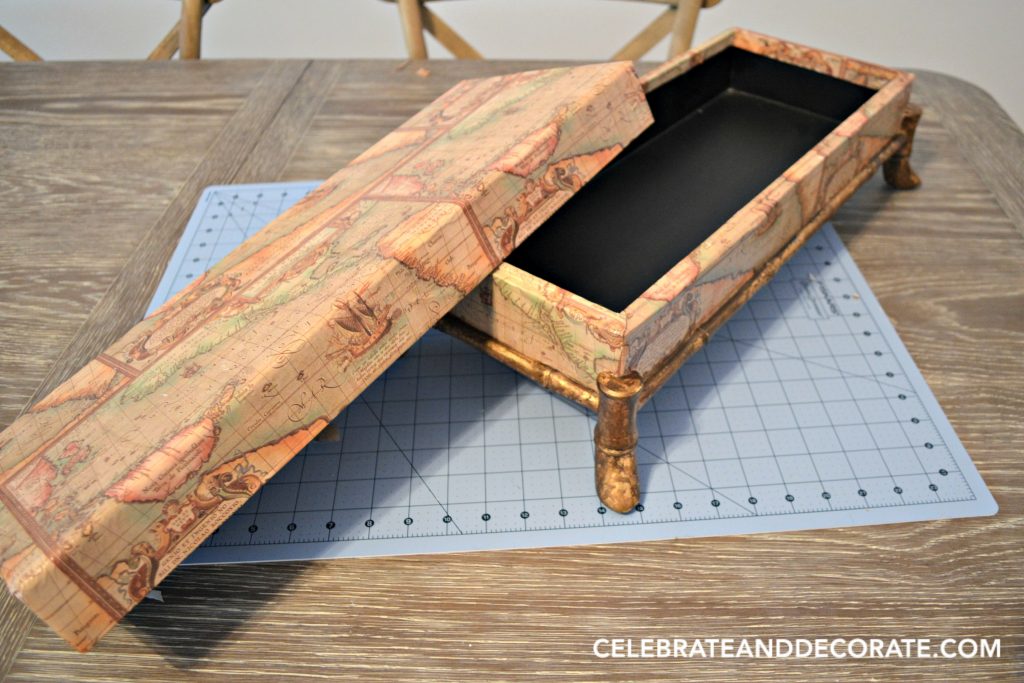
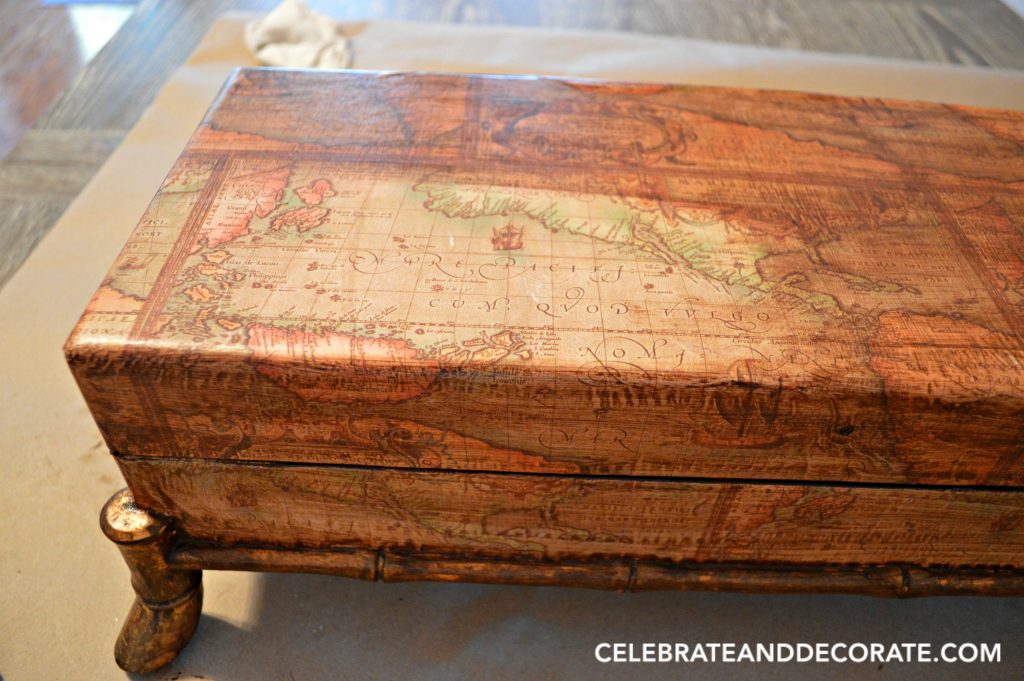
The box is covered completely, but not really the look I am going for. I wanted this to look like it was an old map printed on leather which had been worn over the years. 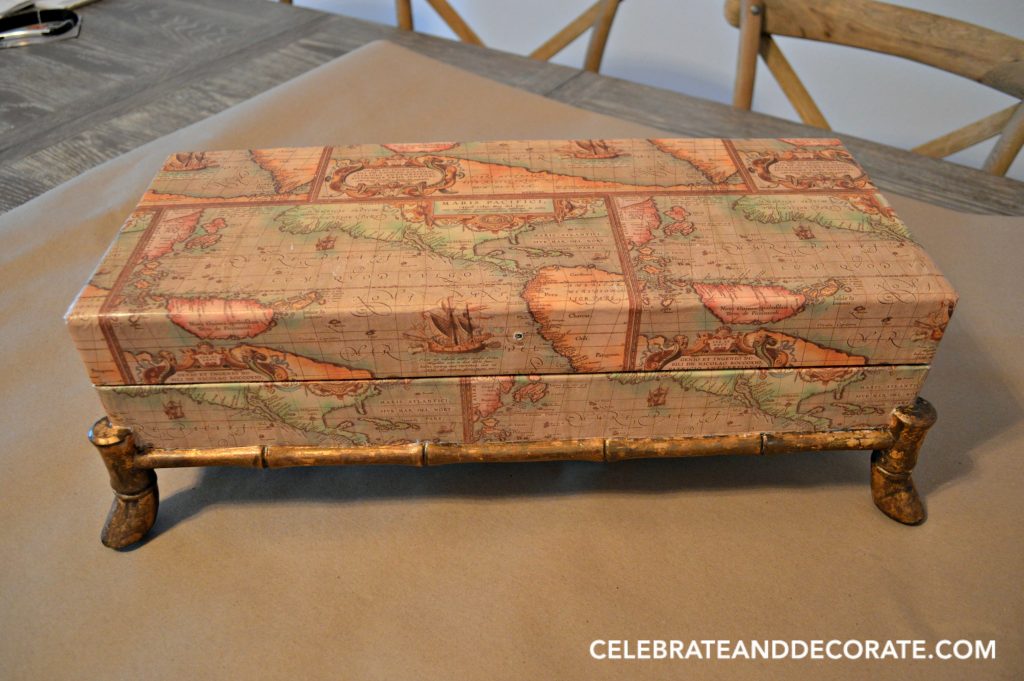 I put the box back together with all of the original hardware except for the knob that opened it, which really appeared undersized for the box.
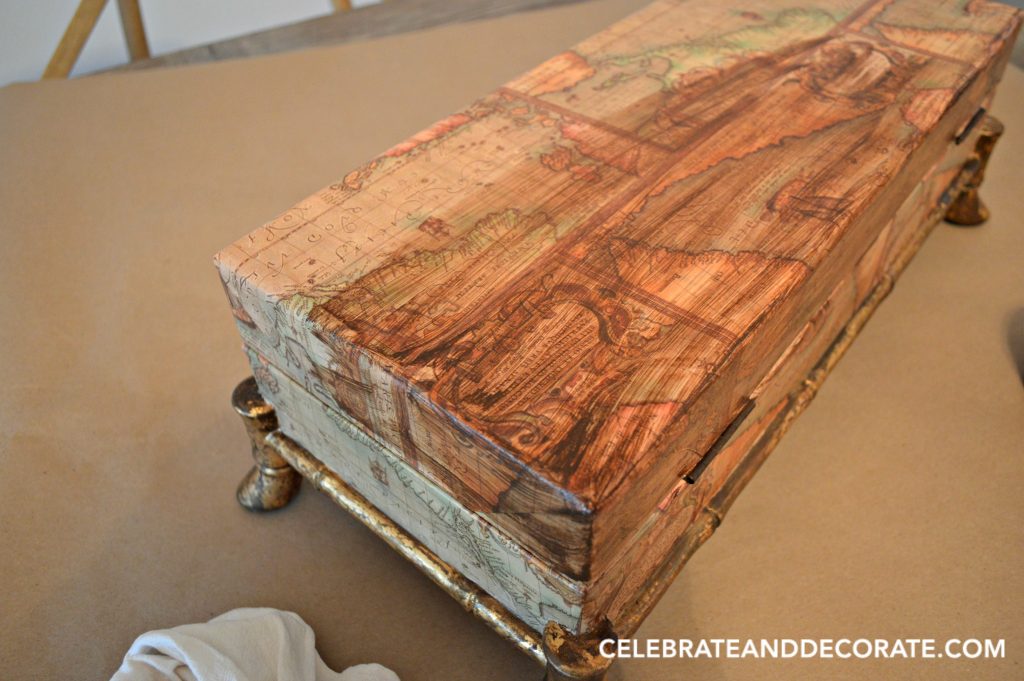
I used a foam paint brush to brush on a coat of wax in small areas of the box and then rubbed it with a clean, lint free cloth.
 Now it was time to age my box so it looked like it has been hanging around in some little antique shop for years and years. This photo shows the corner I had yet to add the wax to in contrast to the rest of the box that had one coat of wax.
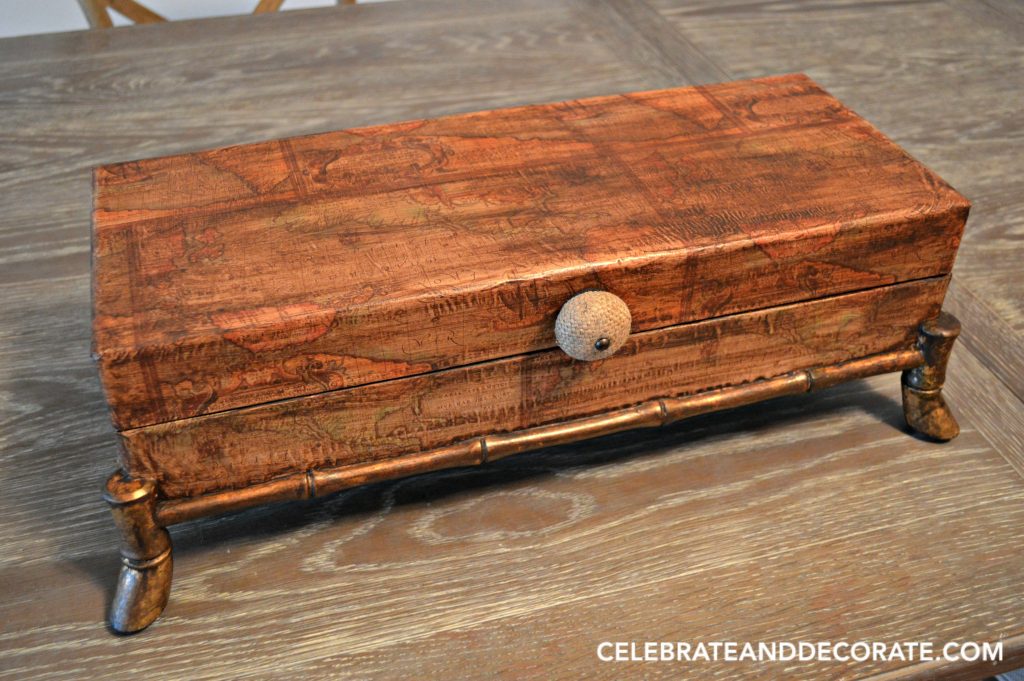
Here is my box with two coats of wax on it and the new handle. Along the gold bamboo trim I added plenty of wax, so it looks like it is old. I added two coats of wax to the gold bamboo, also. Now my box can go back in its proper spot and collect all of the keys and mail and sunglasses and still blends in with the decor instead of sticking out like a sore thumb!
Shop This Project:
Map Gift Wrap – Amazon
Mod Podge – Amazon
Antiquing Wax – Amazon
I will be sharing this at the following link parties: Before and After Wednesday | Your Inspired Design | Creative Circle |The Scoop |Brag About It
Chloe, what a great catch-all box that now works wonderfully well with your coastal theme! Happy Thuraday! Pam @ Everyday Living
Chloe, what a wonderful box. It turned out beautiful, and is just the perfect thing for holding your important items. I hope that you have a Happy Thursday!!!
Thank you Shannon! Those leopard spots had to go!
A catch-all box is exactly what we need. All too often the mail ends up on the kitchen table. Not a nice look at all! Yours is so neat and pretty and isn’t Modge Podge a wonderful thing!
Wow Chloe, I would have put that box in the giveaway pile and gone shopping, how clever of you to completely transform it! The map paper is such a smart idea, and it looks fantastic! Great transformation!
Oh, thank you Jenna, I just couldn’t part with it, since it was so sturdy and the perfect size!
You did such a nice job on this, Chloe. I am impressed with your determination to refinish it…no one would ever know that it was a “redo”!
Thank you Julie, I just couldn’t live with it in leopard any longer!