

How to Make a Spooky Halloween Door Swag
If you are looking for something a little different from a traditional Halloween wreath, this spooky Halloween door swag makes a wonderfully dramatic alternative. Filled with autumn leaves, skulls, pumpkins, berries, ribbon, feathers and plenty of eerie accents, it can be customized with whatever Halloween decorations you already have tucked away.
This is also a project you can create well before Halloween. Seasonal craft supplies tend to disappear quickly, so gathering your materials early gives you the best selection—even if you do not plan to hang your finished swag until October.
I created this Halloween swag almost entirely with decorations and floral picks I already owned. Before shopping, take a look through your Halloween bins and craft supplies. You may be surprised by how many forgotten treasures you can reuse.
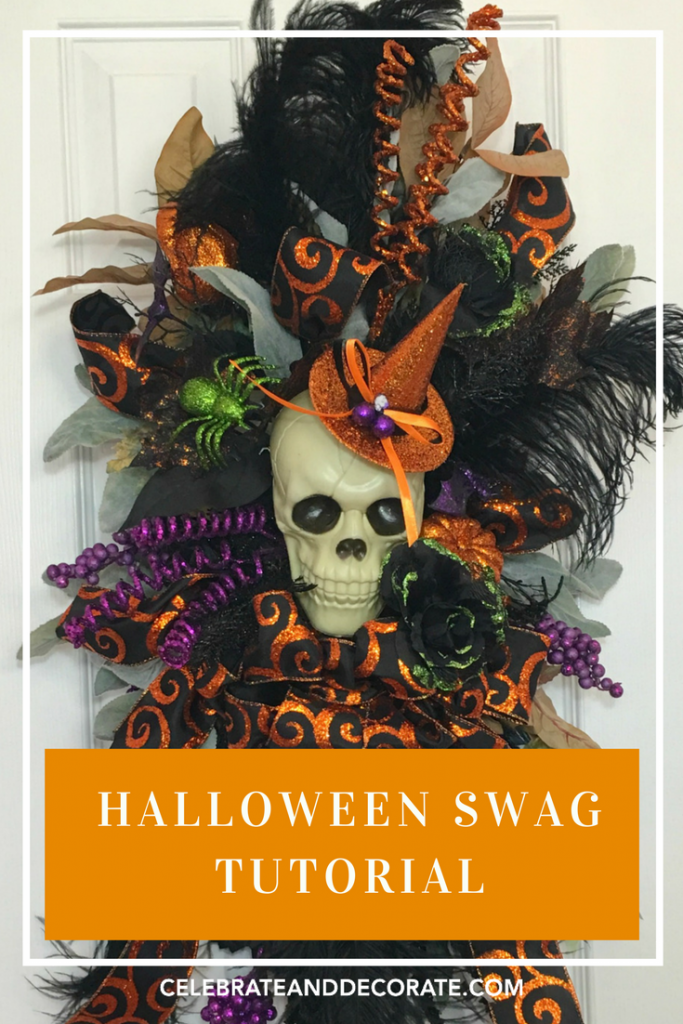
Supplies for a Halloween Door Swag
- Heavy-gauge floral wire
- Floral tape or tape-wrapped floral wire
- Faux autumn leaves and branches
- Plastic skulls
- Halloween floral picks
- Small pumpkins
- Berries
- Black decorative branches or sprays
- Faux spiders
- Ribbon
- Feathers
- A small witch hat
- Wooden floral picks, if needed
- Hot glue and glue sticks
- A Command hook or another sturdy door hook

Create the Base and Hanger
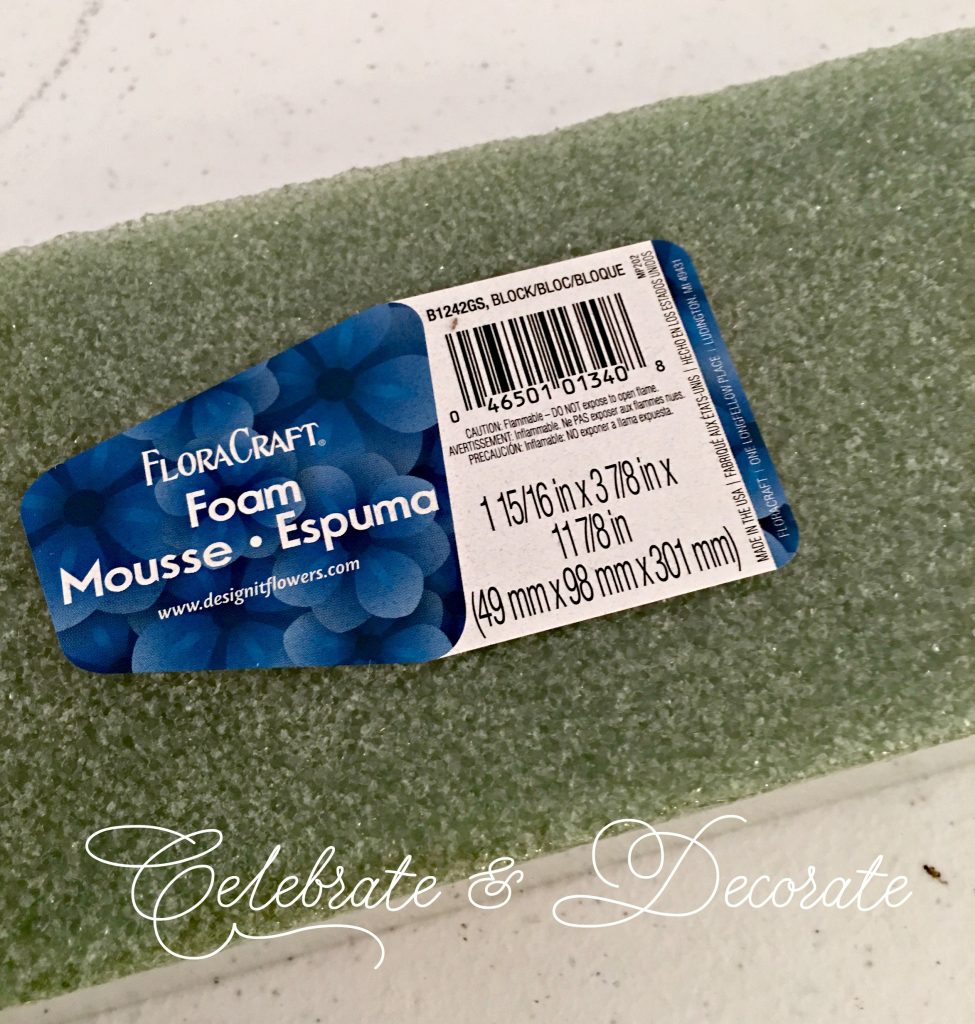
I began this project the same way I made my catalog-inspired floral swag, using a sturdy piece of Styrofoam as the base. Styrofoam holds floral stems and decorative picks more securely than softer floral foam, making it a good choice for a substantial door swag.
Begin by pushing a length of heavy wire through the upper portion of the Styrofoam. Because the wire can slice through the foam when the finished swag becomes heavy, it needs an anchor.
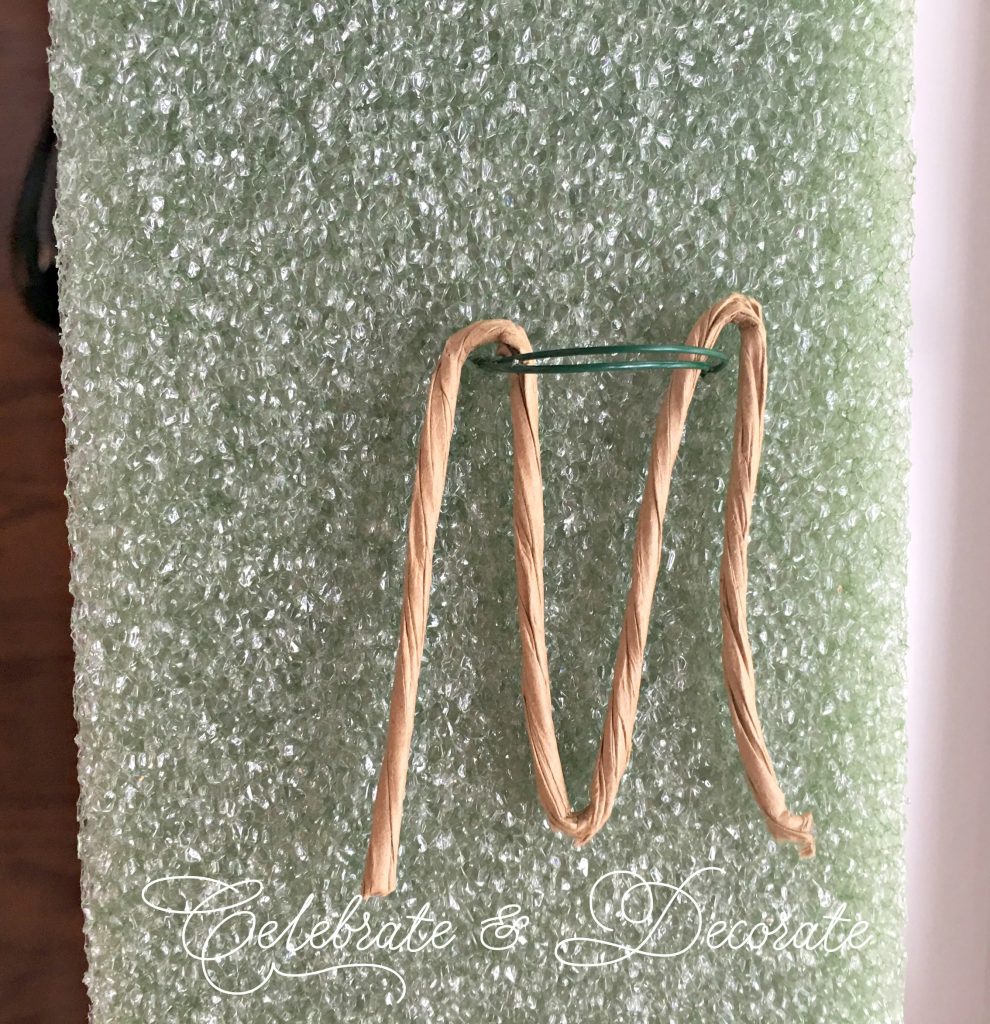
Bend a piece of tape-wrapped floral wire into an “M” shape and place it against the front of the Styrofoam. Pull your hanging wire down and around this anchor so the weight is distributed across a wider area instead of resting against the foam alone.
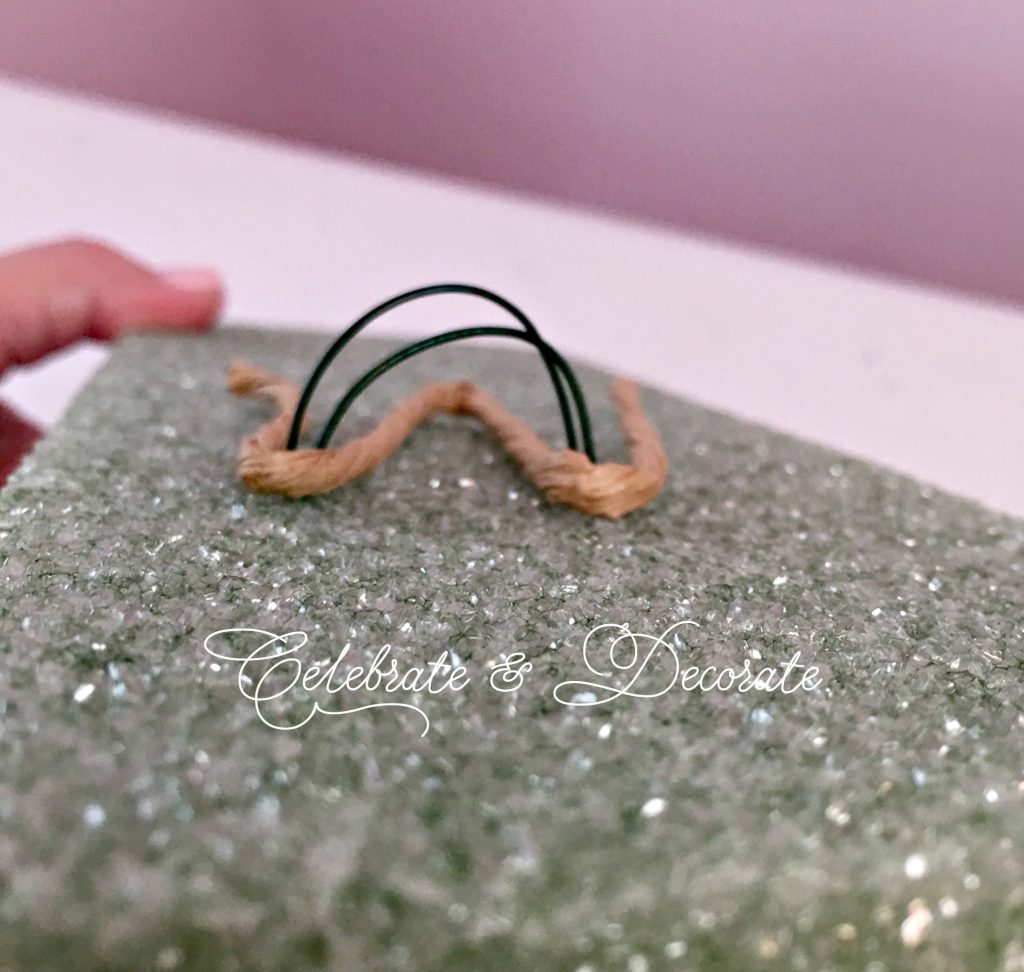
On the back of the Styrofoam, twist the two ends of the wire together to form a sturdy loop. This loop will allow you to hang the finished swag securely from a hook.
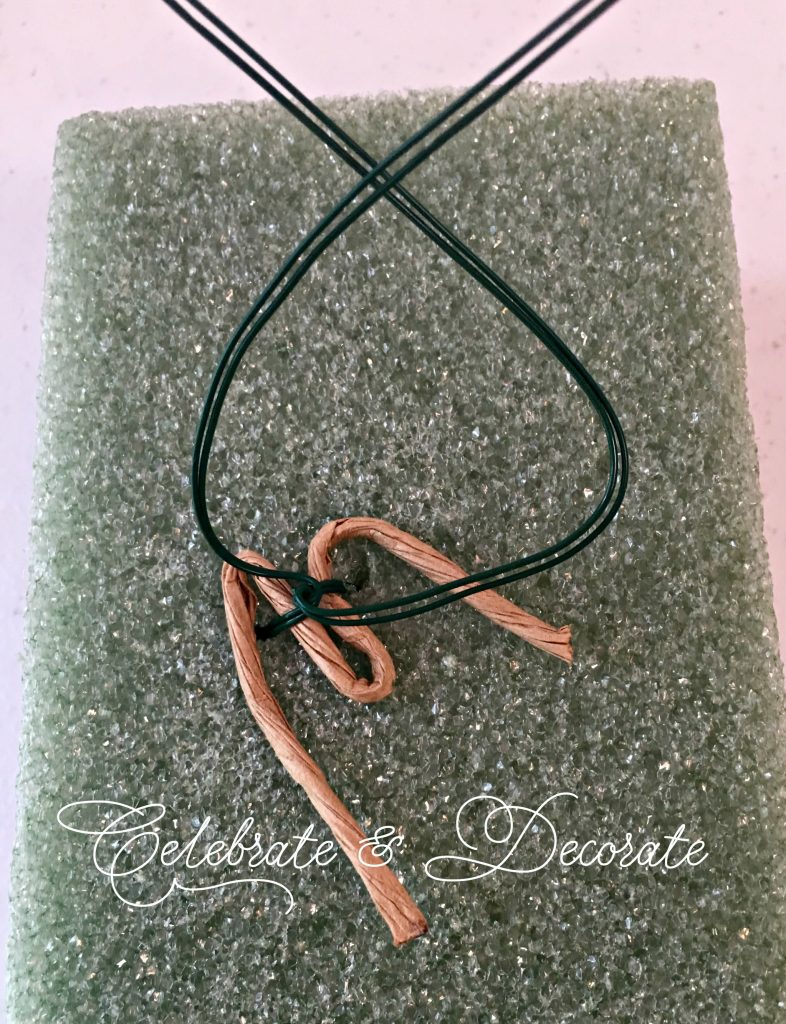
Here is another photo to show you how I pulled the wire through and down over the wrapped wire.
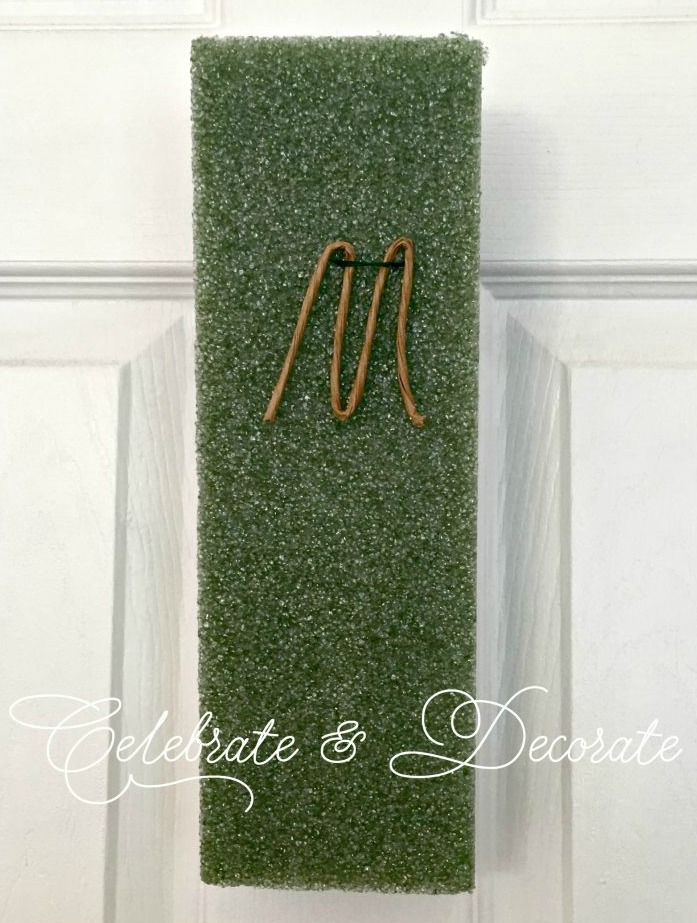
On the backside of the styrofoam I used the same technique and twisted the two ends of the wire into a circle to be able to hang my swag on a hook.
Begin With Leaves and Branches
Hang the Styrofoam base on your door while you work. This makes it easier to judge the shape, length and balance of the swag as you add each element.
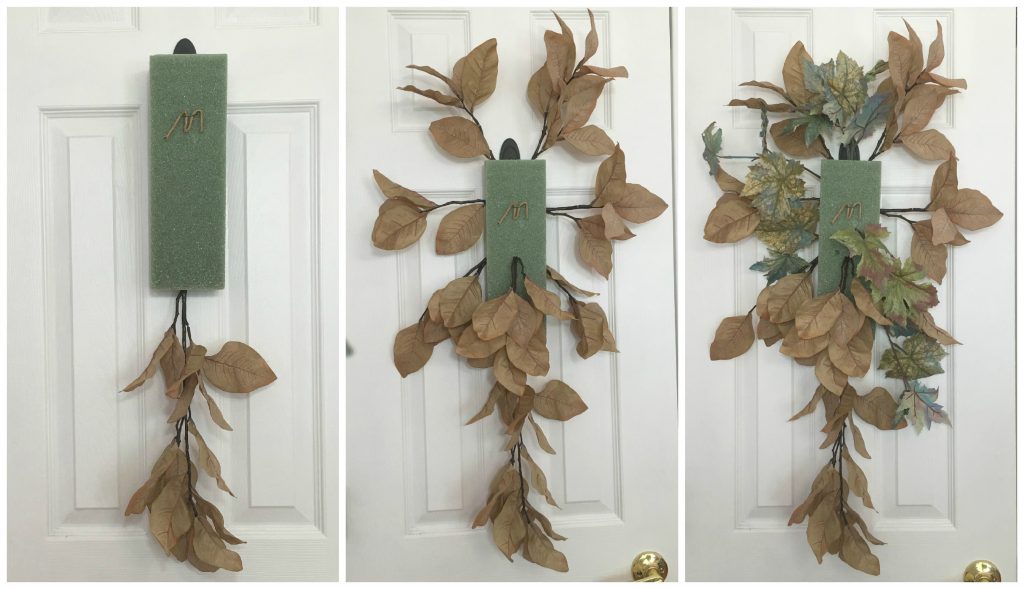
Begin with your longest leafy branches. I used a combination of light brown and gray-green leaves to create the outline. Allow some branches to extend above the base, but direct most of the foliage downward to create the long, tapered shape of a traditional swag.
Step back occasionally to make sure the arrangement looks balanced and that the Styrofoam is gradually being concealed.
Prepare and Attach the Skull
I had several plastic skulls left from my DIY Halloween skull garland, and one became the focal point of this arrangement.
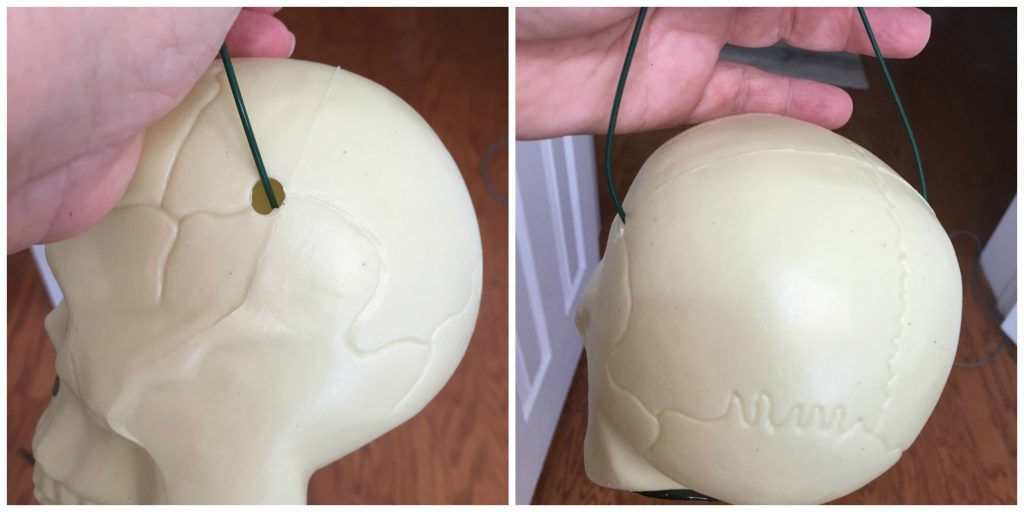
Make two small holes near the back of the skull and thread a piece of heavy wire through them. Bring the wire ends together behind the skull and twist them to create a sturdy stem.
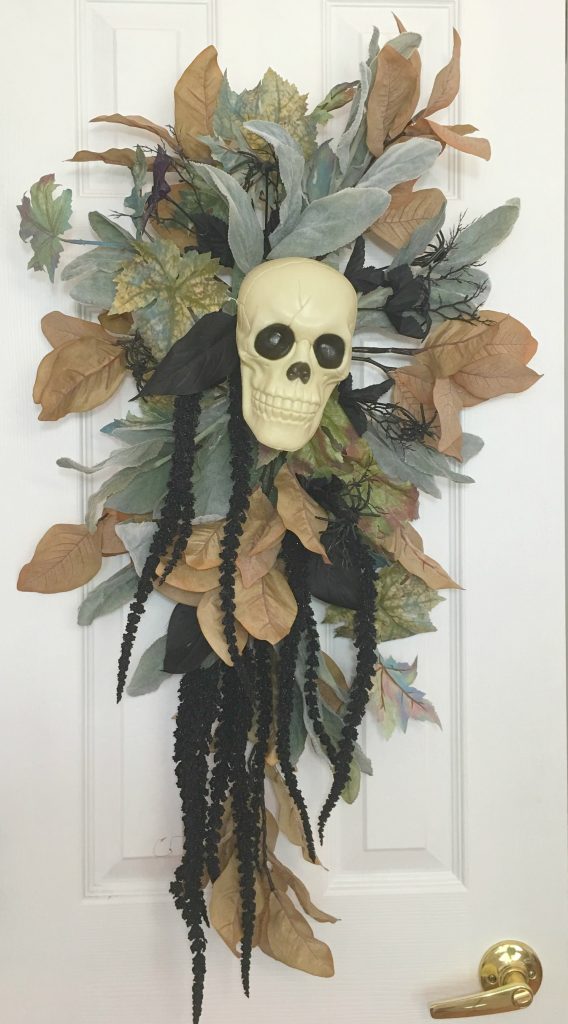
Push the wired skull firmly into the Styrofoam, positioning it approximately one-quarter of the way down the swag. If the wire does not feel secure enough, attach it to a wooden floral pick before inserting it into the foam.
Fill in the Halloween Swag
Once the skull is secure, continue layering leaves, branches and decorative accents around it. I added long black sprays, clusters of purple berries, miniature pumpkins, Halloween picks and black ostrich feathers.
The spiders came in clusters from Dollar Tree, so I separated them and tucked individual spiders throughout the swag. The black wispy accents and many of the Halloween picks came from Michaels.
There is no need to reproduce this swag exactly. Use the decorations you love and allow your own collection to guide the design. Black cats, bats, ghosts, candy corn, eyeballs or vintage-style Halloween ornaments would all make fun additions.
Work from the largest pieces to the smallest:
- Establish the shape with leaves and long branches.
- Add the skull or another large focal piece.
- Place pumpkins and larger Halloween picks.
- Add ribbon, berries, feathers and accent sprays.
- Fill any remaining openings with smaller decorations.
- Check that the Styrofoam is hidden from every visible angle.
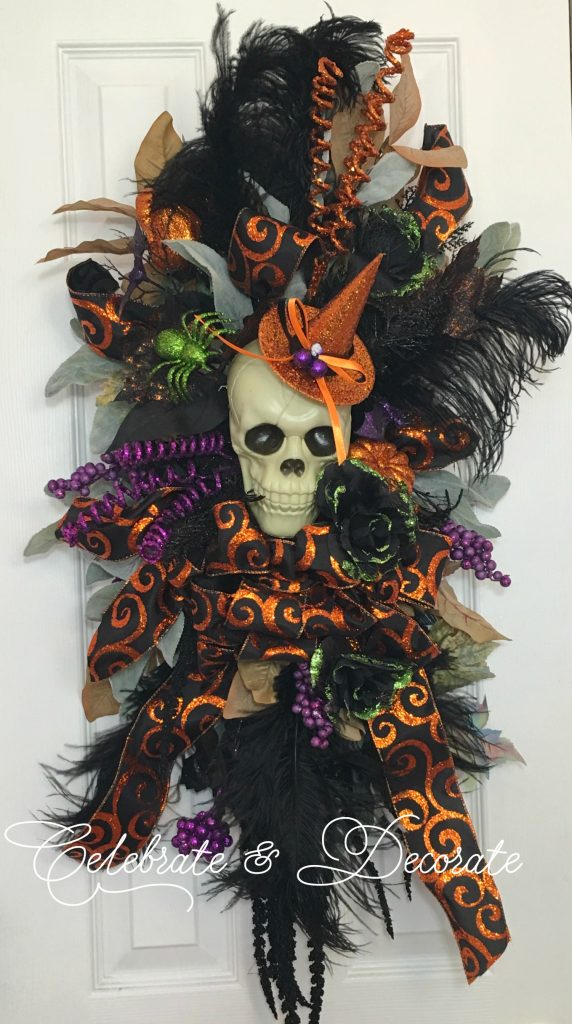

Before hanging the finished swag, gently tug on the larger pieces to make sure everything is secure. Add hot glue or wired wooden picks wherever additional support is needed.
Because this swag contains Styrofoam, ribbon and decorative floral materials, it is best displayed in a protected location, such as a covered porch. Keep it away from heavy rain, strong winds and prolonged moisture.
I love the wonderfully dramatic silhouette this swag creates on a front door. It has all the impact of a large Halloween wreath, but its unusual shape makes it even more eye-catching—and using decorations already in your collection makes every version completely unique.
Another amazing project
Thank you Valerie!
Another big hit for y, looks awesomely wicked.
Thank you Miss Daisy!
Just love it wanted to know how I could make it work as a have a glass door. It would look amazing from the outside but not so much from the Inside!
If I had a glass door, I would cover the back in a complementary Halloween fabric, attaching with some craft glue. I would also make sure that I have filled the edges with fun Halloween picks so they show through on the glass side. You might want to just cut a slit in the fabric for the wire “eye”. Use some of the same Halloween ribbon you use on the front of the swag, feed it through the eye on the back of the hook and take it all the way up to the top of your door, run it over the top of your door and attach a Command hook upside down on the inside top of your door and hook the ribbon over that. I will try to remember to show this technique on the video next Friday on Hometalk Facebook Live.
Chloe, another great tutorial…you have mastered the swag wreath! I can’t wait for your Thanksgiving and Christmas ones!
Yes you have mastered the swag! A must try!
Thank you Jenna!
Your Halloween swag is gorgeous! You are so clever to add items one would not think to add and yet they make it amazing! Good jobl
Thank you Kari! I have been scouring the stores for black and orange Christmas ornaments for some upcoming crafts!
They have the orange and black Christmas balls at Hobby Lobby right now. 9/20/18.
Great job by the way!
Karen
Thanks for sharing that information!
Another gorgeous creation, congrats! You are going to be in seventh heaven with your family staying with you and I hope you can carve out lots of time to enjoy them. Forgive me if I’ve asked this before, but have you thought of having an Etsy shop? You’d do very well my friend.
Thank you Sandra! No, you hadn’t asked before, and I recently opened an Etsy shop but haven’t posted anything for sale yet. I am going to work with someone else to list and ship the items, I know I don’t have time for managing that. We shall see how it goes, but my husband would be thrilled to see the things leave the house!! I am trying to get lots of stuff done so I have time to have fun with those granddaughters and some quality time with my daughter!
Love this door swag!!! They do Halloween real big here, We moved here a year ago and found out I have to step up my game!!! Enjoy your family!!!!
Thank you Ann, I am really proud of how it turned out, now I just have to wait a month to hang it on my front door!
This is perfection. Thank you for the thorough tutorial, I cannot wait to make one of these. Pinning
Thank you Leanna! Get your supplies soon! I was at Michael’s today and a lot of the Halloween picks are out of stock already!
Thank you Leanna!
Fabulous! Command does not harm the door paint on removal? It would be so much nicer than the clear plastic over door hook I now use!
No, Command strips are wonderful! Use the outdoor ones and when you want to remove them, be sure you follow the directions and pull very gently on the bottom strip slowly. I like that it disappears behind the swag.
Oh I am so glad I discovered your blog through the Halloween hop! I love interesting wreath ideas! Thanks for linking up to Hauntingly Beautiful Decor Halloween link party!
Thank you so much Amber! I will go check out your blog! I am glad you came along!
Chloe this is so unique and wonderful. What a great entrance to welcome your guests with!
Thank you so much, Rhonda! It was a fun swag to make!
I LOVE it!!! Halloween has always been a favorite holiday. This little swag is so cute and classy! Thank you for sharing. It’s gorgeous!