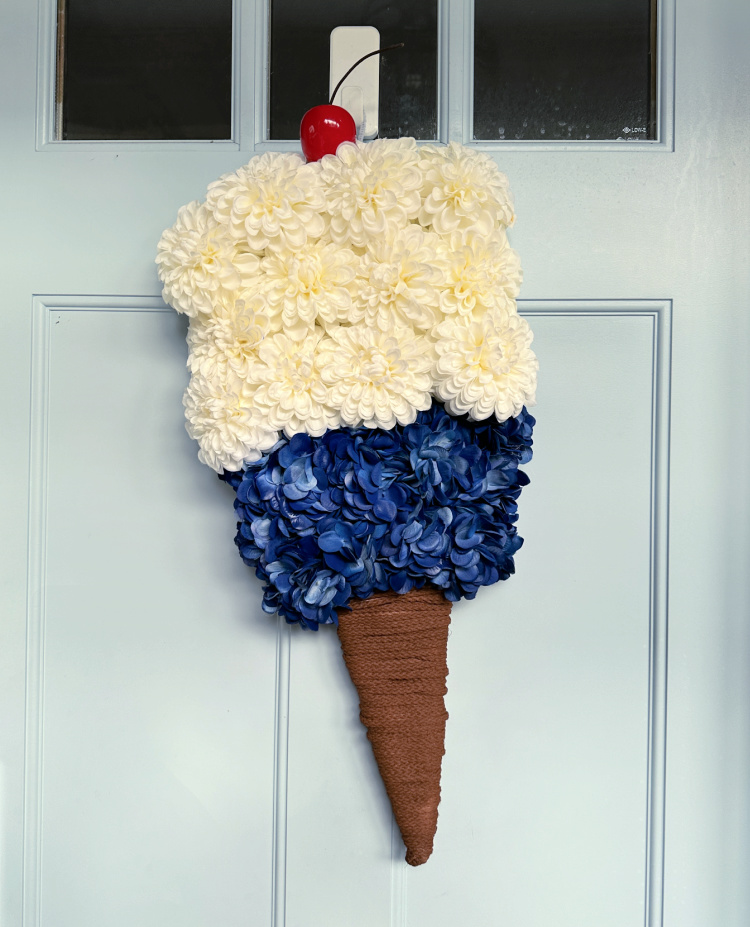
Celebrate in Style: DIY Ice Cream Cone Wreath in Red, White and Blue!
Welcome to my latest DIY adventure, where creativity meets patriotic spirit! Whether you’re gearing up for Independence Day, or simply want to add a touch of fun to your home decor, this faux flower wreath is the perfect addition. What better way to welcome guests than with a whimsical and festive ice cream cone wreath for your front door? This charming project combines the playful essence of summer’s favorite treat with the vibrant hues of red, white, and blue. Join me as I walk you through the steps to create this delightful and eye-catching piece that promises to bring smiles to everyone who passes by your door.
I may earn an affiliate commission if you buy from one of the product links, at no extra cost to you. This income supports this site. See the full disclosure.
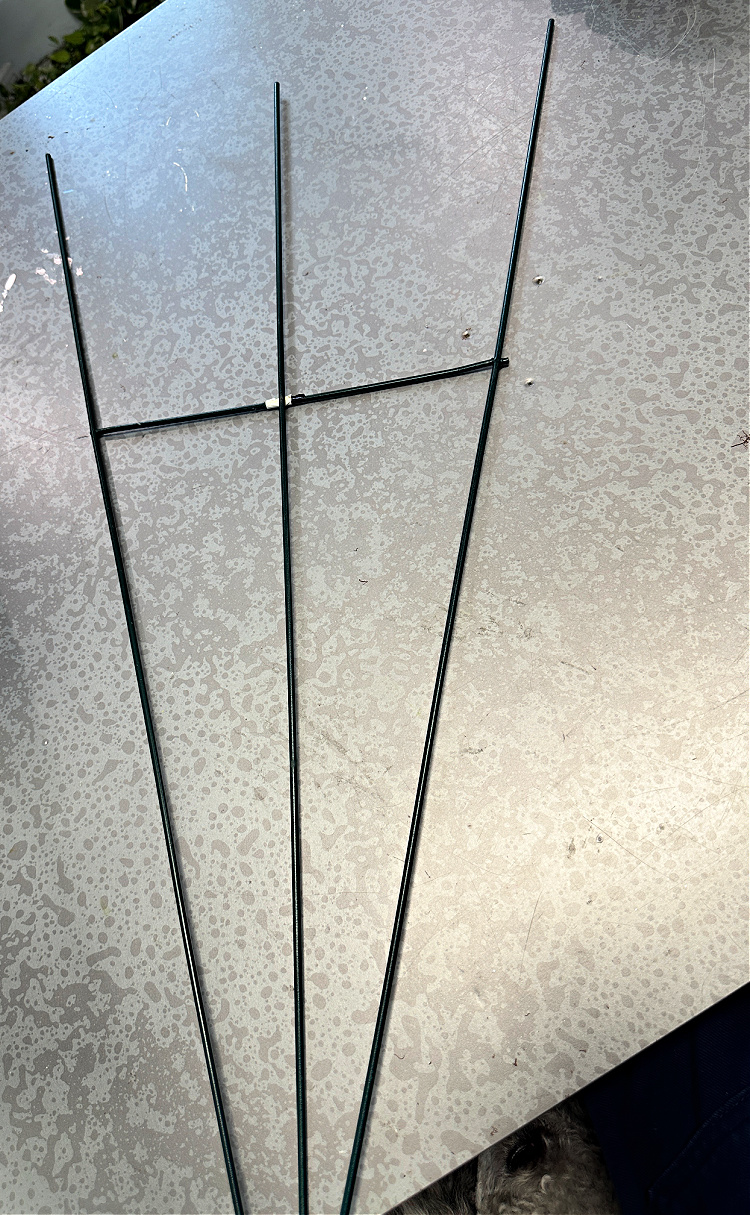
First off I knew I needed a frame of some kind to build my ice cream cone on. Shopping at Michael’s I spotted this wire wreath easel. Turn it upside down and it becomes a cone shape!

I took a pair of bolt cutters and cut off the piece shown pointed out by the arrow. A heavy duty pair of wire cutters might also cut through the wires.

This is the frame without the extra wire.
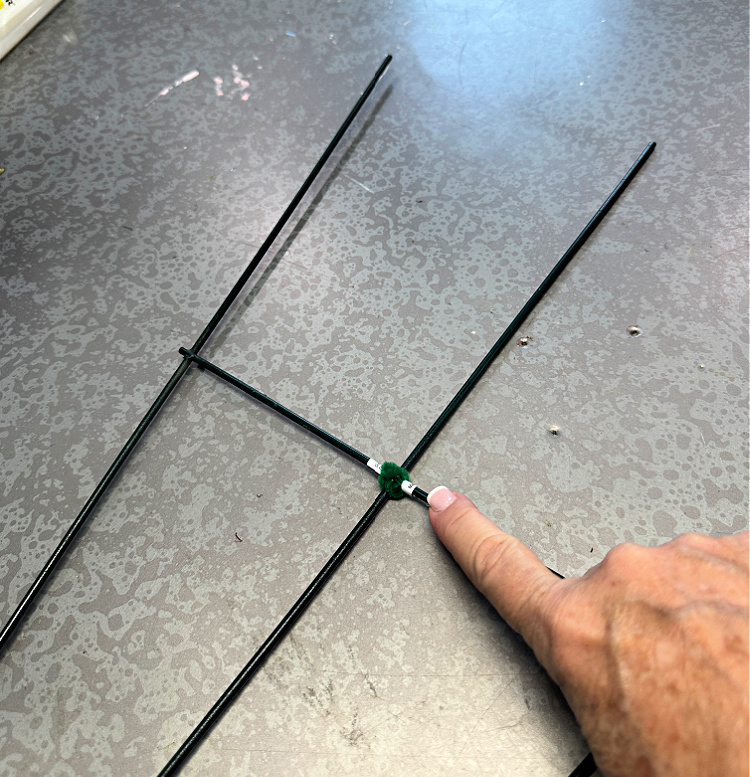
Where I am pointing to in the following picture is where I secured the middle wire with a pipe cleaner and added some hot glue so it would not slide around.
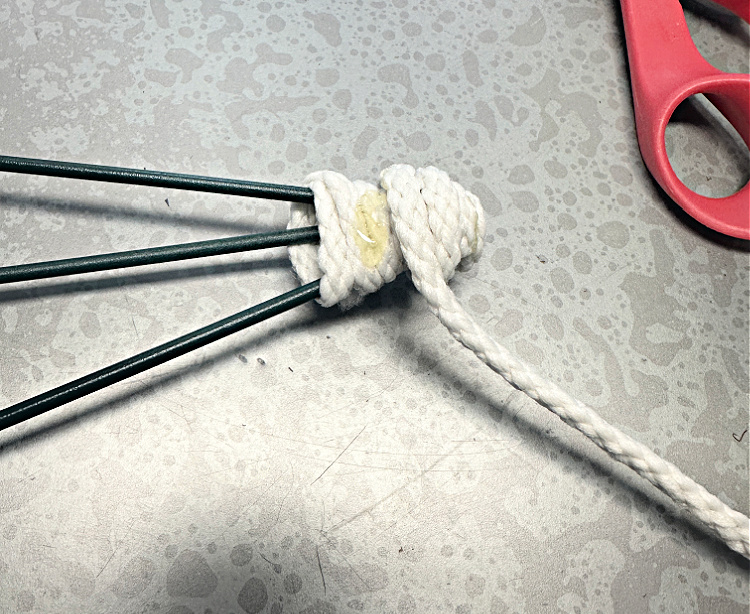
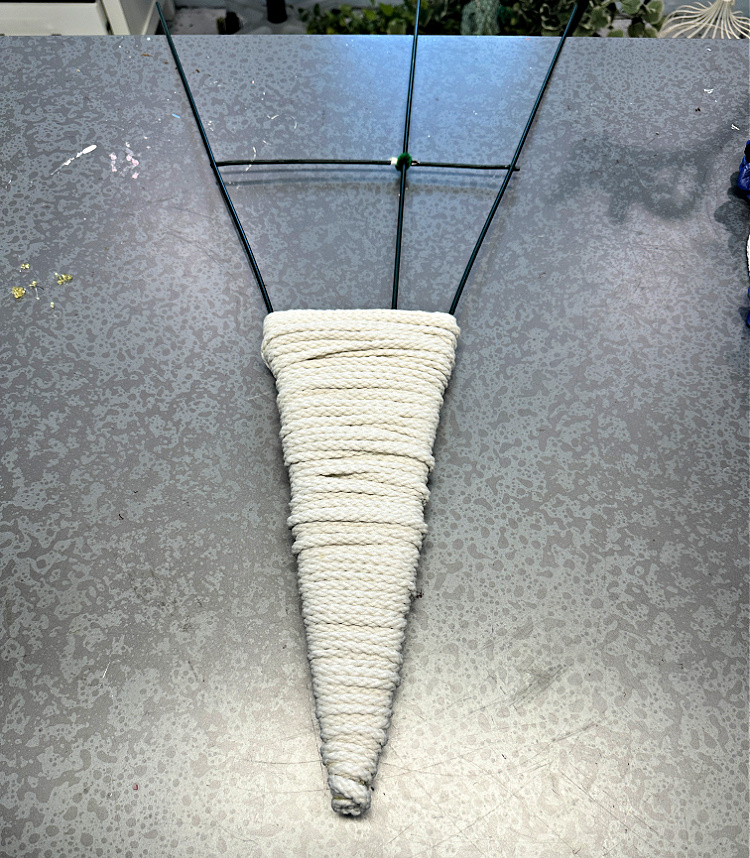
I am trying to work with what I have on hand and I had this off white macrame cord, so that is what I chose to use to wrap the base of the frame to form my cone. I started wrapping at tip by tying a knot and then adding some hot glue to secure the cord.
I continued wrapping up the frame, adding a little hot glue every few layers to make sure my cord stays secure.
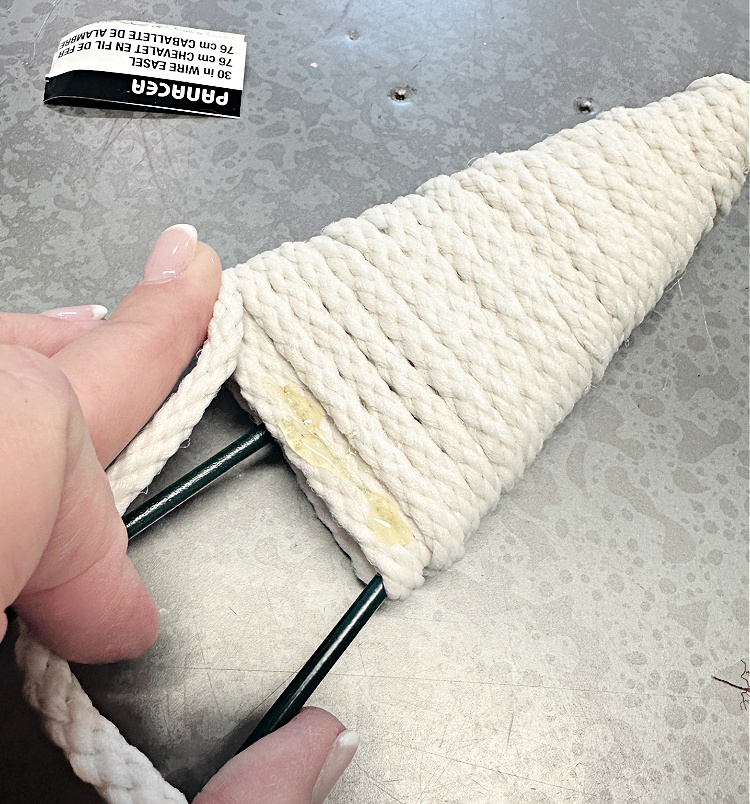
Here is my “cone” when I was finished wrapping the cord.
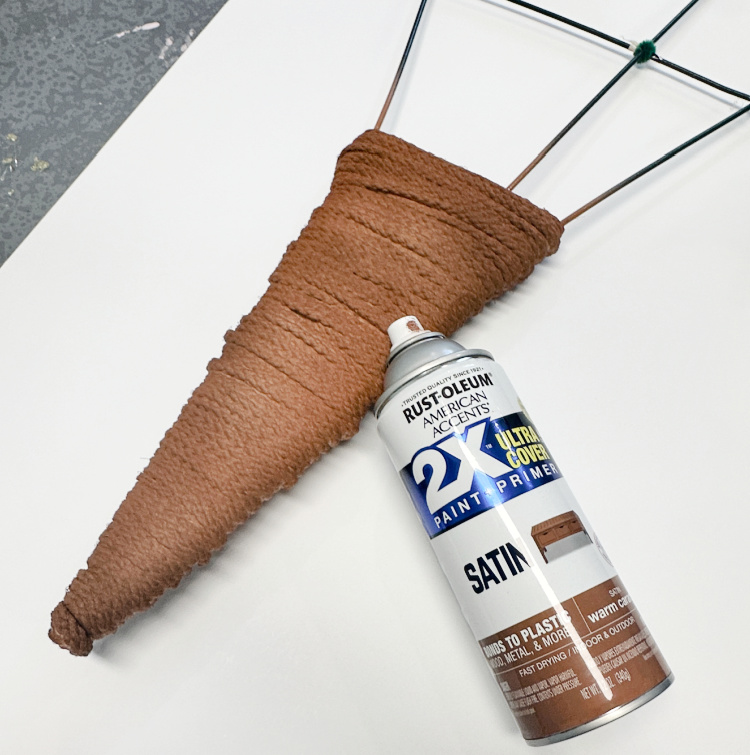
I had to change the color of my cord to a “waffle cone” color! I was happy to find this “Warm Caramel” color in my paint cupboard. I simply spray painted my cone!
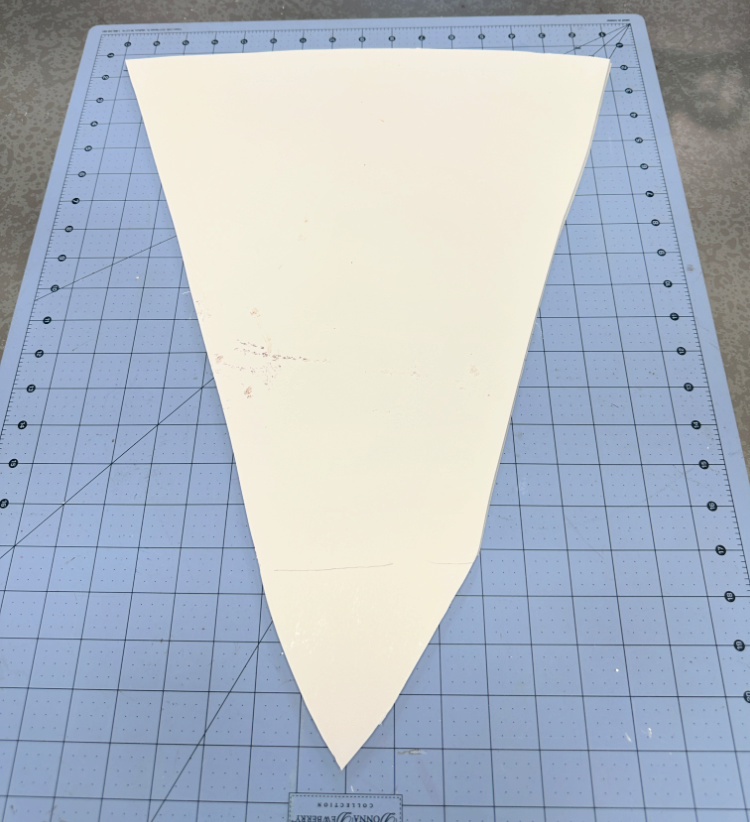
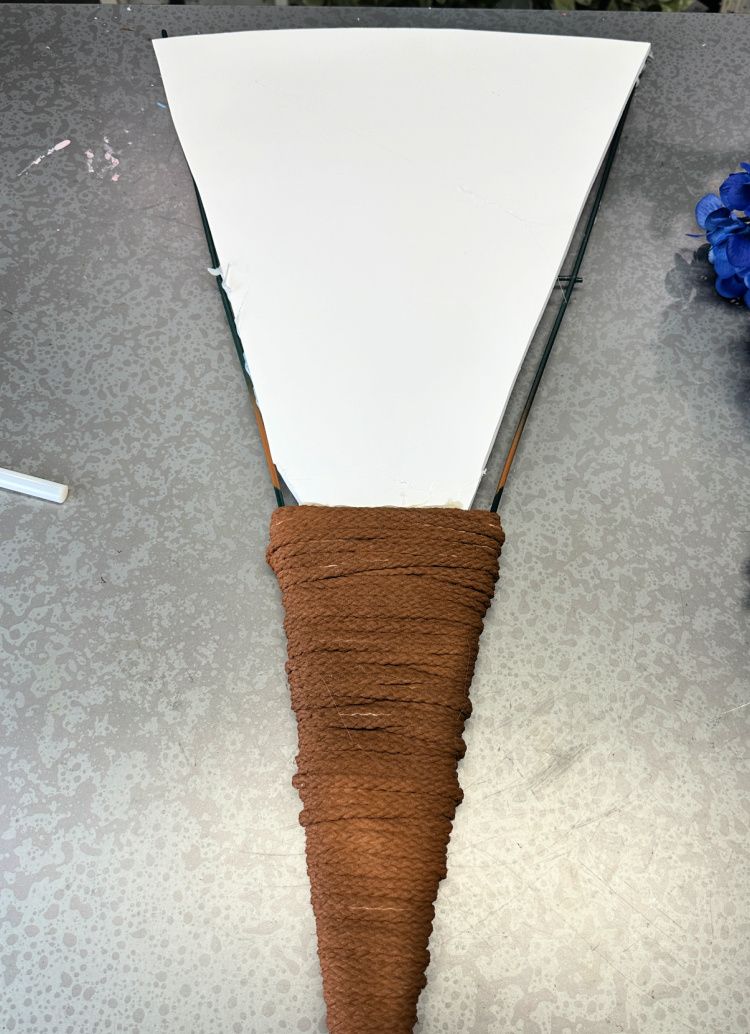
Next it was time to figure out how I was going to add my flowers to make my ‘ice cream’. I decided I needed to add a piece of foam board to my frame. I cut it so that a pointed piece of the foam board would tuck down inside the cone part. I secured it to the cone part and to the wire frame with hot glue.
With the foam board secured I was ready to begin building on my ‘ice cream.
I began with my dark blue hydrangea blossoms and took each bloom and taped it with floral tape to tighten up each cluster of the blossoms.
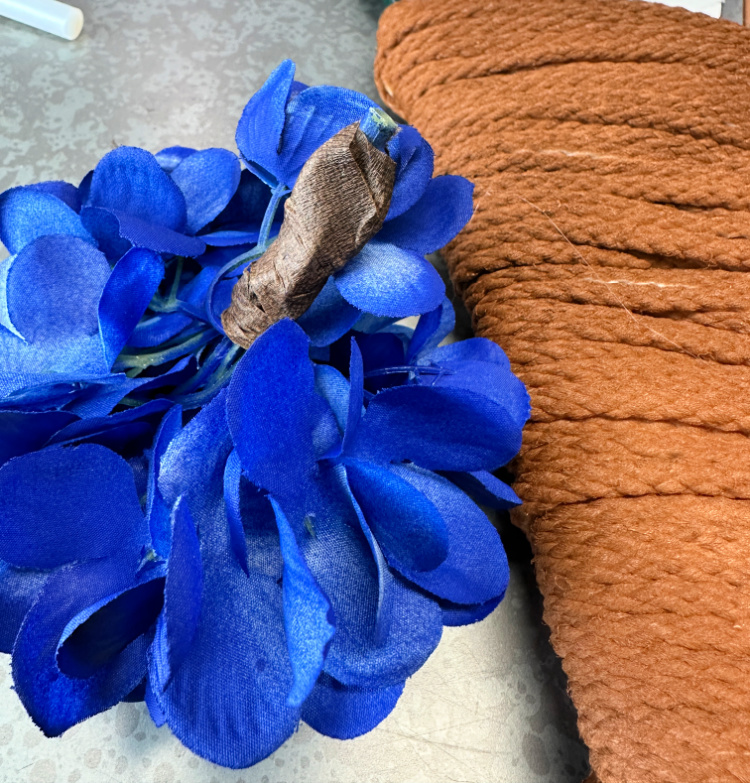
For each taped up little cluster, I cut a hole in the foam board. I stuck the tped stem into the hole and added a healthy amount of hot glue to secure each cluster.
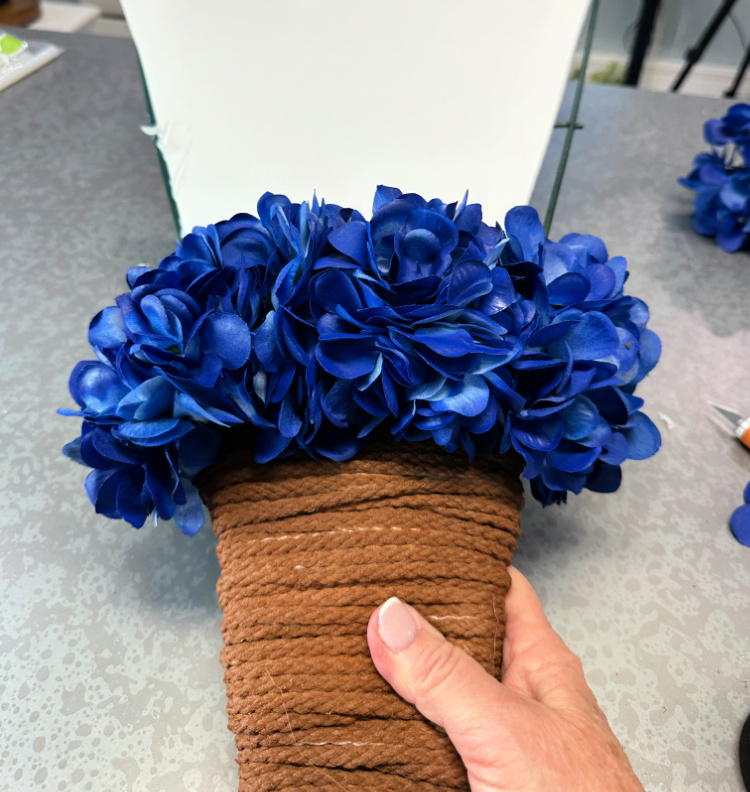
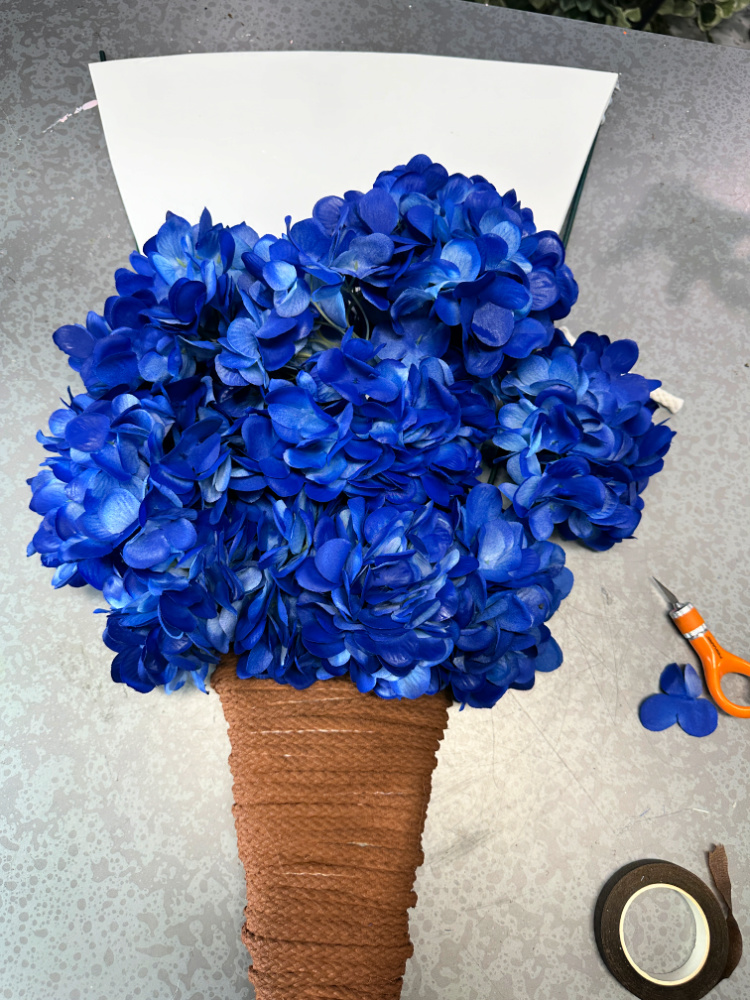
I worked toward the top with my hydrangeas and my layer of blue ‘ice cream’ was complete!
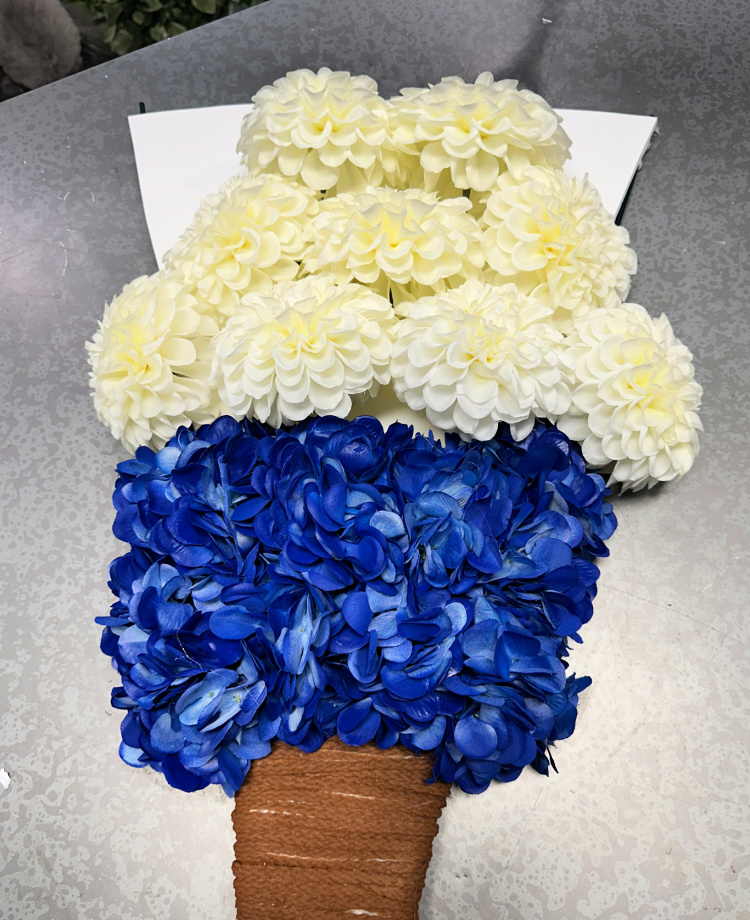
Time to add my layer of ‘vanilla’! I used the same concept, except each of these was a single faux dahlia. I repeated the same process, cutting a hole for each stem and adding hot glue to secure them.
I needed a red cherry for the top of my ice cream cone! I took a faux apple and painted it with cherry red paint. It still looked like an apple, so I needed to do a little fixing of it.
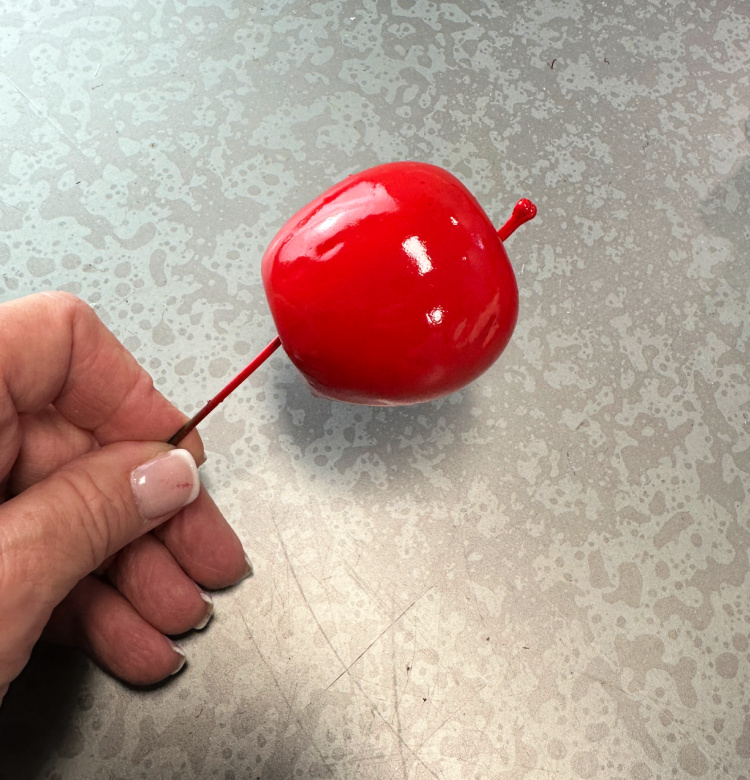
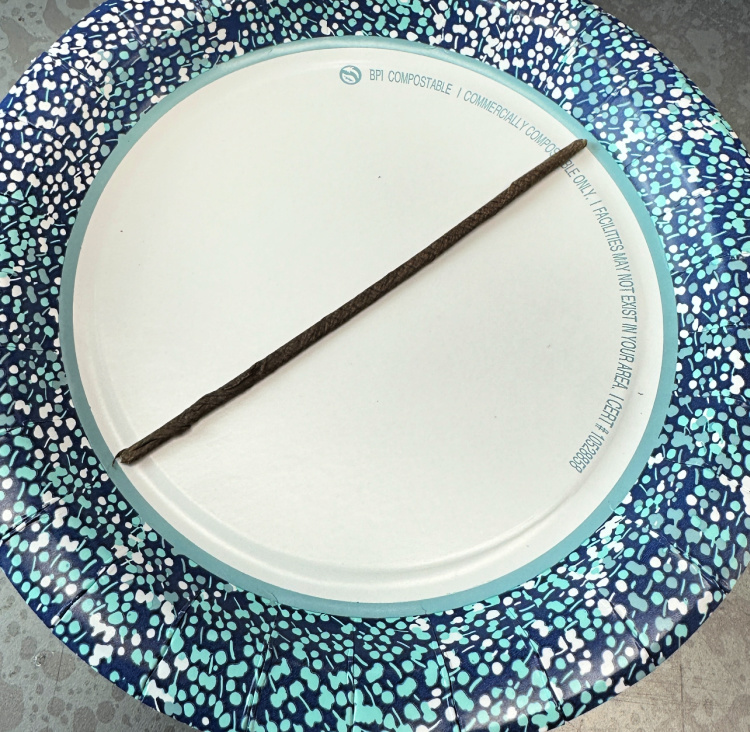
I took two pieces of wire and wrapped them with brown floral tape.
I cut of the stem of the apple and replaced it with this longer brown stem and bent it to look more like a cherry stem.
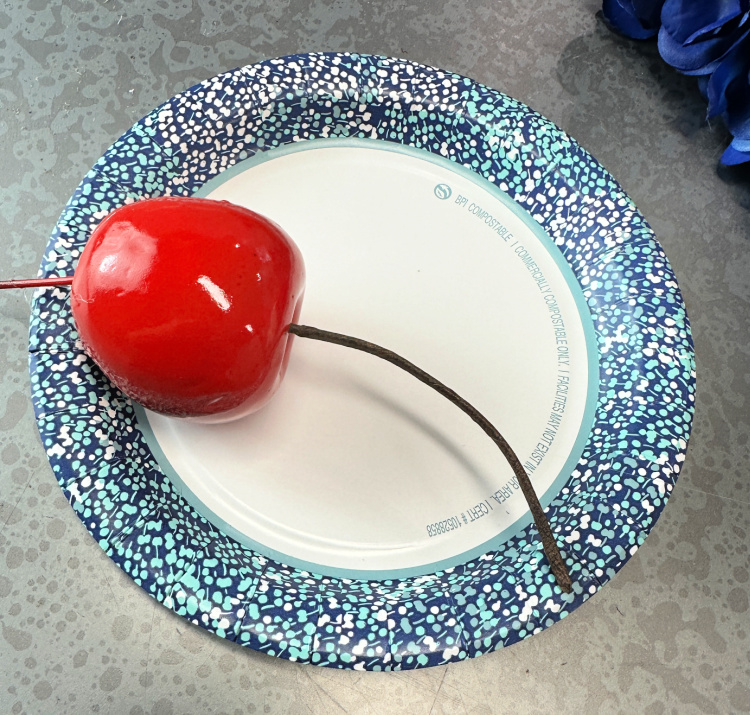
I added my cherry to the top of my cone and my ice cream cone wreath is all ready to display!

Very clever Chloe!
Chloe, I love the ice cream front door decoration! So smart and clever of you (of course!).
Thanks for sharing. Makes me want to take the same old wreath I’ve had on my door for months and change it out.
That is so completely darling Chloe – you are so creative! Thanks for the easy directions and tips too!