DIY String Art Project
I am slowly but surely working on my office/craft room and decided to add a DIY string art project to my wall. I will show you how to do that today (and maybe how “not” to do it, too)! I won’t show you the office part of my room yet, but I will tell you I am using black and white and gold, and that will help you see why I chose the project I did for my wall!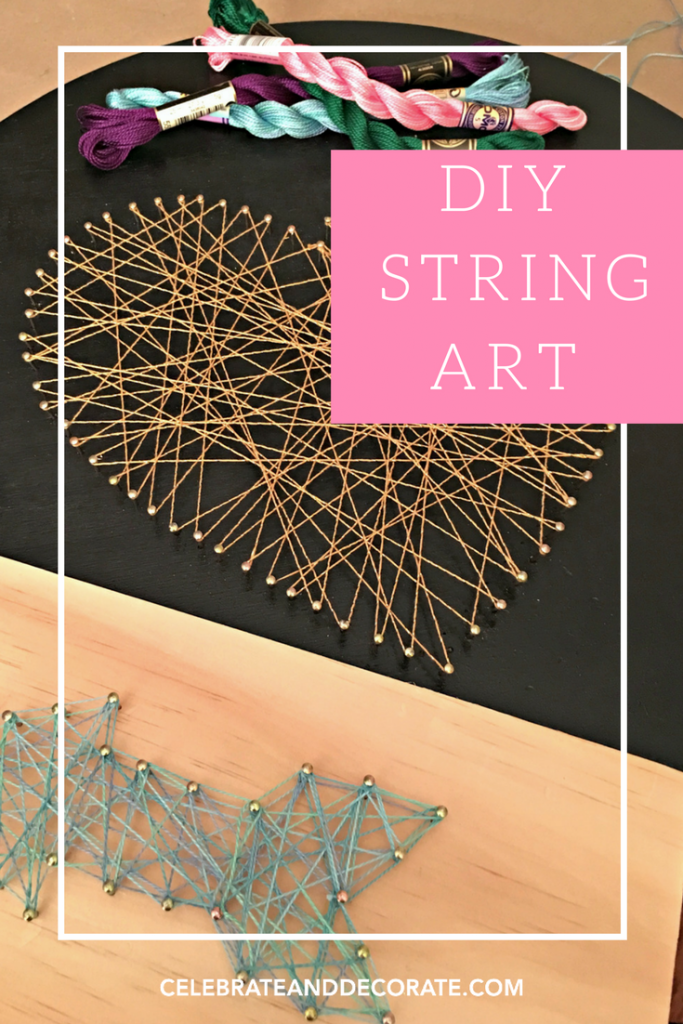
This post contains some affiliate links for your convenience. Click here to read my full disclosure policy.
 There are a few different ways to transfer your shape for your string art project to your base. Printing out the shape on paper is one way. Print out the shape and you can tape it down to your base and then hammer your nails into the base along the lines of the shape. The method I am going to use is using a shape to set my nails.
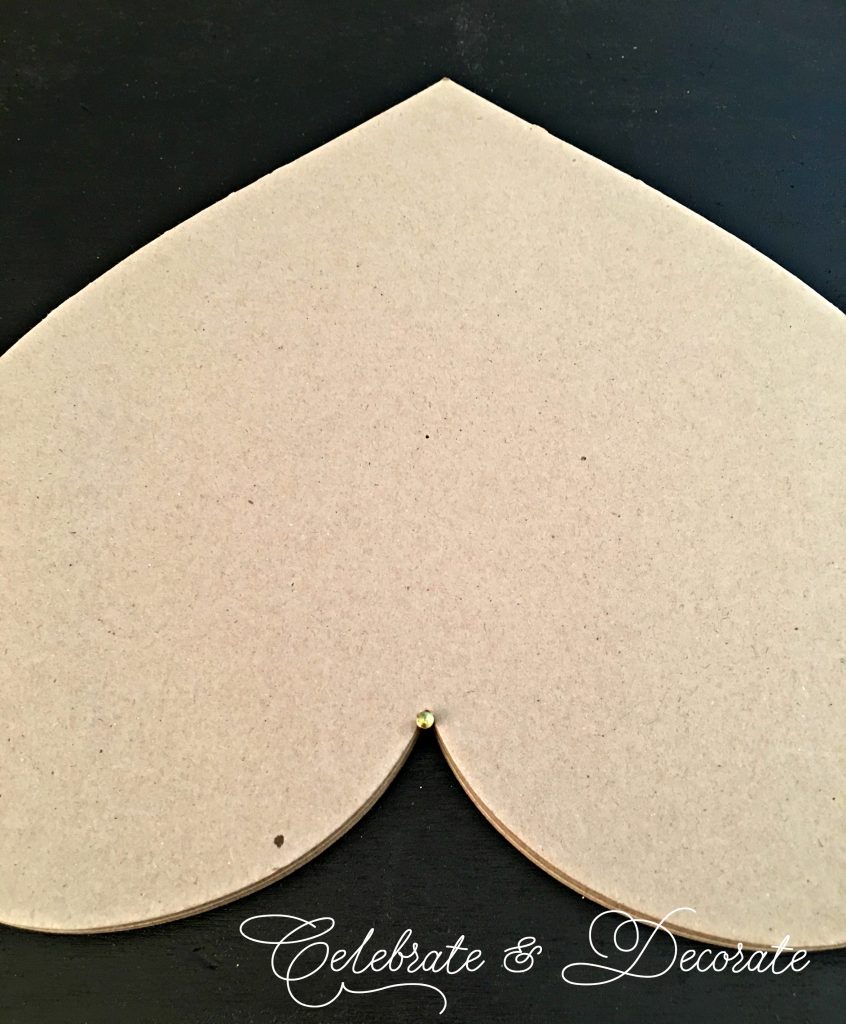
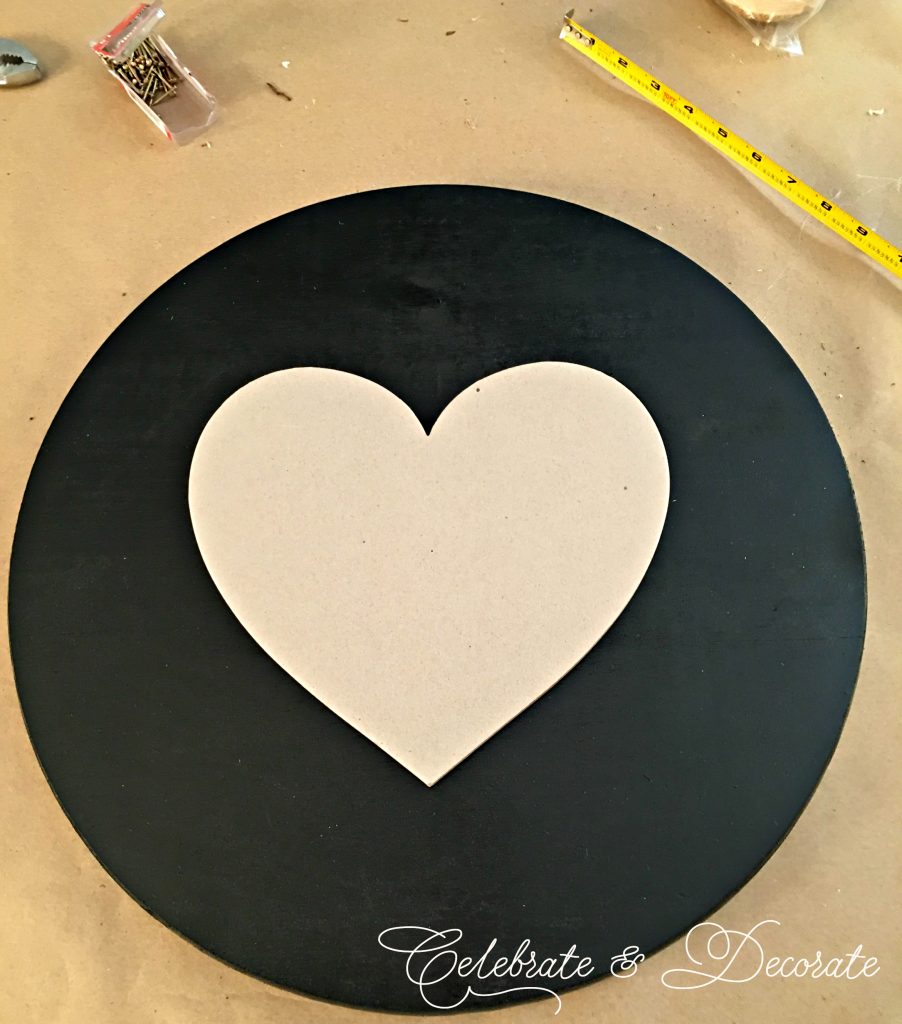
I had this chipboard heart and chose to use this for my pattern for my shape. I measured and placed my heart in the middle of my base. For my base I used a pine round project panel from the Home Depot. I painted it black for my project.
 I began measuring around the edge of my heart, and using an ice pick or an awl, I made little indentations where each nail should go.
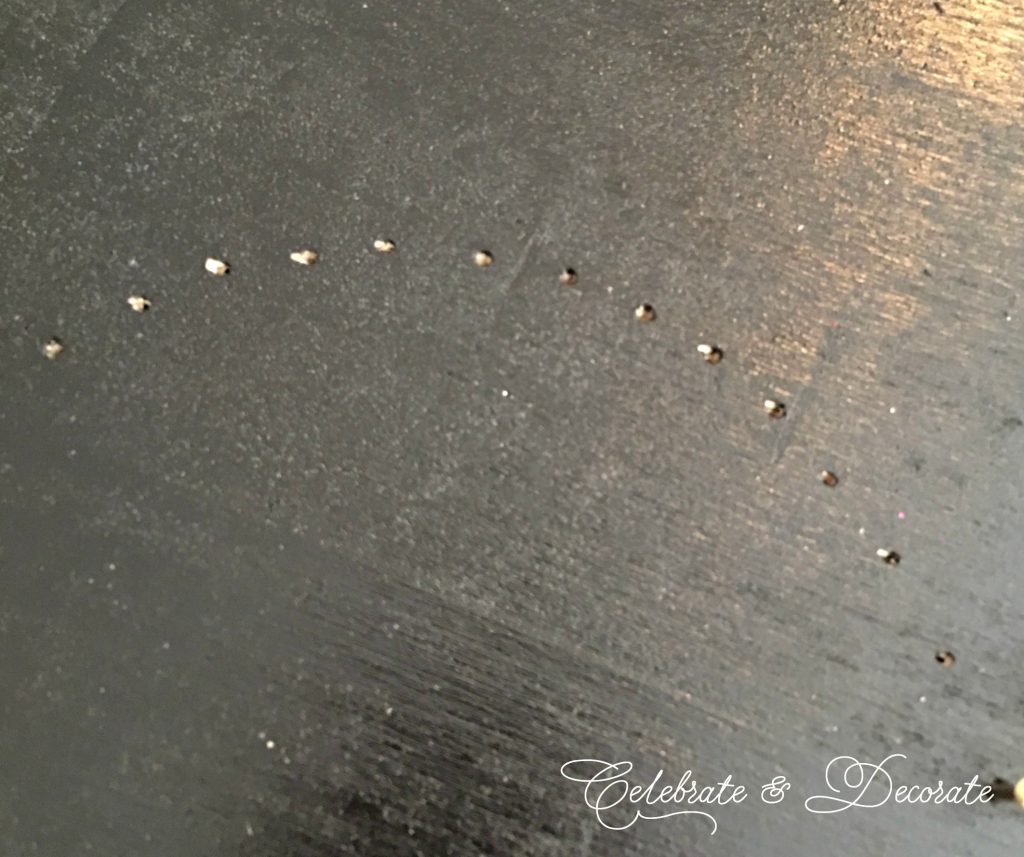
Here you can see the indentations ready for me to hammer in my nails. 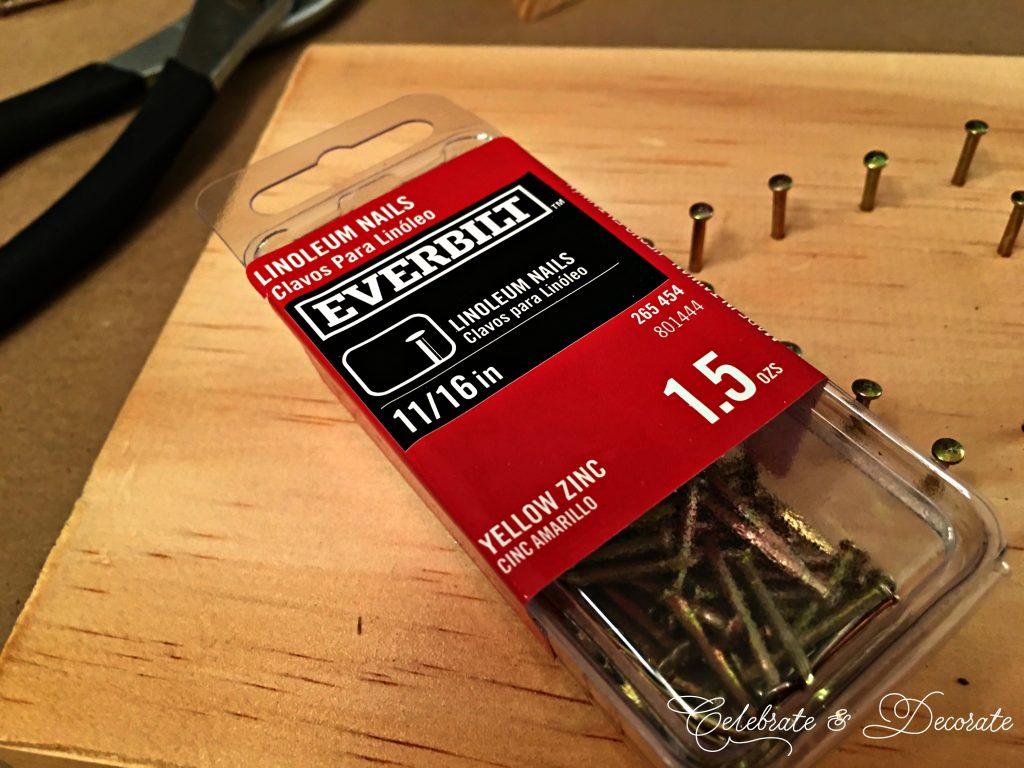
I have selected gold linoleum nails for my project, they are the easiest to work with and leave a nice appearance for the finished art. 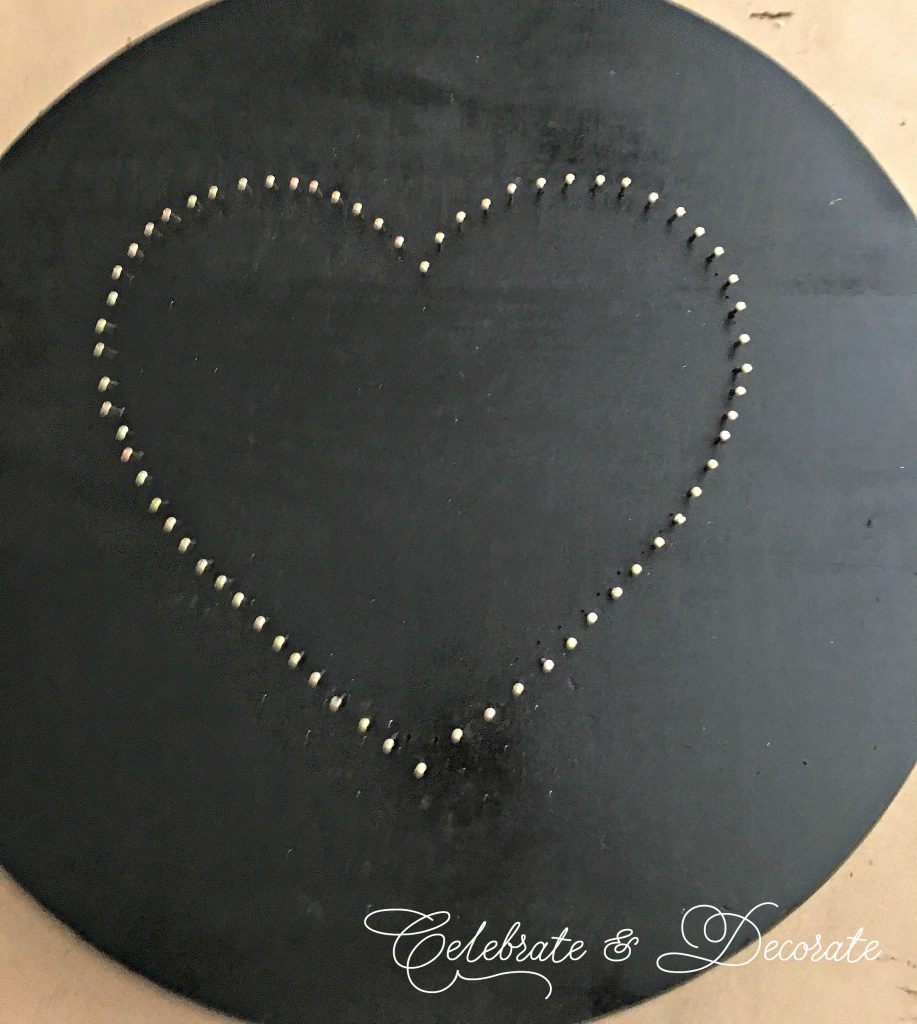 Here my nails are all in and you can see my shape!
 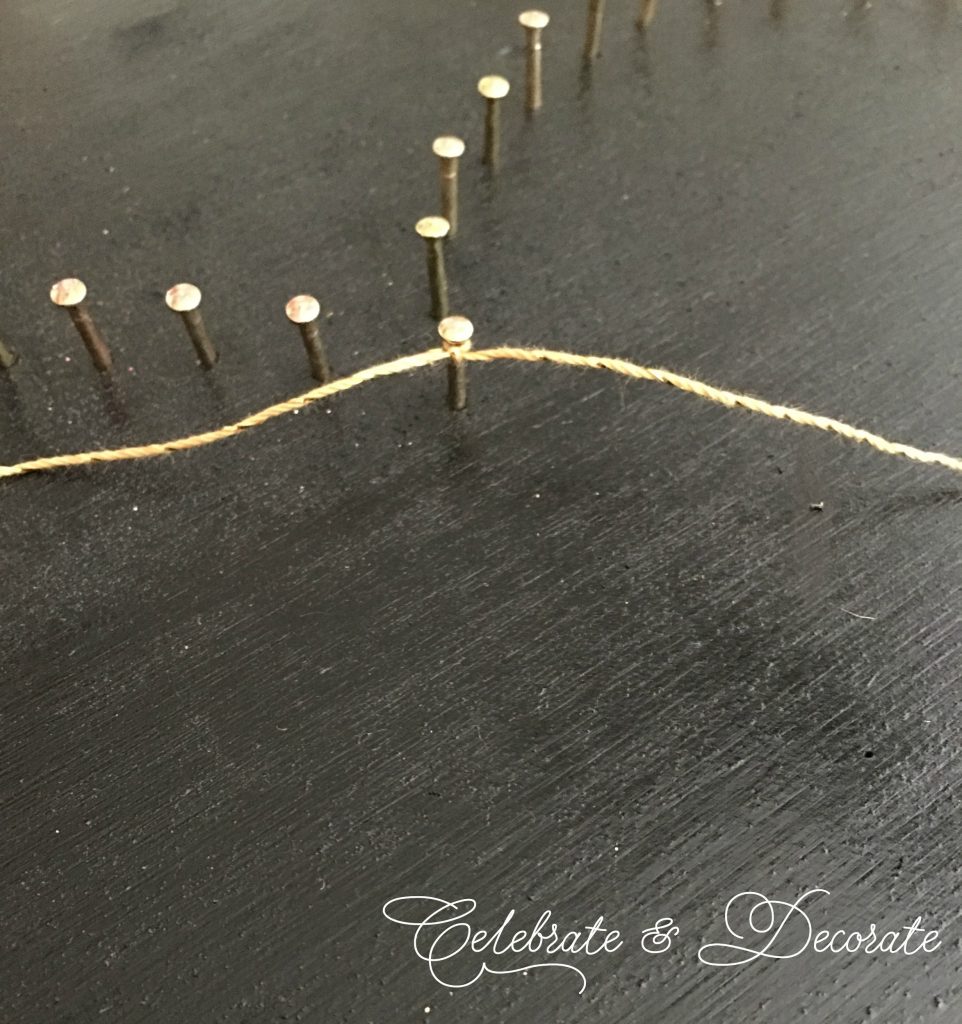 When you have nails all the way around your shape, you get to start with the fun part, your string! Secure the string with a good solid knot, even a double knot, you don’t want your work to fall apart. I don’t have a picture of of the middle of this, since you must keep your hands on your string and keep it taut. There are all kinds of ways to make patterns, but I was looking for a more random look to my heart.
 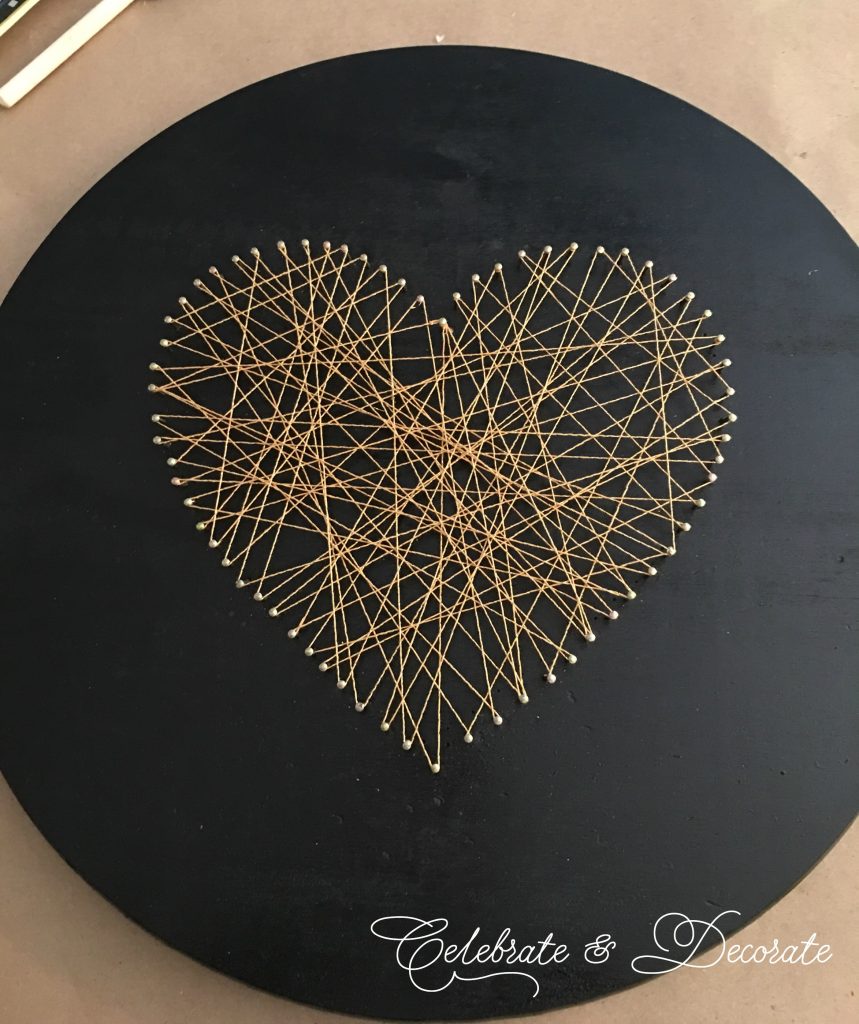 Here is my heart, ready to hang on my wall! The gold thread I used with the gold nails and the black base will look perfect with my office decor. If you choose a random pattern, make sure that you have the string wrapped around each nailhead at least once. When you have done that, you can knot the string securely!
 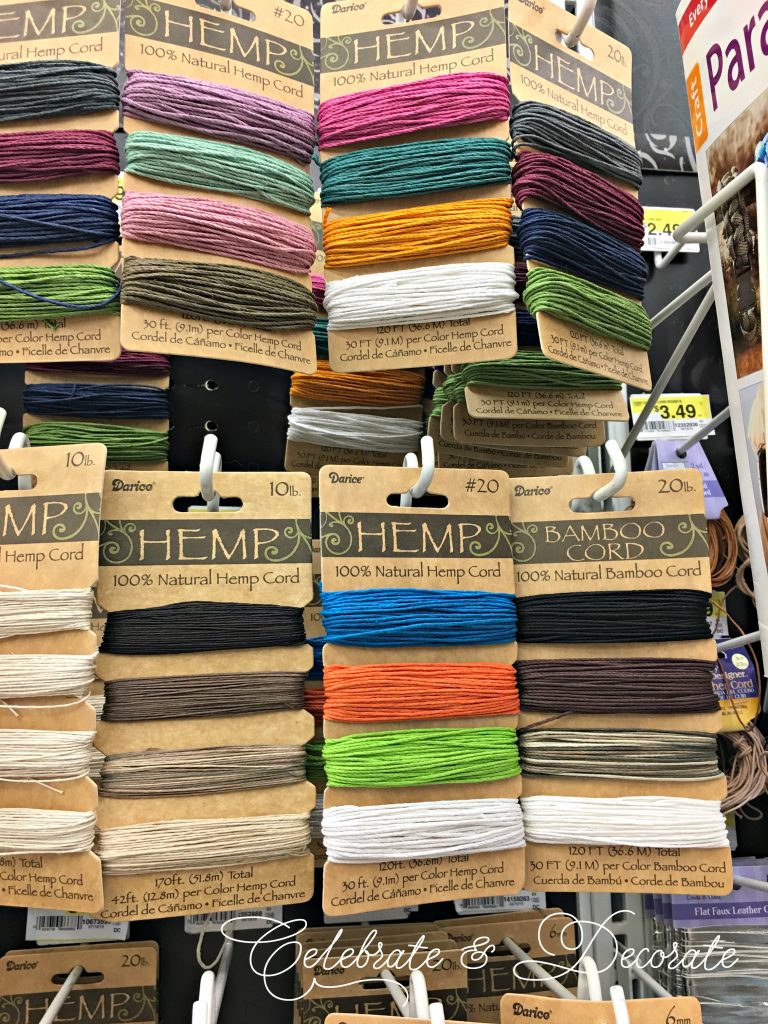 You can use most any string you find, here is Hemp cord I found at Joann’s.
 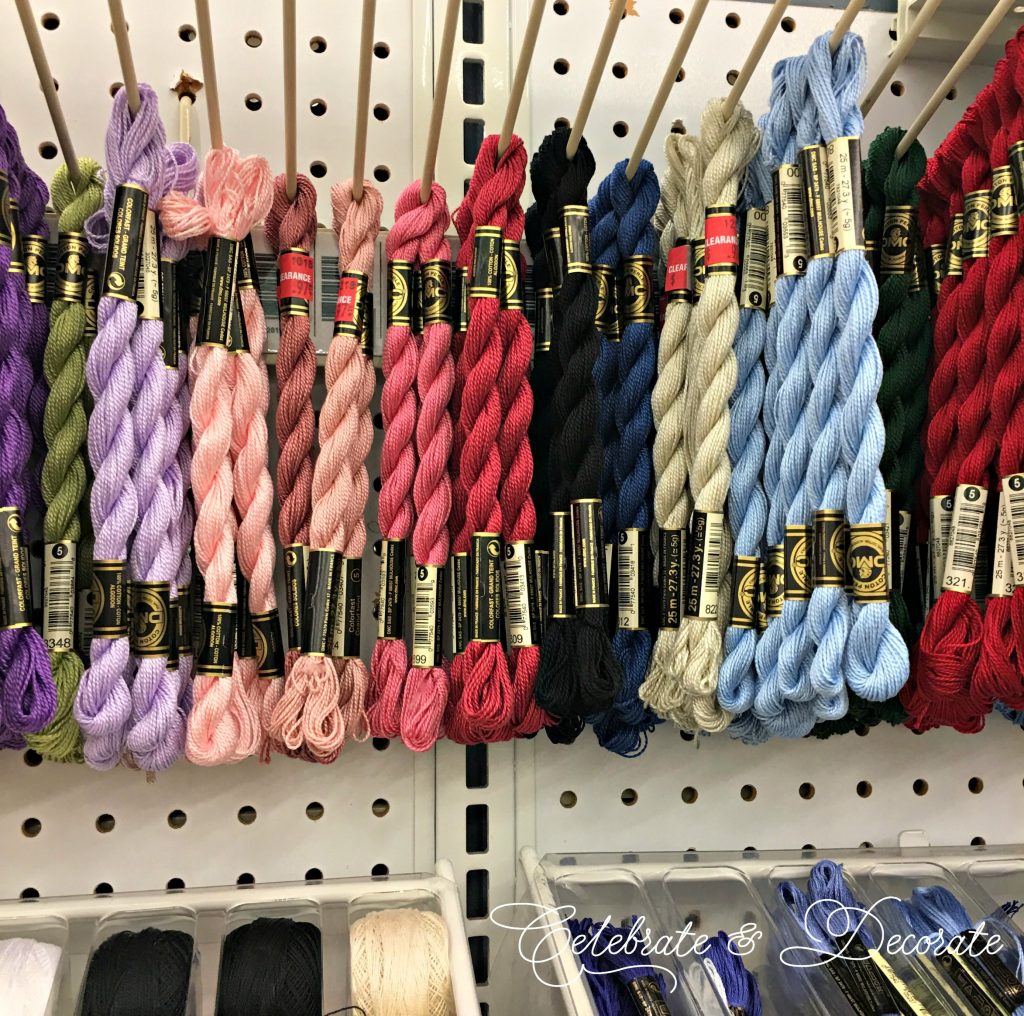 There are so many beautiful embroidery threads to choose from which is what I decided to use for my projects.
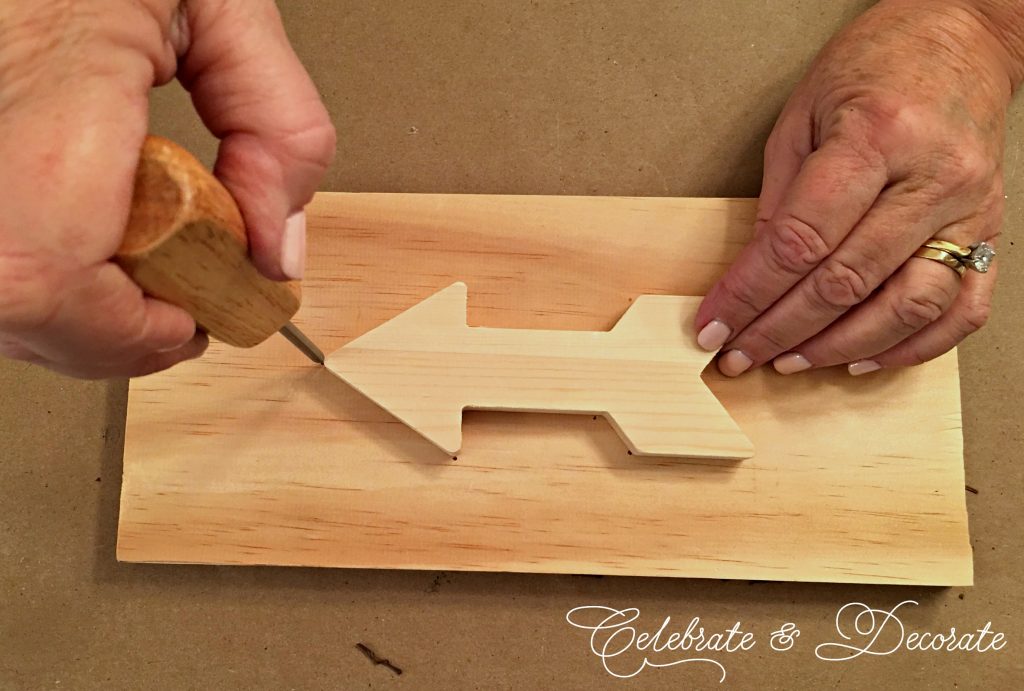 This little arrow was one of my first string art projects, and although not a “fail”, I didn’t really do as nice of a job as I would have liked. Again, I began with a shape, this one a small wooden arrow.
  This is how the arrow project looked before I began stringing it.
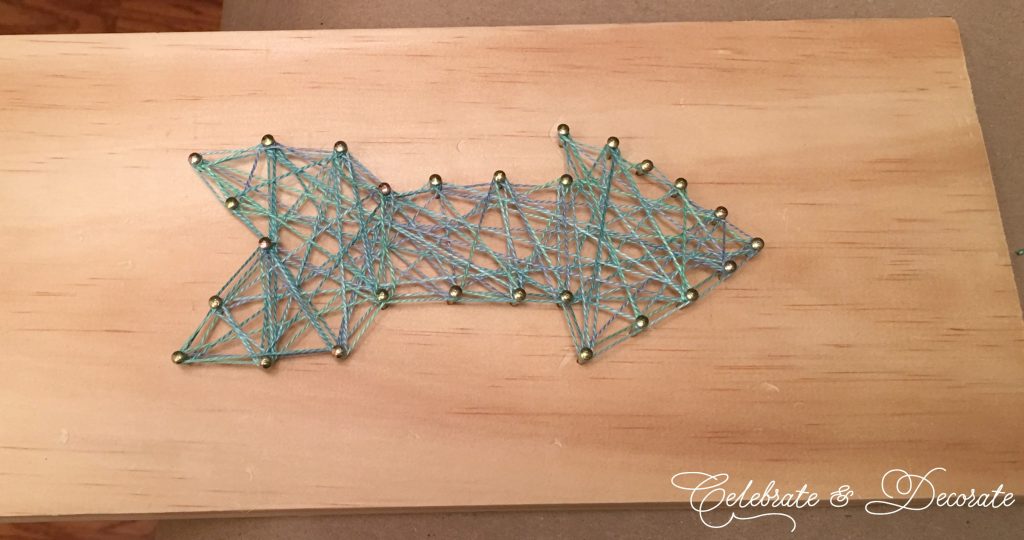
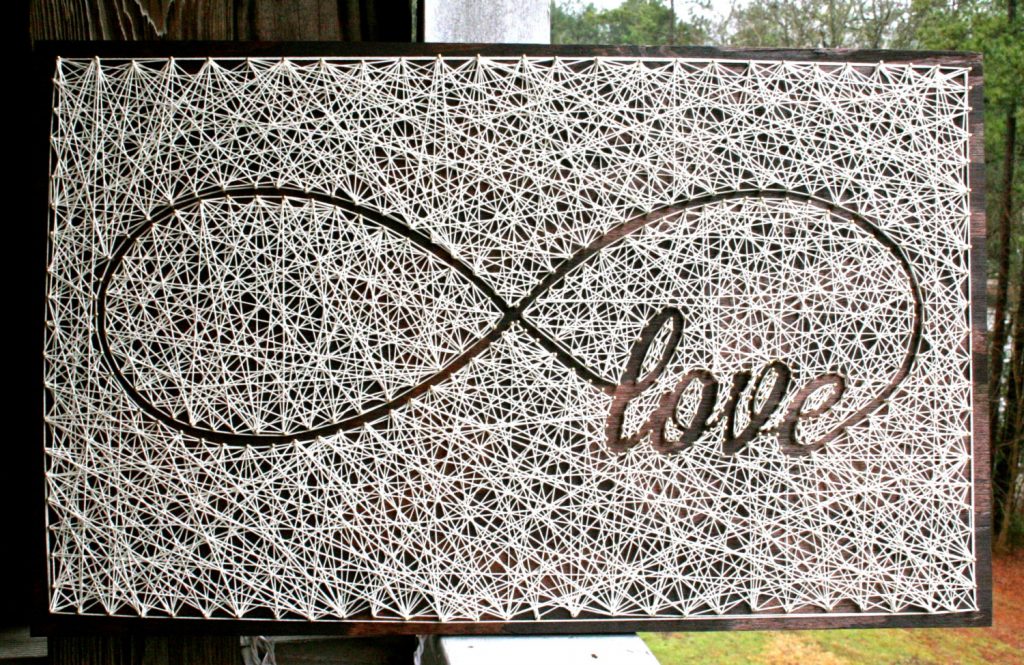
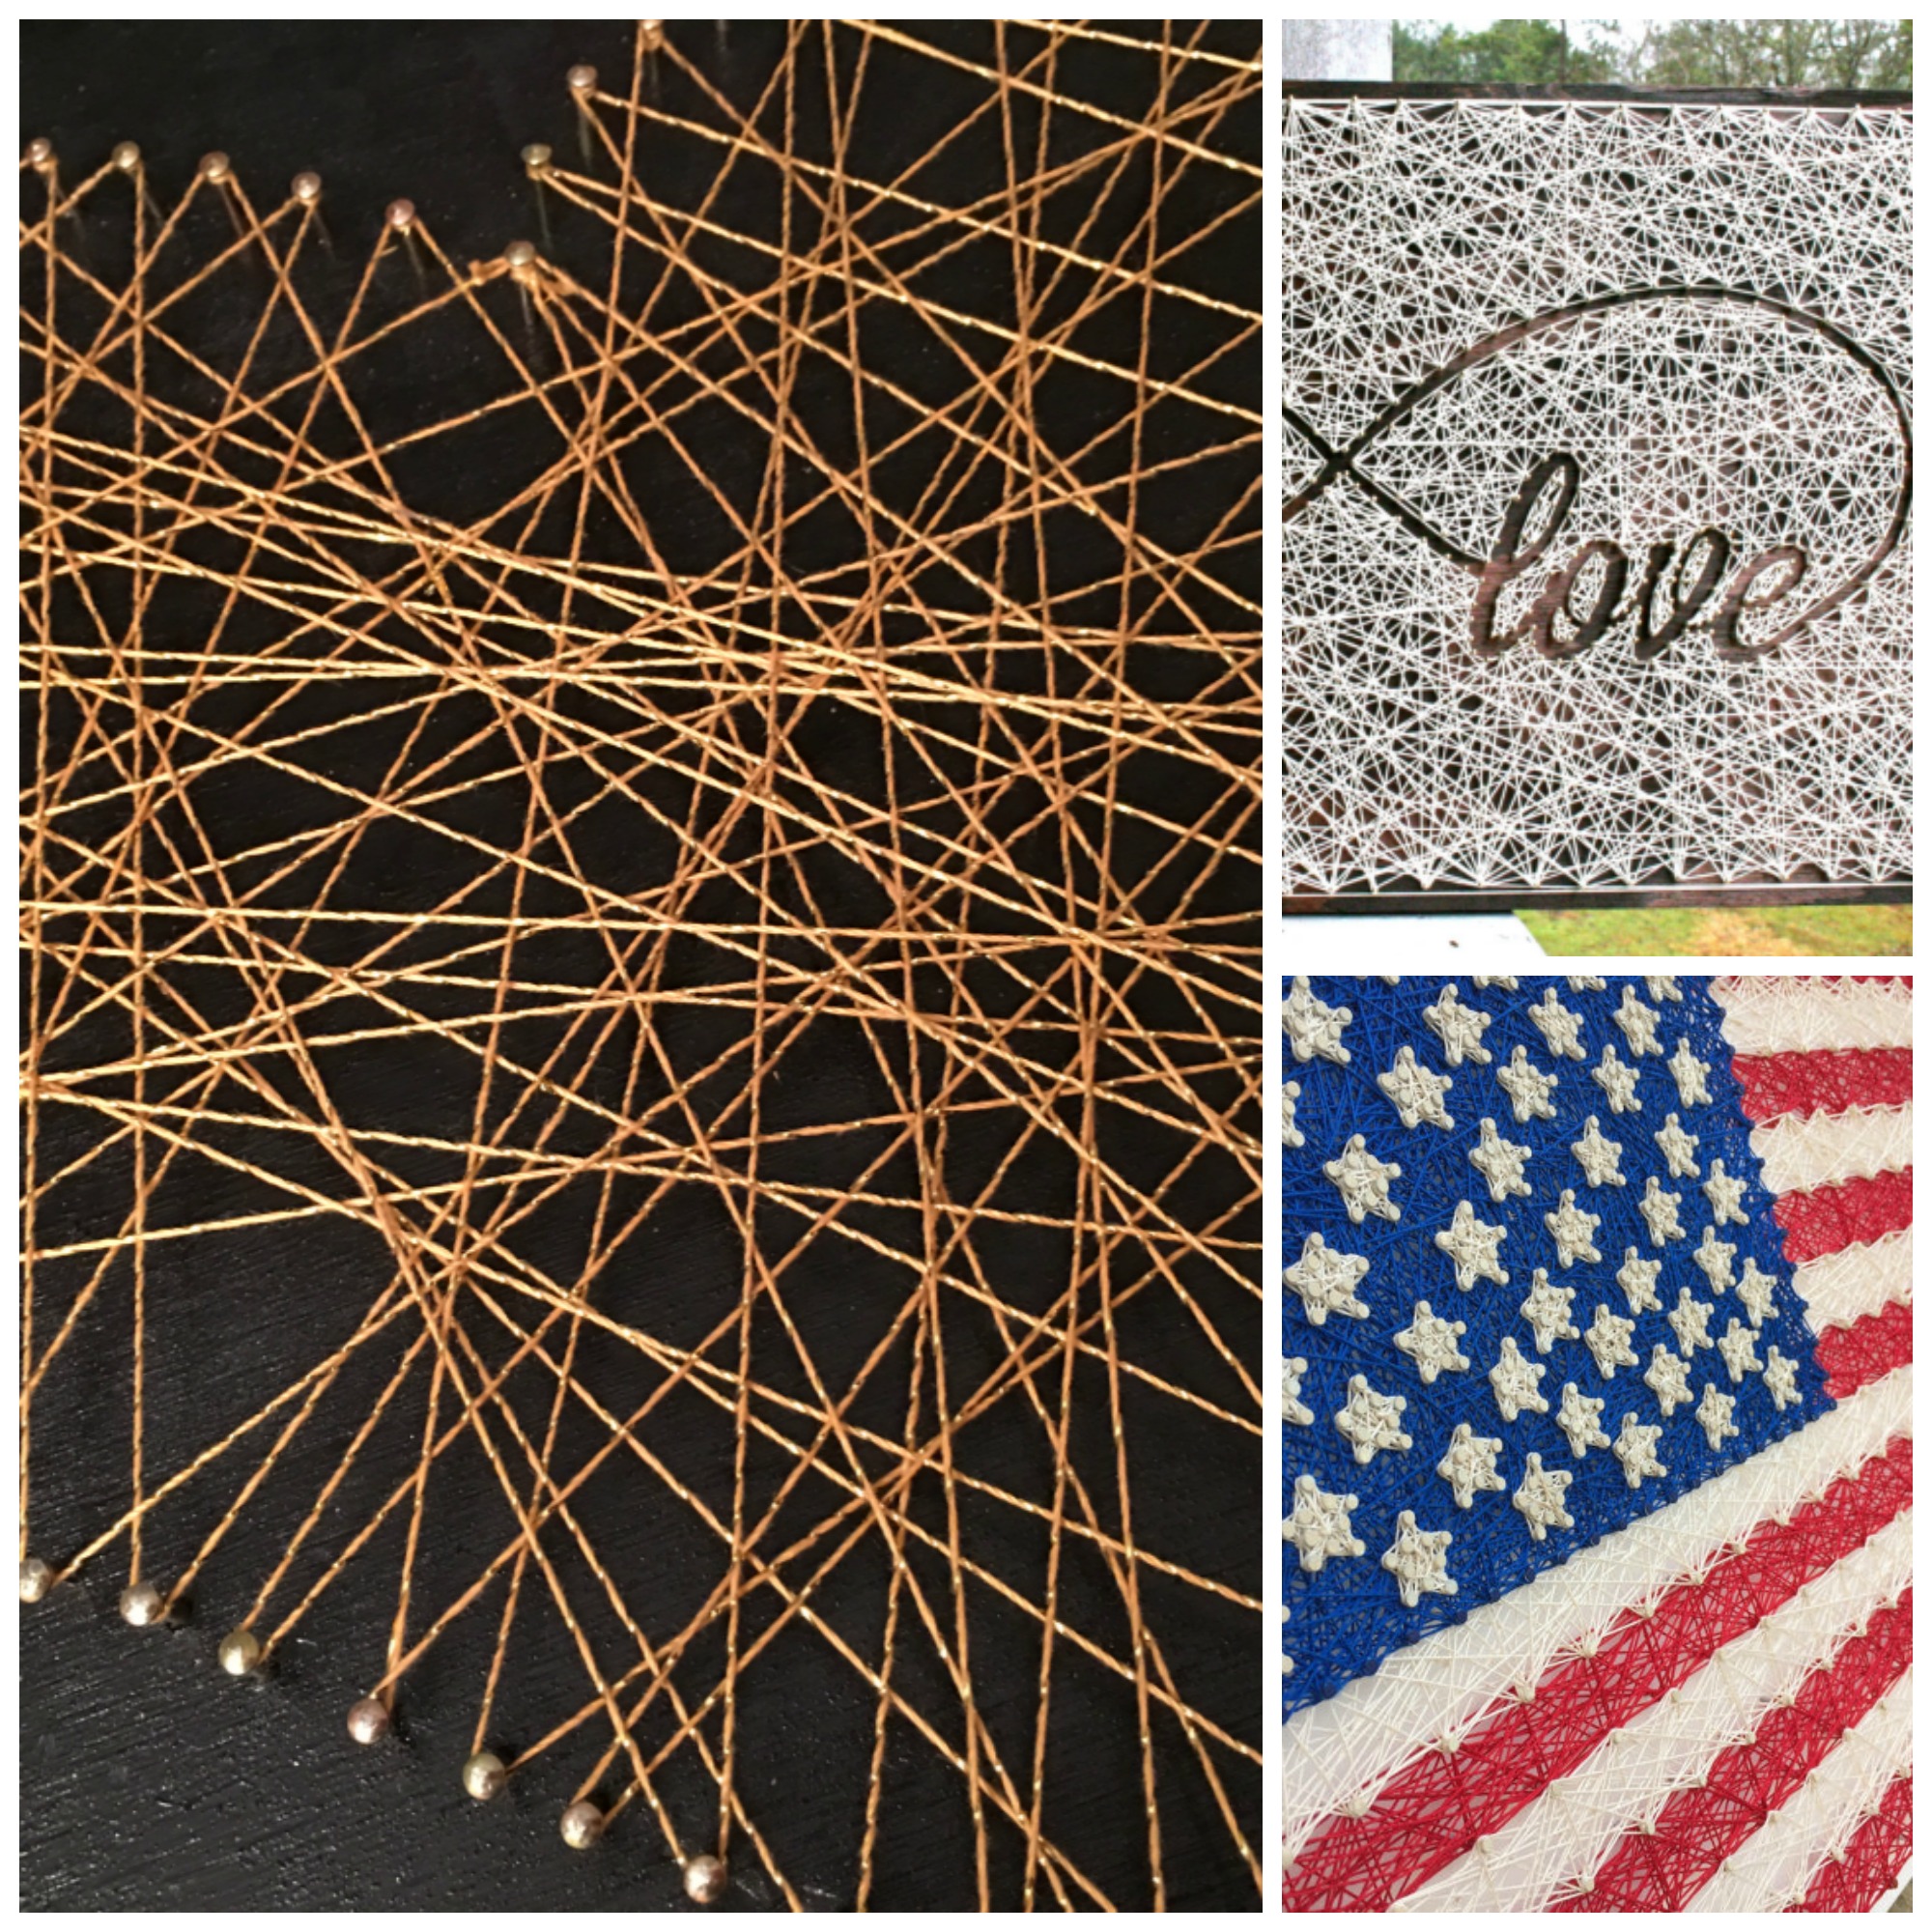
Now, if you want to really test your talent, you could take on a string art project like one of these…or just go to Etsy, and find this love or the flag, or hundreds of other string art projects, but I think I will keep trying my own! 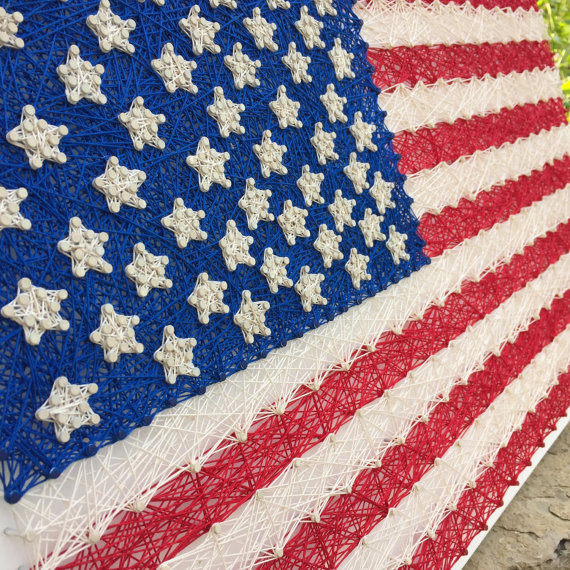
I wanted to share this one with you so you could see that when doing straight lines it is really important to get your nails in precisely straight lines or your art will have curves too it like this. If you were to choose to make a string art project, what shape would you use? What colors would you use?
This would be GORGEOUS as a shadow box type. Cut an image or images out and place the string art over the opening. Insert LED lights and you have a very personal, beautiful decorative piece!
My inner craft girl loves living vicariously through you! These are very nice.
Thank you Sandra, I guess I am learning a lot myself!
This looks amazing! Who would have thought you could make something so beautiful with nails and strings.
How long did it take you to complete yours
Thank you Madi. If you have the wood painted and ready to go, depending upon the size, it only takes an hour or less!