DIY Yarn Pumpkins – The Perfect Craft for Movie Night
Easy diy yarn pumpkins are a fun and creative fall craft! Gather your friends, family, your kid’s scout troop, or whomever! This is a great project to work on together! Get the supplies, put on a Hallmark movie or gather around your kitchen table and end up with some adorable chunky yarn pumpkins! This is such an easy project, even older kids can join in the fun!

I am going to show you how to make these easy yarn pumpkins!
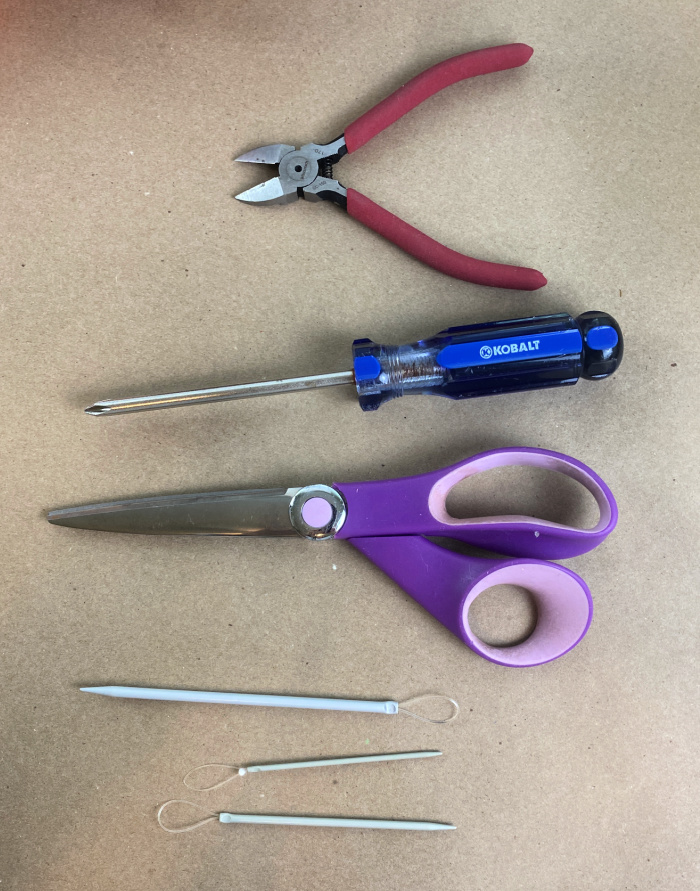
Yarn Pumpkin Supplies:
The only thing you need are few supplies and some fine motor skills and you will have finished yarn pumpkins in no time at all!
- Styrofoam pumpkins
- Miscellaneous yarns
- Scissors
- Flexible wool needles or yarn needles (I find the flexible wool needles easier)
- Screwdriver
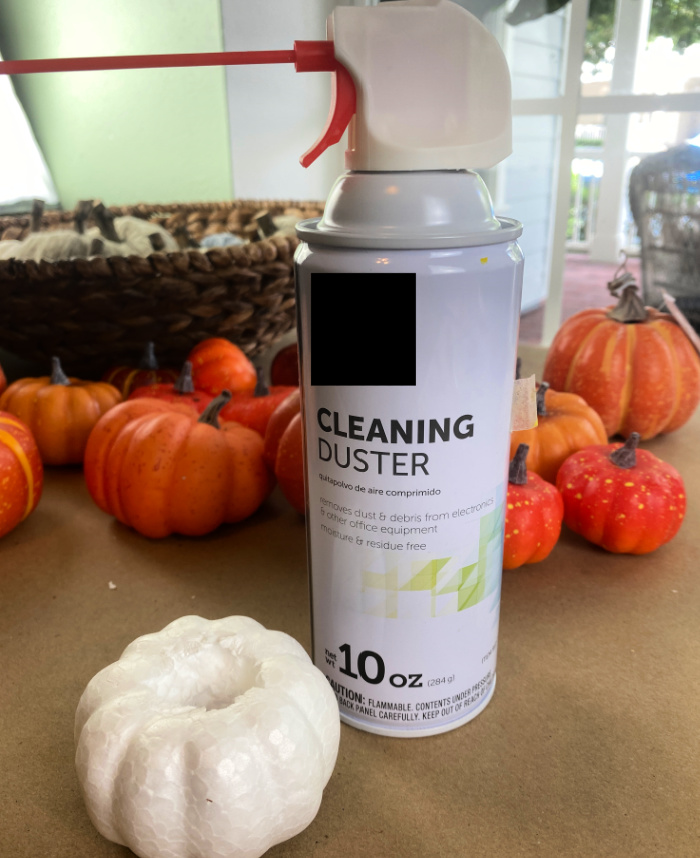
- Canned air
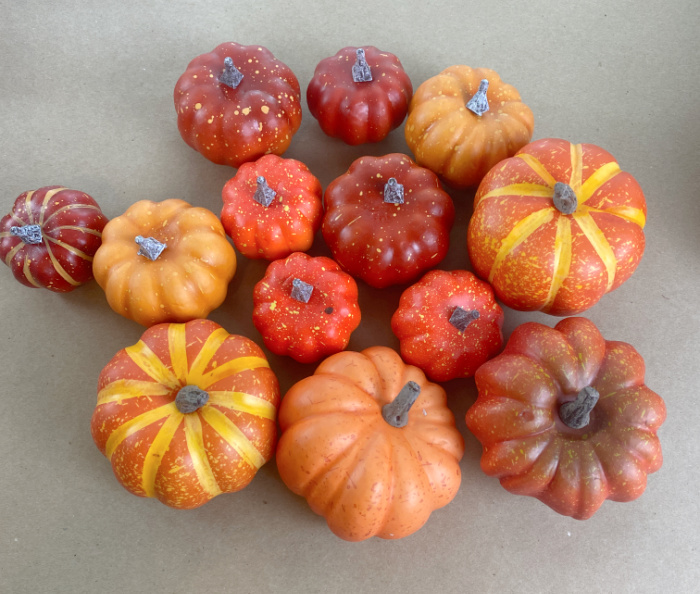
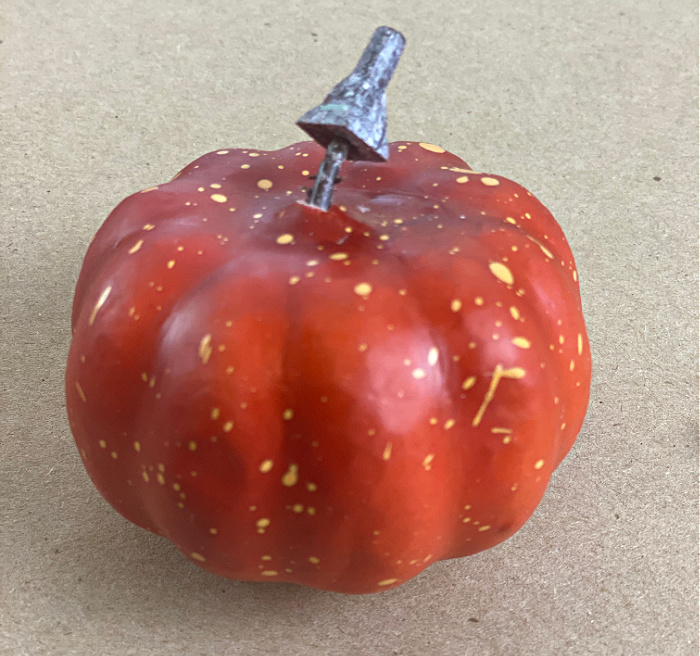
Step 1: Selecting the Pumpkins for this Project.
I have a bunch of foam craft fake pumpkins from last year that I am going to use for these diy yarn pumpkins.
This post contains some affiliate links for your convenience. Click here to read my full disclosure policy.
Sometimes a bag of assorted foam pumpkins can be less expensive than buying individual ones at $1.25 each at the dollar store.
UPDATE!!! AS OF JULY 2022 – With Dollar Tree now charging $1.25 per item, there are much less expensive ways to get your pumpkin forms! The best deal I have found for pumpkins for this project are these from Amazon!
Step 2: Prepare Pumpkins
It is simple to pull the stems out of these pumpkins. You can then dispose of the stem.
After removing the stem, use the screwdriver to poke a large hole through the pumpkin, first through the top and then through the bottom.

Sometimes when you poke the hole the coating on the pumpkin loosens. You can peel off the coating if you would like. Sometimes there is a small piece of wood in the bottom or the top of the pumpkin.

I peeled all of the coating off of the pumpkin below. Use the screwdriver to make the hole as large as you can. You want the hole to be large enough to almost accommodate the handle of screwdriver. This will be handy later.

After you have a hole from the screwdriver, take a pair of scissors and push it into the hole and twist it around to make the hole larger. You will want the hole to be as large as the part of the scissors where the two handles come together OR, again, large enough for a normal screwdriver handle to ALMOST fit through the hole.

I recommend doing this over a trash can like I have done here so most of the loose styrofoam falls down into the trash.
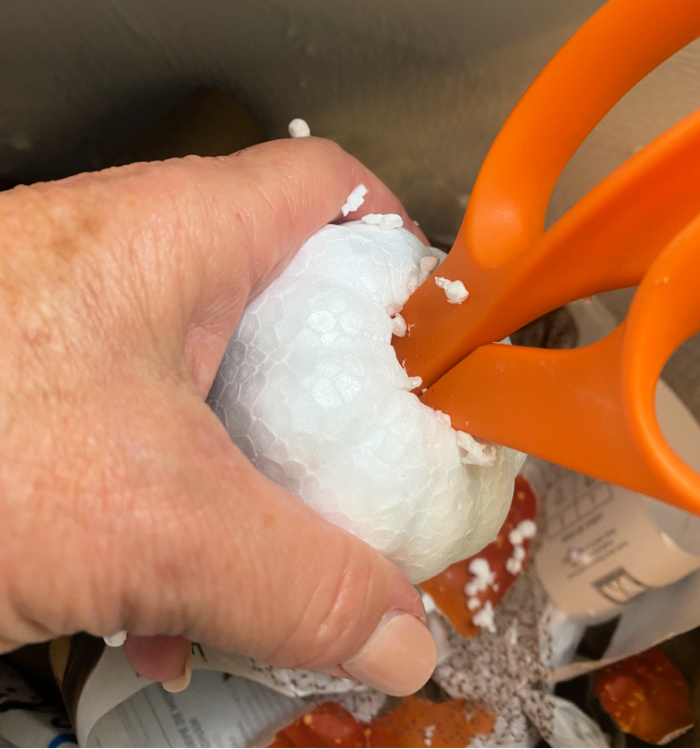
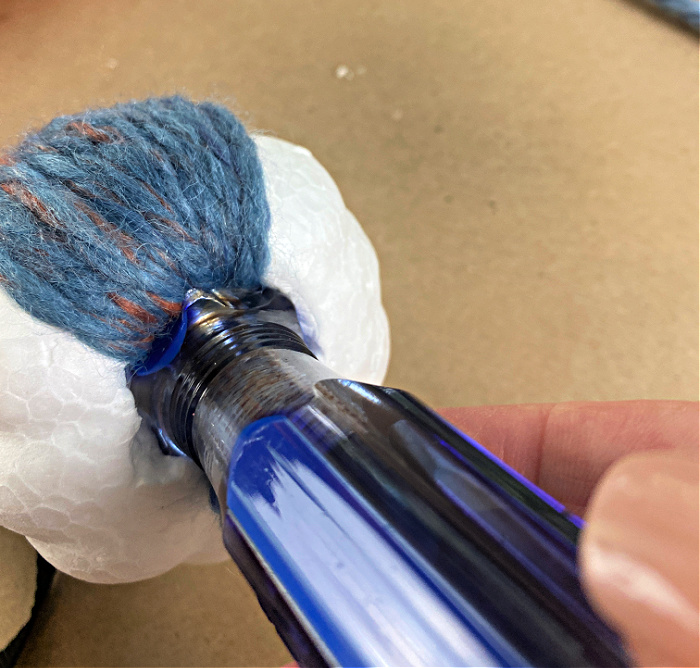
This is when canned air comes in handy! I have learned from previous projects, It is difficult to get rid of all of those little styrofoam scraps. Canned air will clean them right off, and your little pumpkin is ready to work on!
Step 3: How to Wrap the Pumpkins with Yarn
Select a yarn you want to use with your pumpkin. You can use most any kind of yarn, but the concept for covering your pumpkins will be the same. Thicker yarns will cover your pumpkin much quicker.
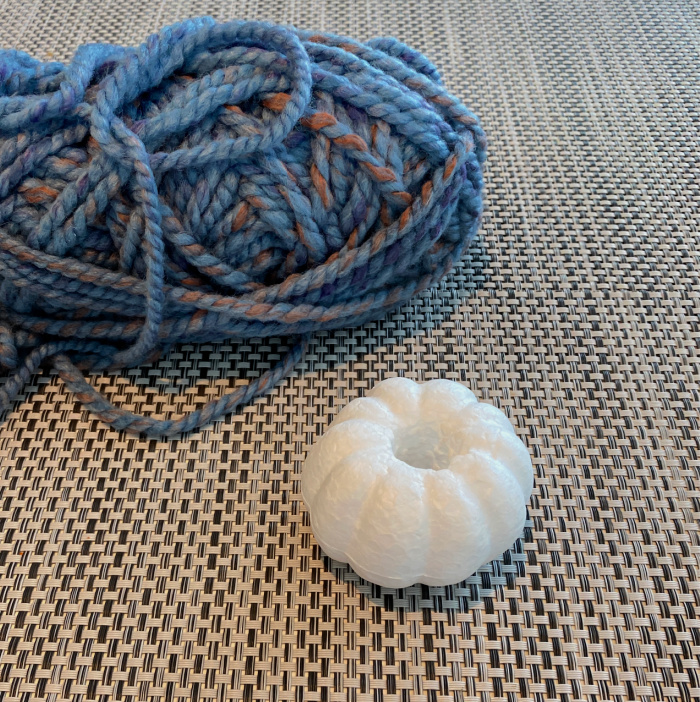
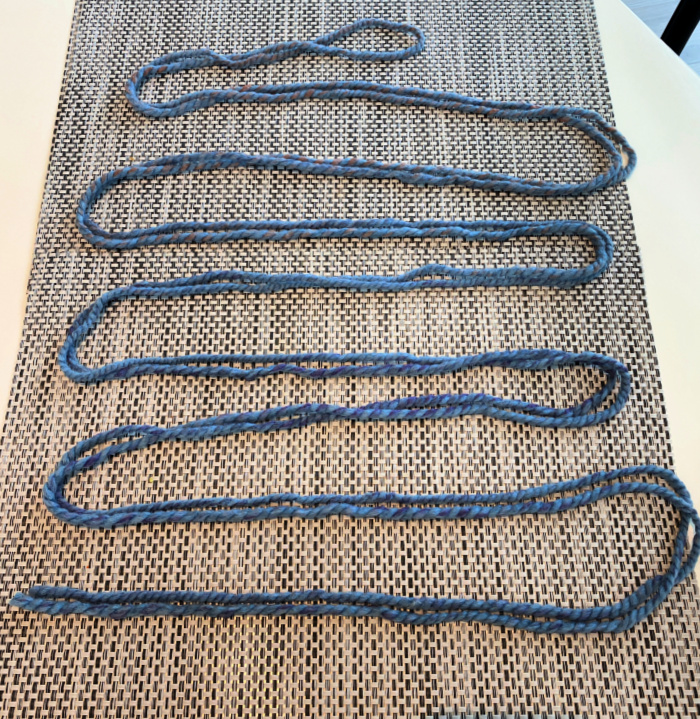
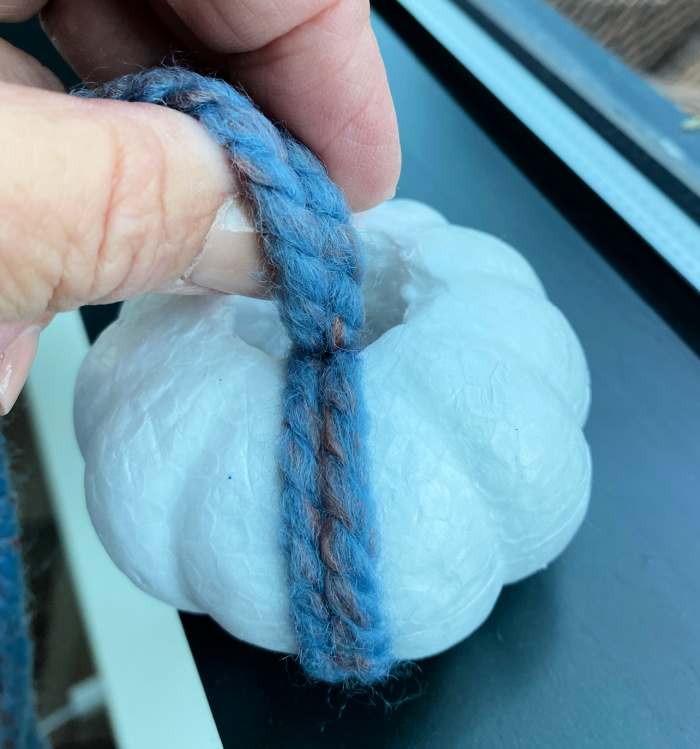
Measure out about a 10 yards strand of yarn and double it over lining up the two ends together. This is the amount of medium weight yarn you will need for a 3″ diameter pumpkin. You will need less for a thick yarn and more for a lighter yarn.
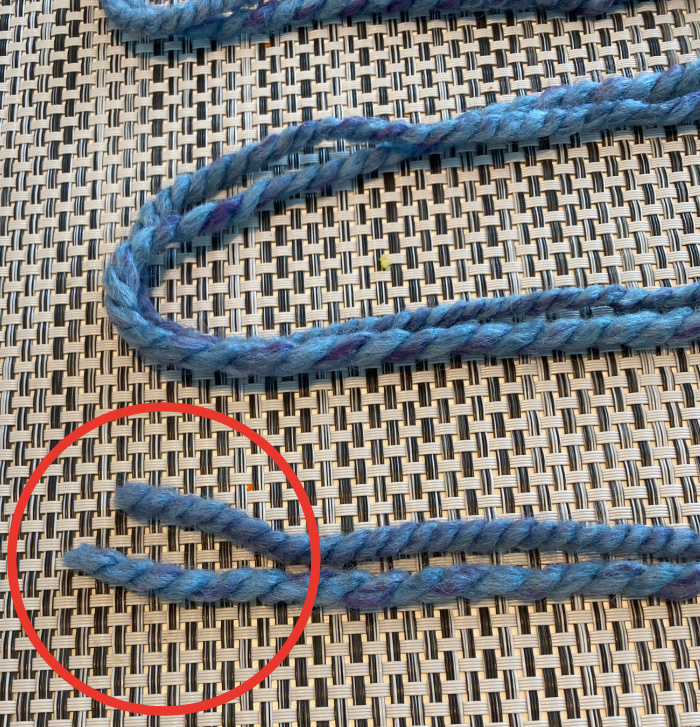
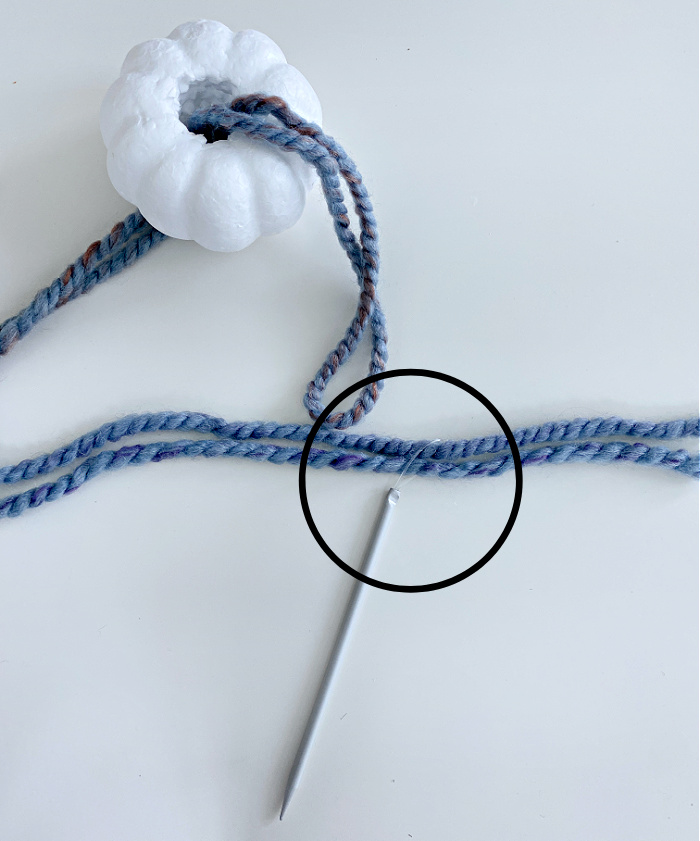
Thread the looped end of the yarn through the eye of the flexible wool needle as shown above.
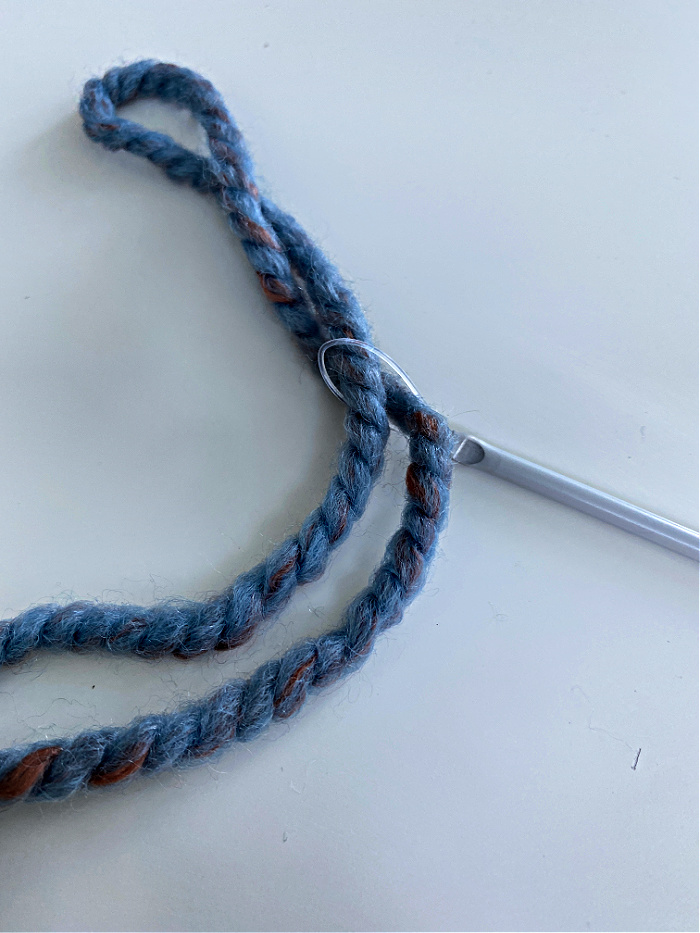
With the yarn through the needle’s eye, pull the loop of yarn through the hole in the middle of the pumpkin. You can likely find everything you need to make these cute and cozy little pumpkins locally, EXCEPT for those needles. If you want my favorite needles, make sure you order your needles TODAY! They are sell out quickly.
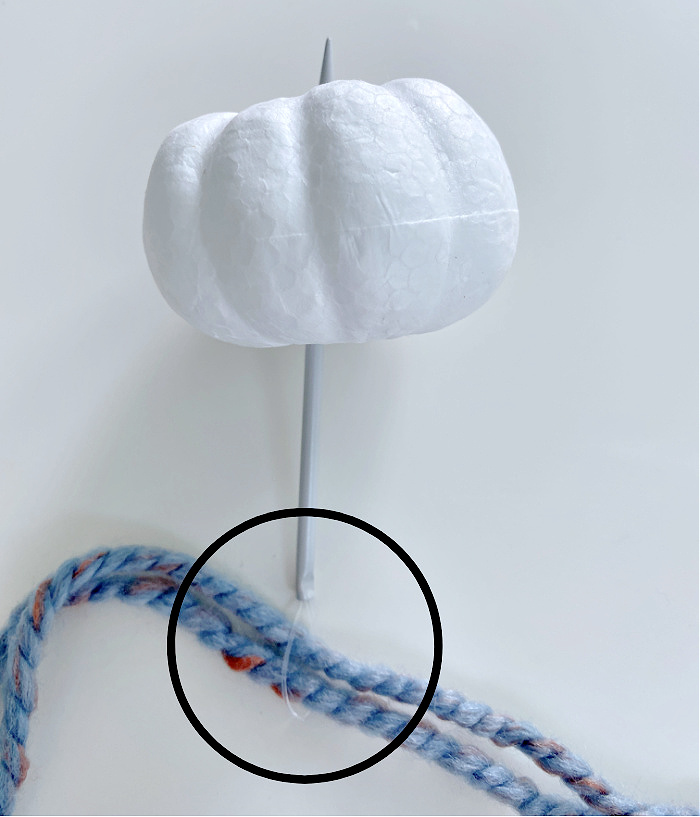
Remove the needle from the loop of yarn and put it on the other end of the yarn where the two loose ends are.
Pull the loose ends through the loop that you pulled through the pumpkin.
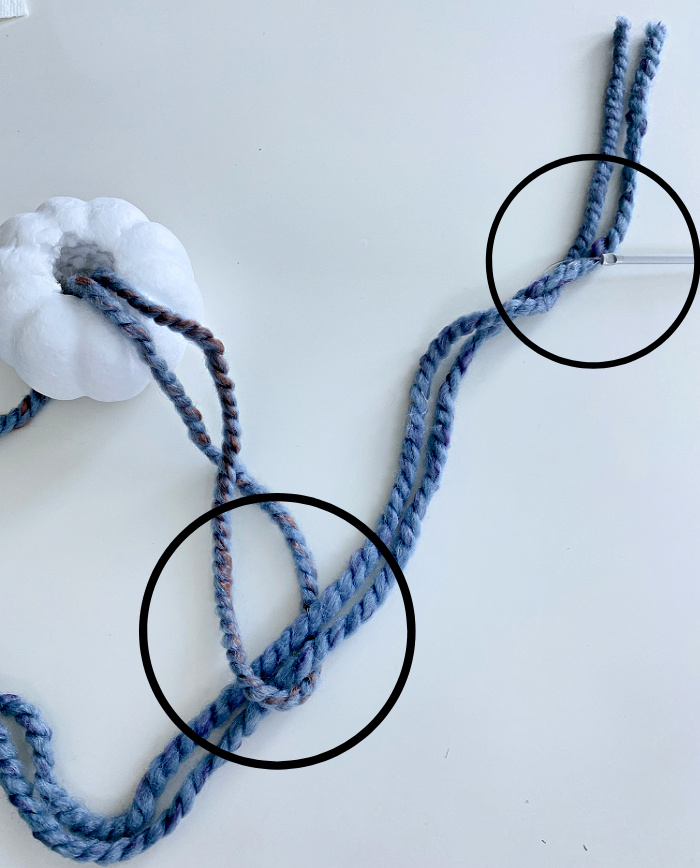
Continue to pull the loop as tight as possible.
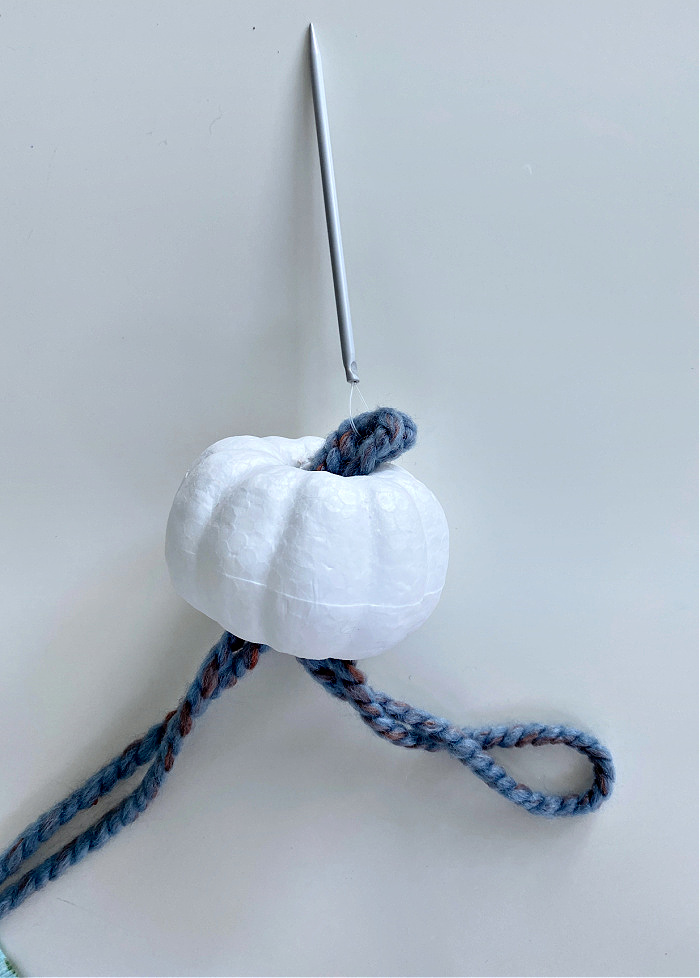
Pull the loop totally tight and down inside the hole in the center of your pumpkin. As you continue to wrap the pumpkin with the yarn you will want to keep the yarn pulled taut.
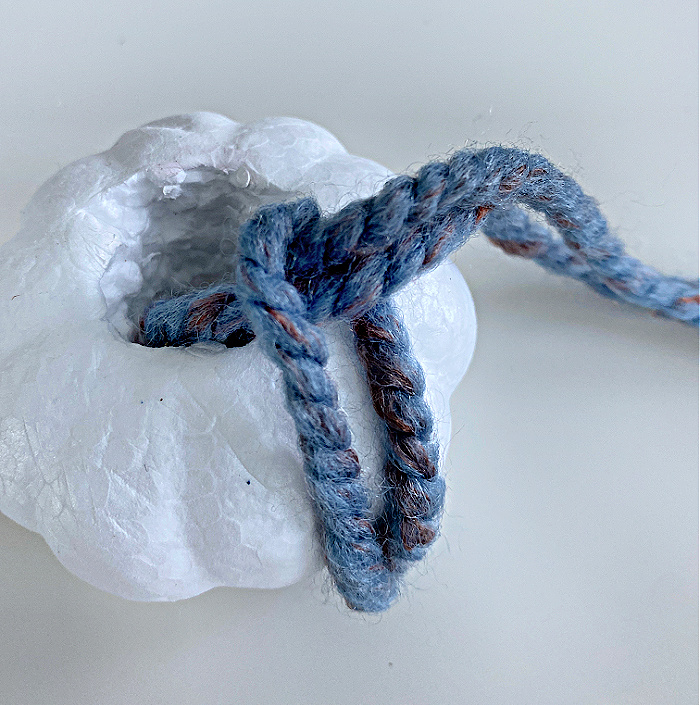
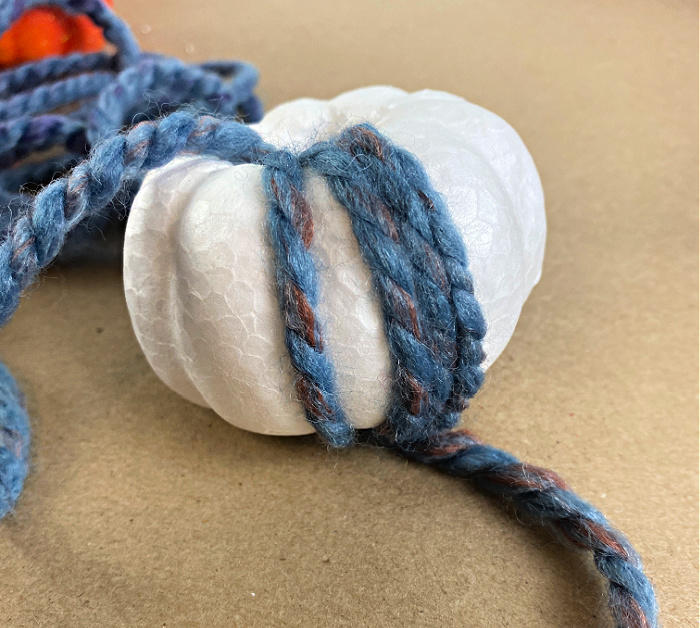
With the yarn threaded on your needle you are ready to start wrapping your pumpkin now.

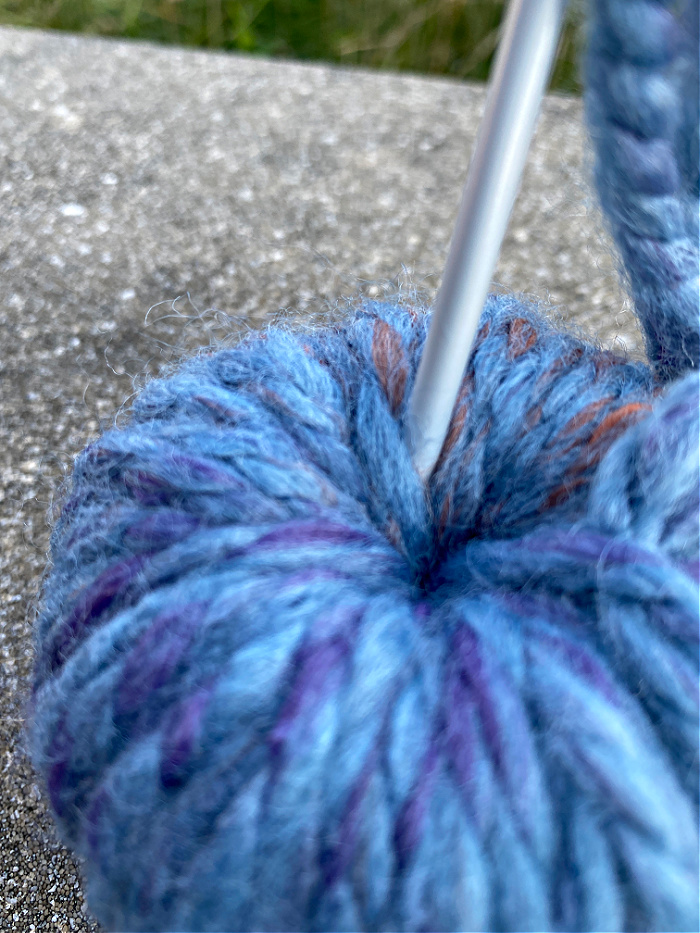
Take the threaded needle and feed it down through the hole, pulling all of the yarn through and pulling it as tight as you can.
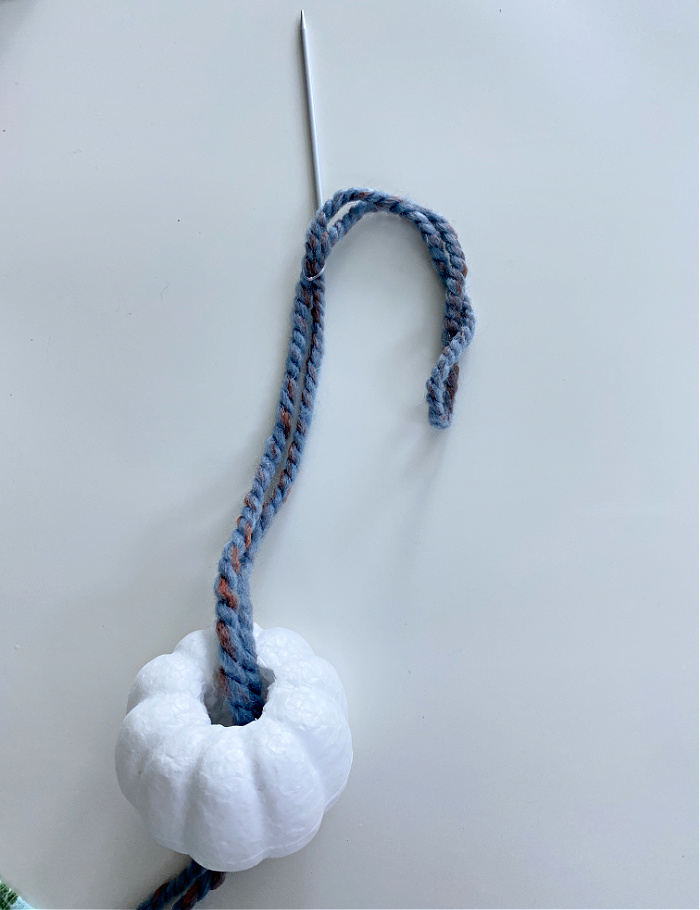
You will have your first wraps of yarn on your little pumpkin! Continue wrapping with the same motion down and through your pumpkin pulling tightly on the yarn each time.
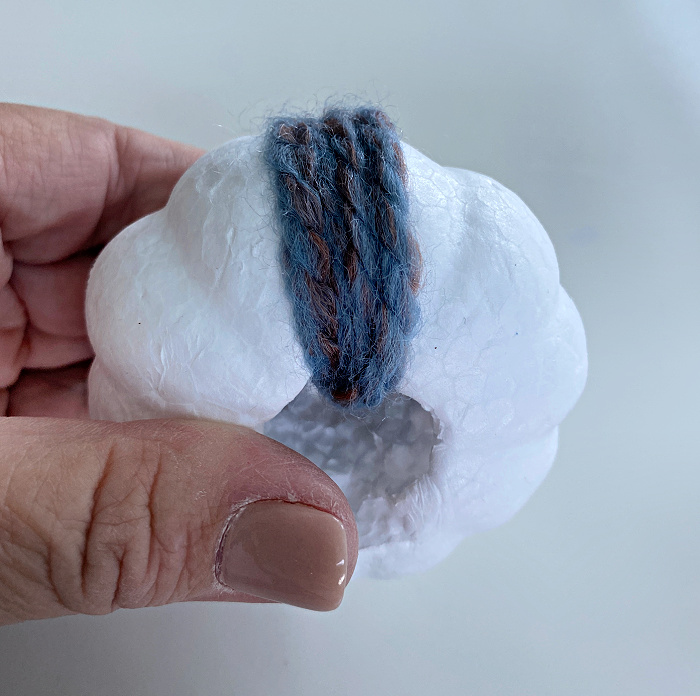
You may have times when the yarn wants to find its way into the crevices or seams of the pumpkins like this one. Don’t fight it, just let the yarn settle in there and then go back and fill the space in between afterwards.
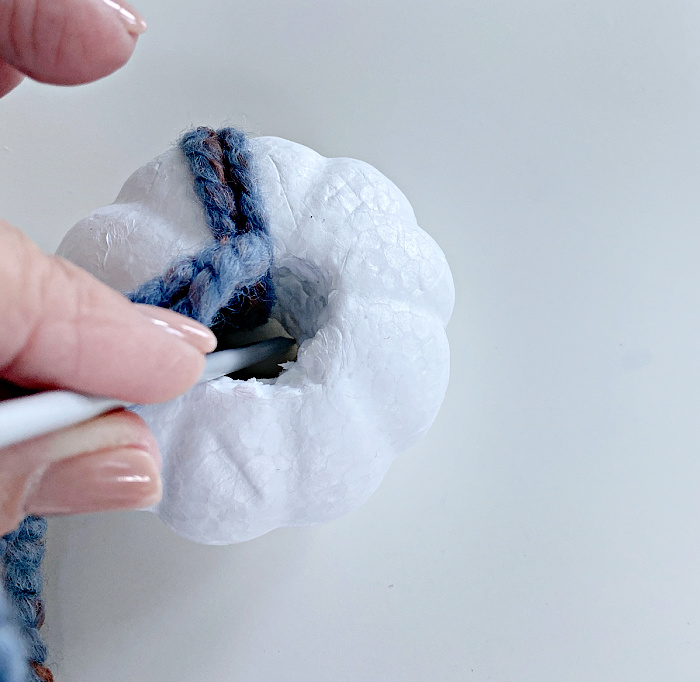
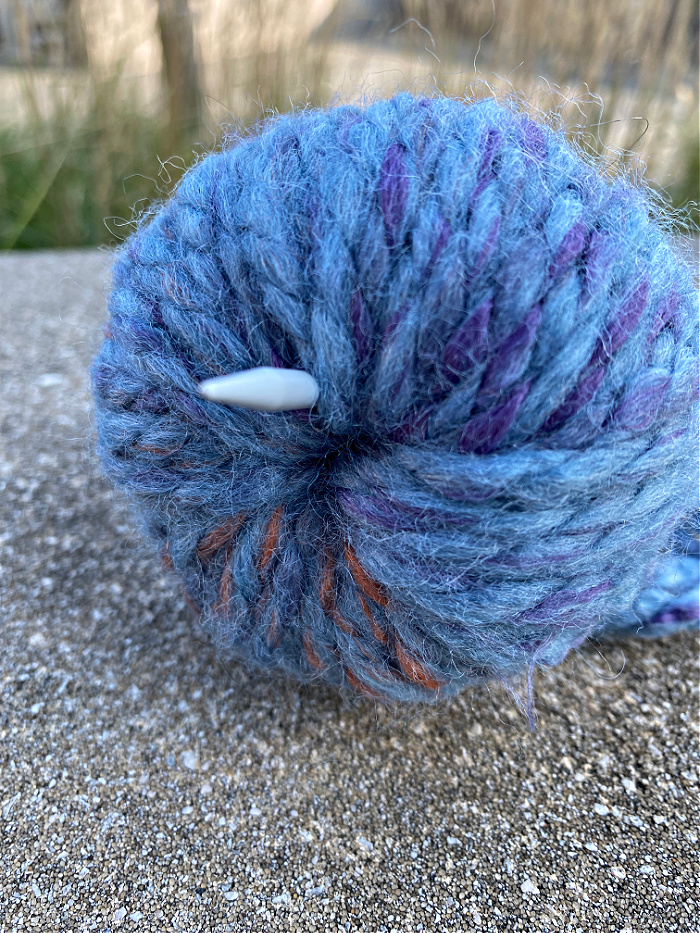
If you find you need to take a break while you are working on a pumpkin, this is where that screwdriver comes in very handy. Just wedge the screwdriver down into the hole against the yarn and it will hold the yarn securely in place so it won’t loosen until you are ready to come back to your project.
When you think you are finished with your pumpkin, make sure you give it a good look all the way around and add another layer of yarn anyplace you think you may need a little more to cover the styrofoam. Finish it off by threading the yarn down beneath the layers of yarn in the middle of the hole in your pumpkin.

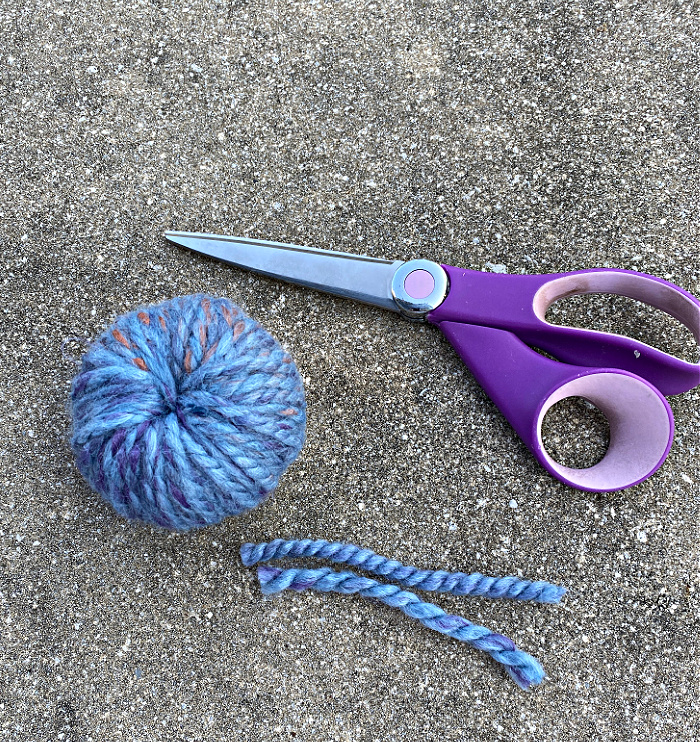
When you get to the end of a length of yarn, simply thread it down through the yarn inside the hole on in your pumpkin with the needle. Pull the ends on out of the hole and cut them off. If your yarn is not enough to cover the entire pumpkin, you will start a new piece of yarn. Just begin the same way you began the first, with the loop.
Pull the needle and the rest of the of the yarn through the pumpkin.


Your yarn wrapped pumpkin is complete! All it needs is a stem!
Step 4: Add a Stem to Your Pumpkin
Your pumpkin is looking pretty darn cute at this point!
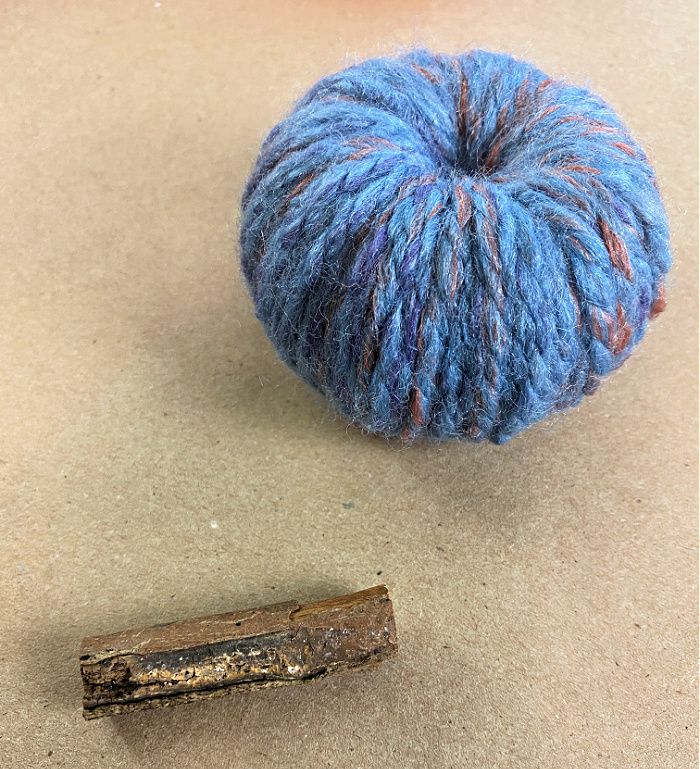
The final step is to give it a little stem! Collect a twig or broken tree branch and cut it to the proper length and just tuck it inside the hole.
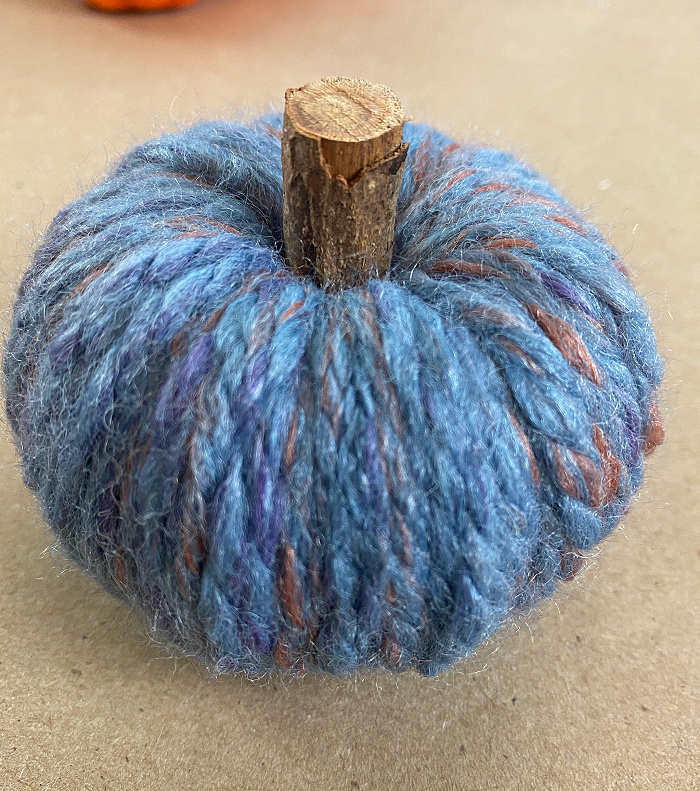
The stem should fit securely and should not need any adhesive of any kind to make it stay in your pumpkin. If your stems are loose, you can use your glue gun to secure them to your little yarn pumpkins.
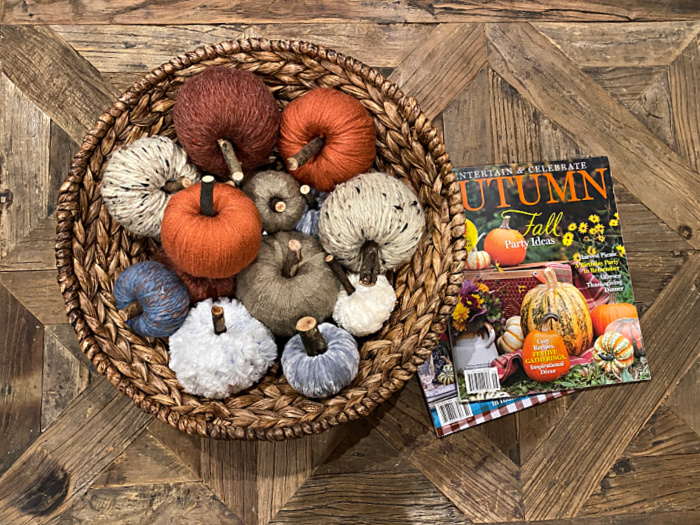
Step 5: Display Your Pumpkins
I have chosen a wicker basket to display my adorable yarn pumpkins for now, but I am sure they are going to find their way onto a tablescape before fall is behind us! Wouldn’t these make lovely little place cards for guests on a Thanksgiving table?

A bowl of these makes a beautiful centerpiece! Select the colors of yarn you want and get to work on your own pumpkin crafts! This is my kind of craft, quick and easy and with such adorable results!
I just love these fall decorations in a variety of colors! Will you try and make these cute little pumpkins? Where will you display yours?
These are super cute! Thank you for the fantastic tutorial! I’m going to whip some of these up!
I can’t wait to try and make some of these for fall Chloe! Thanks for sharing.
These are so very cute, and I’m so lucky that I was able to make them in person with you! Thank you for sharing.
Chloe, these are super cute. I have lots of leftover yard and this would be the perfect way to use it. You are SO clever!!!! Thanks for sharing such a detailed tutorial.
What a fabulous tutorial Chloe. I’ve never seen the pumpkins made this way. Love them!
Thank you for sharing your DIY yarn pumpkins at Create, Bake, Grow & Gather this week. I’m delighted to be featuring this project at tomorrow’s party and pinning too.
Hugs,
Kerryanne
Chloe, these are adorable pumpkins and I’m featuring them at the FWF link party!
Hugs
RR
Your instructions are so incredibly clear and illustrative, Chloe! Thank you for sharing this. I would possibly try these, knowing that canned air can get rid of those styrofoam balls. I hate those! Looking forward to fall tablescapes next week (you’re joining, right?) Happy September!
Oh yes, I am joining! Looking forward to it! Thanks Rita! Yes, canned air is the best at getting so many things cleaned up!
Love the yarn pumpkins and so impressed with your step by step tutorial Chloe! I’m excited to share your post this week at our Tuesday Turn About Link Party. Hope to see you there!
These are darling! I can’t wait to try this – maybe this weekend!
Thanks Michelle! They are easy, and really fun after you get started! Three of them in a little basket make a sweet fall gift, too! Shop around…there are lots of little pumpkins cheaper than Dollar Tree now that they are $1.25!!