
A Little Scarecrow with a Gift!
Nothing welcomes the season quite like a cheerful fall wreath! This charming scarecrow wreath combines colorful autumn leaves, pumpkin-patterned ribbon, bright orange mesh, and an irresistible little scarecrow holding a pumpkin from the patch. Although the finished wreath is wonderfully full and festive, it begins with a simple grapevine base and comes together one layer at a time.
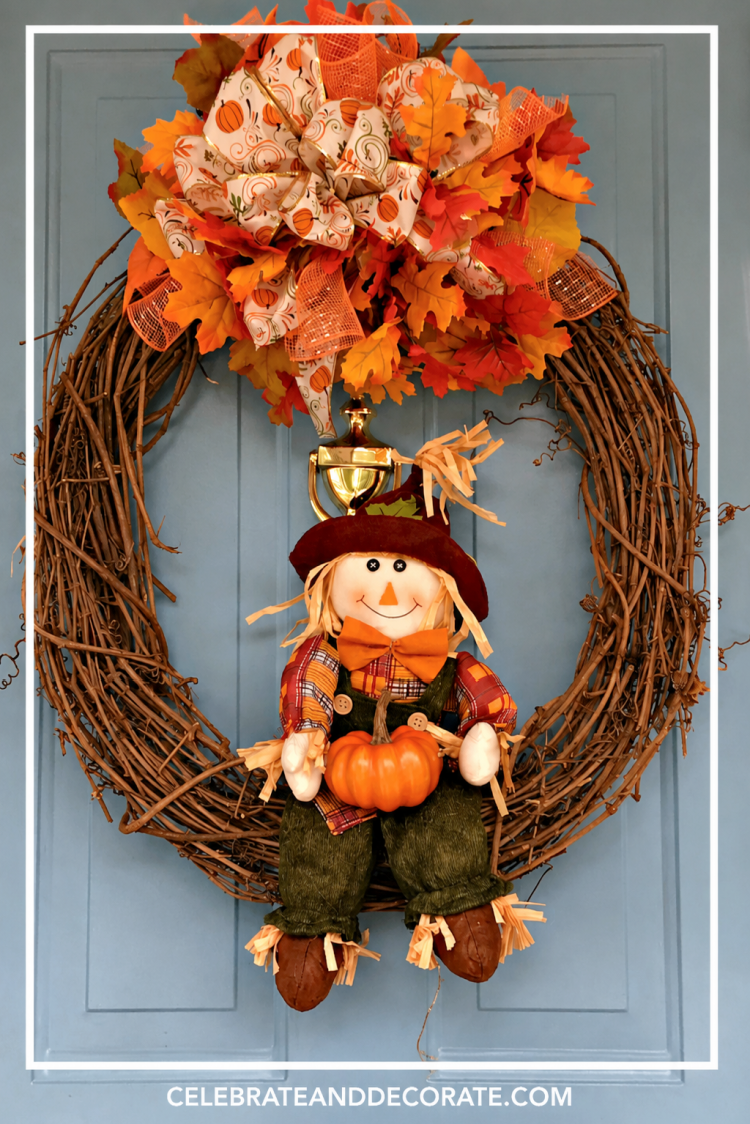
I originally created this wreath after one of my Facebook Live viewers asked to see a fall design featuring a scarecrow. When I spotted this smiling fellow at Michaels, I knew he would be perfect perched inside a wreath and ready to greet guests at the front door!
Supplies for a Fall Scarecrow Wreath
- 24-inch grapevine wreath
- Small scarecrow decoration
- Faux pumpkin
- Floral foam
- Button approximately ¾ inch wide
- Paper-wrapped floral wire
- Faux fall leaf stems
- Pumpkin-patterned wired ribbon
- Five-inch orange decorative mesh
- Wired wooden picks
- Hot-glue gun and glue sticks
- Wire cutters
NOTE: I made this wreath back in 2017, you may not find, nor do you need to find the exact scarecrow or exact ribbons to make your own adorable scarecrow wreath!
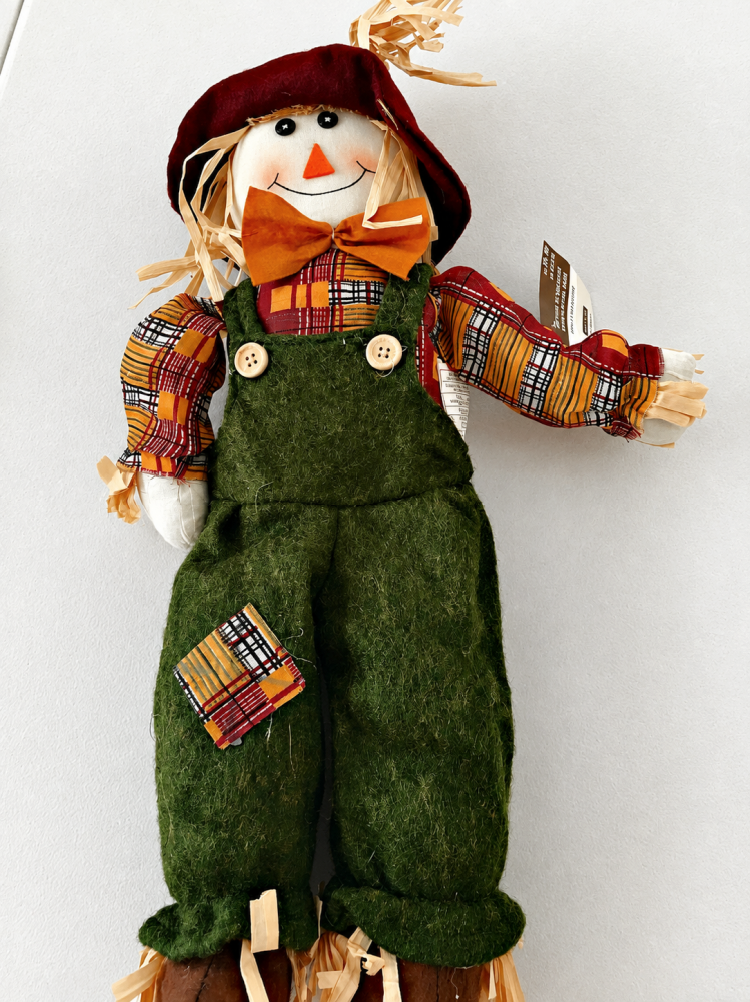
While shopping at Michaels, I spotted this cheerful little scarecrow on sale and knew he would be perfect for the wreath. With his straw-trimmed hat, colorful plaid shirt, and sweet smile, he added just the playful personality I had envisioned. I nestled him inside the grapevine wreath and gave him a small pumpkin to hold for an extra touch of autumn charm.
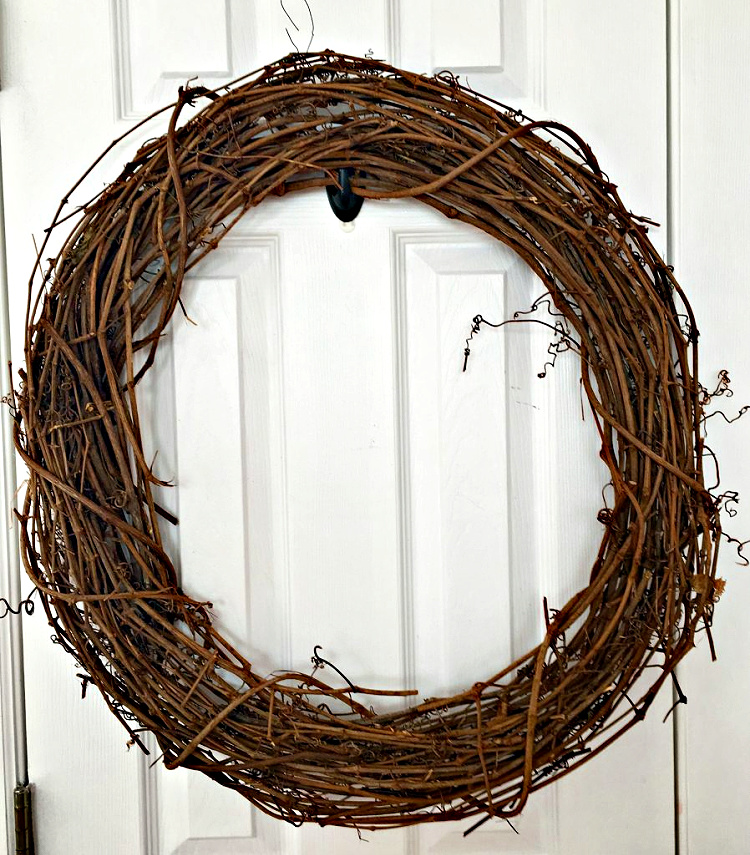
The size of your grapevine wreath will depend on the size of the scarecrow you choose. You want the scarecrow to feel substantial enough to become the focal point without covering too much of the wreath. For my scarecrow, a 24-inch grapevine wreath provided the right proportions, leaving plenty of room around him for fall leaves, ribbon, and other seasonal embellishments. Before attaching anything, place your scarecrow on the wreath to make sure the scale and placement feel balanced.
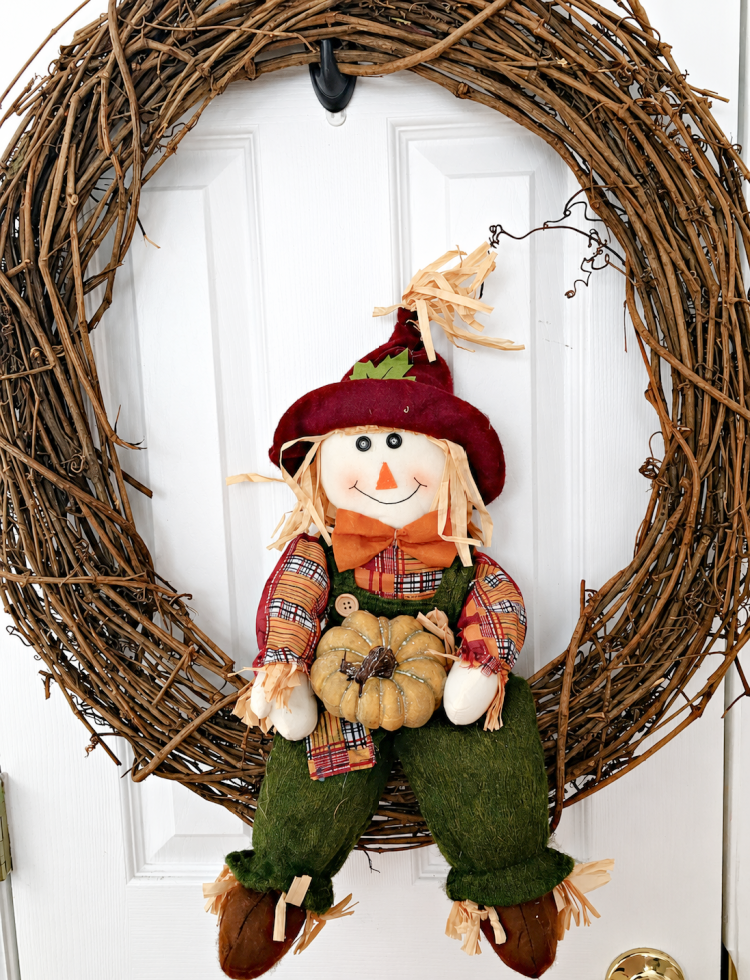
I began with a 24-inch grapevine wreath, which makes a wonderful base for fall decorating with its rustic texture and harvest-inspired charm. Doesn’t the little scarecrow look adorable nestled inside it? The muted pumpkin he was holding blended into the arrangement a bit too much, so I decided to replace it with a brighter orange pumpkin for a more colorful seasonal touch.
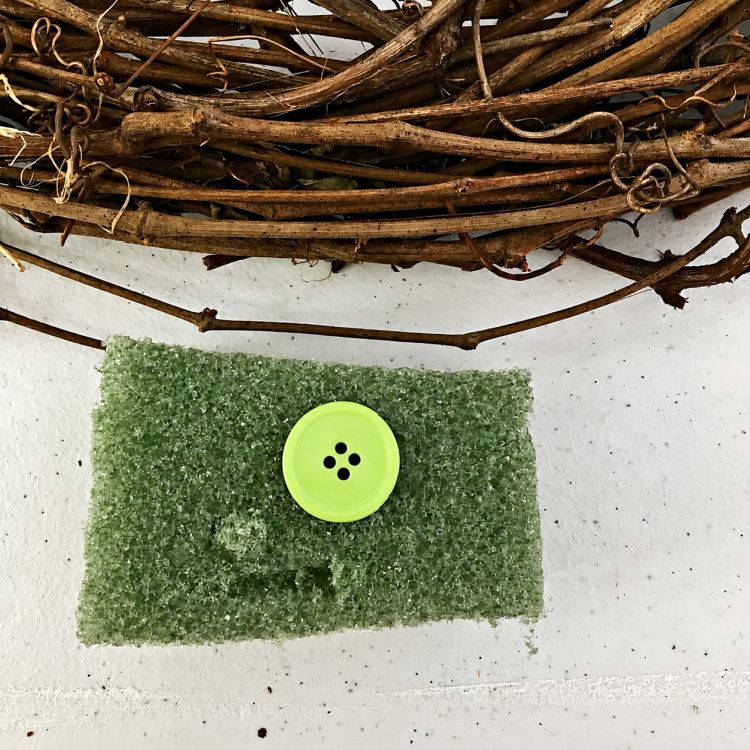
I have found that a button offers a simple and effective way to secure floral foam to a wreath or swag. Choose one that measures approximately ¾ inch across. A larger button may get in the way as you insert stems into the foam, while a smaller one could pull through the foam. The ¾-inch size provides enough support to hold everything securely without interfering with your arrangement. The button prevents the wire from cutting through the foam.
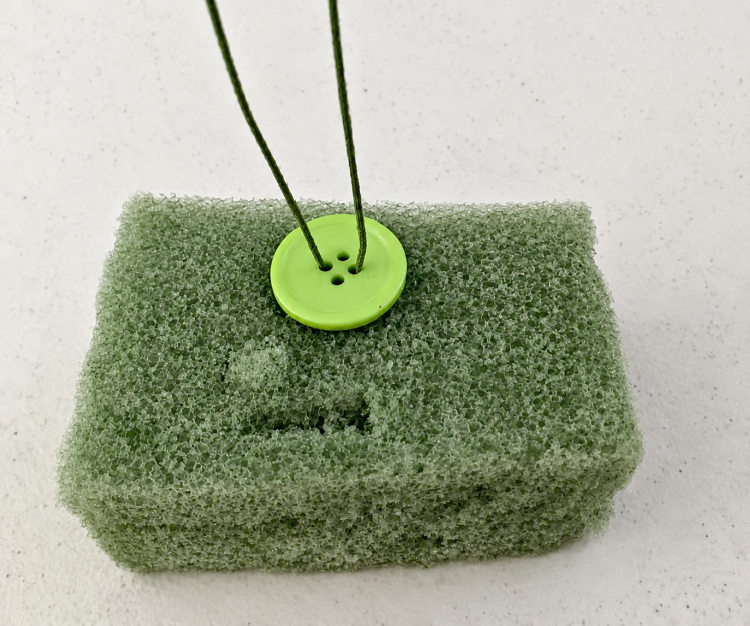
Fold a length of paper-covered floral wire in half, then thread the two ends through two holes in the button. Push both ends down through the floral foam. The button distributes the pressure across a wider area, preventing the wire from pulling through the foam.
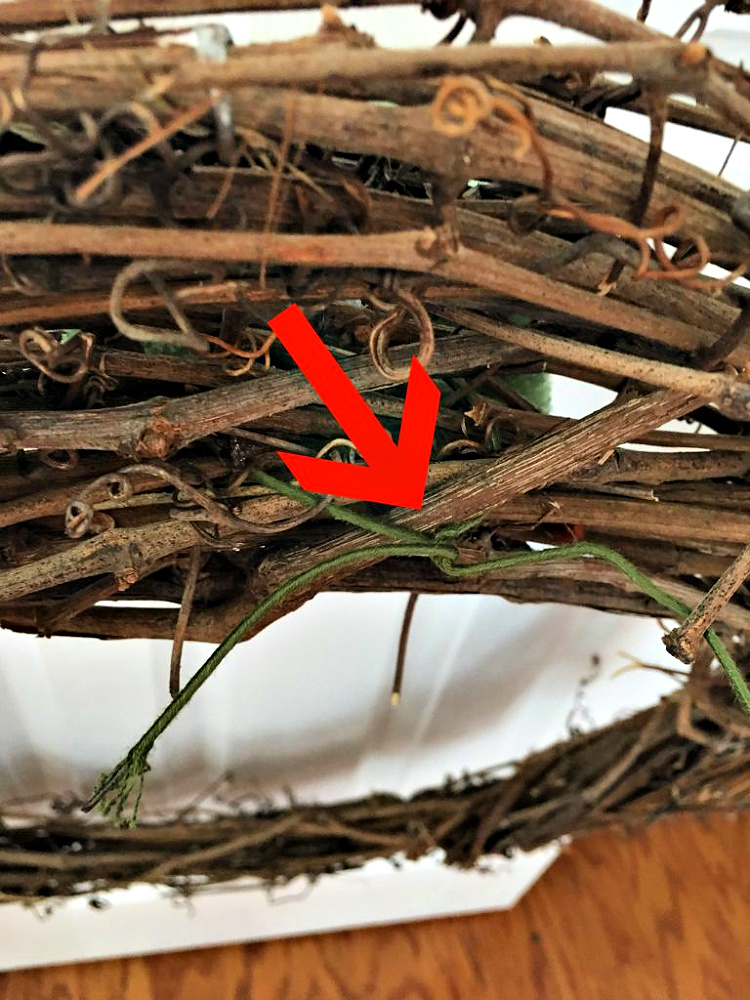
Feed the two wire ends through the grapevine wreath, spacing them approximately four to five inches apart. Pull both ends through to the back of the wreath, draw them snug, and twist them together securely. Shape the remaining wire into a sturdy loop that can be used to hang the finished wreath.
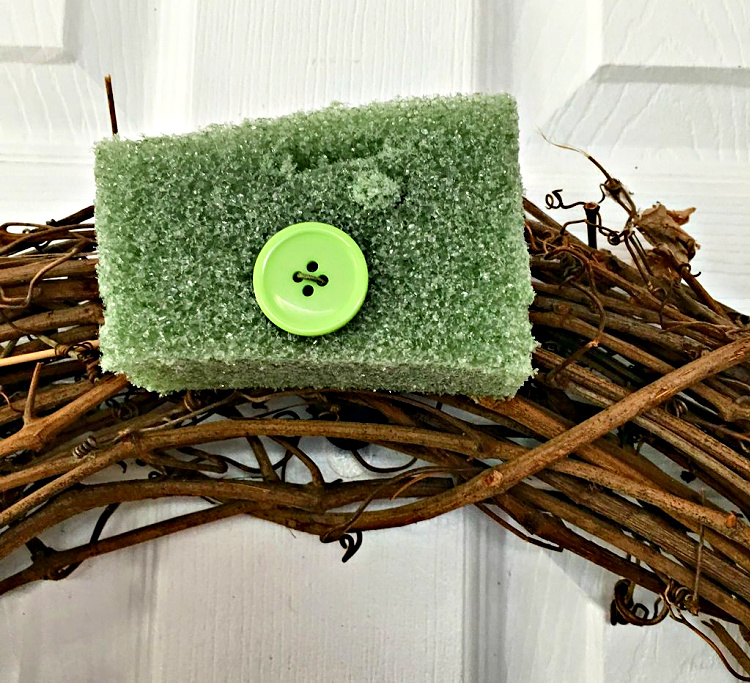
Once secured, the floral foam sits snugly against the front of the grapevine wreath, creating a sturdy foundation for your design. Now comes the fun part—layering in fall leaves, ribbon, and seasonal accents to bring the wreath to life!
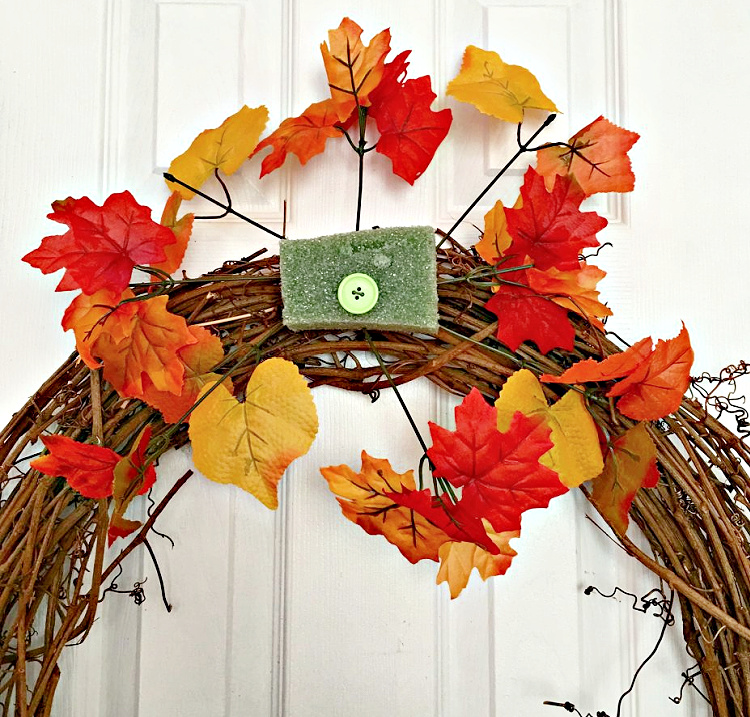
I began filling the floral foam with colorful fall leaves. To keep this wreath budget-friendly, I used faux leaf stems from Dollar Tree and cut them into smaller sections, making it easy to arrange the individual branches throughout the design.
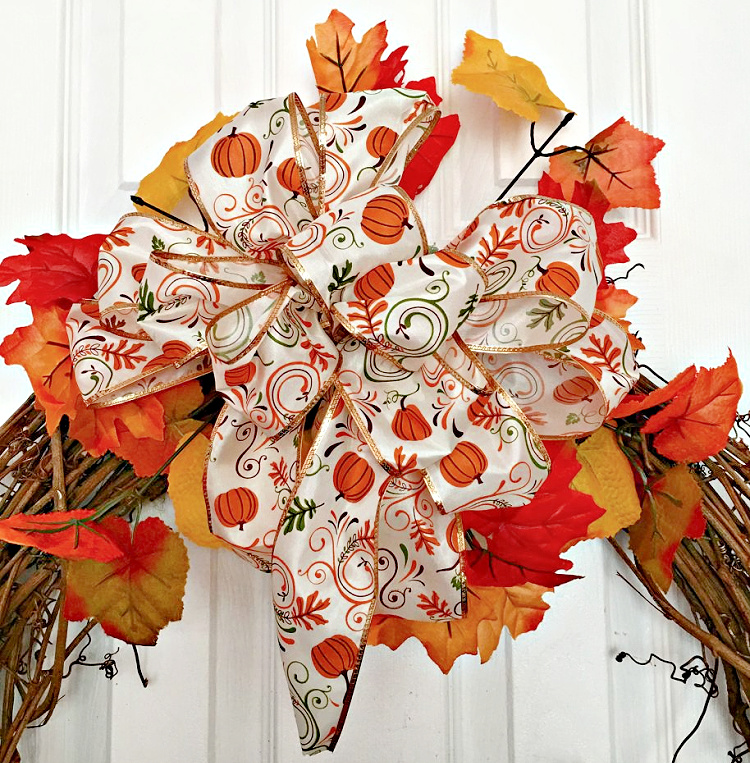
I used two nine-foot rolls of pumpkin-print ribbon to create this full, layered bow—all 18 feet of it! That gives you an idea of just how much ribbon a generously sized bow requires; it is almost always more than you expect. Secure the bow in the center of the floral foam, then begin filling in around it with additional fall leaves and loops of decorative mesh until the arrangement looks full and balanced.
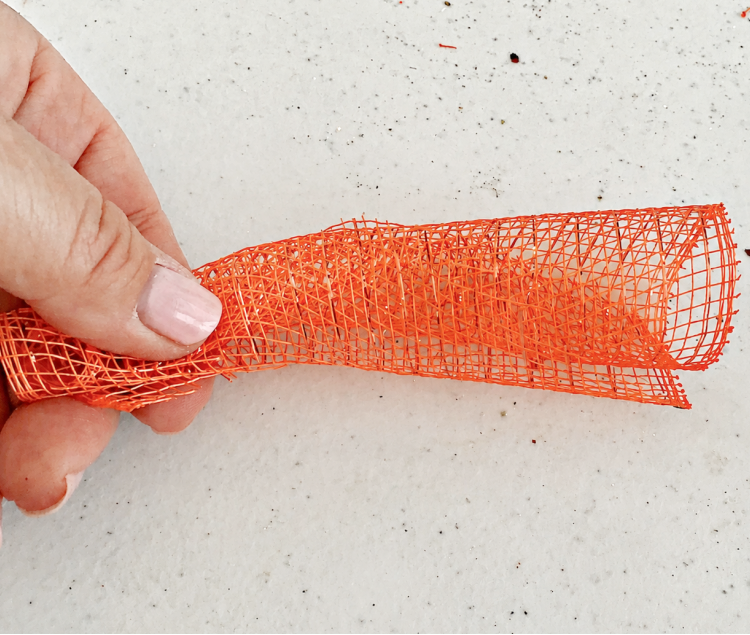
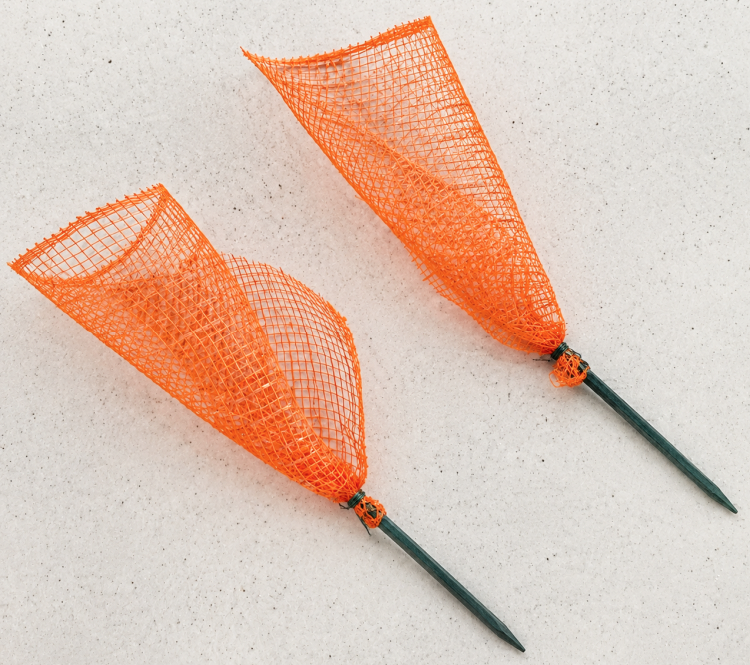
In addition to the fall leaves, I added orange decorative mesh for another layer of color and texture. I cut the five-inch-wide mesh into six-inch lengths, rolled each piece as shown above, and secured the center with a steel pick using my steel pick machine. If you do not have one, wood floral picks with attached wire work just as well.
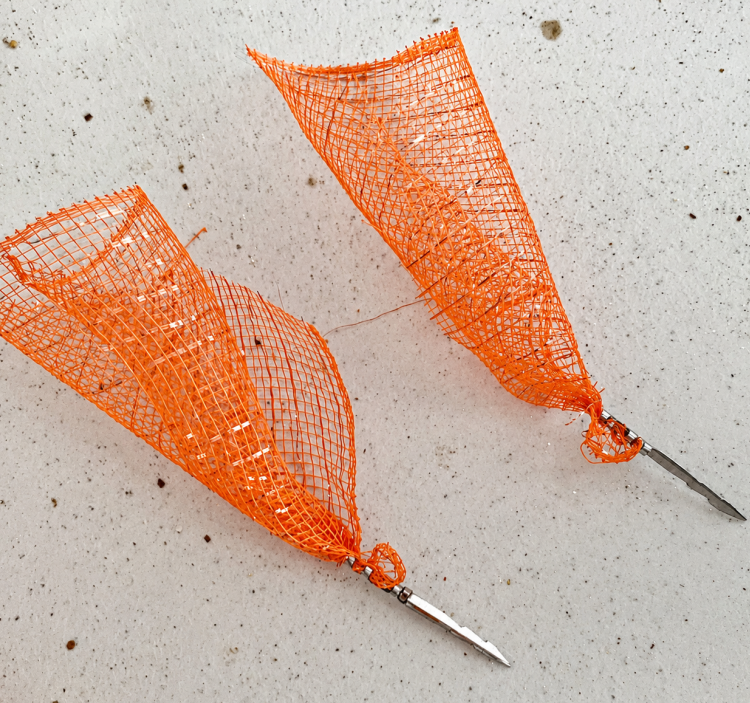
Below is how yours will look if you are using wood wired sticks to make your wreath.
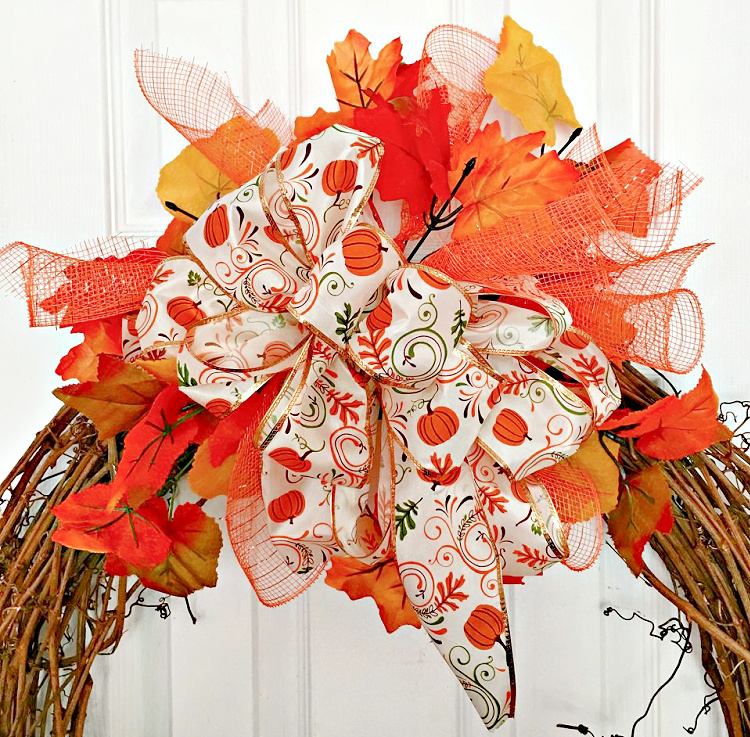
The layers of orange decorative mesh and colorful fall leaves make the bow look even fuller and more substantial. Tucking the mesh loops between the ribbon adds airy texture and helps carry the bright orange color throughout the arrangement, while the leaves soften the edges and create a lush, harvest-inspired backdrop. Together, these elements frame the pumpkin-print bow beautifully and give the wreath plenty of dimension and seasonal charm.
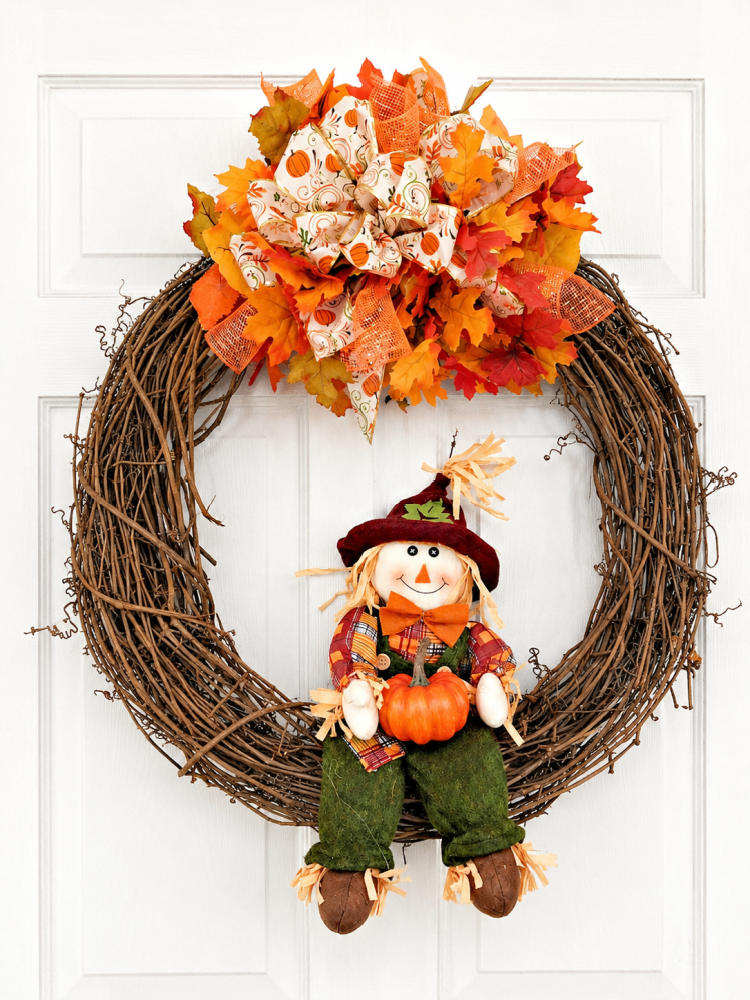
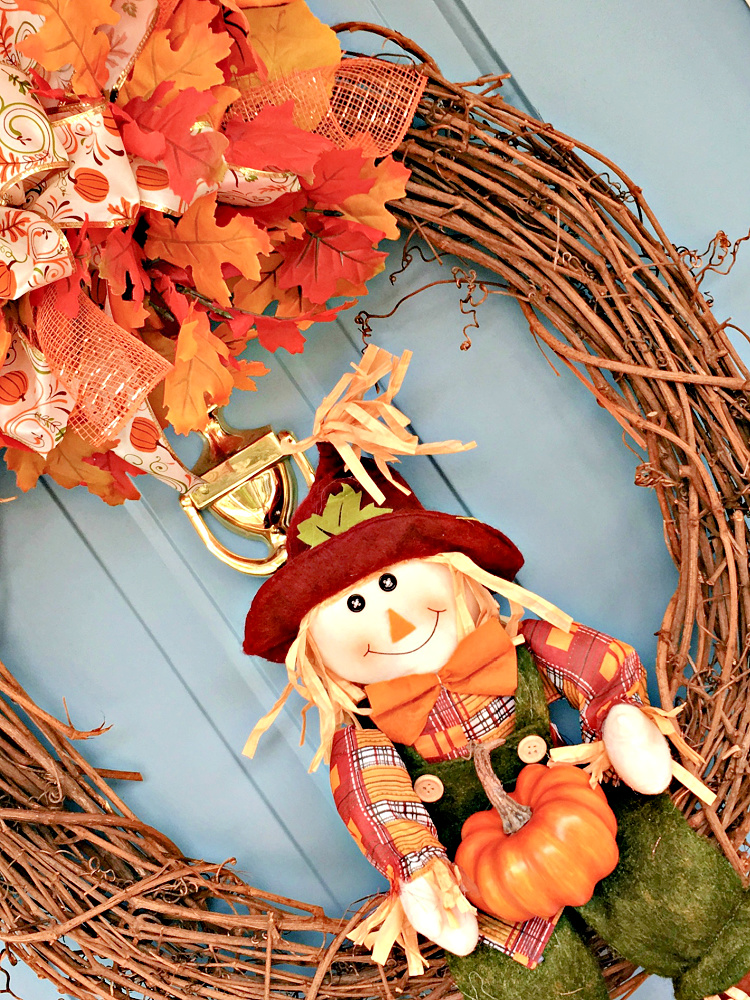
Continue building the arrangement around the bow, layering in additional fall flowers, foliage, and rolled mesh until it looks full and balanced. Once I was happy with the top of the wreath, it was time to give my little scarecrow a place to sit!
I secured the scarecrow to the grapevine wreath with floral wire, then added a small amount of hot glue to attach his hands to a bright orange pumpkin. Now he looks as though he has just returned from the pumpkin patch with a special gift for everyone who visits. What a cheerful way to welcome guests to your front door this fall!
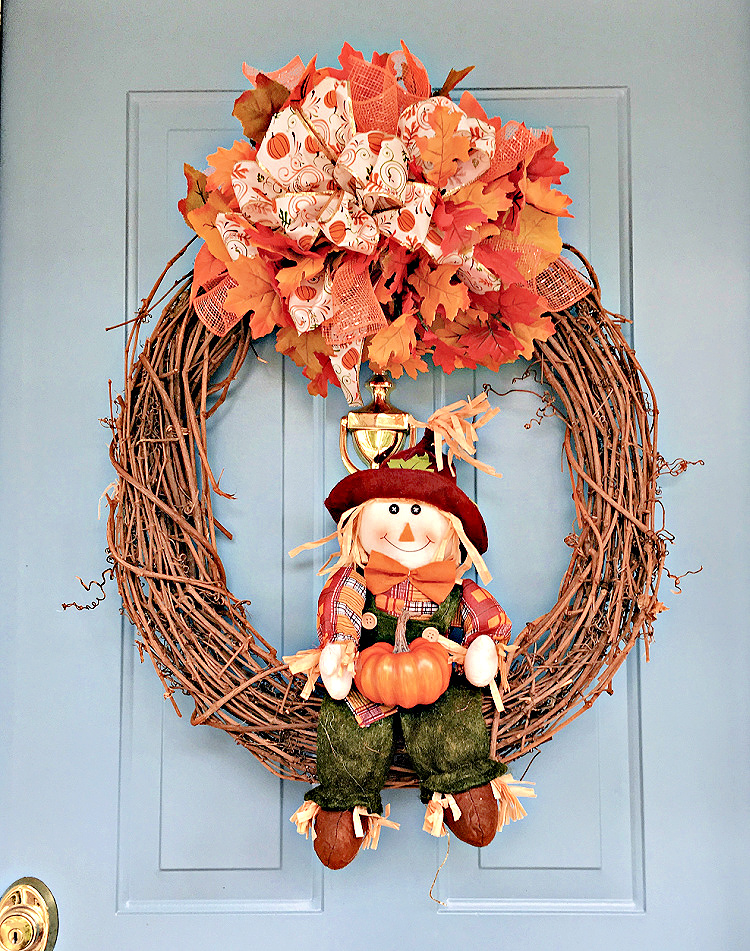
This cheerful scarecrow wreath is such a fun way to welcome fall—and your guests—to the front door. With its colorful leaves, festive ribbon, touches of orange mesh, and sweet scarecrow offering a pumpkin from the patch, it captures all the warmth and whimsy of the season. Best of all, you can easily customize the design with the fall decorations and colors you love. I hope this little fellow inspires you to create a charming autumn welcome of your own!
Adorable Chloe!
Thank you Jenna!
Very cute! I like your simple solutions.