Last Minute New Year’s Eve DIY Projects
This is it, we are down to the wire. 2018 will only be a memory come tomorrow at midnight! These really are all things you can do yet today or tomorrow to add a festive touch to your New Year’s Eve get together, no matter if you will be just two of you or many, many more!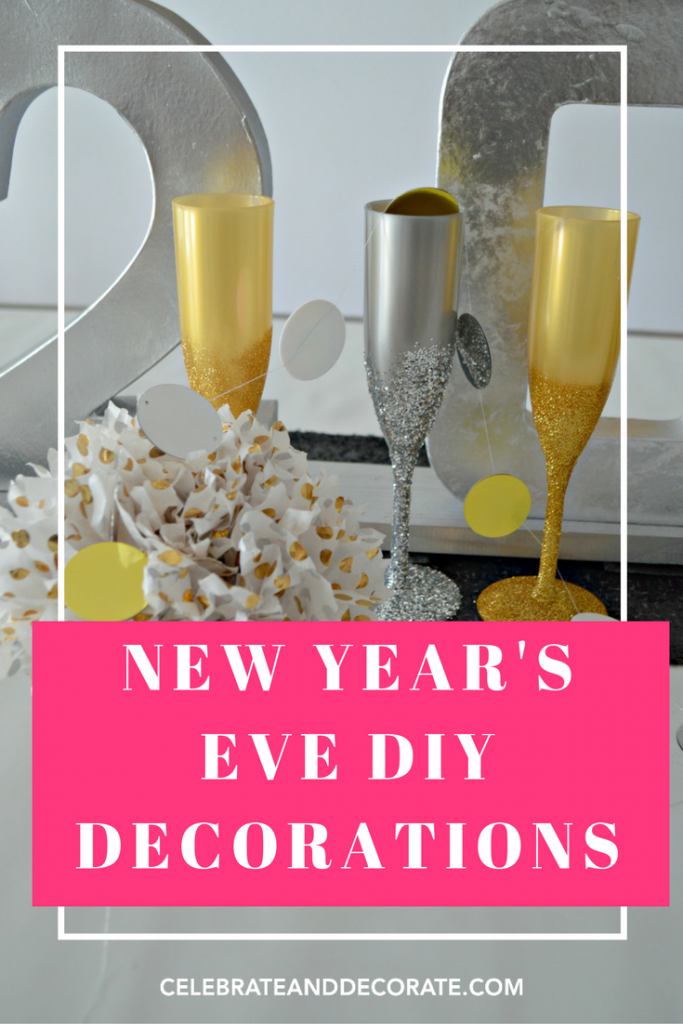
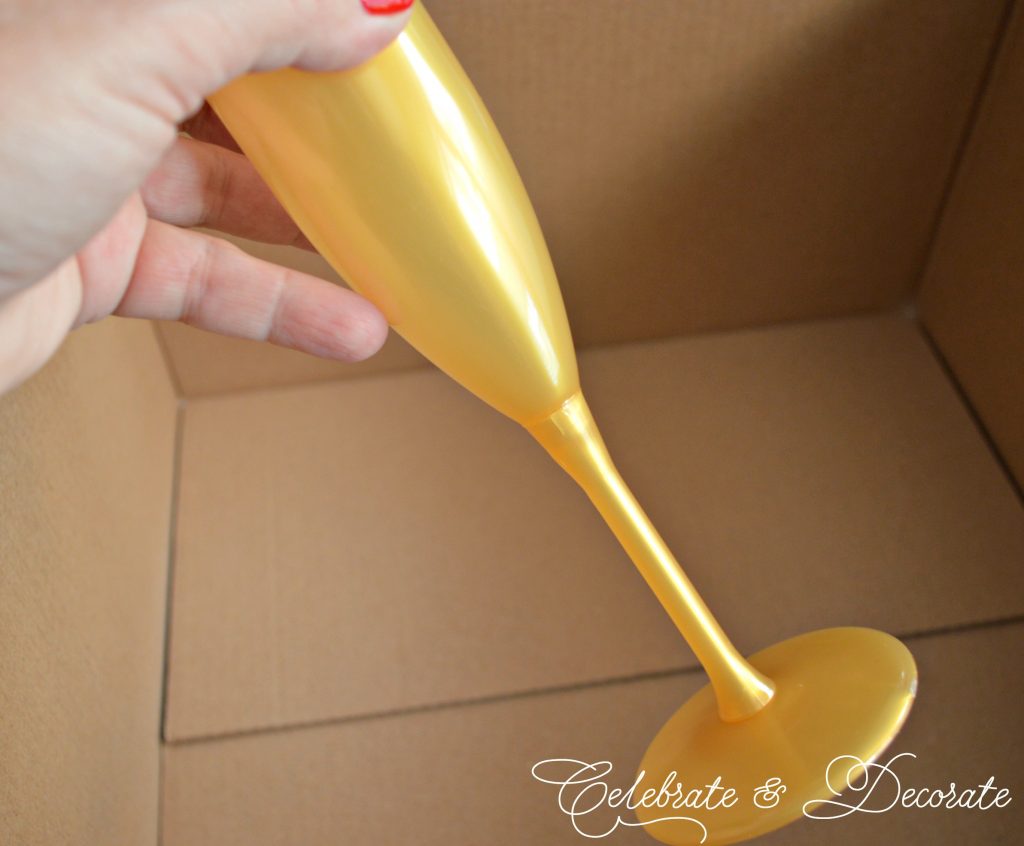
I picked up these gold and silver plastic champagne glasses yesterday at Party City. They were just .99 cents each. Even though some people will prefer to drink out of glass ones, I think the sparkle I added to these will attract some to these fun glasses.
I use a cardboard box that I have cut off and sealed well on the bottom with packing tape. This is my spray adhesive box. If you have not used spray adhesive, be aware that it can end up everywhere, so keep it contained in some way while you are spraying. I held a champagne glass over the box and sprayed the bottom one half to one third of the glass with spray adhesive.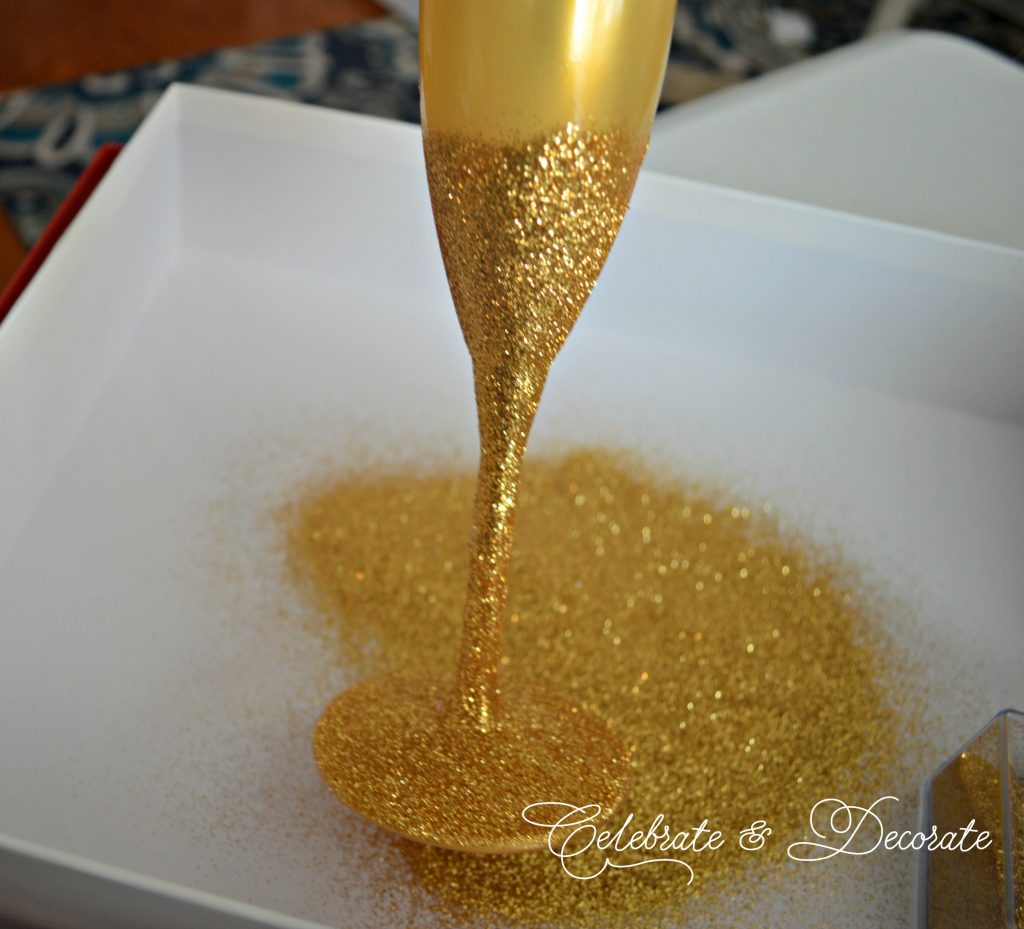
I then moved over to a box lid with extra fine glitter and sprinkled it generously over the adhesive. Now I have fun glittery glasses! After each glass dries I will spray a coat of clear gloss sealer over the glitter so it remains on the glass and guests will be ready to toast the new year.
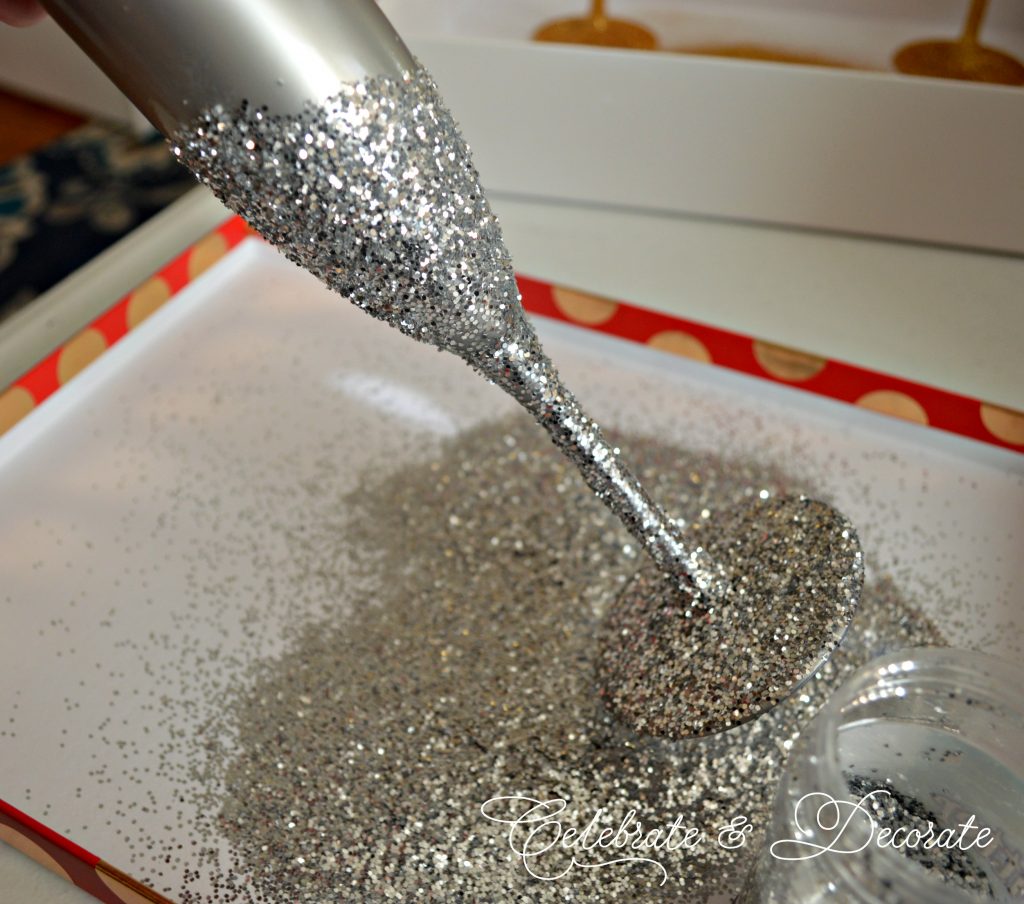
I didn’t have extra fine silver glitter and used regular sized. You can see the difference here. I think I prefer the extra fine, which do you like better? 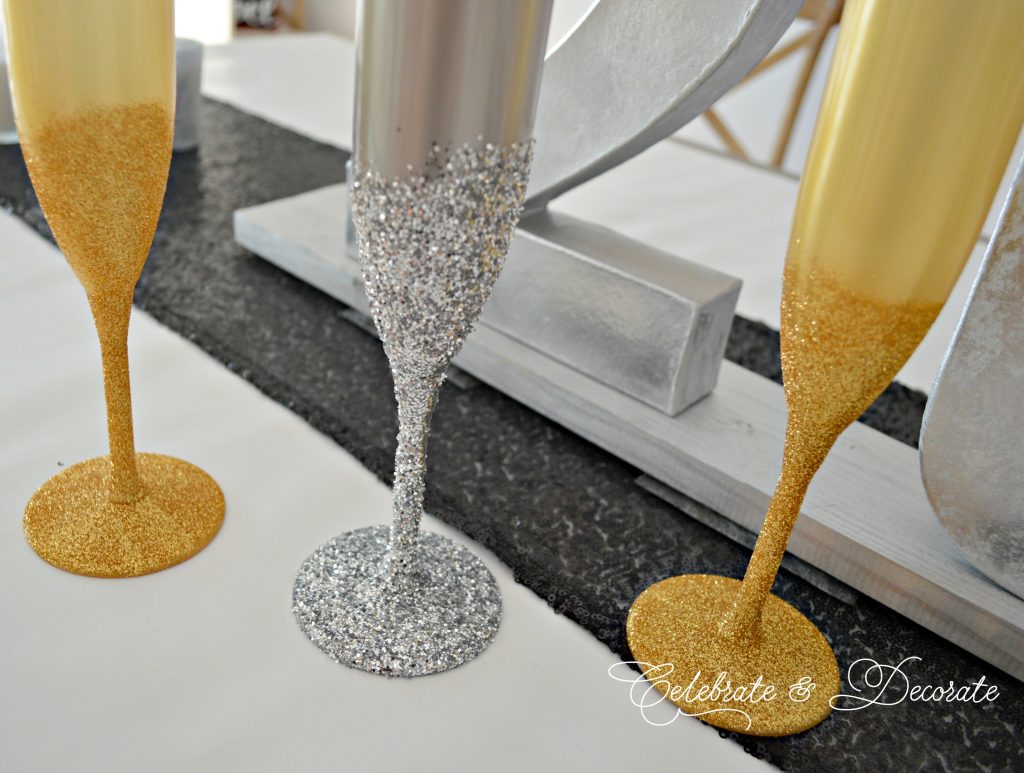
Guests will be ready to toast the new year in glittering style!
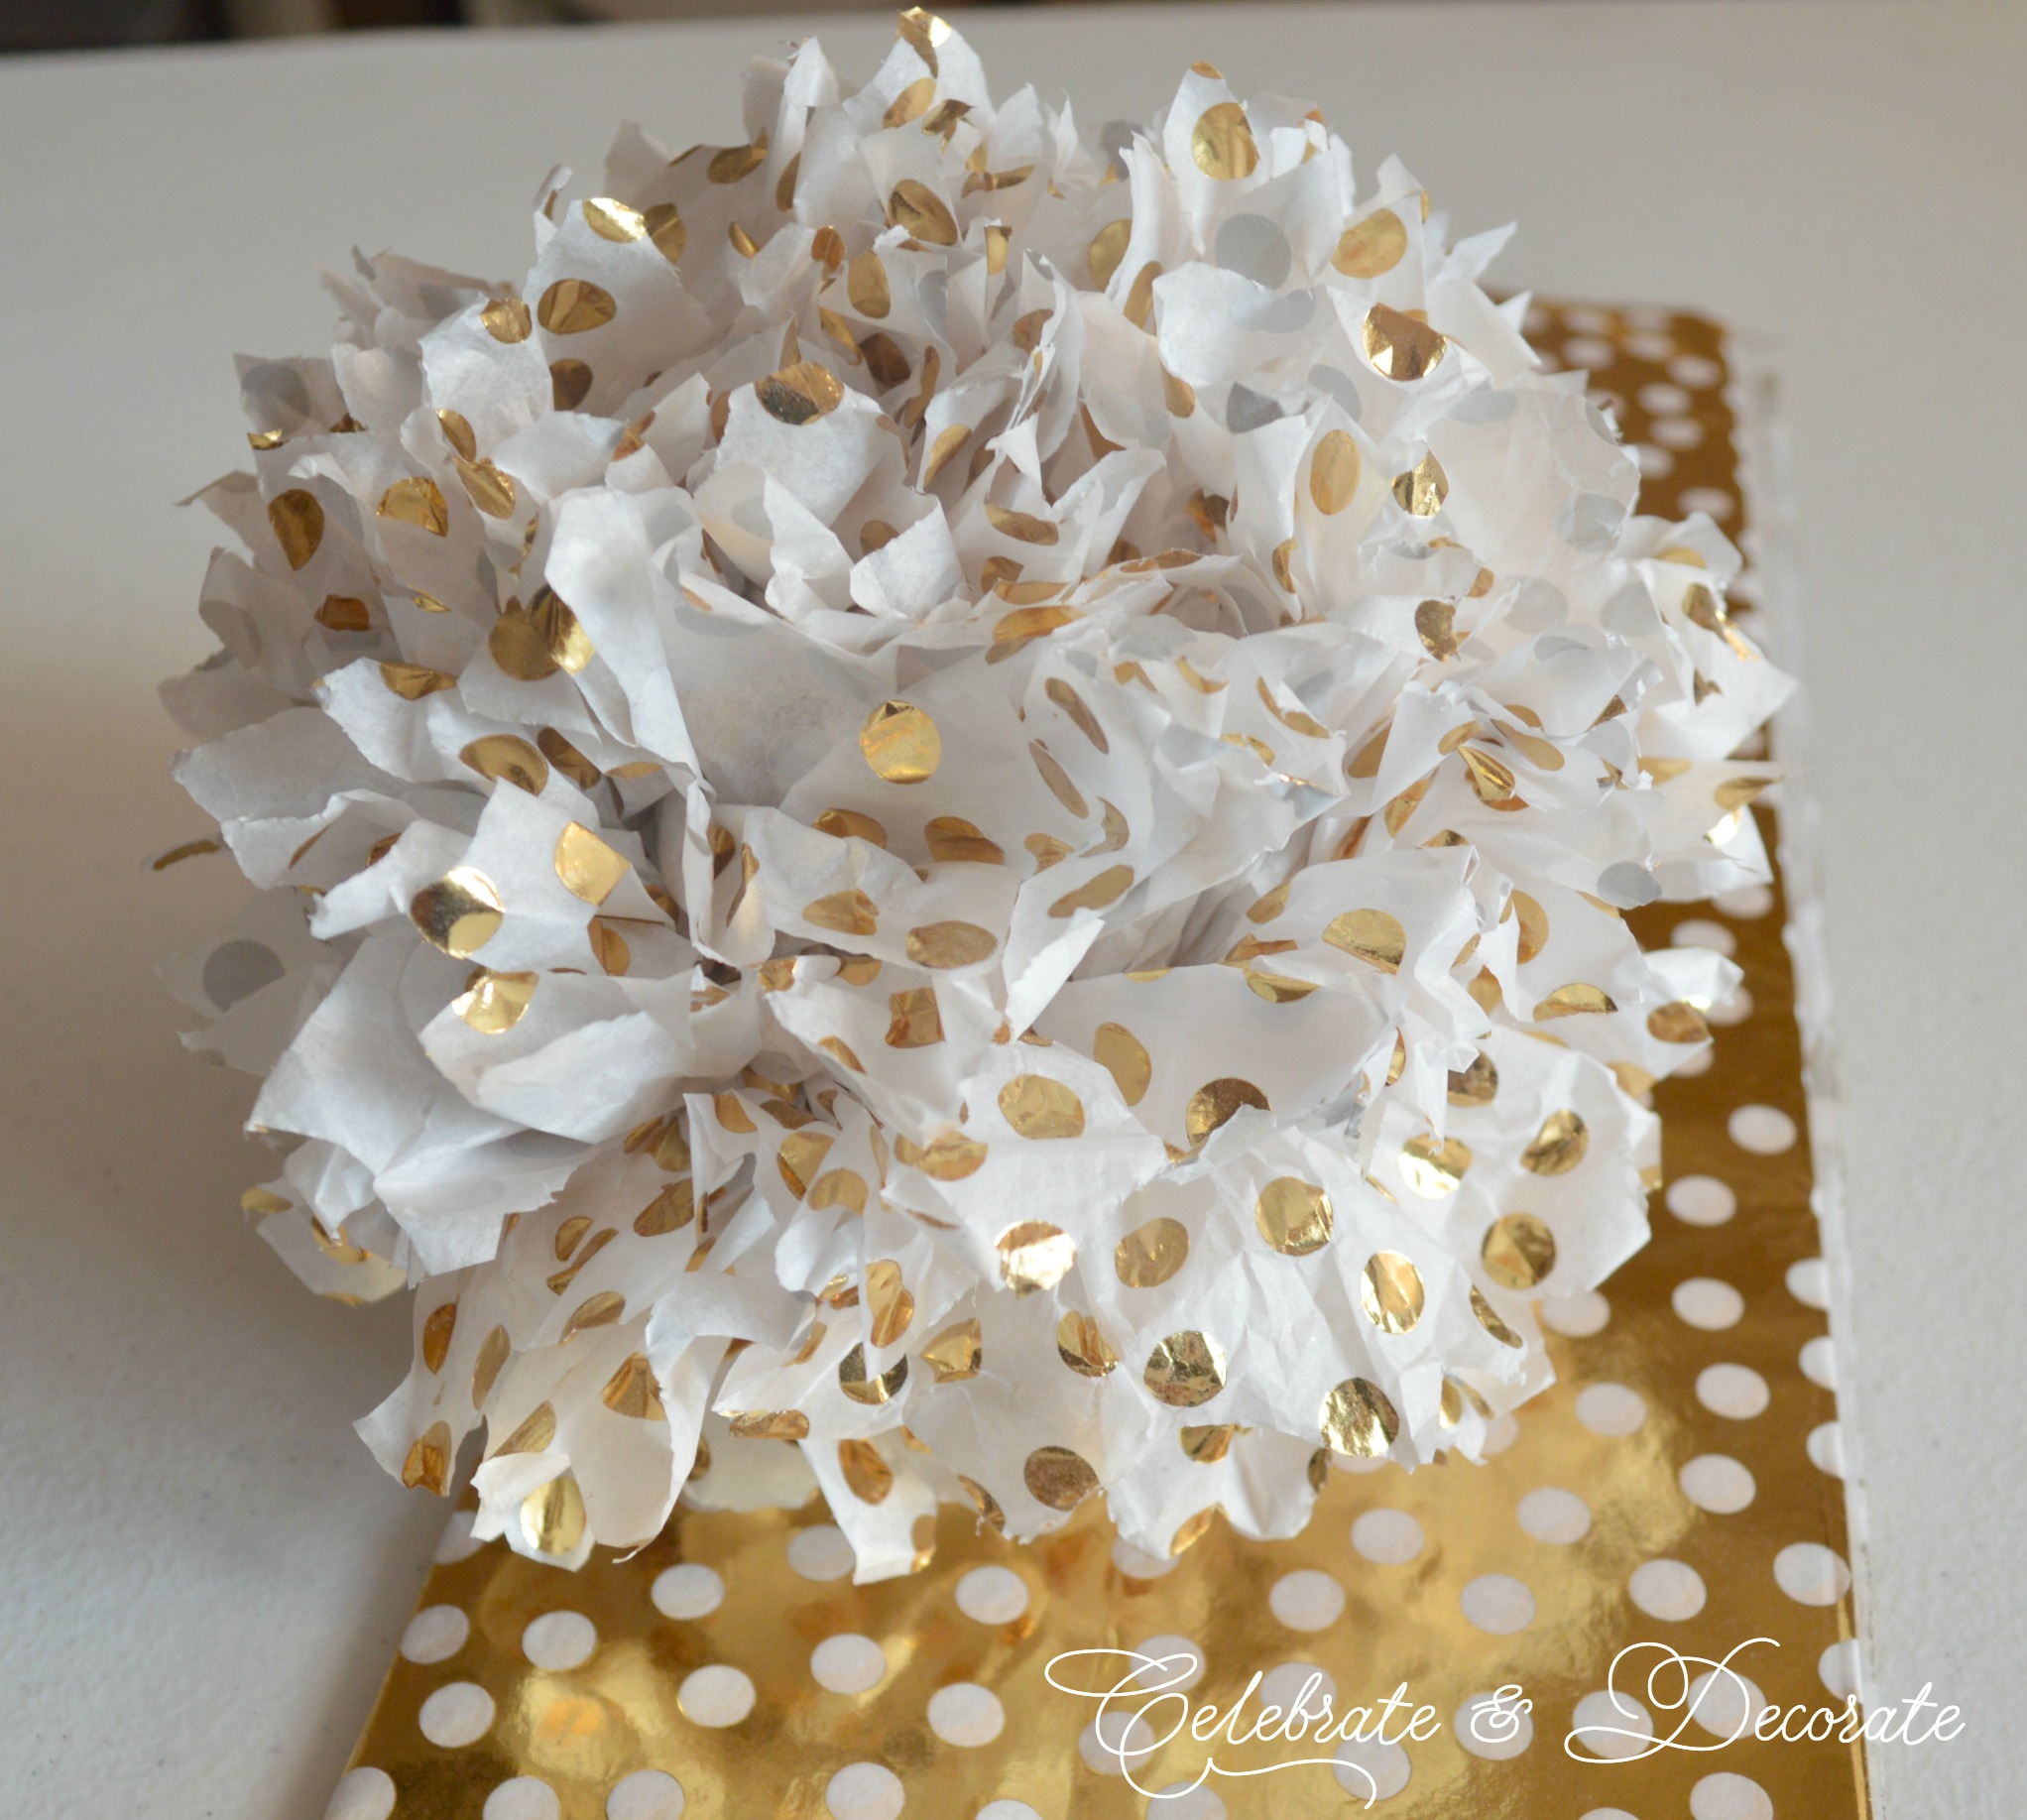
Tissue paper pompoms are one of my favorite ways to add fun and festive decorations for a bargain price to a party. I had some leftover gold and white tissue paper from Christmas and went to work turning it into pompoms to hang over my party table. 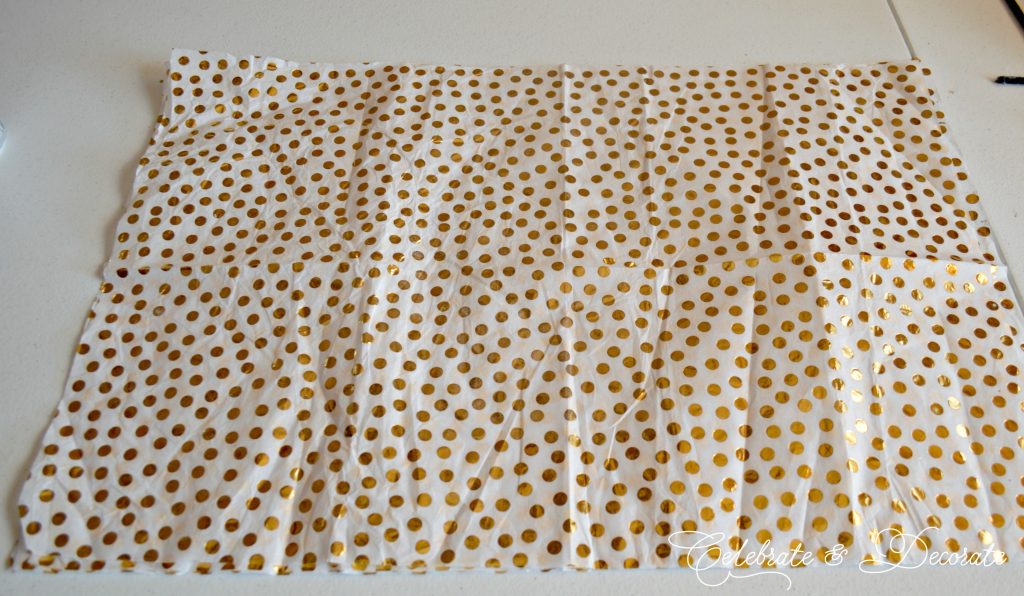
This really is used tissue paper, and you will see it makes no difference in the outcome! Dig out that tissue paper and start creating! I smoothed out my tissue paper using 3 sheets.
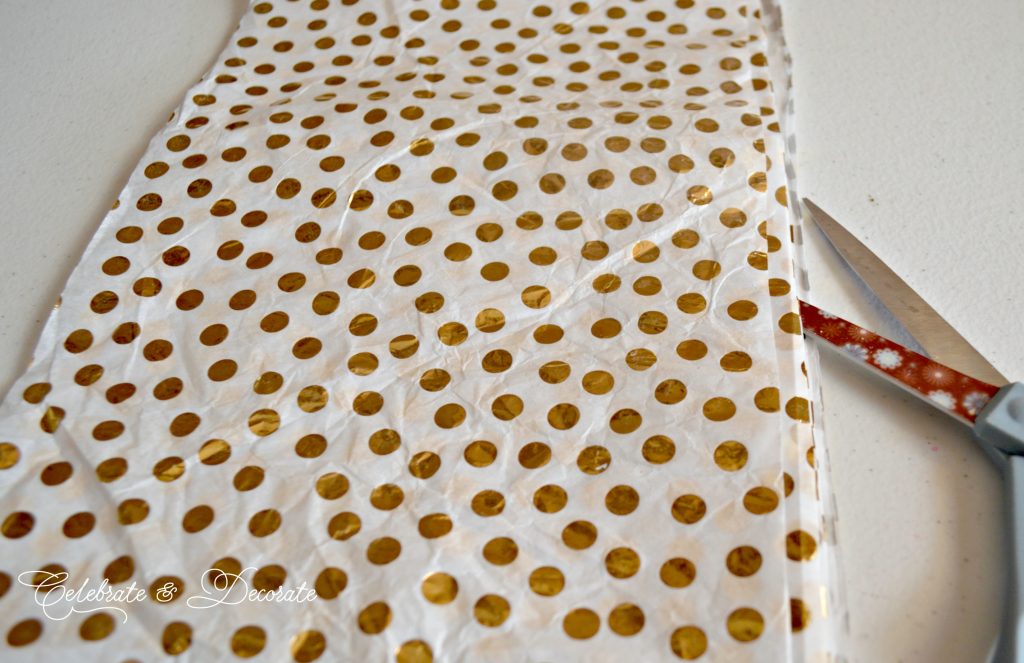
Fold the tissue paper in half lengthwise and smooth it again.
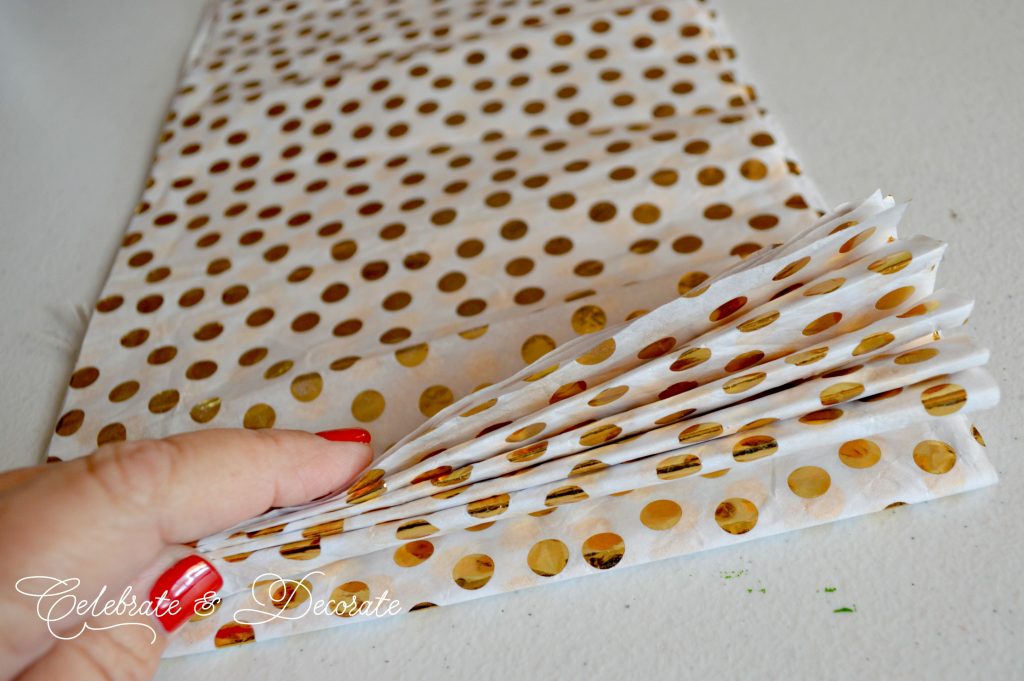
Begin folding the tissue in an accordion pattern back and forth all the way to the end.
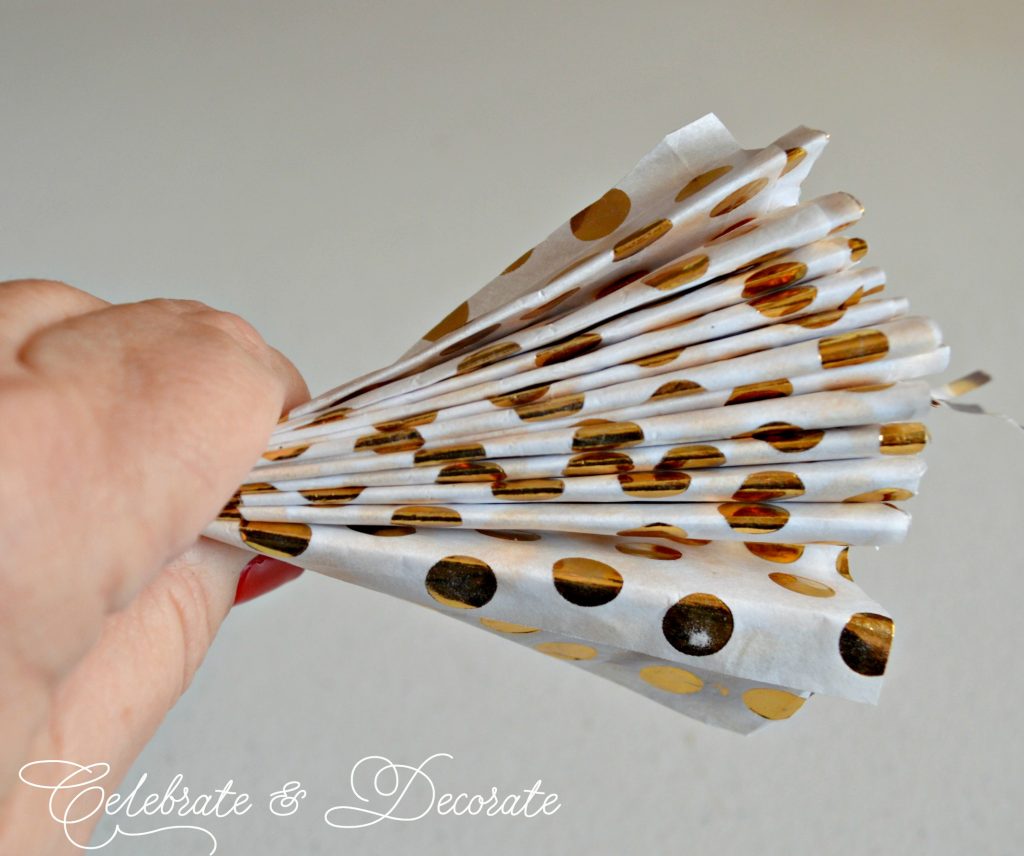 What you will have should look like this.
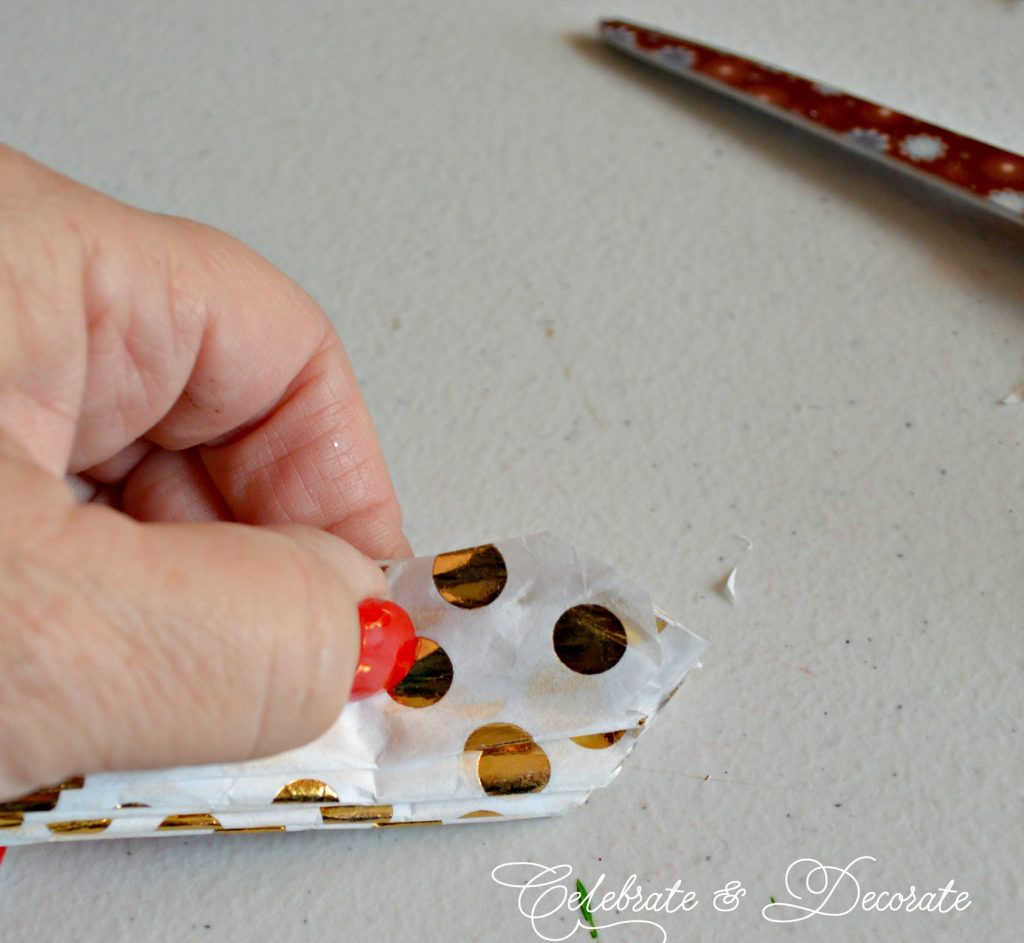
Next you will want to trim the ends, either in a curved shape or to a point like I have done above.
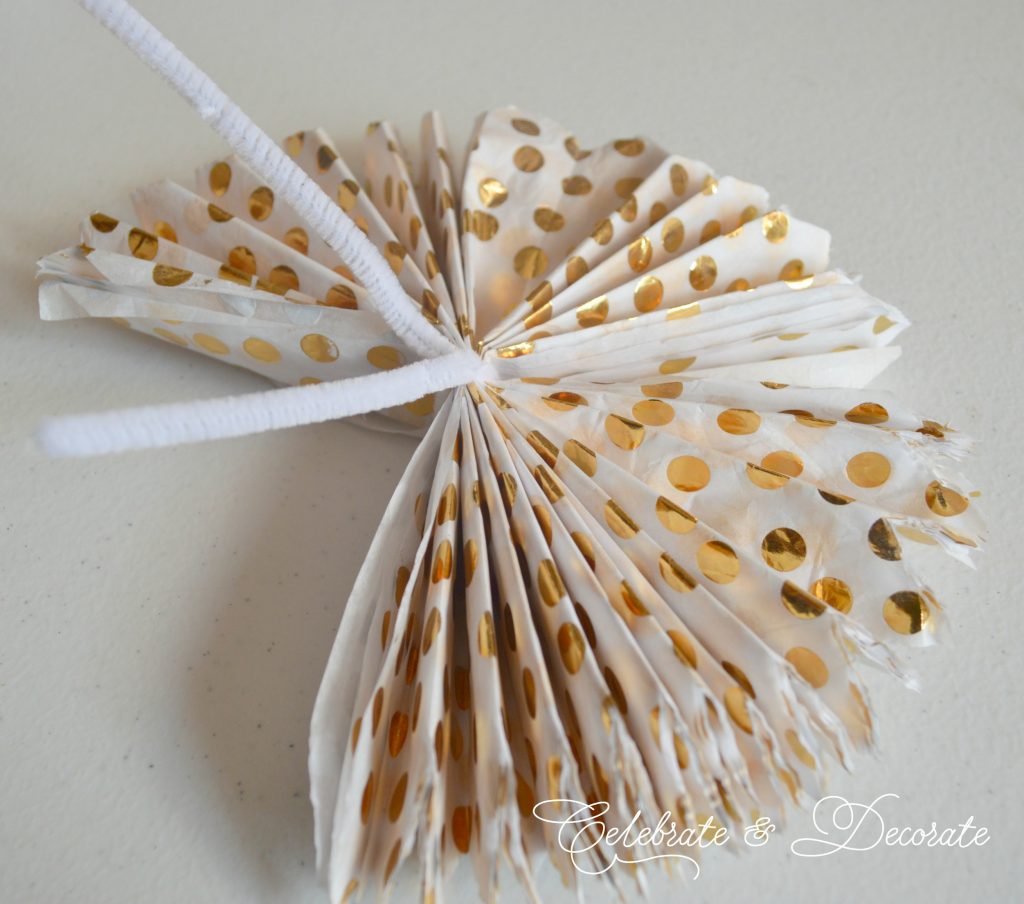 Fold over the accordion and secure in the middle with a chenille stem or other wire.
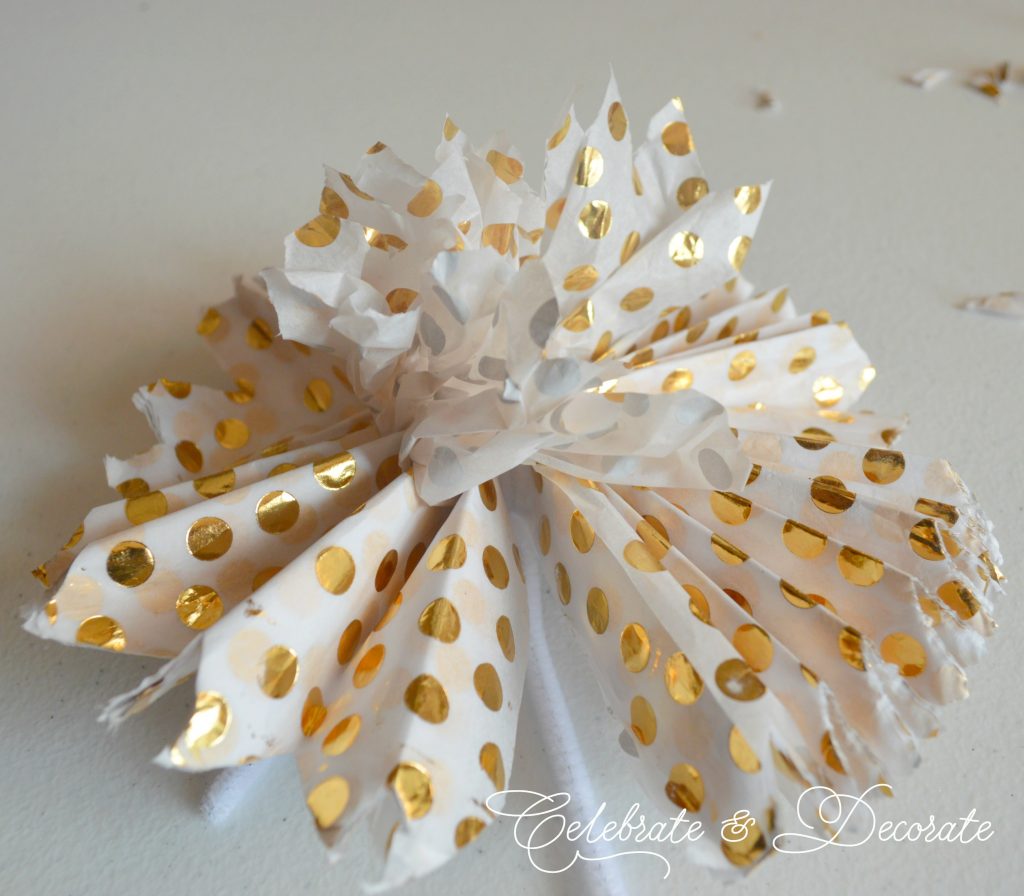 Now begin delicately separating the layers of tissue without tearing it. Pull them apart as far down to the center as you possibly can.
Keep on separating the layers and poofing your pom pom as you go.
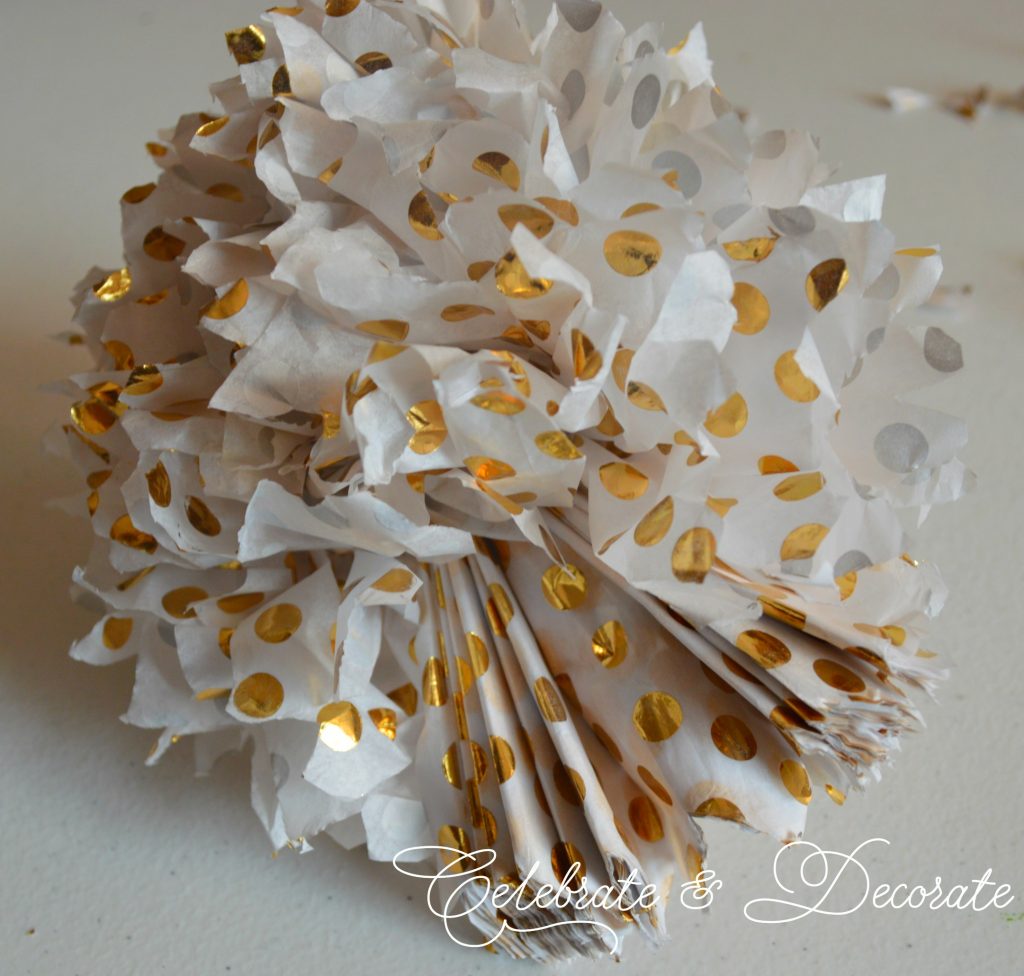
 There you have a party pom pom all ready to grace your table or to hang from the ceiling!
I am going all silver and gold, black and pink for my party, so I am making garlands of sequins to hang all around the house. This is the easiest project of all! I bought a selection of black, mother of pearl and gold sequins and a fine but sturdy silver thread.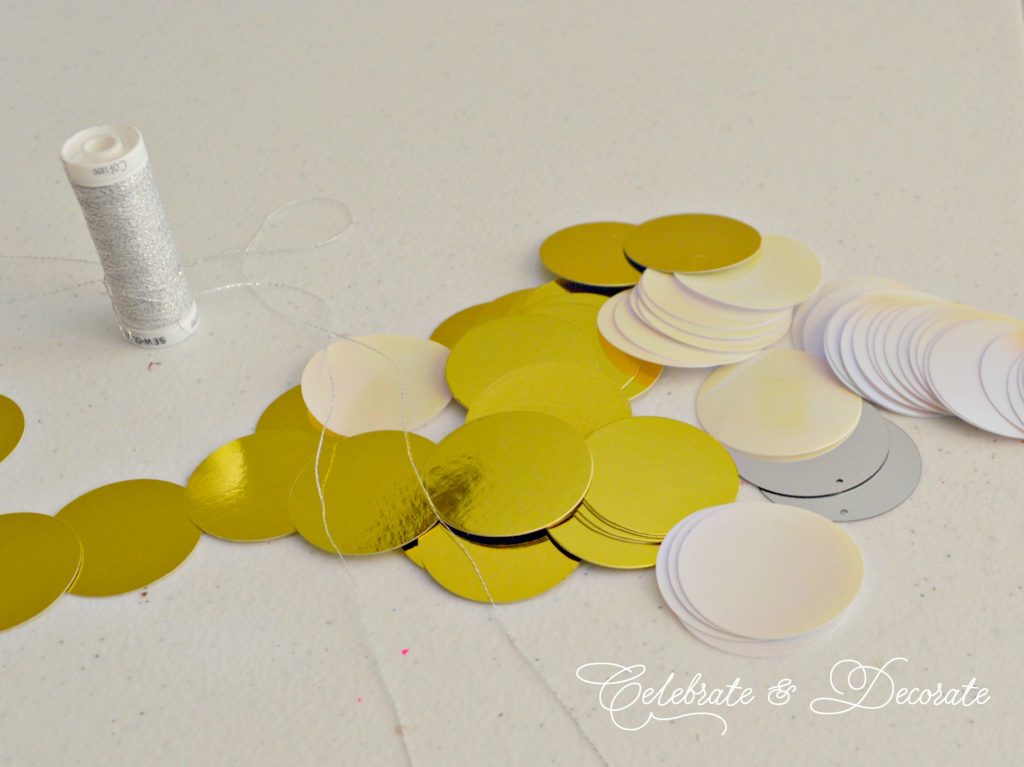
I simply used craft glue to stick together the sequins over the thread.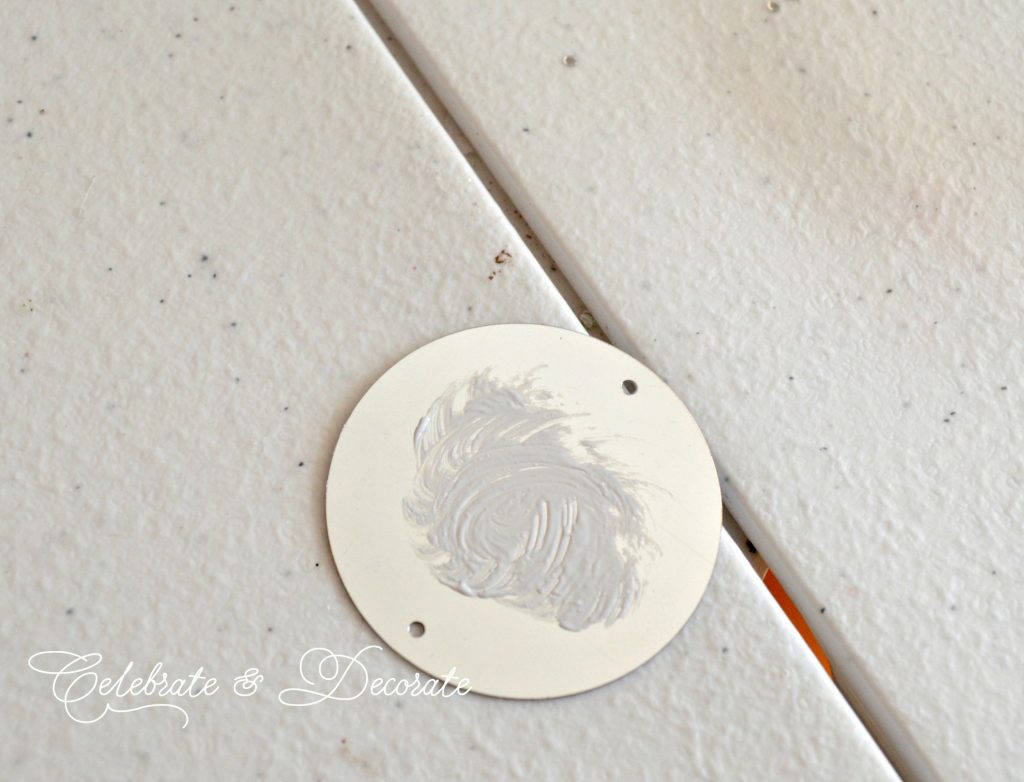
Add a dab of glue to the sequin and spread it around a little.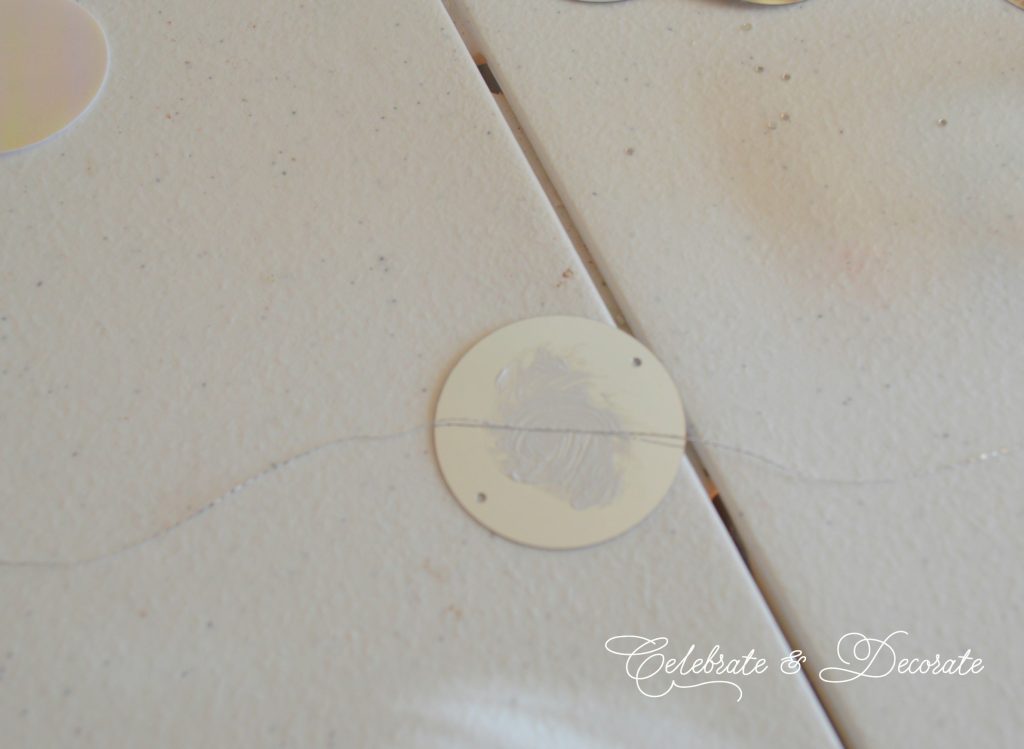
Lay the thread down in the glue across the sequin.
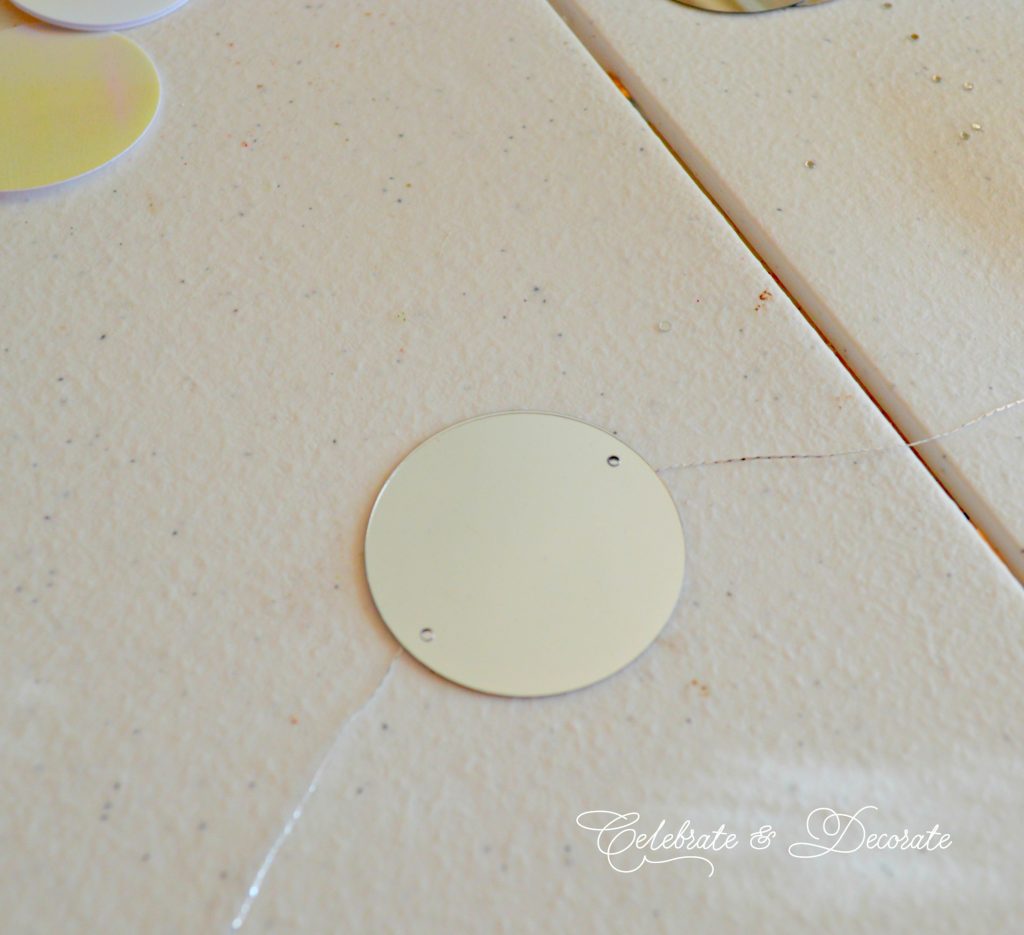 Press the other sequin on the top of the thread and press down securely so the glue sticks to both sides!
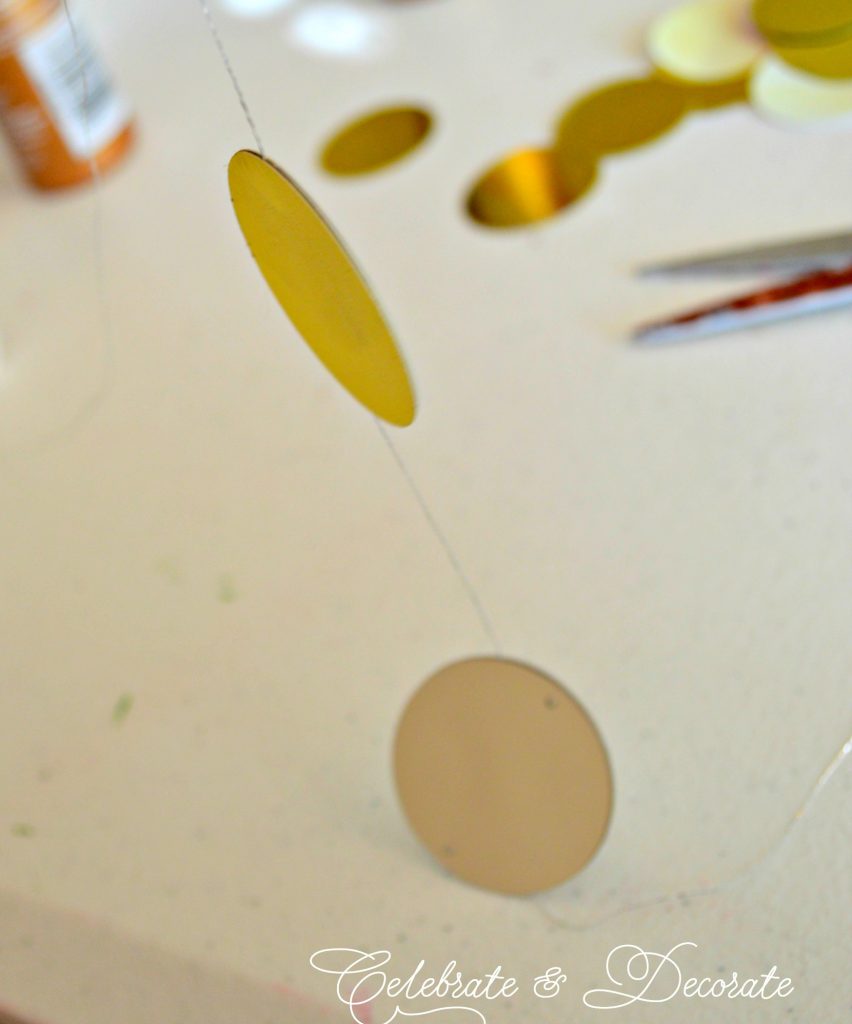 Make your garland as long as you would like and you are ready to decorate! Happy New Year!
Thanks, truly enjoyed! Sorry we lost the video on FB. You are great fun
Thank you Linda!
Happy New Year, Chloe! Such clever ideas (as always – and with GLITTER!!!) All the best to you in 2017! <3
Thank you Tim, and yes, if you left my party without glitter on you, I don’t believe you were really here!
Chloe,
I found you at the beginning of December, and you taught and inspired me to create 6 new pieces for the interior and exterior of my home. I can’t wait to see what you will create in 2018.
May you and your family have a wonderful new year full of good health, happiness, and prosperity.
Warmly,
Leah Lockport NY
A girl and glitter. What’s not to like ? Those pom poms are really pretty. I have to confess. After I painted my pine cones in silver for Christmas, I used silver glitter nail polish from Dollar Tree for the edges.
Happy New Year. Looking forward to more of your great ideas for 2019.
Thank you Myrna! Thanks for coming by! I love that idea for the nail polish on the pine cones! Happy New Year!