
How to Make a Burlap Wreath
You love those fluffy burlap wreaths. Sometimes they are simple and sometimes they are multicolored and all tricked out with all kinds of doodads added to them. But you say you don’t know how to make a burlap wreath. No problem, today I will show you step by step and it is very easy!
This post contains some affiliate links for your convenience. Click here to read my full disclosure policy.
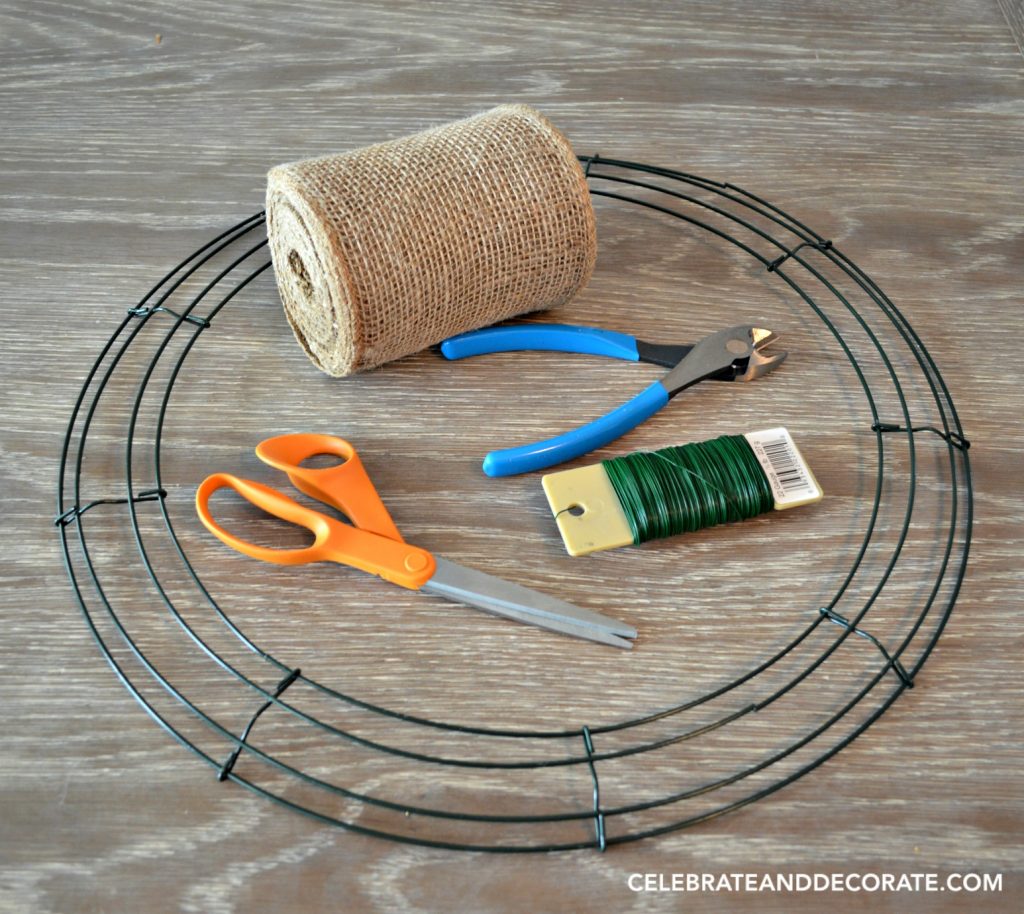 First thing is to gather your supplies. A little bit of wire and wire cutters will help you make sure when you begin your wreath doesn’t come undone. A wire wreath frame, burlap ribbon and scissors are a must. I used an 18″ wire wreath frame for mine and 4″ wide burlap ribbon.
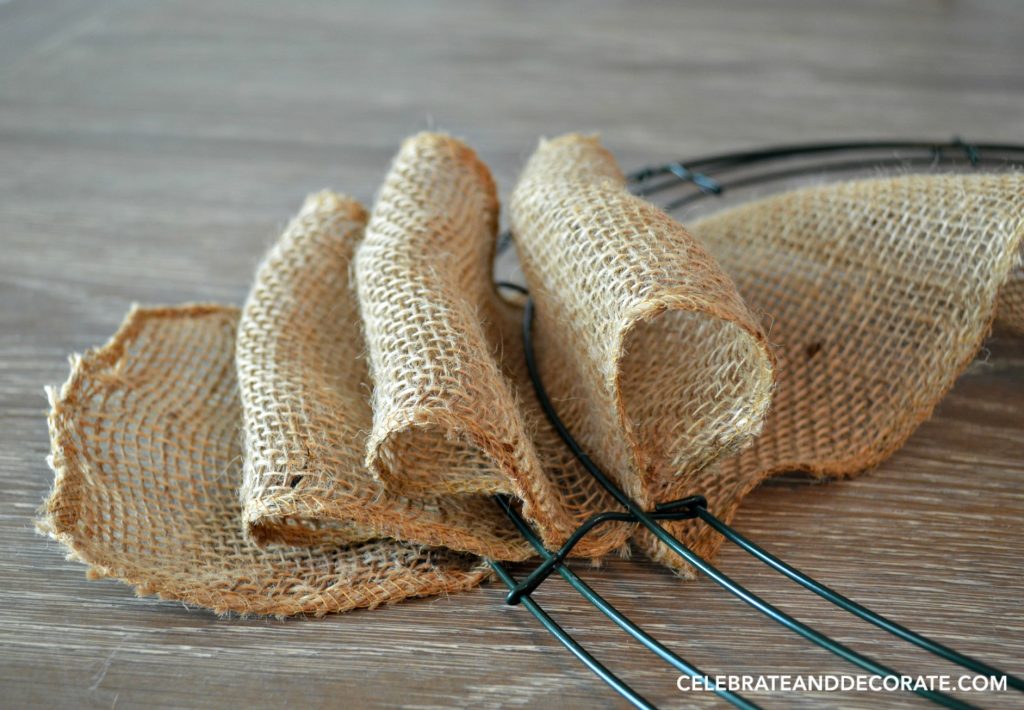
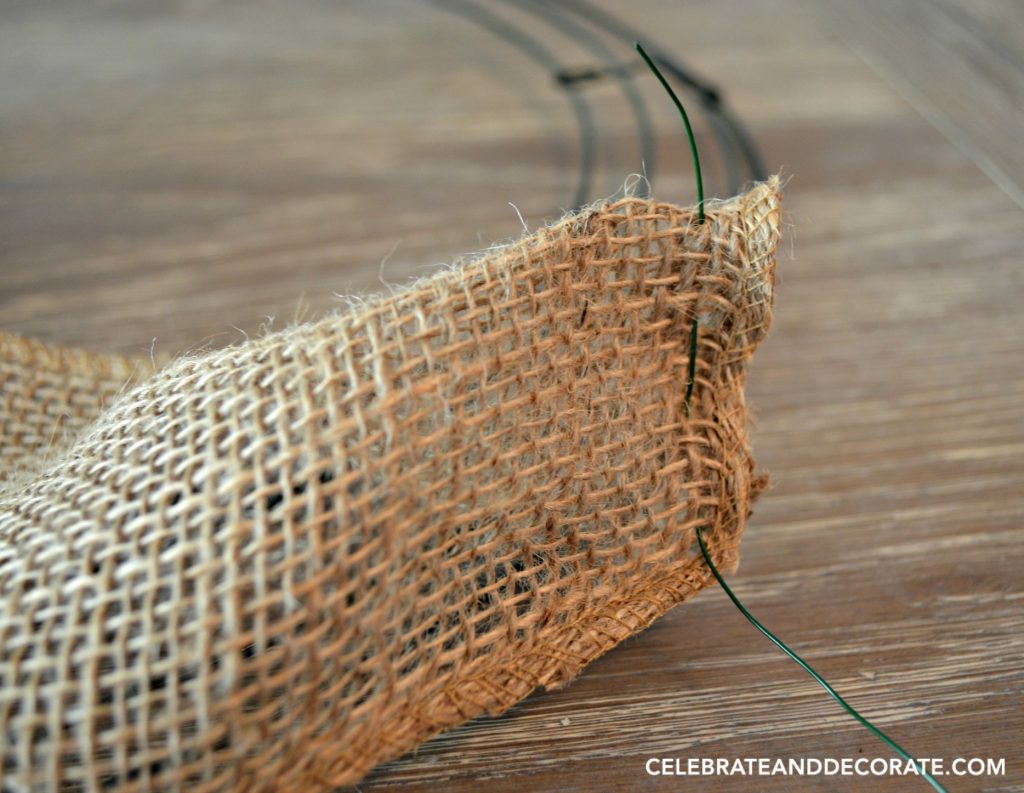 Just to make sure the beginning of my wreath is secure, I fed a short piece of wire through the burlap and secured it tightly around the wire wreath frame.
 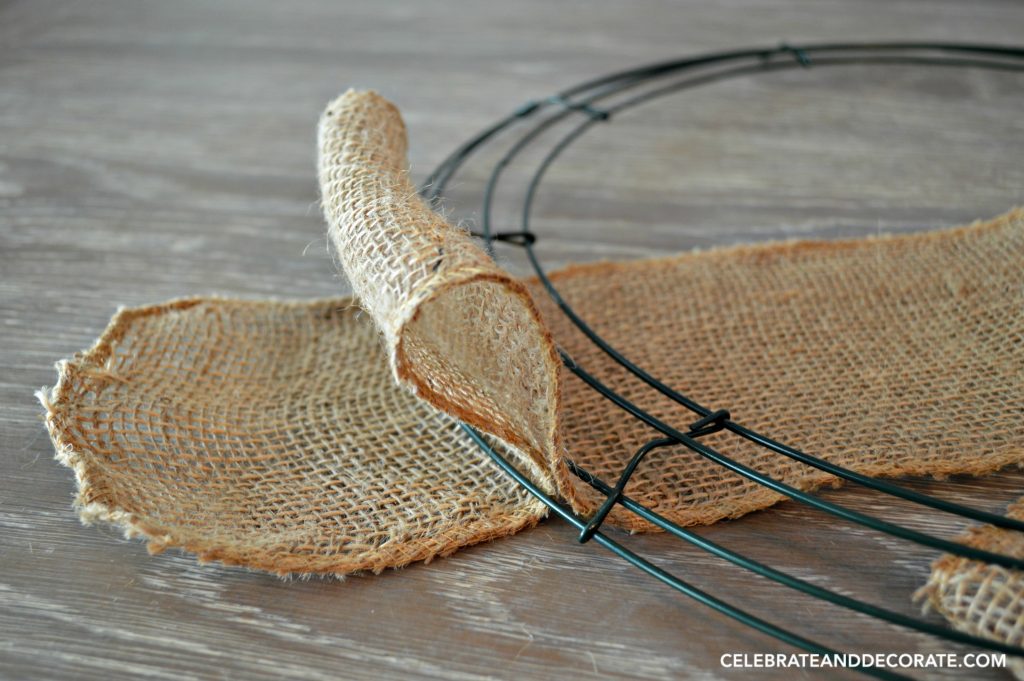 You are going to start feeding the burlap ribbon between the wires of the frame. It is important to keep all of the loops the same size.
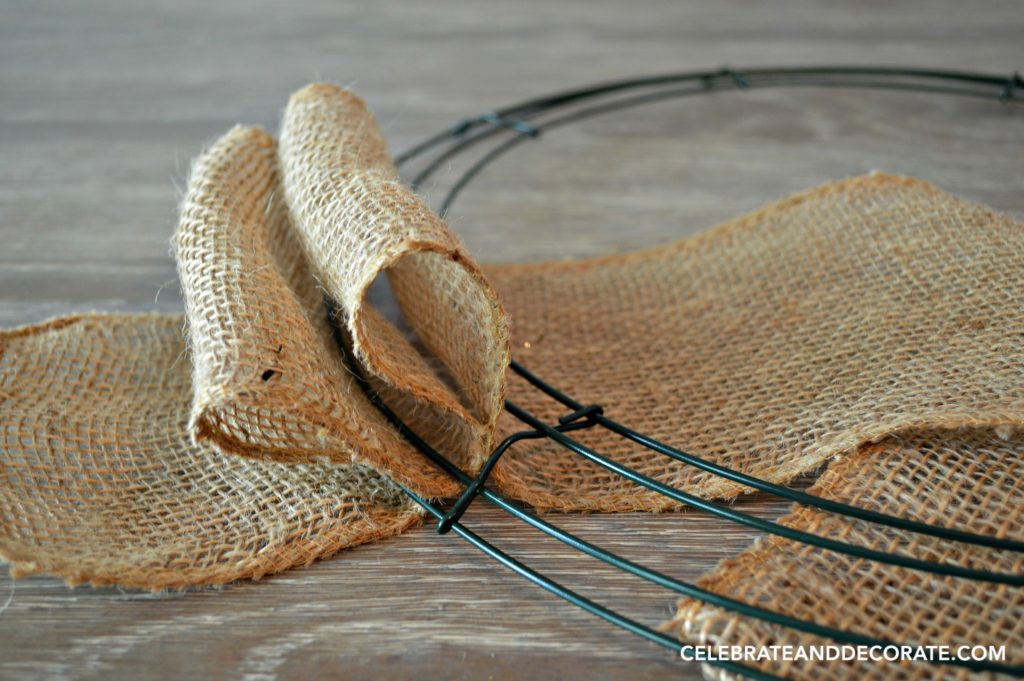
 The next step is important, you are going to take the burlap that is loose inside the center of the wreath and twist it tightly two times and then begin to make the loops back through the spaces between the wires, now moving from the inside of the wreath to the outside.
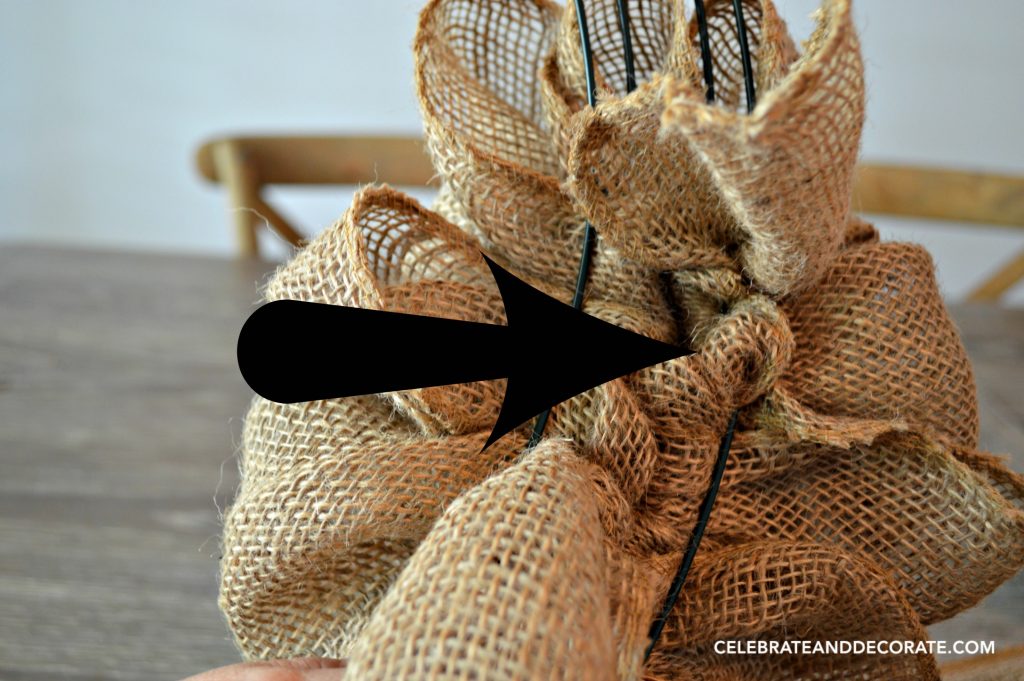 The arrow above points to the twist. The twist makes a large enough “bump” or “knot” (not really a knot) in the burlap that it will not be pulled through the wire to un-do your wreath. This is not how everyone does it, but it is how I make mine.
 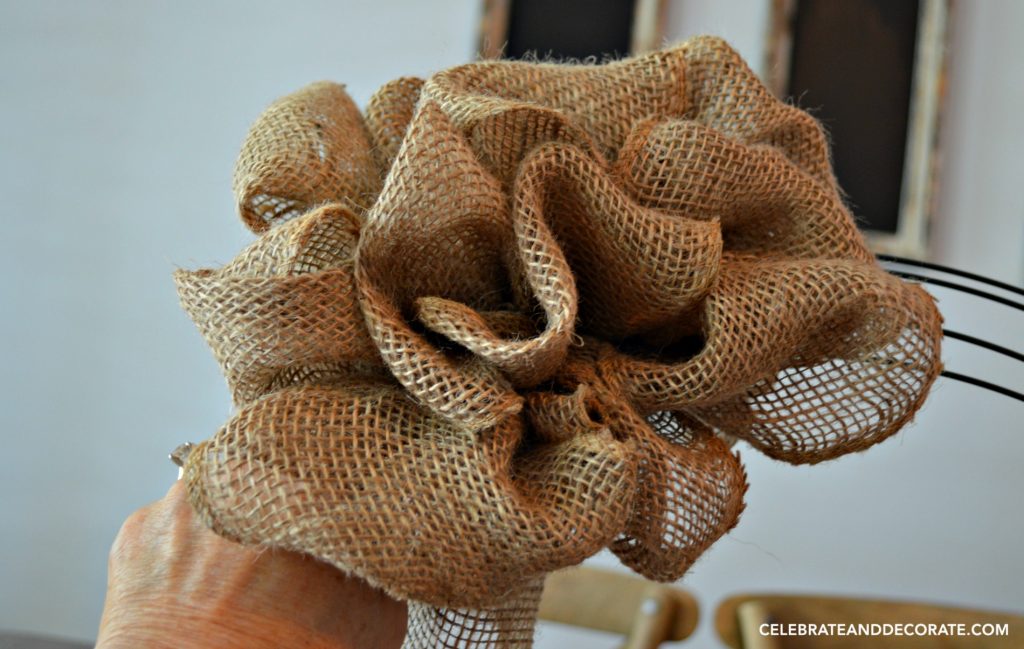 Now you are just going to ‘scrunch’ the loops down toward the end of that section of the wire wreath and repeat the process again and again as you move around the wreath form.
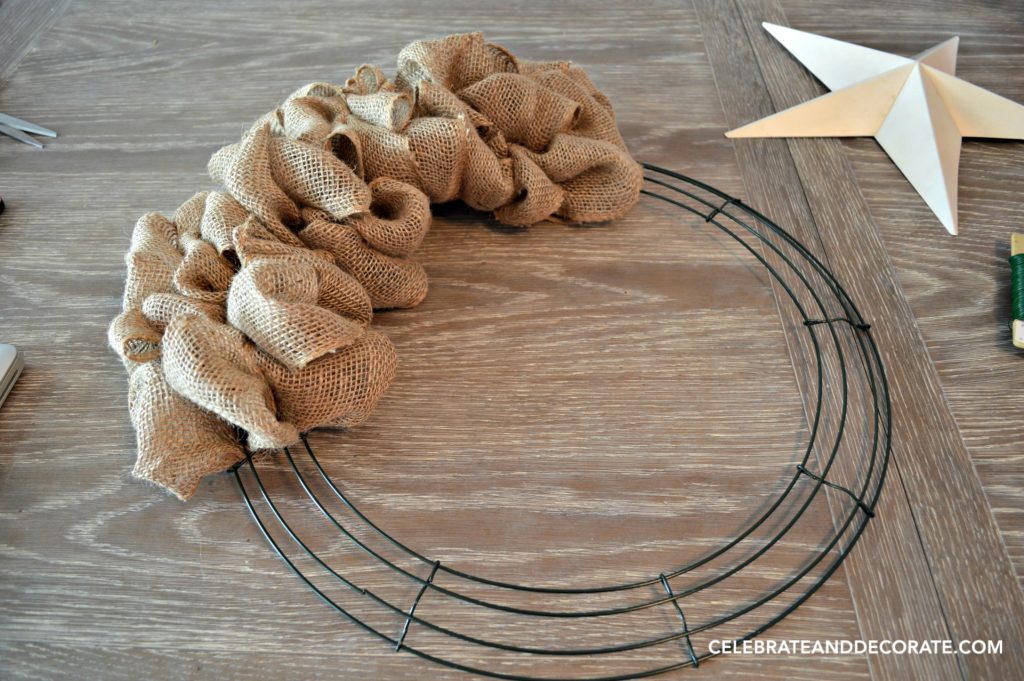 You do not need to add as many loops in each section as I did, I just wanted my wreath really full, and in the humidity of Florida, if I am going to use this out of doors, I don’t want any of the loops to droop.
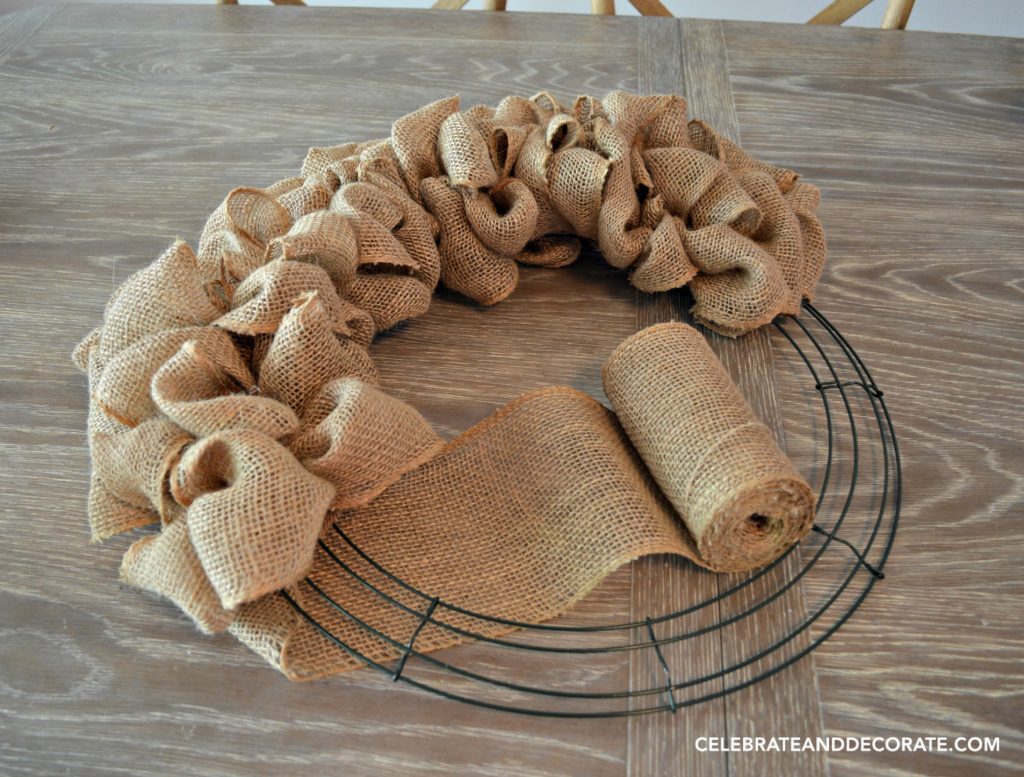
You can see how loose the loops are until you ‘scrunch’ them up in each section, as you finish a section.
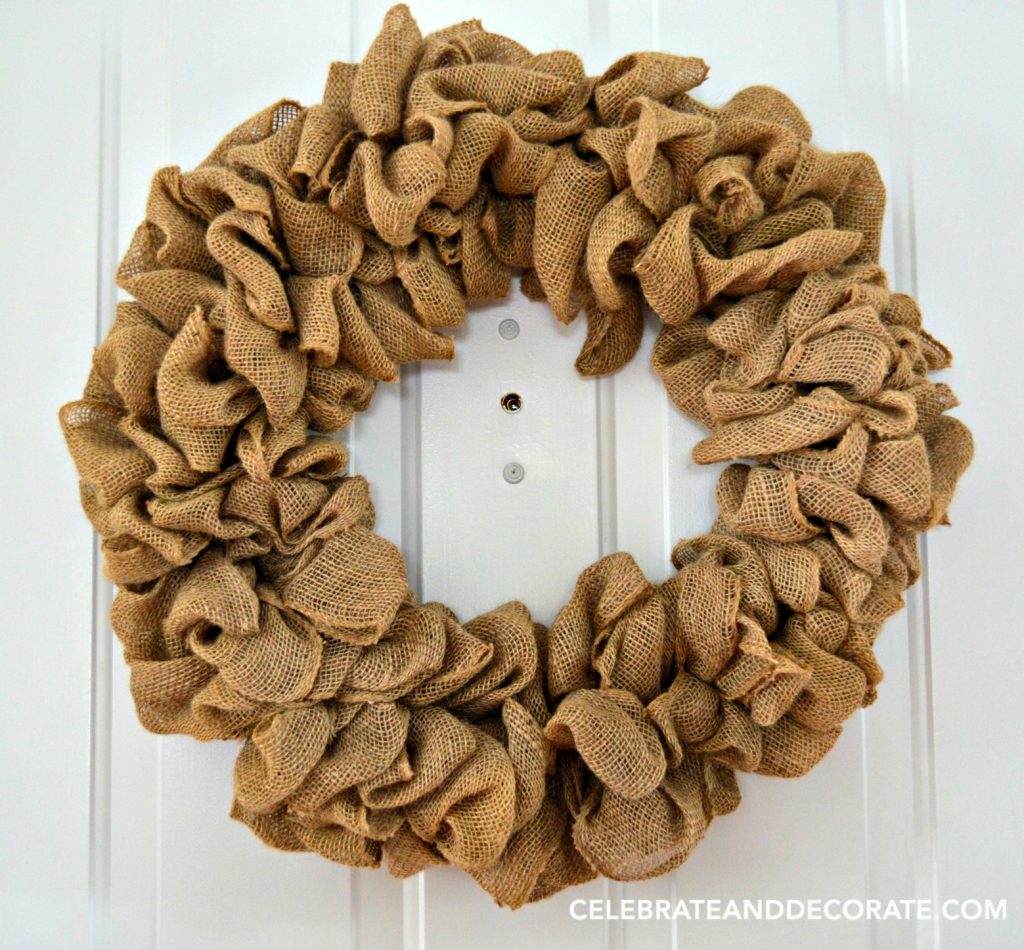
There you have your basic burlap wreath and now you can trim it out for whatever holiday or occasion you want to celebrate.  Here is how my wreath looked on my front door, but now it is hanging on my pantry door right by my kitchen. It makes me smile whenever I look at it! I do feel that way, I am always happy to have guests!
 This is one of the best thing about a burlap wreath, you can trim out your wreath for any holiday and use it throughout the year. The burlaps holds up very well, even in the elements, so you should have your wreath to use for a long time.
I will be sharing this at the following link parties: Your Inspired Design | Creative Circle |
Great tutorial, Chloe…and who doesn’t love a burlap wreath. Pam @ Everyday Living
It’s so versatile! Thanks for stopping by Pam!
So cute – and, if I may sound a bit sexist – a wreath that is not too “girly.” Like a butch wreath… 😀
Hah! Thanks Tim!
I love the wreath. Thanks so much for sharing the tutorial on how to make this wreath.
Glad you love it! I hope you give it a try!
thanks for detail tutorial, this project will be the most pleasent gift for my child in her birthday
its so vintage and she love that style so much
thanks for sharing
Wow I didn’t realize I had so much catching up to do, this is gorgeous and would cost a fortune at one of the craft stores!
Thank you Sandra! I wanted to make one for a very long time and found it was so easy!
Hello,
I just followed your tutorial and made 3 patriotic wreaths. I had seen them on Pinterest for $75.00 each. Mine turned out beautiful following your directions. Do you happen to know if red and blue burlap will fade in the sun? I get afternoon sun on my double front doors and don’t want my wreaths to fade.
Thank you,
Cindy
Oh Cindy! Thank you, I am so happy you were able to make them. Yes, sadly, the sun will fade any fabric, including burlap.