
How to Make a Whimsical Halloween Wreath for Your Front Door
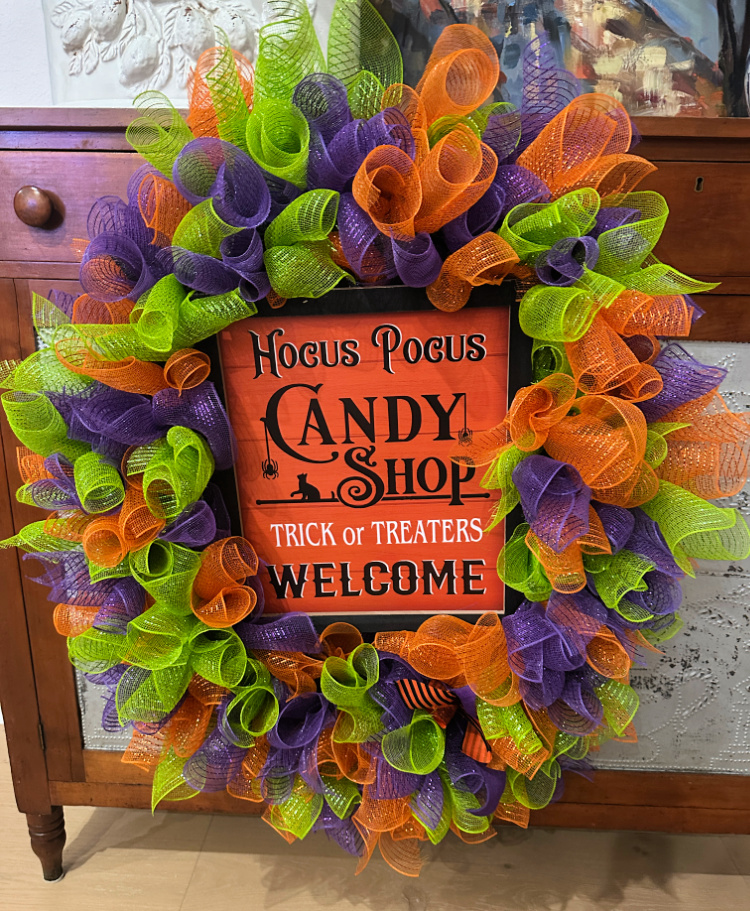
Halloween wreaths have become more elaborate over the years, but this colorful DIY remains one of my all-time favorites—and apparently one of yours too! If you’re looking for a Halloween wreath that’s more whimsical than spooky, this oversized wreath is surprisingly easy to make with inexpensive supplies. It’s been inspiring readers for years, and I hope it inspires your front door this Halloween too.
Shop the supplies:
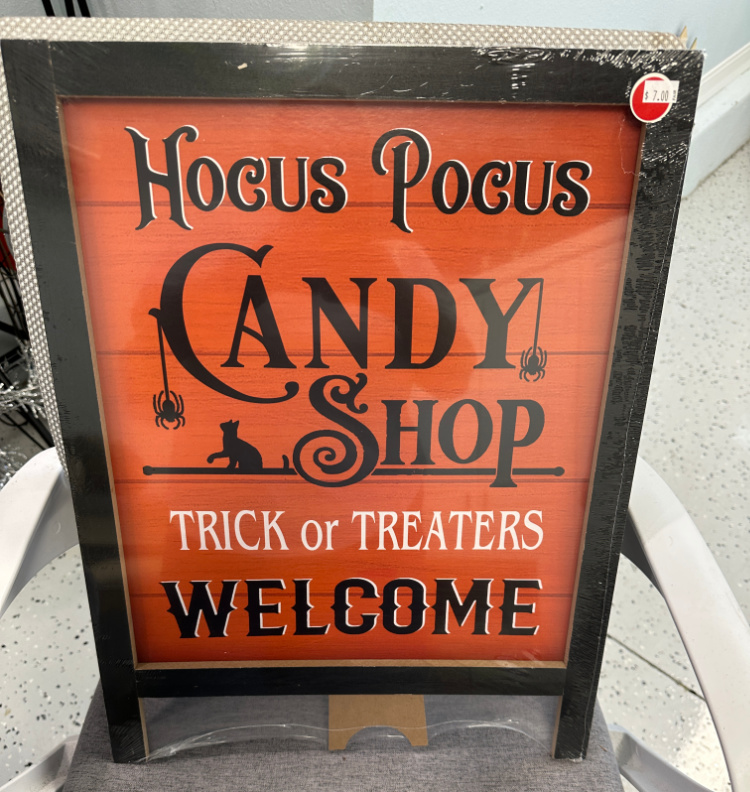
Hocus Pocus Sign
30 inch faux evergreen wreath
Purple deco mesh
Orange deco mesh
Green deco mesh
Self healing cutting mat
Rotary cutter
Black pipe cleaners
Hot glue pot
Hot glue pellets (less stringing)
Purple glittered wired ribbon
Orange glittered wired ribbon
Orange and black striped wired ribbon
I spotted this oversized Halloween sign at Dollar Tree and immediately knew it would make a fun focal point for a bold, colorful Halloween wreath. The beauty of this project is that you can easily recreate the look using almost any Halloween sign, in whatever size or style fits your decorating. When I originally made this wreath, all of the supplies cost just $7 at Dollar Tree! While I haven’t seen this exact sign in stores this year, I was excited to discover that Lowe’s is carrying the same design online, making it easy to recreate this reader-favorite wreath.
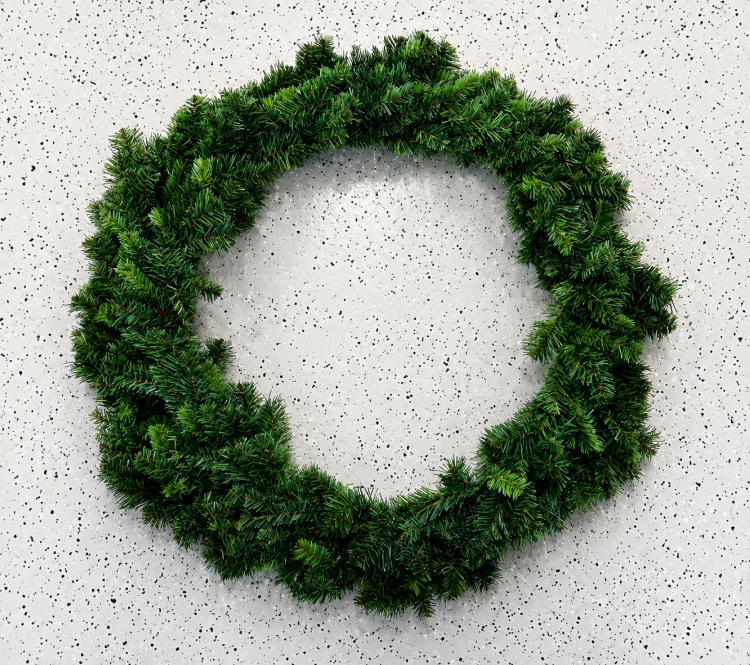
For the base of my Halloween wreath, I used a 30-inch artificial evergreen Christmas wreath. Its flexible branches made it easy to gently reshape into an oval, creating the perfect oversized frame for the Halloween sign. Don’t worry if you can’t find the exact wreath I used—any inexpensive evergreen wreath of a similar size will work just as well. Don’t spend a lot on this, you want a thin one. This one from Michael’s is just right at $19.77!!
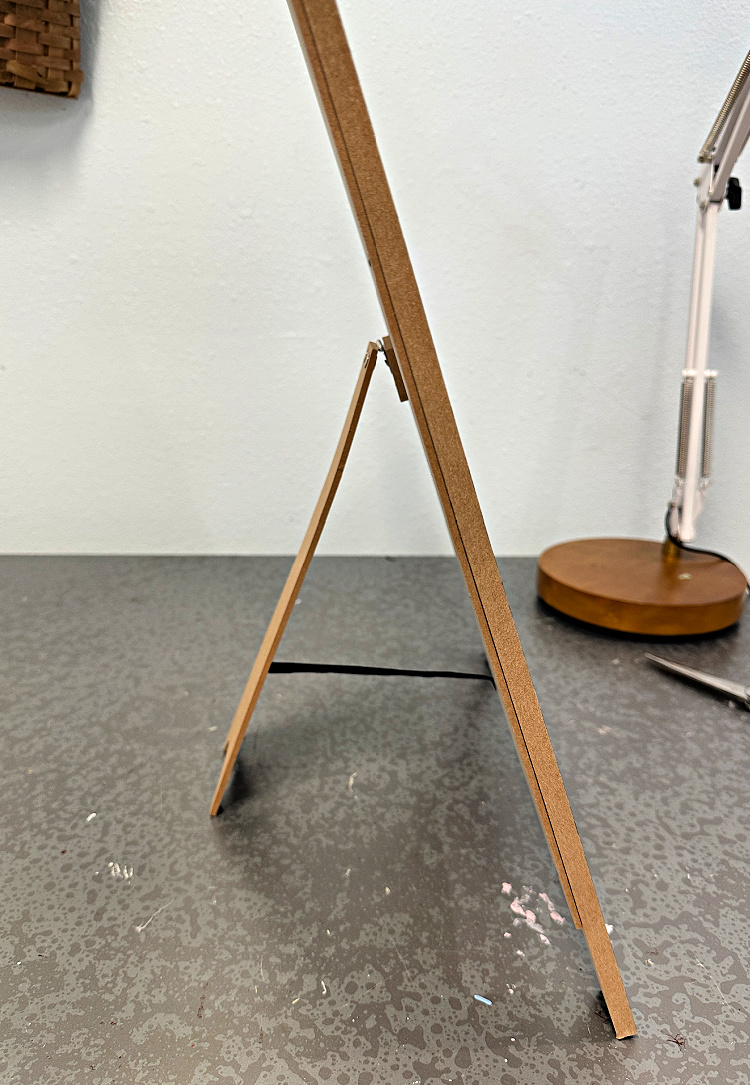
The sign I bought had a stand up easel back as shown.
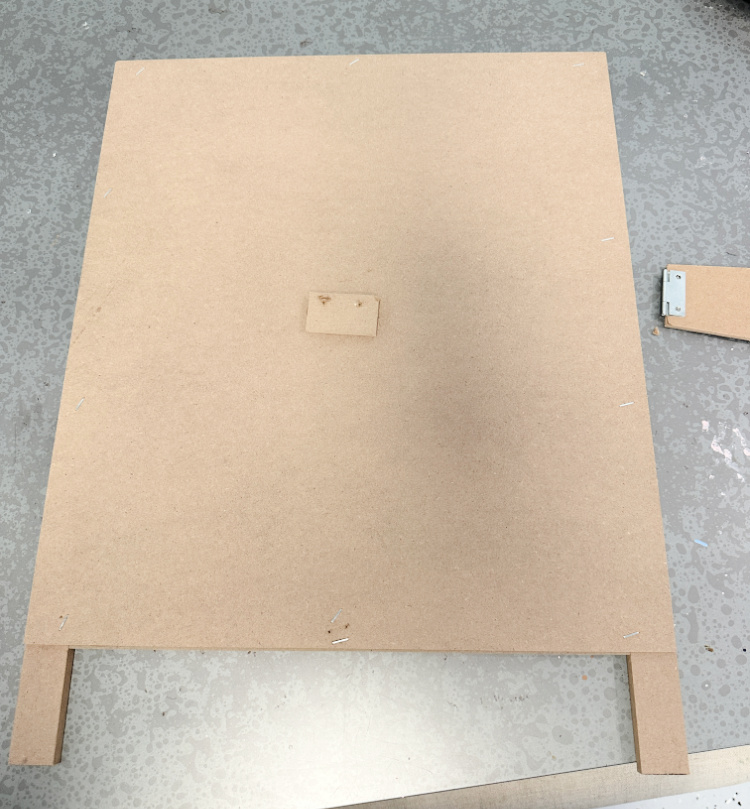
Since I wasn’t using the sign as a tabletop decoration, I simply removed the easel from the back. That left a nice, flat surface that was easy to attach to the wreath form.
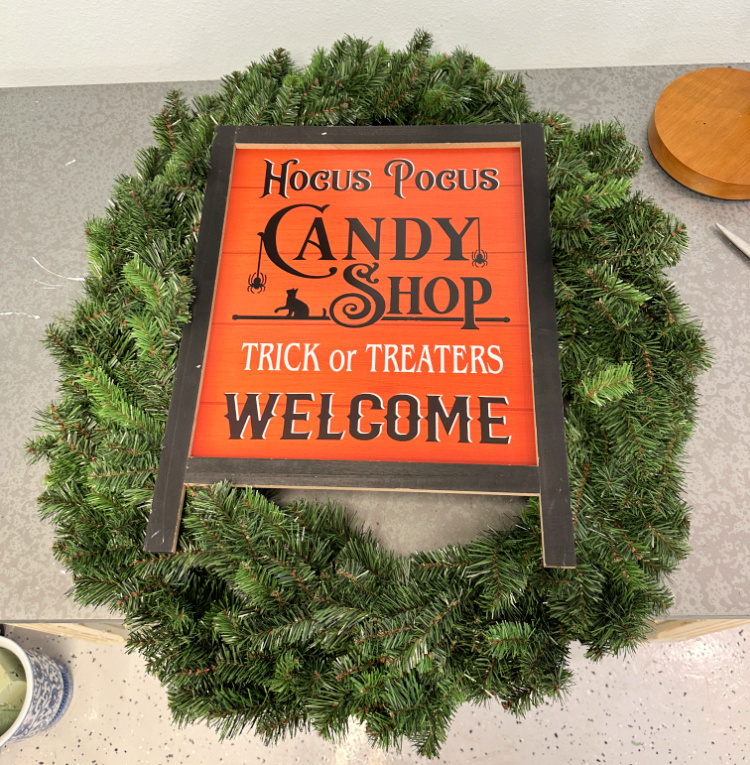
After reshaping the wreath into an oval, place the sign in the center to test the proportions. The larger oval beautifully frames the sign, creating a bold focal point while providing plenty of room to build a full, colorful Halloween wreath around it.
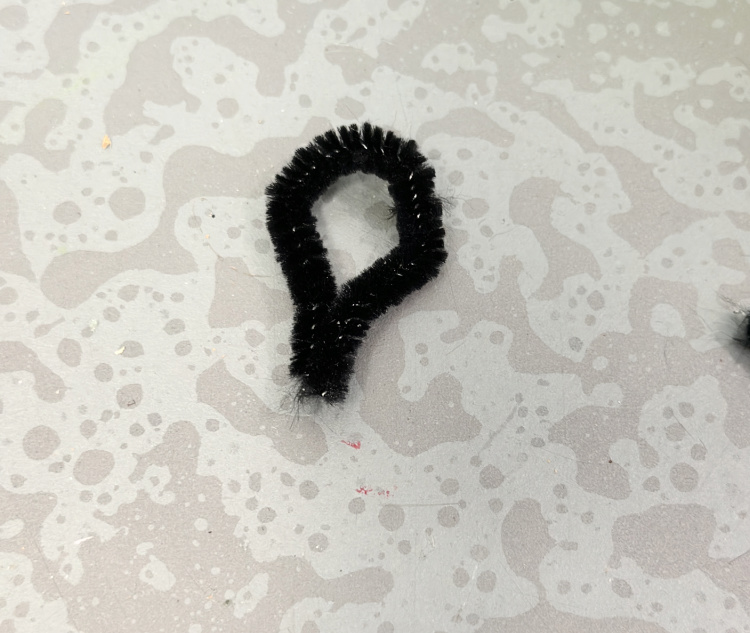
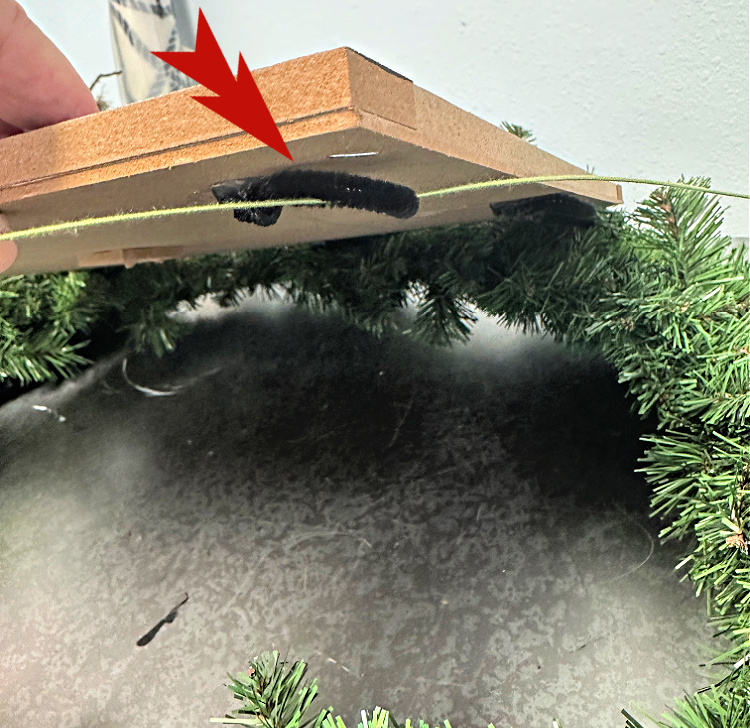
To attach the sign to the wreath, twist a piece of a pipe cleaner into a circle hook, making sure you twist it securely at the bottom.
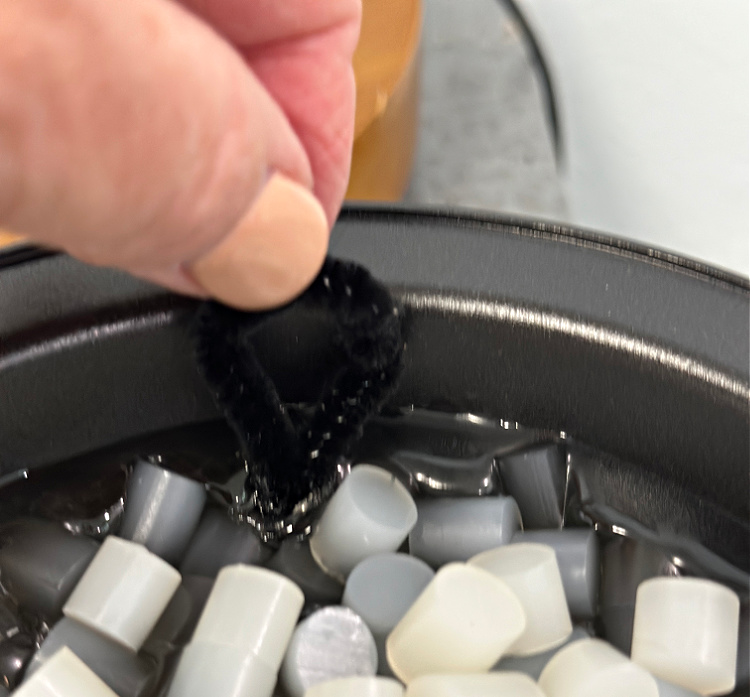
Dip that little twisted end into some hot glue.
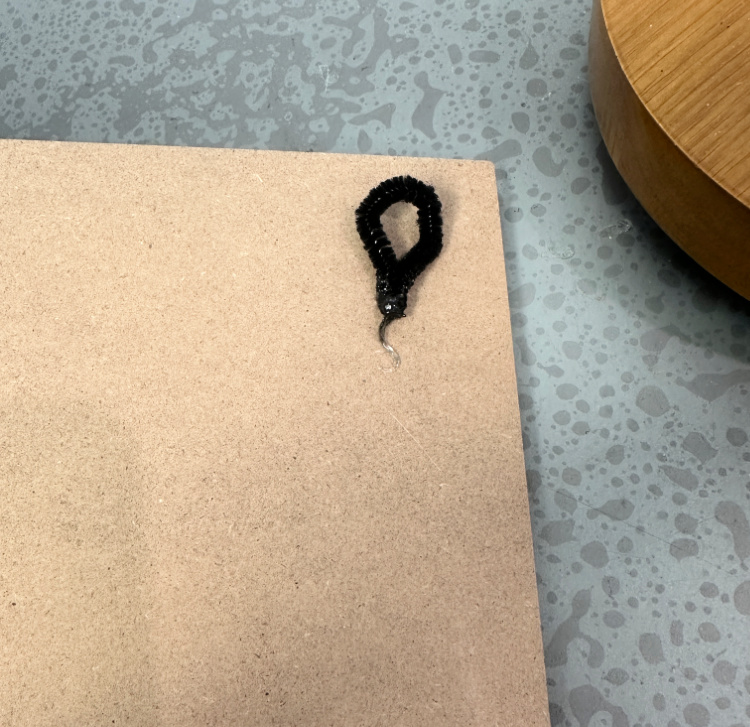
Stick that securely to the one of the top corners of your sign. Repeat the same on the other top corner.
Use a wire threaded through your circle hook to then attach the sign to your wire wreath form. Don’t rely on the green branches, make sure you attach it to the frame!
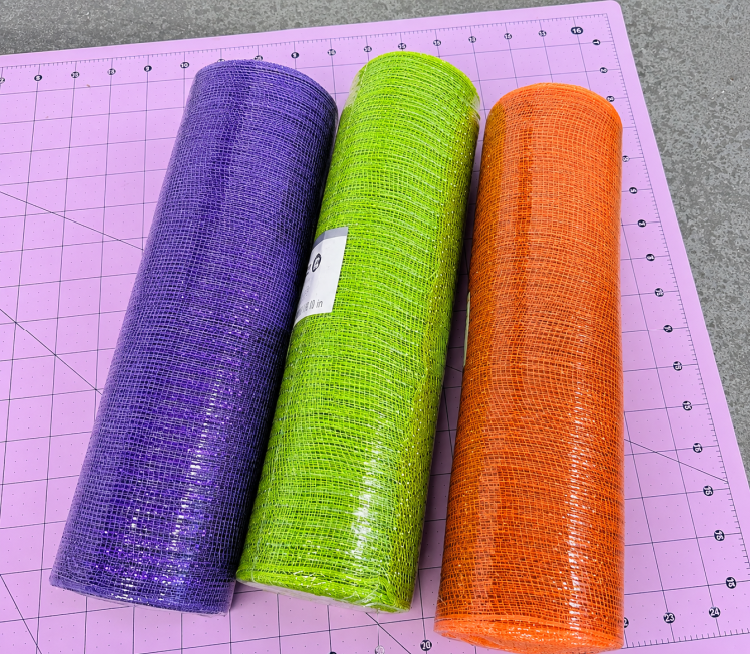
I selected three rolls of 10-inch deco mesh in classic Halloween colors—purple, lime green, and orange—to give the wreath lots of texture and vibrant color. Feel free to customize the look with your favorite Halloween color combination.
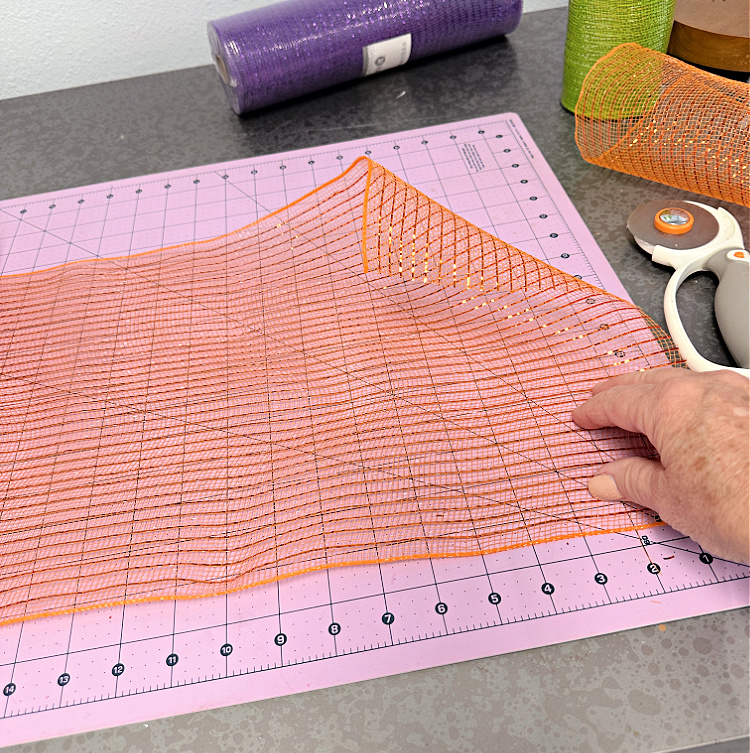
Cut all three rolls of decorative mesh ribbon into 12-inch strips. A self-healing cutting mat and rotary cutter make this step quick, easy, and much more accurate than using scissors.
I rolled each of the the pieces into loose rolls as sh0wn below.
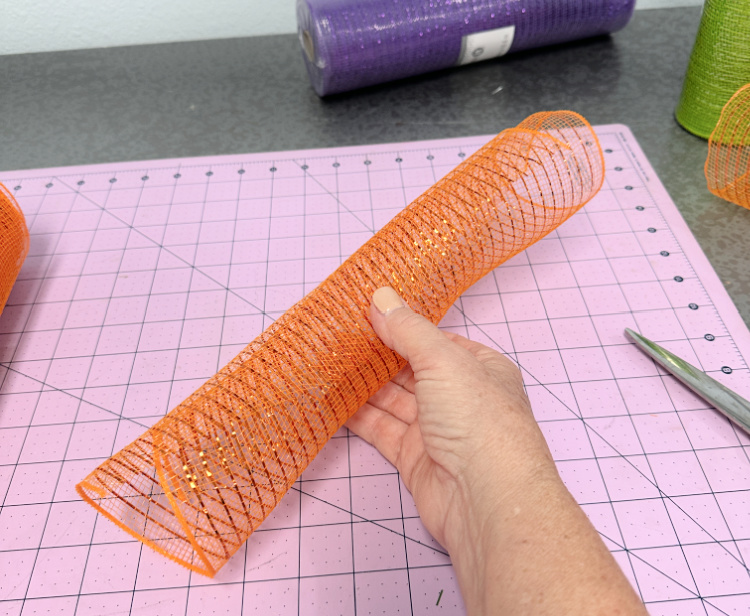
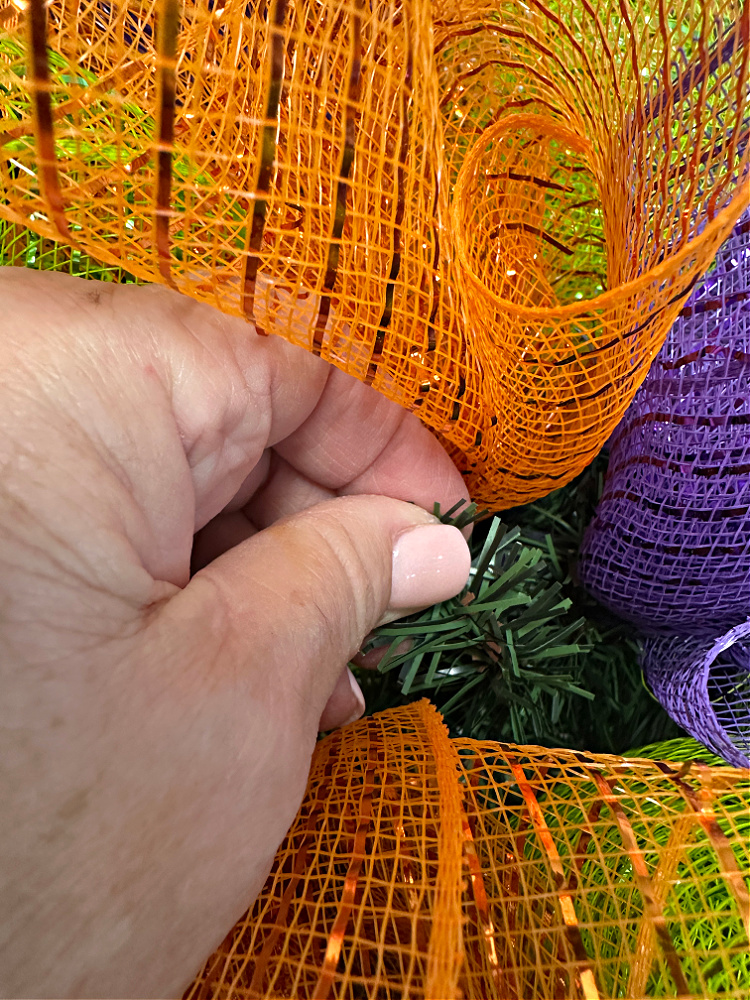
Squeezing each piece of the textured mesh ribbon in the middle as shown, and bending it in half, it will be ready to start adding to the wreath.
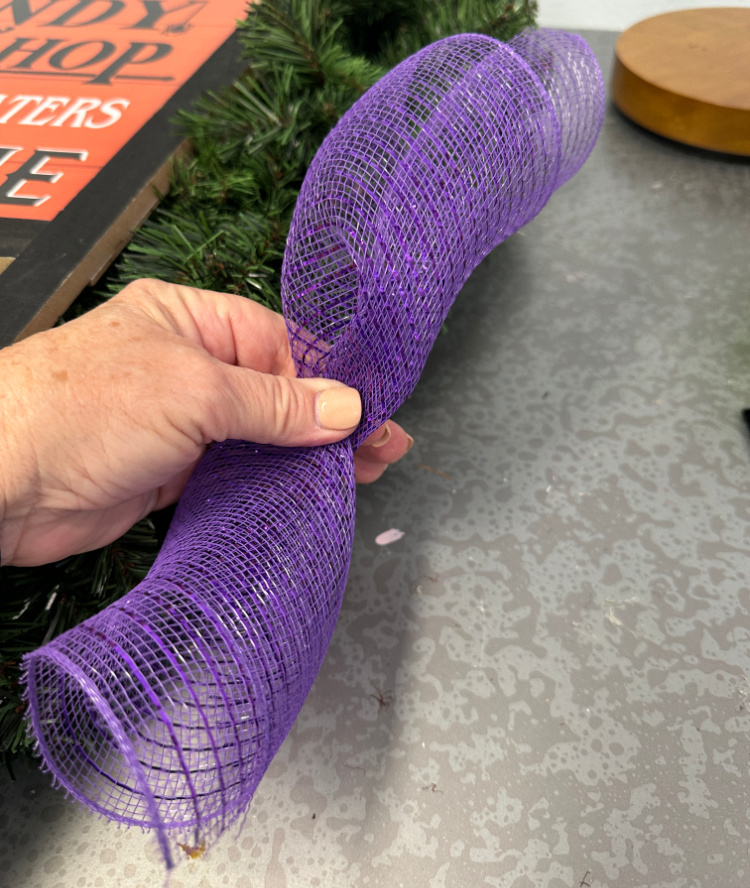
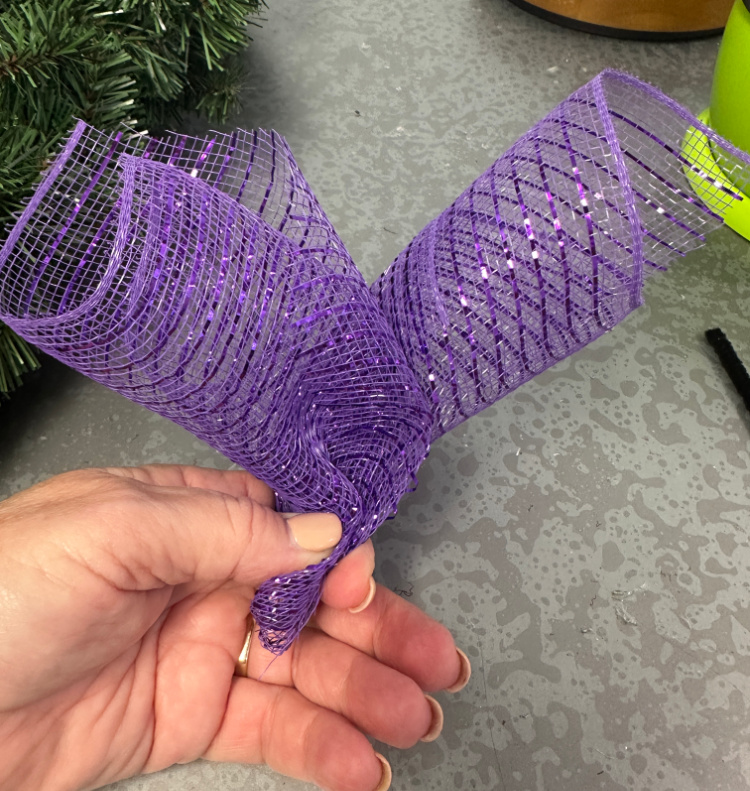
Take one wiry stem of the wreath and wrap it around the mesh where you have squeezed it in half and twist until it is secure. You will continue to do this alternating the three different colors, filling in the wreath as full as you would like it.
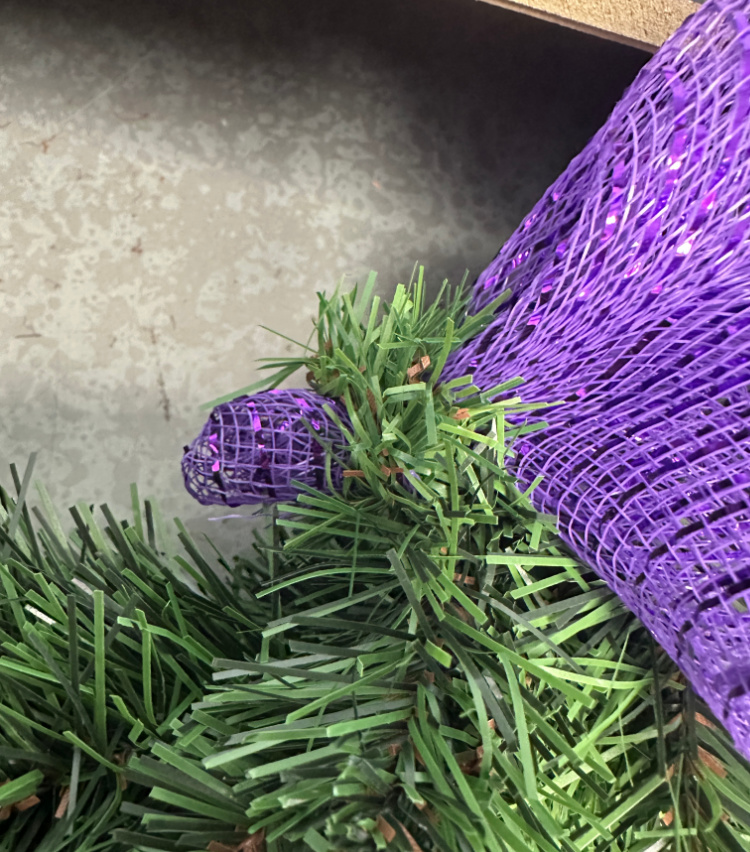
Just keep adding the mesh bundles to your wreath all around your sign. (I tried adding some ribbon at this point, but decided to wait until the end.)
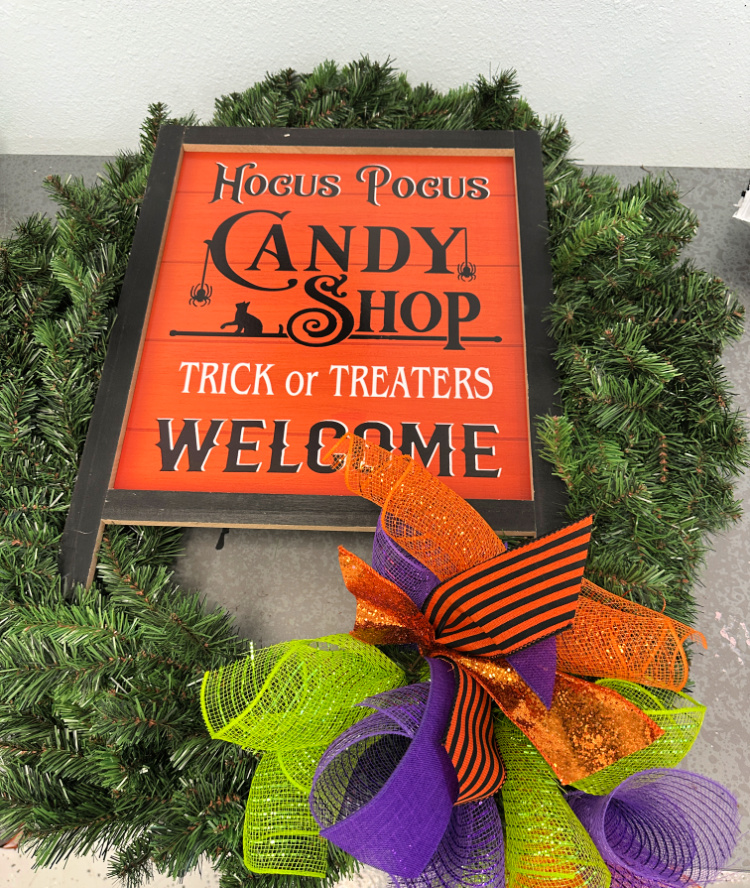
When you have added all of the mesh, your wreath should look something like this:
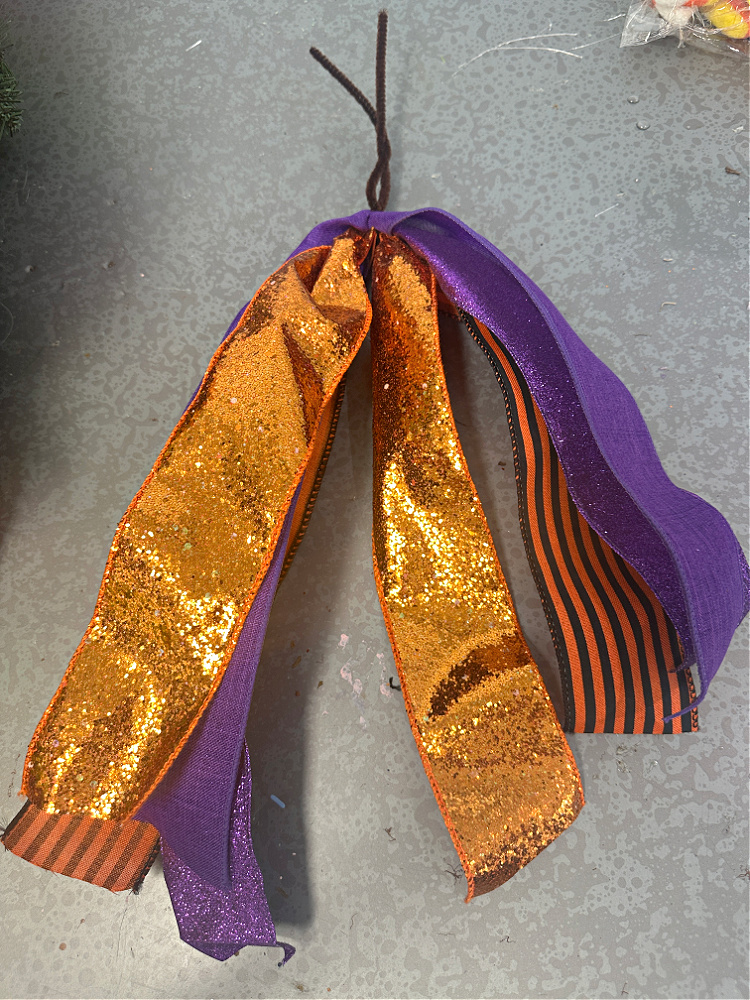
The next step is to add the ribbon! Select some wired ribbons that coordinate with your sign and mesh. I used two and a half inch wide wired ribbons. I selected two glitter ribbons one in orange and one in purple. I also added a black and orange stripe, and a purple burlap look. Cut each piece of ribbon into 18 inch pieces. Gather each of one of the ribbons together. Fold them over in half and secure them with a pipe cleaner.
Divide the mesh and greenery and find a spot where you can feed the ends of the pipe cleaner around the heavy wire frame of the wreath. Pull the ends of the pipe cleaner together and twist securely.
When the ribbons are secure, take them and turn each ribbon so the ‘front’ of the ribbon is forward. Then pull each ribbon in a different direction and fluff accordingly.
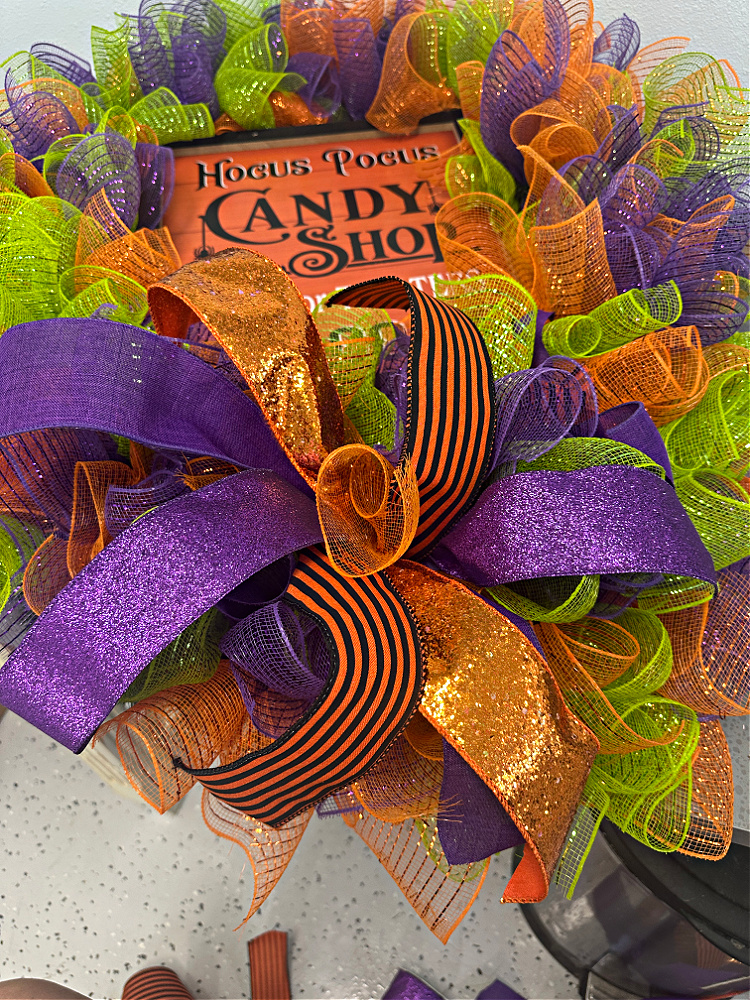
I added nine of the ribbon clusters to my wreath and it was finished! Ready to display!
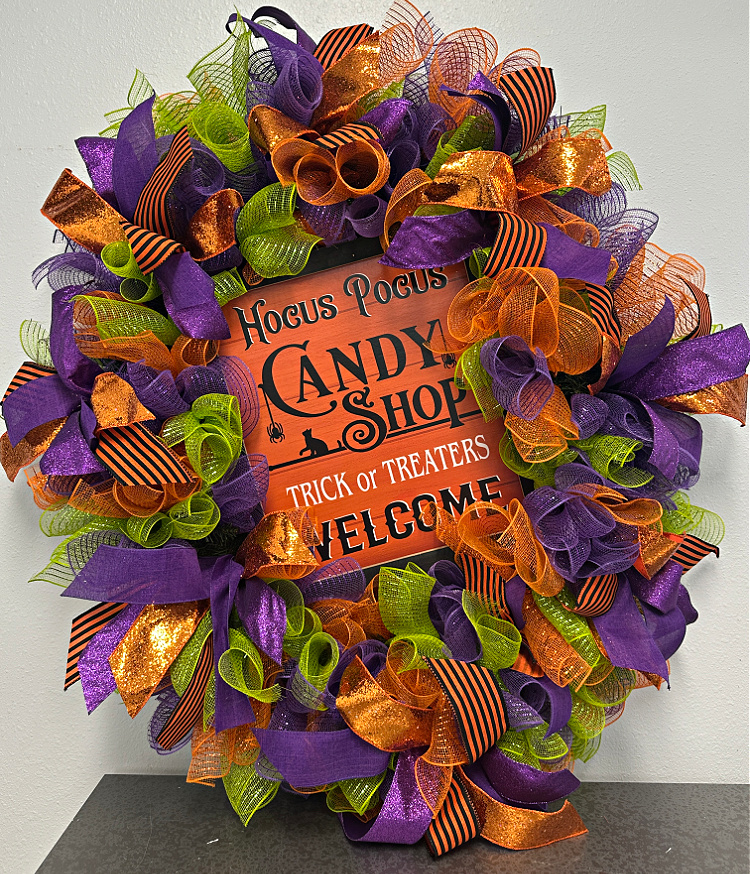
Keep in mind, you can alter this for any holiday or occasion. You can also use a smaller wreath and sign. Dollar Tree always has so many signs available, all year ’round. This will certainly make a statement on any front door!
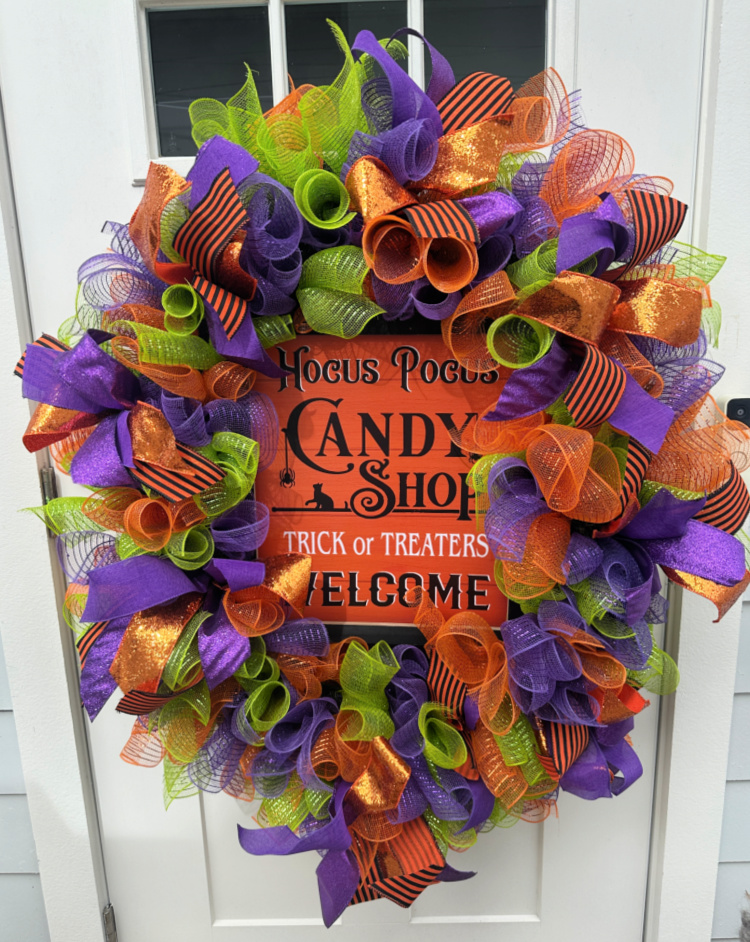
One thing I really love…
This oversized sign makes this wreath different from thousands of deco mesh wreath tutorial online. This is an oversized statement wreath or front-door statement piece that will be unique and memorable. This aligns well with a bold over the top front door Halloween display!
This wreath doesn’t take itself too seriously. Halloween should be fun, colorful, and a little whimsical, and this project has welcomed untold amounts of trick-or-treaters to my front. If you make your own version, I’d love to see it!
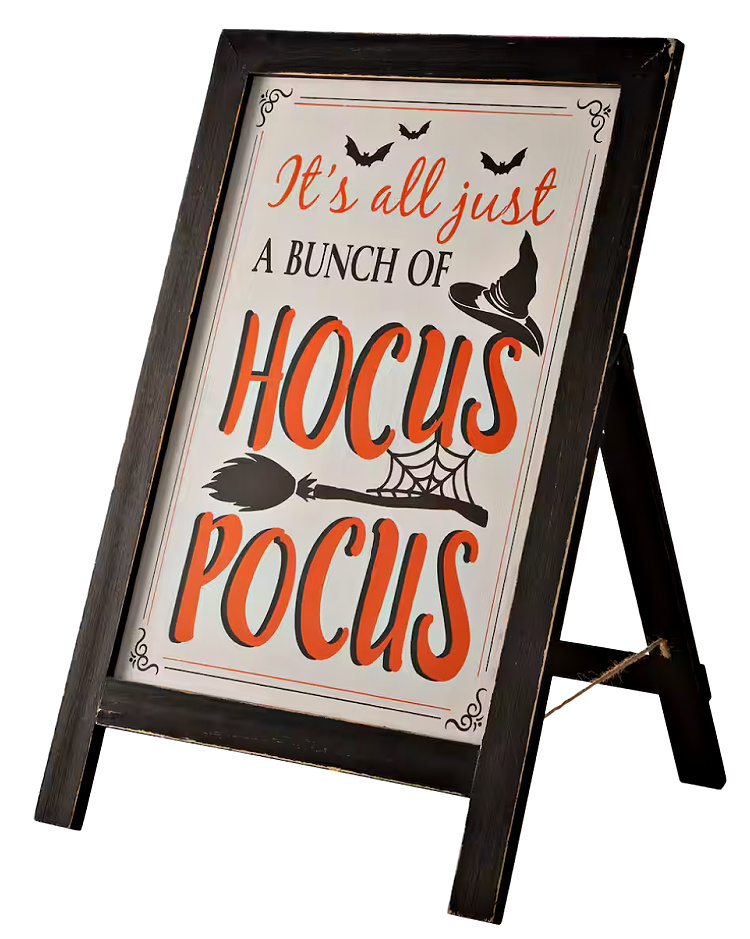
If you want a little different look, this sign is also available, AND is about $10 less!! You can use this to create your own Halloween wreath, OR just for a little welcoming sign!
Did you fold each of your mesh rolls and attach them right above the fold? That’s what it looks like in the photo. I like the wreath though. I just wanted to clarify before I think about making one.
I fold each one, and pinch it at the fold. I attach it right where the fold (or bend) in the roll is. If you have more questions, please ask! Good luck with your wreath!