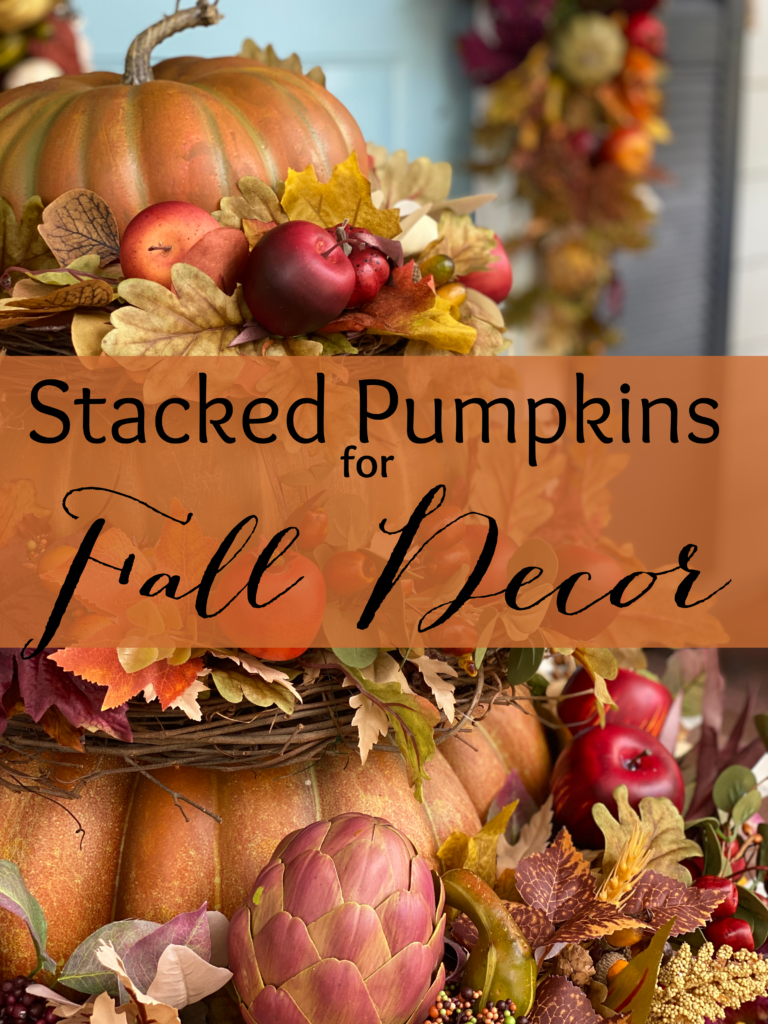
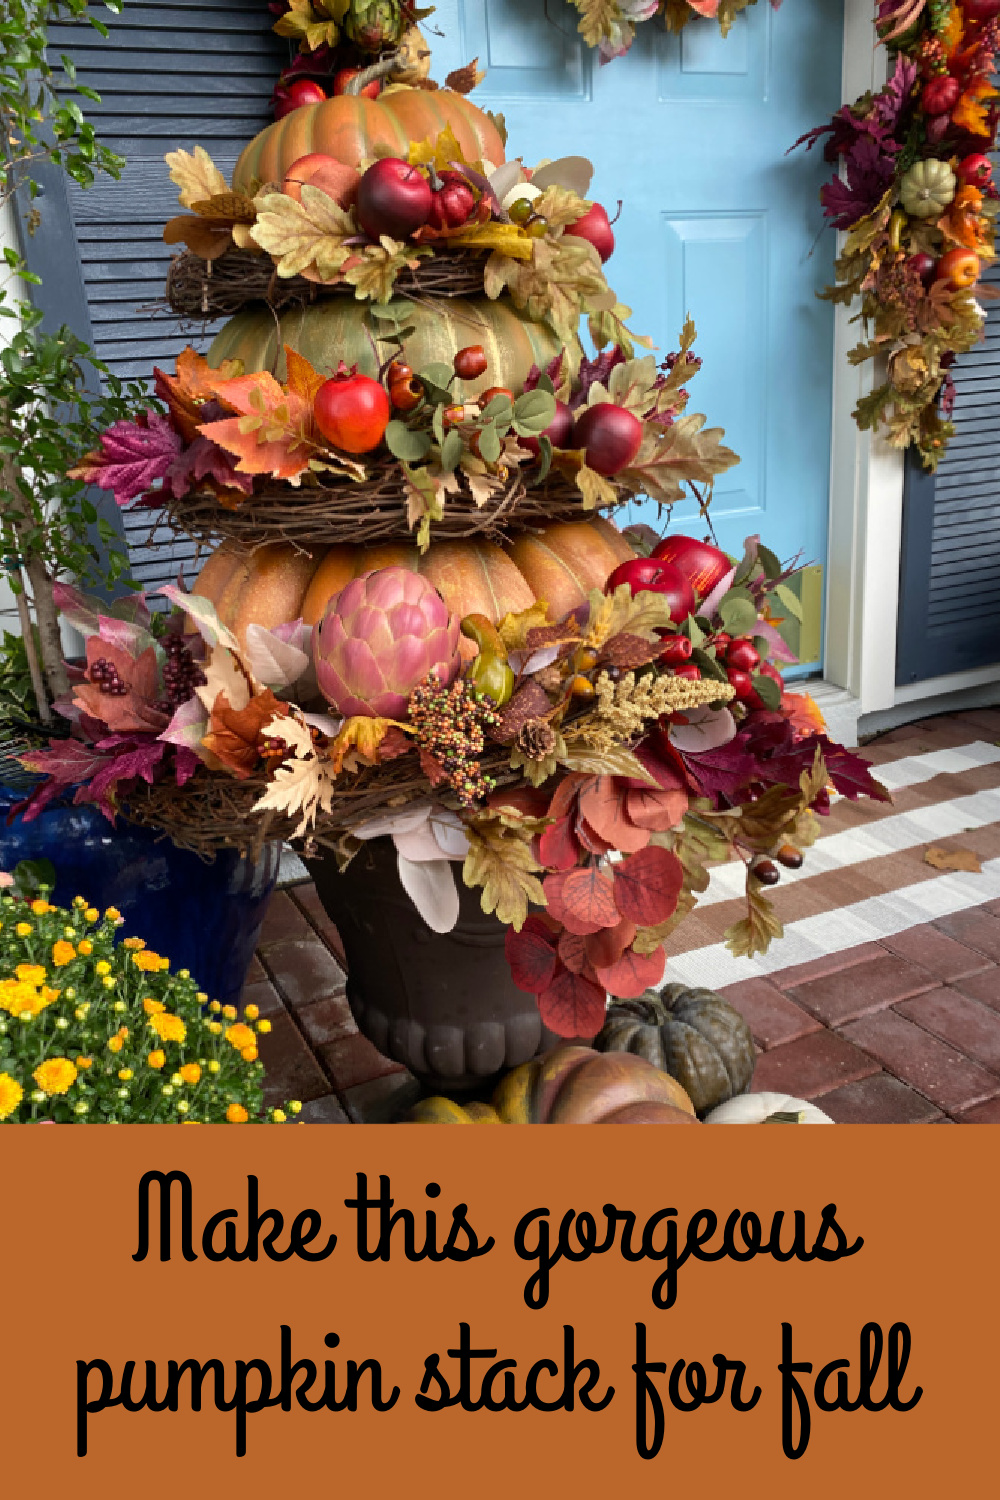
Stacked Pumpkins for Porch
Make a stacked pumpkin topiary for the autumn season! This is an easy project that just takes a little bit of time. These outdoor stacked pumpkins will coordinate with the pieces I made around the front door. You can see how this is a perfect addition to my front porch at Decorate Your Front Door for Fall.
This post contains some affiliate links for your convenience. Should you buy from one of the links I receive a small commission.As an Amazon Influencer, I earn from qualifying purchases. Click here to read my full disclosure policy.
Stacked Pumpkin Supplies:
- Large flower pots, baskets or planters
- Bricks or something to weigh down your urn or basket
- 15 inch faux pumpkin
- 13 inch faux pumpkin
- 12 inch faux pumpkin
- 11 inch faux pumpkin
- 8 inch faux pumpkin
- Floral wire
- 18 inch grapevine wreath
- 14 inch grapevine wreath
- 12 inch grapevine wreath
- Assorted maple leaf picks
- Oak leaf stems with acorns
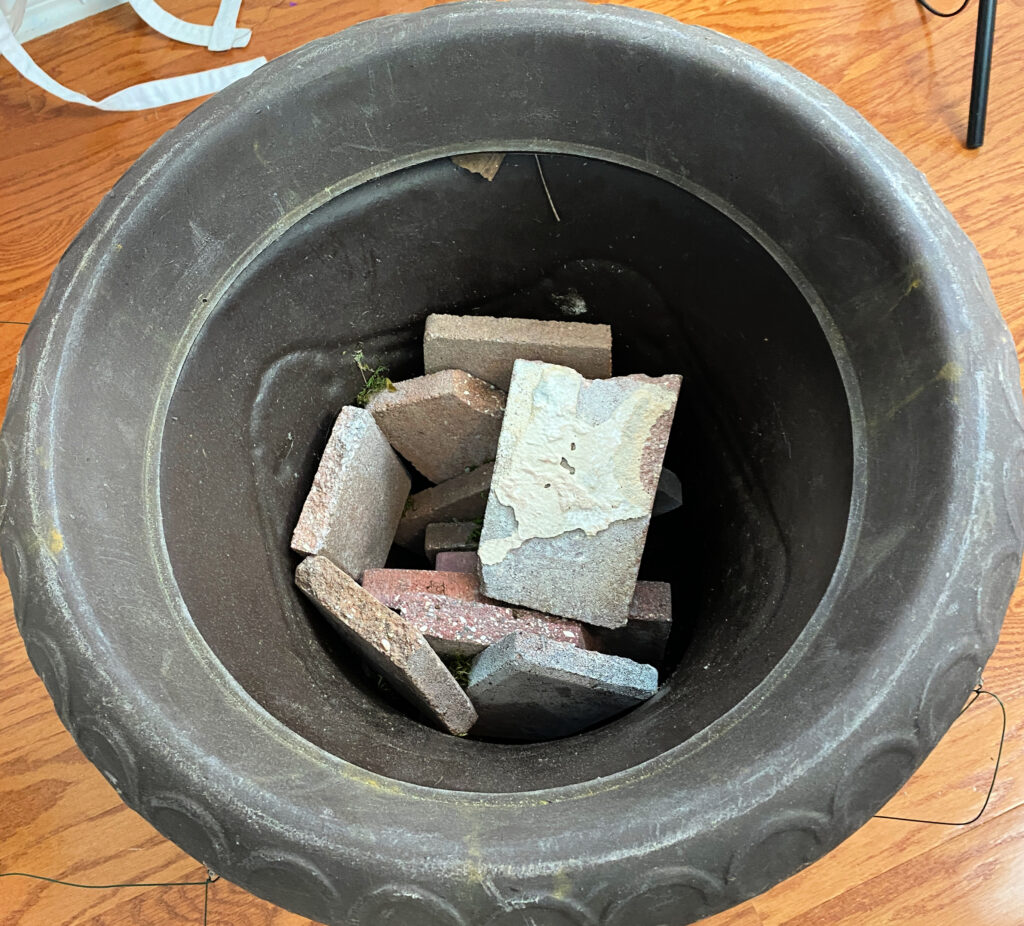
Step 1: Create the Base For Your Stacked Pumpkins.
I have a large planter I have used for a variety of projects over the years. I put some broken paving stones in it for weight.
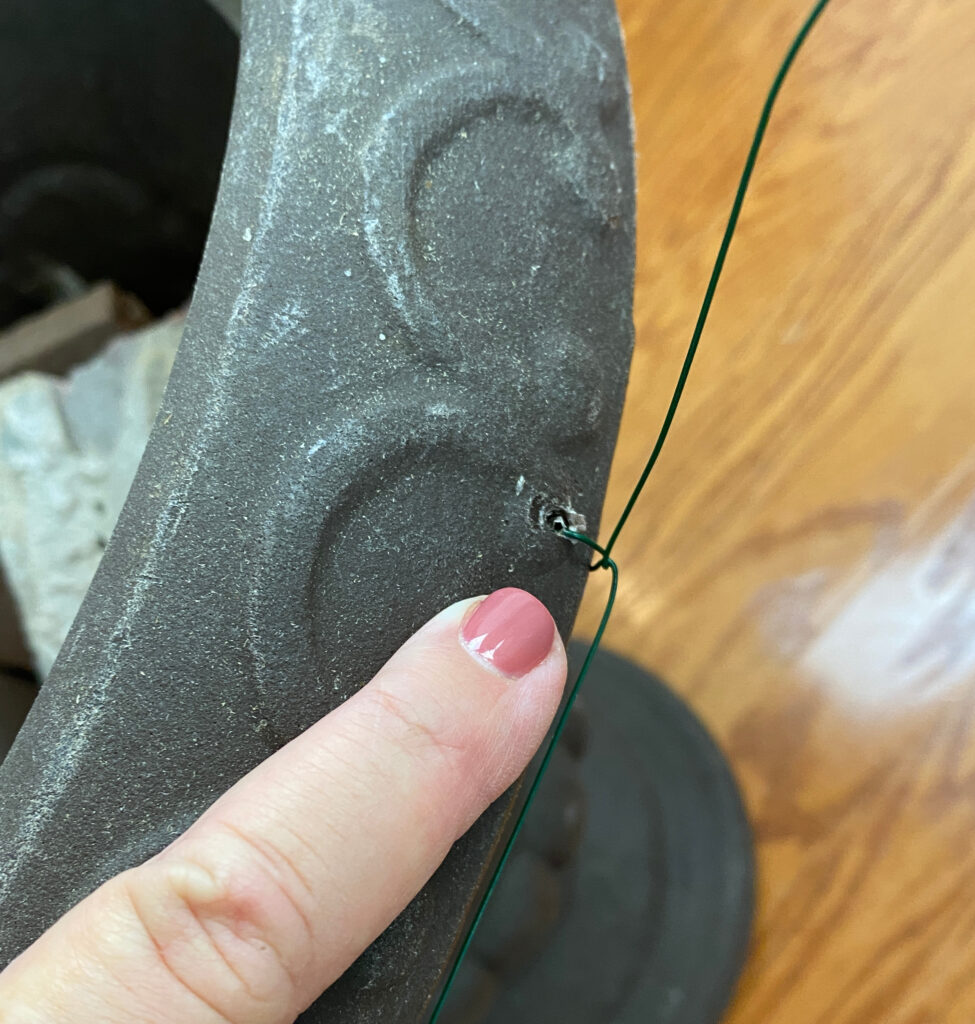
Step 2: Thread the Wire
Drill a small hole in three spots around the planter. Thread a wire through each of the holes as shown will secure your pumpkin stack.
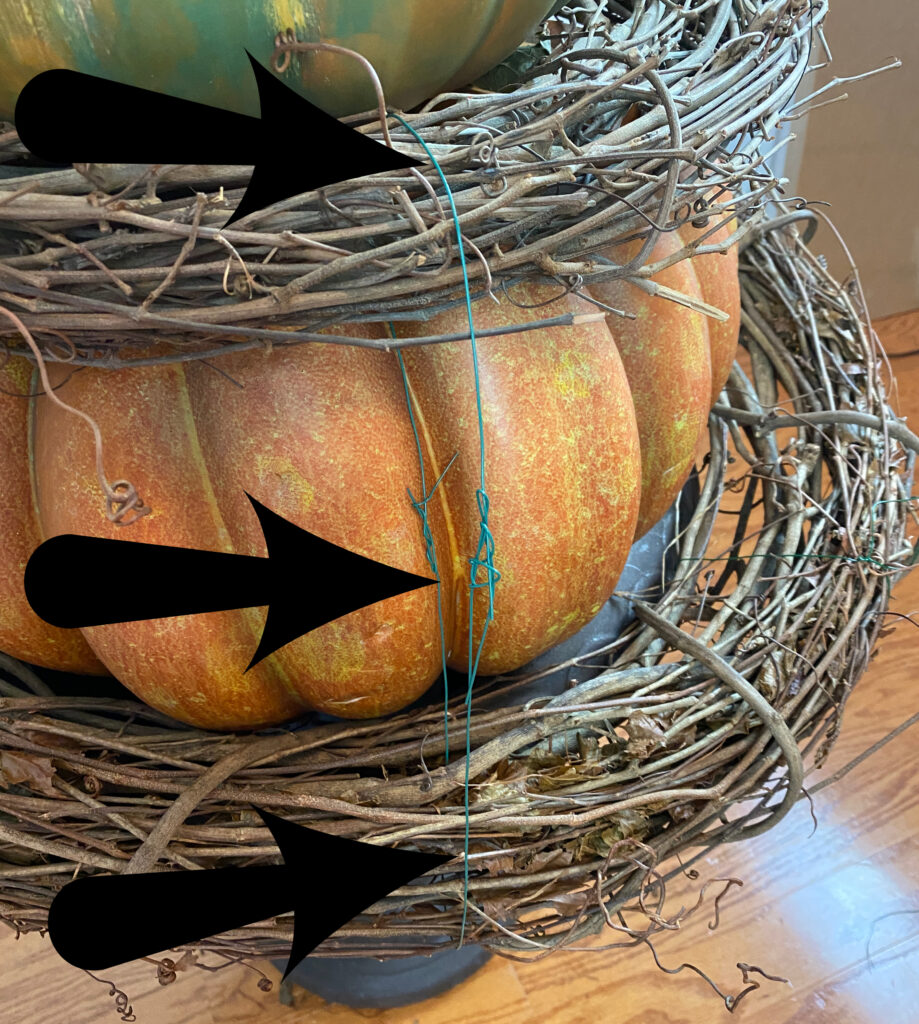
Step 3: Secure the Grapevine Wreaths with Wires
Using the wires attached to the urn, take the wires around the bottom wreath and attach it to the urn securely. Next, add the pumpkins to the stack and alternate with the grapevine wreaths, securing each grapevine wreath with the wires. The arrows are showing you where the wire is.
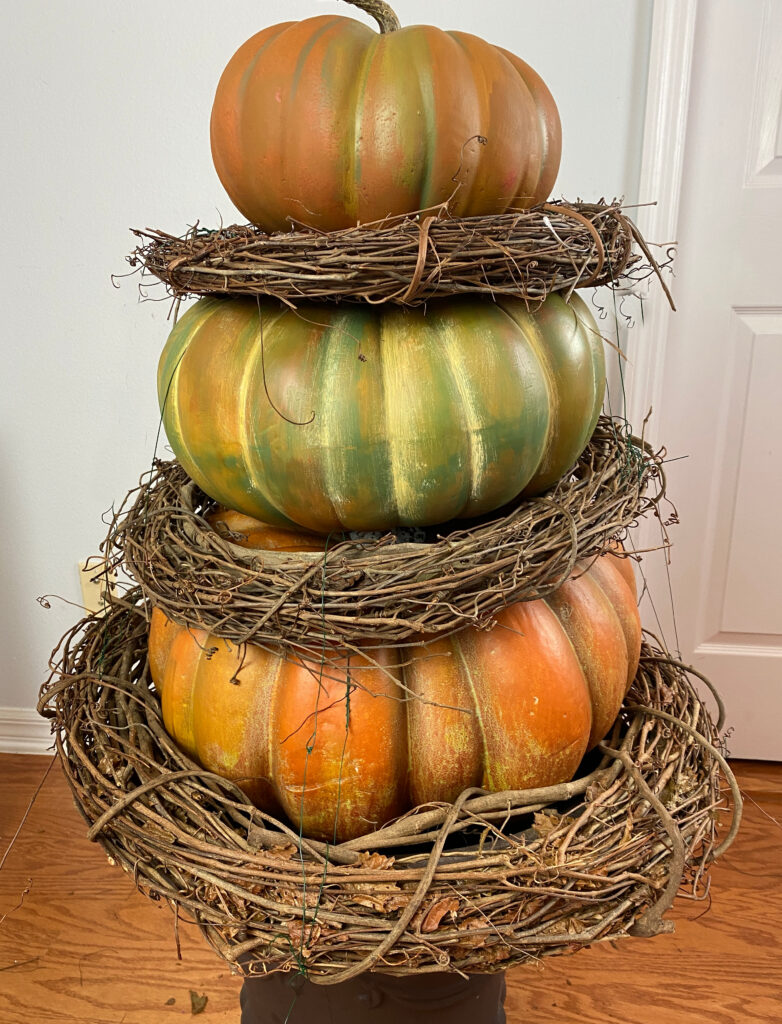
Step 4: Add Pumpkins to the Stack
You will use lightweight faux pumpkins for your diy pumpkin topiary. Set your largest pumpkin on top of that wreath. Next, add a second grapevine wreath on top of the bottom pumpkin and secure it to the bottom grapevine wreath with floral wire. Next add your middle pumpkin. Repeat this as many times as you would like. For the top pumpkin, I used hot glue to attach it to the pumpkin beneath it so that it will not fall off without a wreath on top of it.
Step 5: Secure Your Top Pumpkin
The smallest pumpkin won’t be secured with a wreath on top of it, so secure it with a strong adhesive like Gorilla Glue or use your hot glue gun.
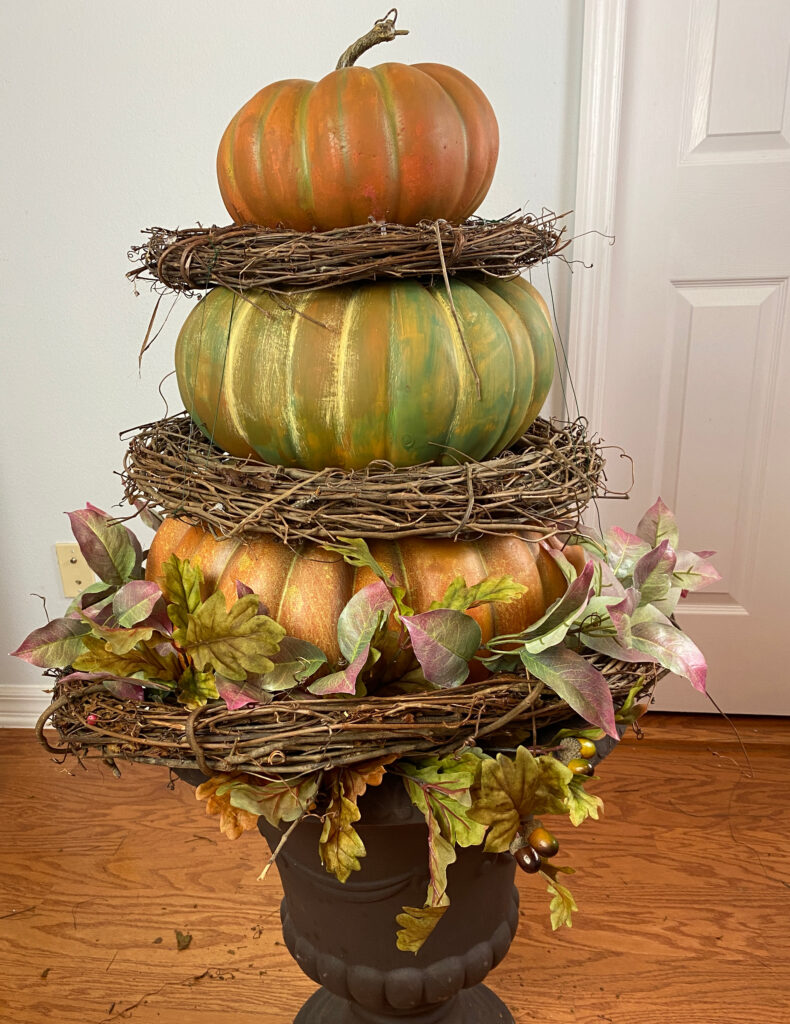
Step 6: Add Fall Picks
The next step is to begin adding decor to the grapevine wreaths. This is the opportunity for you to get creative with fall picks of autumn leaves and berries. I used the same faux fall leaves and fruits I used around my front door. Long stems can be stuck down into the urn and secured in in between the vines in the grapevine wreaths.
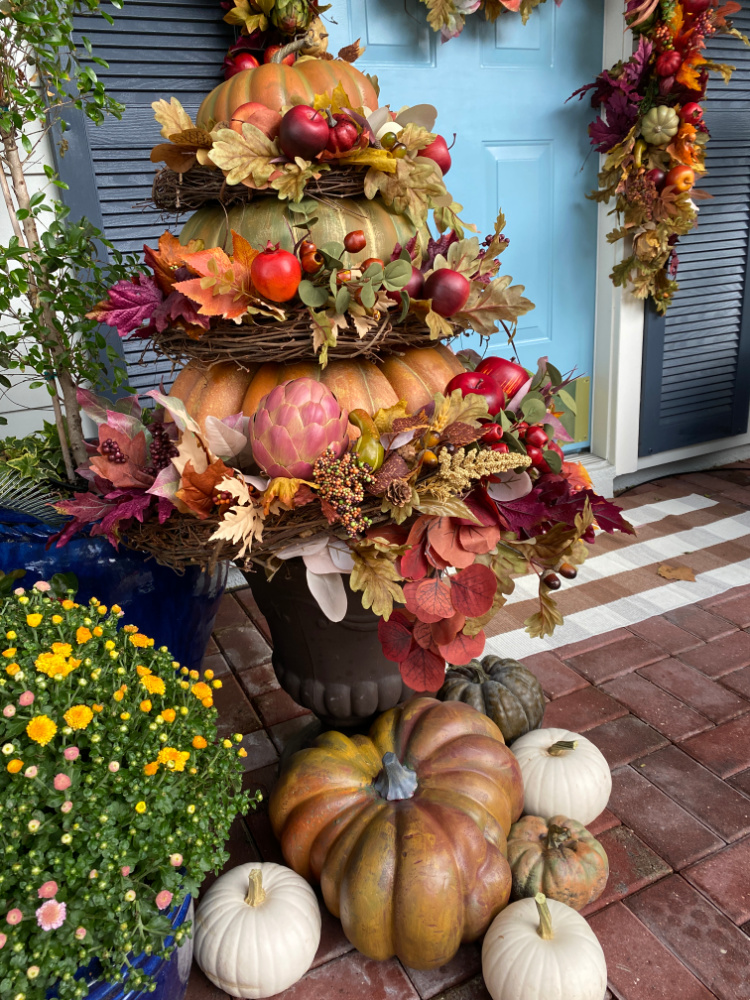
This diy project will look fantastic along the side of a door. A large decoration that certainly says you are full of fall spirit!

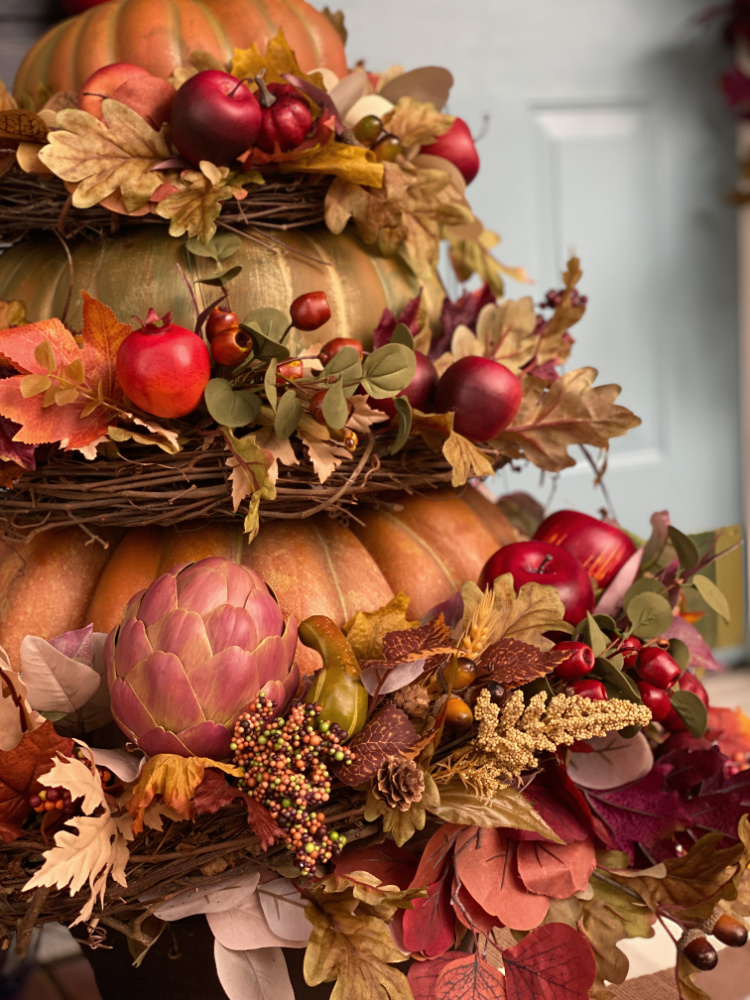
Step 7: Finish Decorating your Wreaths
Fill the bottom wreath and then move up to the next one. Make sure you don’t put too much decor in so that you can still see the pumpkins. I used traditional fall colors, but you could just as easily substitute The faux apples and artichokes were added by sticking wood skewers into them and then wedging the skewers into the grapevine wreaths. This beautiful pumpkin topiary is ready to join the rest of the harvest decor on my front porch!

The pumpkins in the stack are all artificial, but at the base of the urn I placed a combination of real pumpkins and fake pumpkins. I have beautiful front porch decoration ready for the fall season!
Additional tips for making your stacked pumpkin topiaries:
- If you really get strong winds, you could use wooden dowels stuck through your pumpkins down into some plaster of paris in your pot to make them more secure.
- If the stem on top of your first pumpkin is too tall, you can just cut it down with an utility knife.
- You can use a similar idea with smaller pumpkins for your dining room table. Make a smaller version for a fall centerpiece.
- Use jack o lanterns in place of the plastic pumpkins and add spiders around them for a Halloween topiary.
- Substitute spanish moss for the grapevine wreaths for a more rustic look.
- You can substitute grapevine garland for the wreaths.
Fun Facts about Pumpkins:
- Indigenous North Americans have grown pumpkins for thousands of years.
- Illinois grows twice as many acres of pumpkins than any other state.
- The heaviest pumpkin ever grown was grown in Belgium. It weighed 2624 pounds.
- The heaviest pumpkin ever grown in the United States was grown in New Hampshire. It weighed 2528 pounds.
- Pumpkins are believed to have originated in Central America.
- Pumpkins are one of the oldest domesticated plants, having been used as early as 7,500 to 5,000 BC.
- Each pumpkin contains about 500 seeds.
- A pumpkin is a fruit.

The best part is I can use this again next year by just covering it with a plastic bag and storing it!
PIN THIS:
More fall diy ideas here!
Easy way to make a pumpkin arch!
Last year I made this fantasy pumpkin!
Decorate a tiered tray for fall decoration!
Are you ready to start holiday shopping? Check out these gifts, all $30 and Under!
(click on any image to shop that product)

Chloe, your pumpkin stack is beautiful and matches the rest of the porch decor perfectly!
Breaking down the craft with easy to follow instructions is so helpful.
I think this makes a lovely porch display, but could also be placed on a large sideboard, or dining room table.
Thanks for sharing your craft for today’s blog hop:)
Chloe, this is my first visit to your site and I have to congratulate you on such a gorgeous project. The stacked pumpkins are beautiful!!! I love the rich, autumn colors and the textures. Thank you for detailed instructions, I may have to try this.
Thank you so much Susan! I am so happy to have you visit! I always love hearing from my readers!!
Chloe you must have the most festive front entry in the country! Your pumpkin topiary is fabulous, I bet people go out of their way to drive by your house and see how it’s decorated! Great tutorial too, I have always loved the decorative topiaries I’ve seen in the Grandin Road and MKC catalogs, I might have to try making one some day.
Absolutely love this.
Thank you so much Rebecca! Hey…another Crabtree!! Is your Crabtree family from southern Ohio or Northern Kentucky?
Beautiful.
Thank you so much Rebecca!
This is gorgeous, Chloe! I love the tips on how to get the pumpkin stack to fit securely in your urn. Since I can’t get anything real to grow in my urns on the front porch, this gives me a great idea to add stately decor that will look good all season. The foliage you chose is beautiful. Well done, my friend!
Thanks so much Crissy, I don’t exactly have a green thumb, either!
Love your fall decor Chloe, and what a fun hop! Thanks for sharing.
Chloe your craft and decorating talents are just amazing! I love how gorgeous your stacked pumpkin arrangement looks on your porch and your door color compliments it beautifully too! Pinning!
Thank you so much Michelle!
Okay this is such spectacular!! I love all your tips with wiring it together so it fall over. I love pumpkin topiaries and this is so pretty with the wreaths in between! Great job!
Karin
Thank you so much Karin! I wanted something to complement the decorations on the door.
Chloe, you are the master! Your pumpkin stack is so beautiful! Using the wreaths is such a good idea. Pinned!
Thank you so much Debra!
WOW Chloe your front porch looks amazing. I just made a stacked pumpkin and next to yours. ugh! I wish I would of seen yours before I made mine. Yours is so inspiring!
Oh, Thank you Terrie! I am sure yours looks perfect!!
Chloe, the email I received had no photos at all. Any idea what happened
Hi Linda, my new email service doesn’t automatically put photos in. You just have to click on the links to go to the posts where all of the photos are.
What a fun idea Chloe! Your decorations are beautiful – I love the colors and how they match your entry. Thanks for the great – and beautiful – tips!
Thanks so much Barbara, I can let the front porch be now!
Chloe, these stacked pumpkins are absolutely gorgeous! I love how full and detailed they are! I always look forward to your porch decor…it’s always so creative and just fabulous! I appreciate the step by step directions you shared. Happy Fall, my friend! Pinned!
Thank you so much Lynne!
Your front porch decor is always so inspiring, Chloe! I bet your neighbors love walking by your home! Thanks for showing us how to create this pumpkin topiary! Those extra fall elements are lovely!
Thanks so much Julie, I do think there are a few that keep my house on their route!
The stacked pumpkins are gorgeous! Beautiful job.
Thank you so much Patricia!
Hi Chloe
When you decorated your porch with the birds and made the oval door wreath I thought that it was one of the most amazing things I have ever seen for a porch. It looked like something right out a Pottery Barn catalog. This time once more you did not disappoint. Great color nuances and great tips, Thanks for sharing.
You really make gorgeous out of faux, Chloe! It’s definitely Frontgate and Grandinroad quality!
You’re so wonderfully talented. This year’s porch is just what I love to see. From the posting of the wreath all the way to this beautiful stack of pumpkins.
Thank you so much Karen!
Chloe, what an amazing arrangement of pumpkins and garland and wreaths you have created. It is so lush. It looks beautiful on your front porch. It is definitely a bountiful harvest.
Chloe, I absolutely love the stacked pumpkins.Beautiful display! Im going to do that one for sure ! Thankyou for the detailed instructions.
Brenda from Ontario, Canada
Thank you so much Brenda, it is really easy to add those wreaths between them! Have fun!!
Wow, Chloe, this is so pretty and it looks very high end! Hats off to you for all the inspiration.
This is beautiful, Chloe! I have a pot just like that, and every year I plant some boring (and expensive!) mums. I should take your lead and do this instead. It’s certainly much prettier and I can use it year after year. Genius and lovely.
I try and change up my decor every year, I was really happy with how this turned out!
Where did you get all the supplies?
They are the best looking fall decor I have seen.
Thank you so much Denise. I bought most of my supplies at Michael’s. I may have filled in with some items from Joann’s or Hobby Lobby.
Absolutely stunning, Chloe! Your creativity never ceases to amaze me. I actually own a similar pot, and it’s been a yearly ritual to plant those dull (and wallet-draining!) mums. After seeing your brilliant idea, I’m truly inspired to follow suit. Your approach not only exudes elegance but also offers the advantage of lasting beauty season after season. You’re an absolute genius, and your work is nothing short of enchanting. Keep sharing your wonderful ideas – they bring so much joy and inspiration to us all. Kudos!
Thank you so much Andrew! You are so kind! This is a great way to dress up that urn of yours and just lift it off and store it for next year!
Absolutely gorgeous, my friend! I love this.
Thanks so much Renae. I think it is so much more impressive than just stacked pumpkins!