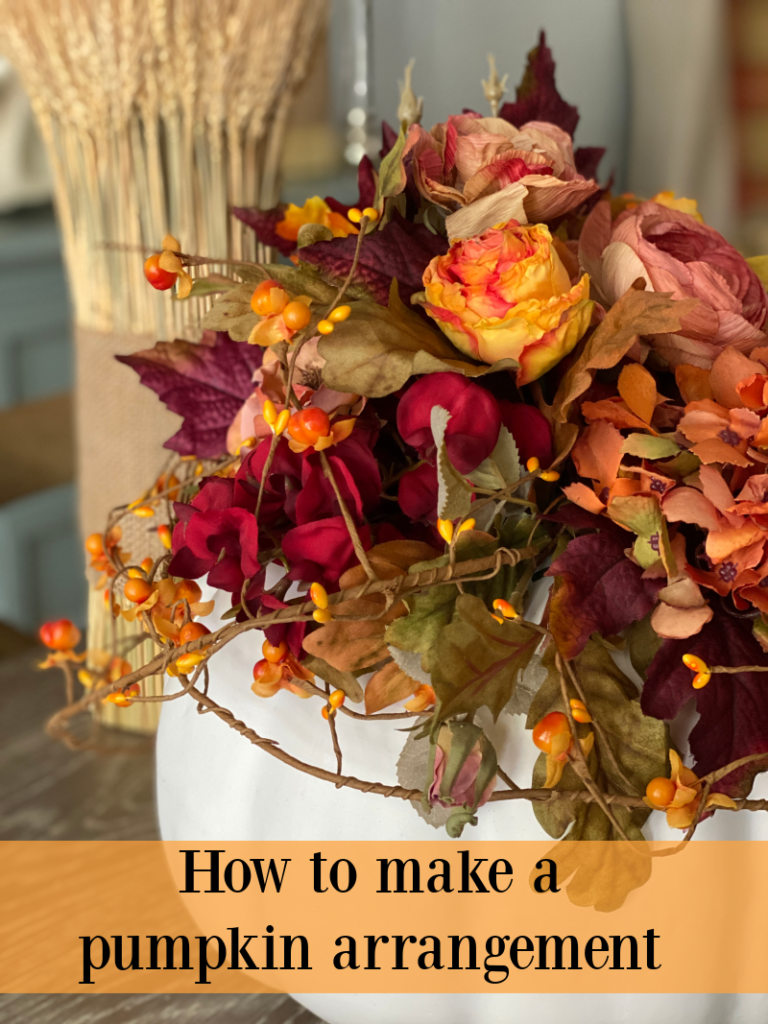
How to Make a Pumpkin Centerpiece
How to Make a Pumpkin Centerpiece
(without cutting your pumpkin)
This is such a easy diy project to add to the center of the table this year for your Thanksgiving Dinner. You know I love fall and a fall tablescape is a given for me. Follow along for the step by step instructions and you will have a beautiful centerpiece for your dining table in no time at all!
This post contains some affiliate links for your convenience. Click here to read my full disclosure and privacy policy.
I know…another pumpkin centerpiece, right? Pumpkin centerpieces might be all over the internet, but I have only made one once before! A white pumpkin of this size spotted on the shelves at Target for just $10 meant it was coming home with me. I know it is going to make a beautiful fall centerpiece for my dining room table.
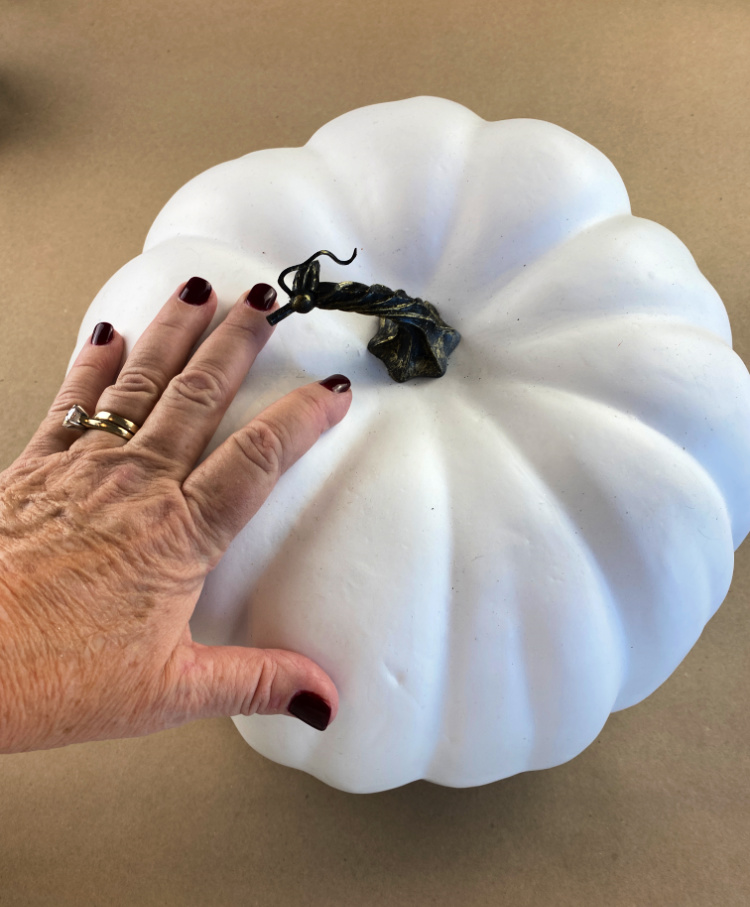
Instead of giving you measurements, I thought I would just take a photo of this pumpkin with my hand on the top of the pumpkin. It is about 13″ across by 7 ” high. Many pumpkin arrangements require you to cut a hole in the pumpkin, be it real or artificial.

The problem with doing that is you have basically given your faux pumpkin only one possible use. With real pumpkins, you only have so long to enjoy it until the pumpkin starts to rot, and it might attract fruit flies, even while the flowers stay fresh.
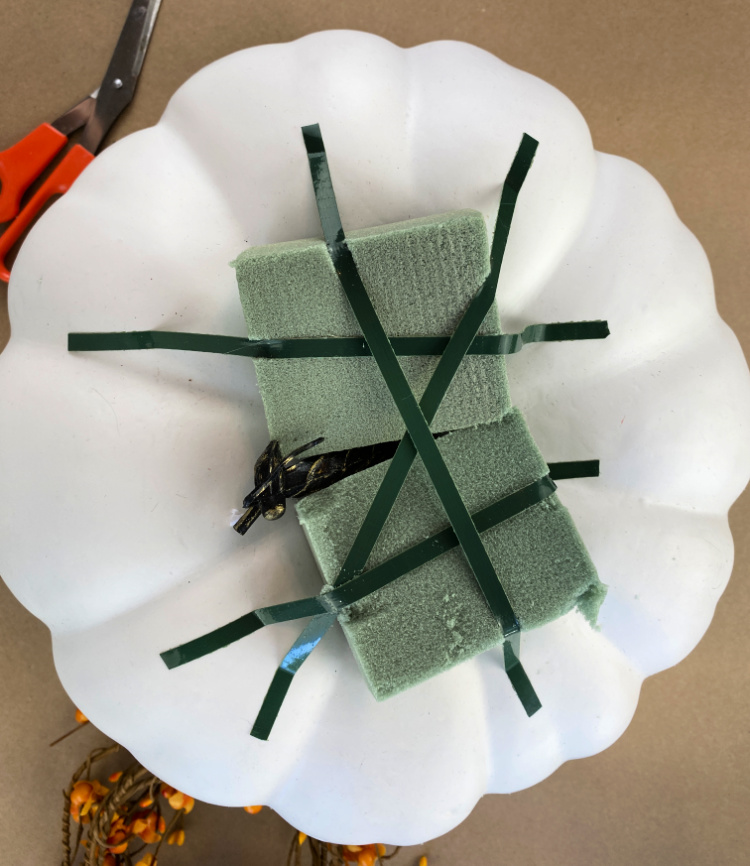
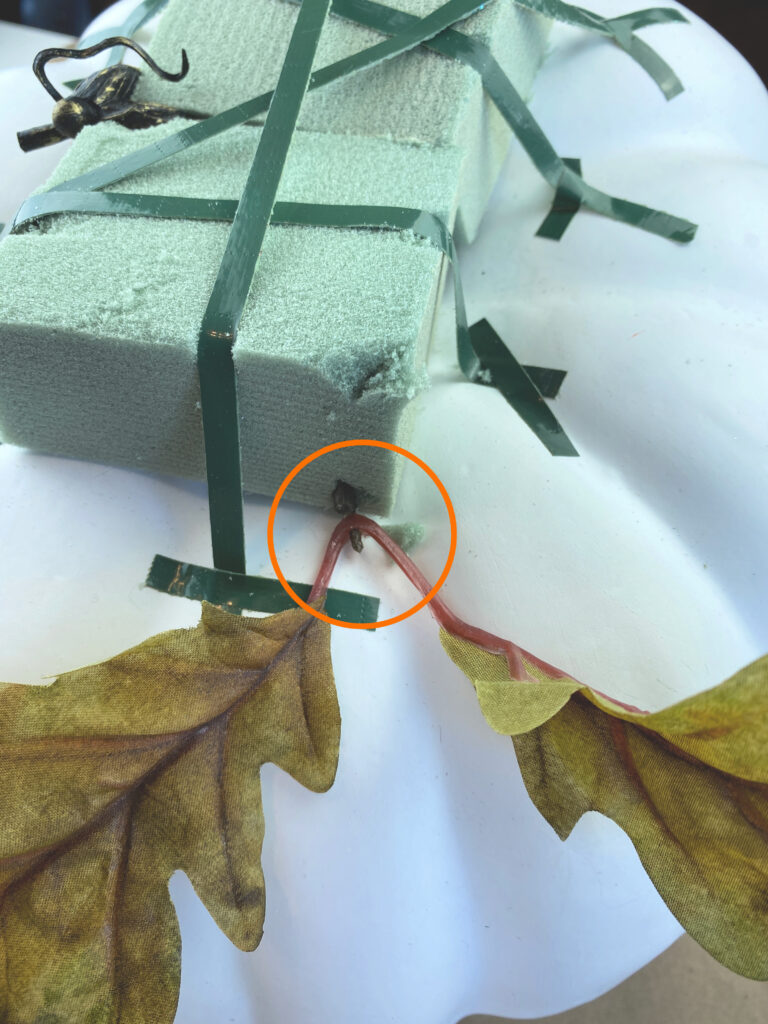
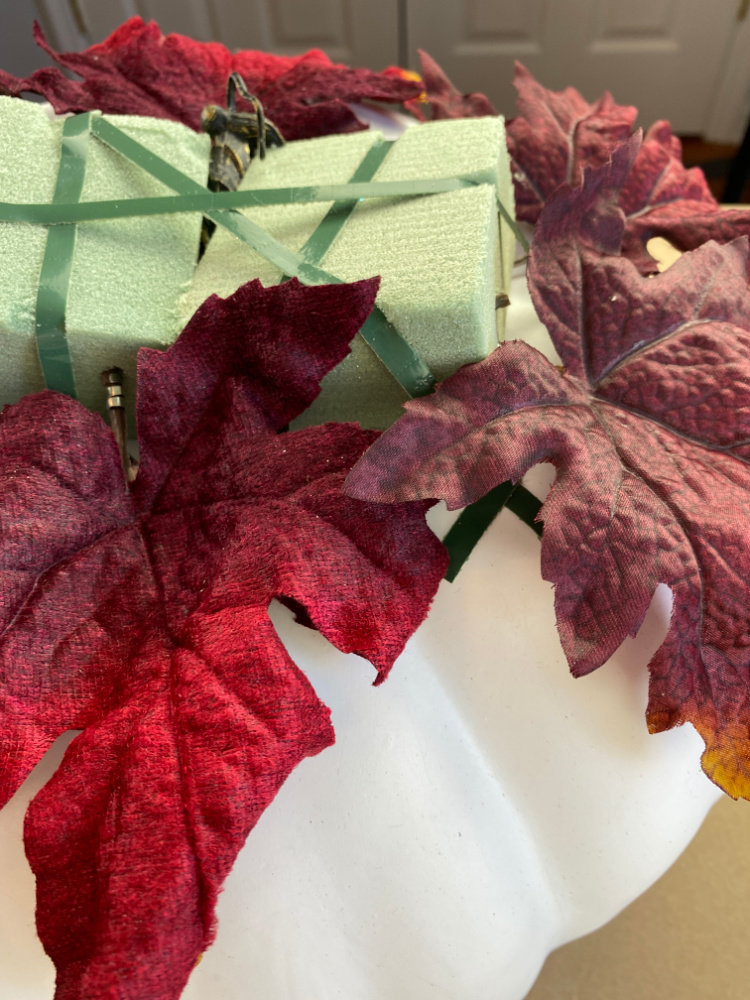
Using an artificial pumpkin and a couple of pieces of dry floral foam would be the solution for me. Use several pieces of waterproof floral tape to secure those pieces of dry floral foam to the top of your pumpkin.
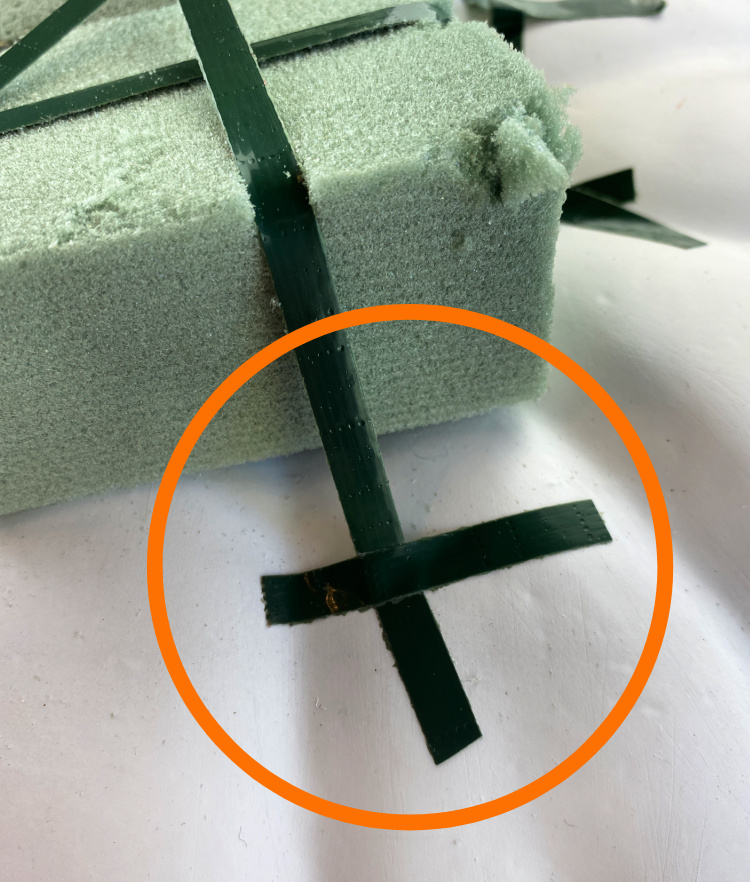
Make sure you add a little insurance to the ends of the tape with a cross piece as shown above.
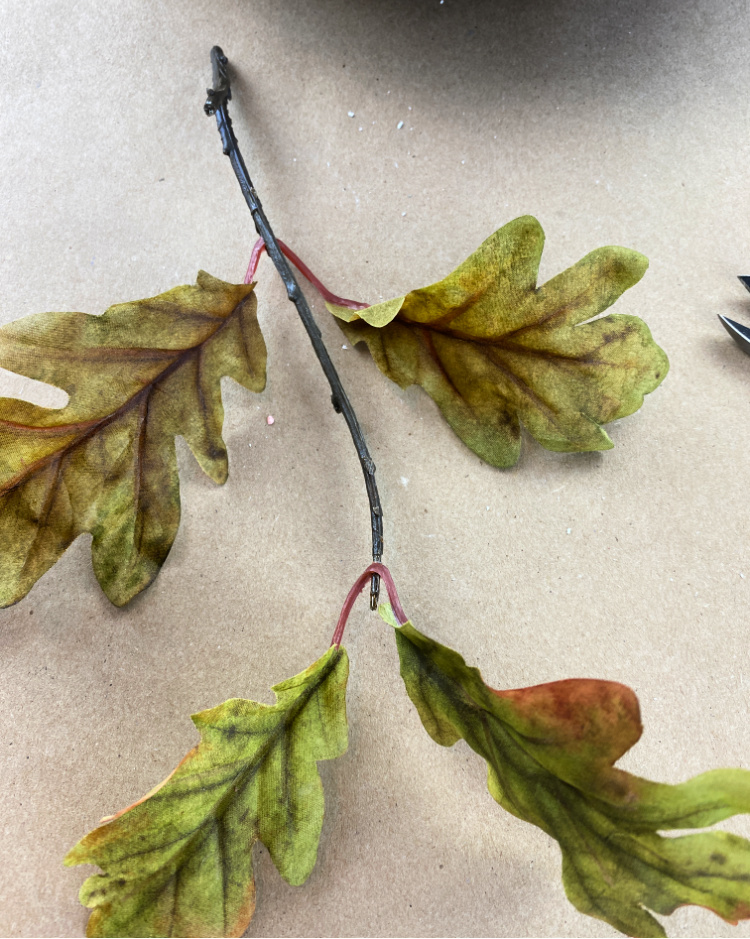
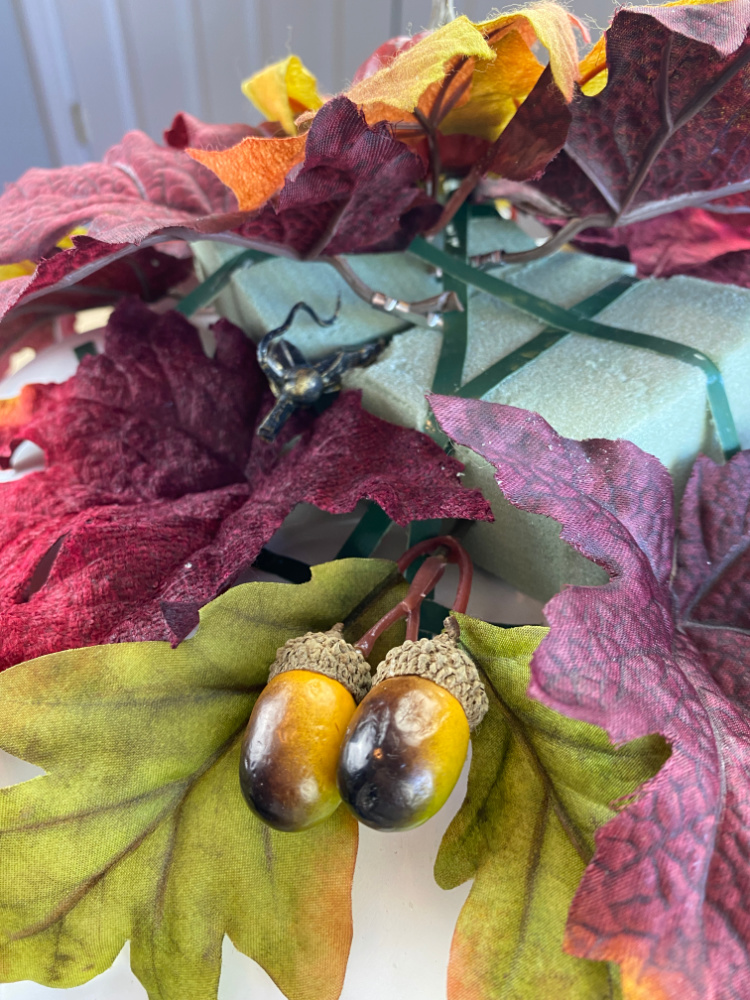
Use a variety of fall leaf pics like this one.
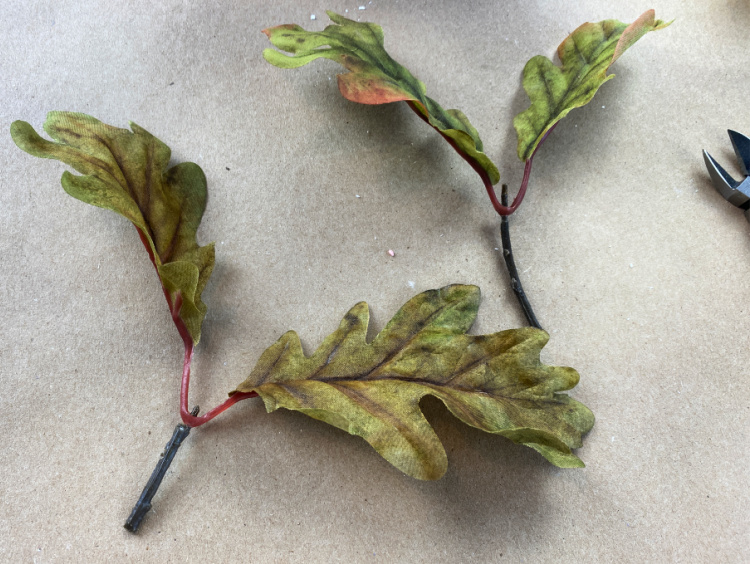
Cut the picks into small pieces like these so you can add them to the foam.
Simply push the stems of the leaves into the foam as shown above.
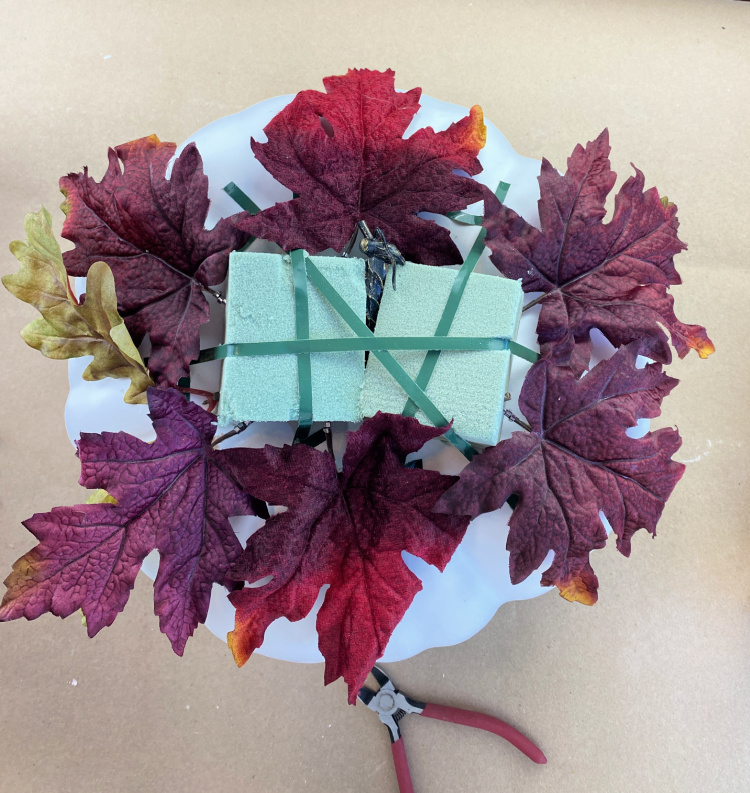
Use the your largest leaves first, all around the pumpkin, bending them down so they lay against the sides of the pumpkin.
Begin adding smaller leaves above and between the larger ones.

Continue adding leaves and fall leaf picks (some of mine had tiny pumpkins and berries) up and toward the center until all of the floral foam is covered.
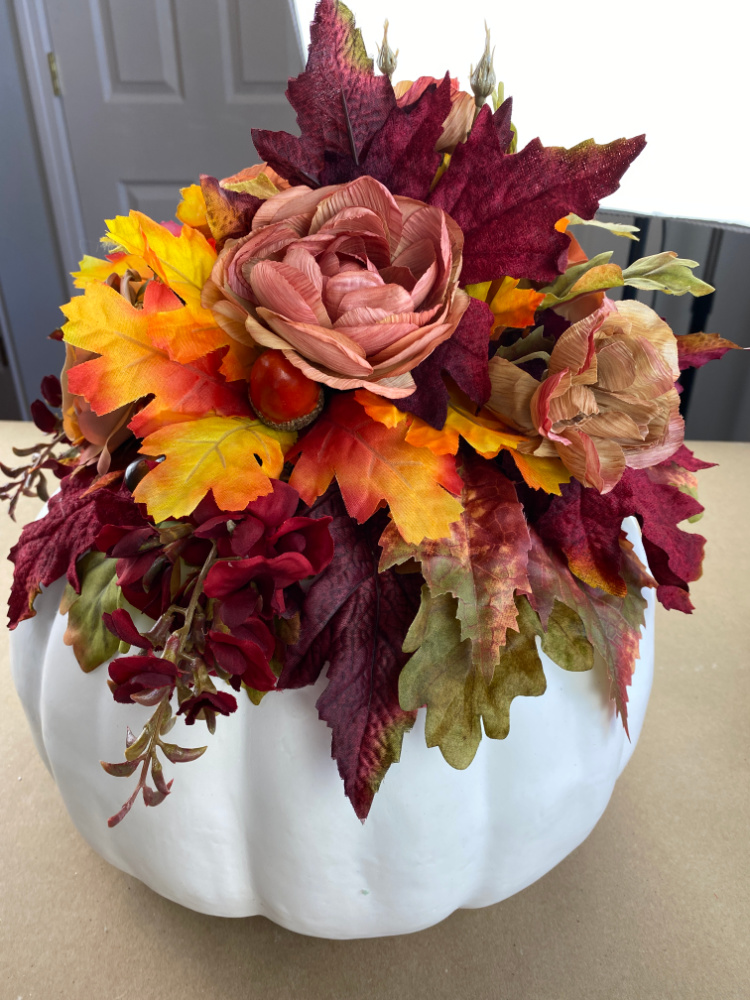
You can leave your pumpkin arrangement with just leaves or do as I did and add some faux flowers. I selected some blooms that almost look like they are dried.

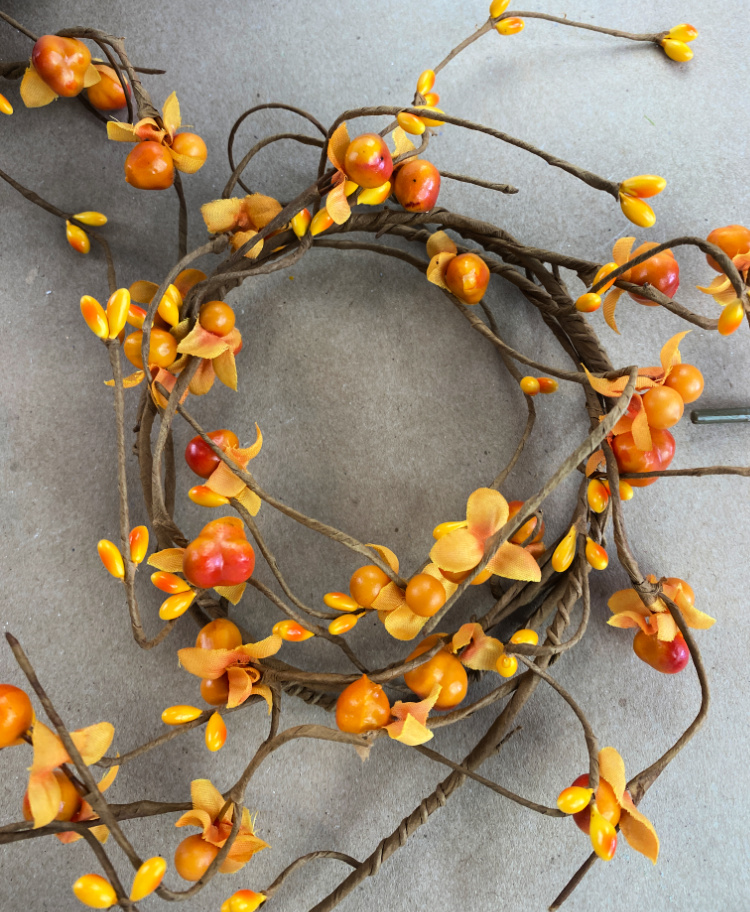
My final step was to loosely wrap a vine of faux bittersweet around my pumpkin.
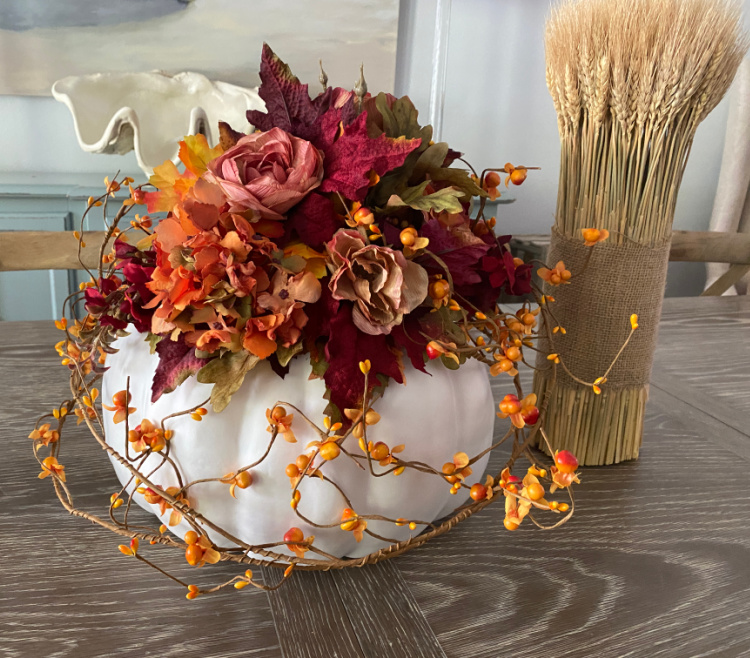
I painted a lot of my faux pumpkins this year to give them a more natural look, but I liked the stark white of this one against the vibrant fall colors in my arrangement. Keep in mind, even though I am using an faux pumpkin and artificial flowers, you can just as easily use a real pumpkin and fresh flowers and follow the same instructions. You will want to substitute wet floral foam for the dry. You may also wish to use a sharp knife to cut the top off of your pumpkin and hollow out a space in a real pumpkin to set a bowl down into it to fill with your wet floral foam and fresh flowers.
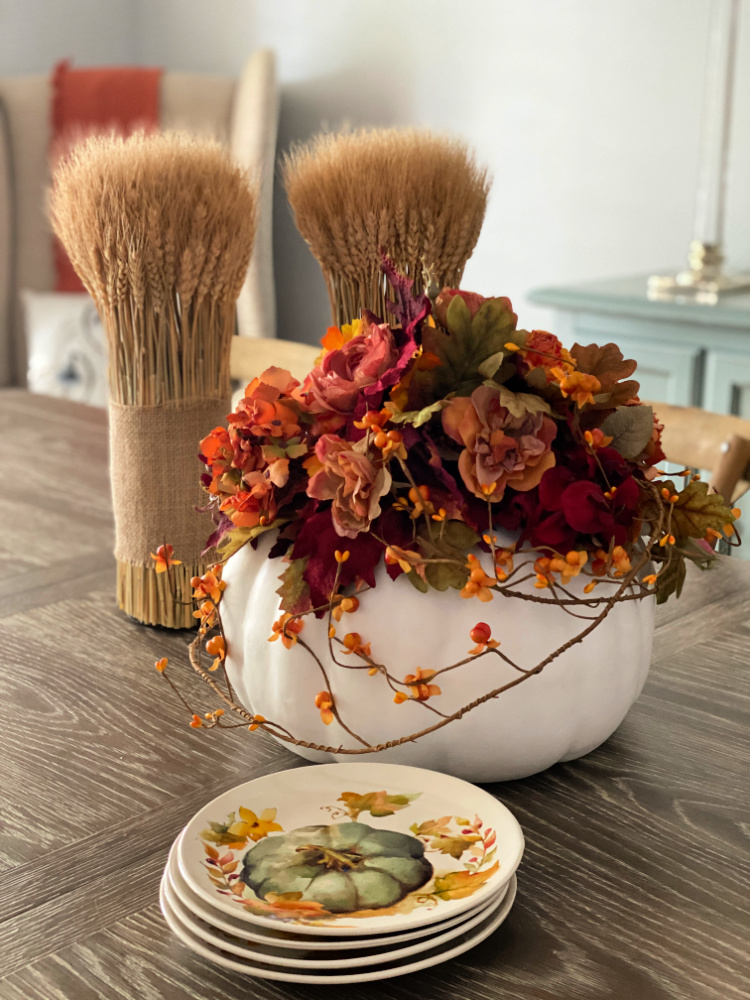
No matter if you are using this as a table centerpiece, or on a kitchen island or a coffee table, this is a great way to add a pop of fall color to your home this season!

Perhaps you will create a lovely pumpkin centerpiece like this one to dress your Thanksgiving table. Take on this easy pumpkin centerpiece project and enjoy the colors brought to your table this season!
I love it. It is gorgeous. The colors are beautiful. Have a very happy Thanksgiving.
What an absolutely gorgeous centerpiece. I am totally pinning and using this fantastic idea. Happy Thanksgiving!
Beautiful, Chloe! Your tutorials are terrific in detail, and the end results always inspiring and upscale in finish!
Chloe I always wondered the trick to getting the faux flowers to stay so nicely on top of the pumpkin. So Smart! Your centerpiece /arrangement is beautiful. I love the colors you chose. I hope you have a lovely Thanksgiving!
Thanks so much Rita. Many people cut holes in the pumpkins, but I have to keep everything in a condition that I can use it again in a different way!
Chloe what a beautiful idea! I love how you decorated the pumpkin. It looks so easy to do! Enjoy a beautiful holiday season!
Thank you so much Stacy!
So Pretty. Great job.
Great idea, Chloe! You’ve created a lovely centerpiece that you can reuse or take apart to reuse the pumpkin in the future. This is going in my mental idea stash and PInned too.
Your pumpkin centerpiece is stunning. Thanks for the wonderful tutorial.
You constantly inspire me with your creativity, Chloe! I love this idea so much. I’ve never tried to make one either but your step by step guide has me ready to hit the stores for some supplies. It’s just gorgeous! Hugs, CoCo
Chloe, you have the best tutorials! Love the flower and leaf color combinations you picked and the bittersweet is absolutely perfect for fall! Pinning!
What a beautiful centerpiece, Chloe! I love how you added the bittersweet – such a nice touch. Your directions make it look easy too!
Shelley
All this time I thought people cut out the inside of the pumpkin! I’ve always wanted to try this but was too intimidated. You make it look so easy. Thanks so much for posting this. Love it!
What a beautiful centerpiece! I am definitely going to have to try this. Thank you so much for the tutorial!
Chloe, This is genius!!! I love the idea of creating the look on top of the pumpkin. You really have a way with florals. Thanks so much for this creative tablescape idea. Happy Thanksgiving!
Chloe this is such a timely post for me since I was just thinking of making my first pumpkin floral centerpiece for Thanksgiving! I have a gorgeous French musquee de provence pumpkin that I have been enjoying on my patio, but I have been thinking about using it for the arrangment. I wanted to go ahead and make it this week, but I knew it would rot before Thanksgiving. Using the foam is the perfect solution!
Yours look just beautiful and I love the colors you chose. Thank you so much for the inspiration and for joining the hop. I hope you have a happy, blessed and healthy Thanksgiving!
Chloe, I love the colors and florals you used to create your pumpkin centerpiece. You styled it so pretty, too! Pinned! Blessings, Cecilia @My Thrift Store Addiction
Beautiful, Chloe! I really like this idea, because you don’t have to cut the pumpkin. I’m like you and I switch things up all the time; I’d hate to not be able to use the pumpkin for something else the next year. Great idea! Pinned. Happy Thanksgiving!
Thank you Lora, yes, we have to be able to re-use items in a different way! Thanks for pinning!
I adore this Chloe! It’s so pretty in these colors! I love how you showed the step by step, so I knew that even craft challenged me could make something this beautiful! You always inspire me so much!
Just lovely.
Such a cute idea Chloe! Looks great!
Adorable. Very nice and simple. I can see this with some of the battery operated very small orange lights or the ones you pluge in, just to add a little light to set it off at low light times. Would be great for a outdoor porch setting. Love the idea. Thank you.
Gorgeous! I love this idea! Happy Fall my friend. I’m going to share this on my newsletter next week, if that is ok with you.
Chloe this came out so good! I love it! I hope you will visit my weekly link party every Wednesday it goes through Sunday and link up for a chance to be featured! https://www.ourtinynest.com/2022/10/26/wednesday-link-party-319/