
Creating a Stunning Floral Crown with Baby’s Breath: A Step-by-Step Guide
Floral crowns are timeless and versatile accessories that add a touch of natural beauty to any occasion, whether it’s a wedding, First Communion, a festival, or photoshoot. Among the many flowers used for crafting these delicate headpieces, baby’s breath stands out for its ethereal charm and ease of use. Here’s a detailed guide on how to make a beautiful floral crown using baby’s breath:

Step-by-Step Instructions
Step 1: Begin with the floral wire
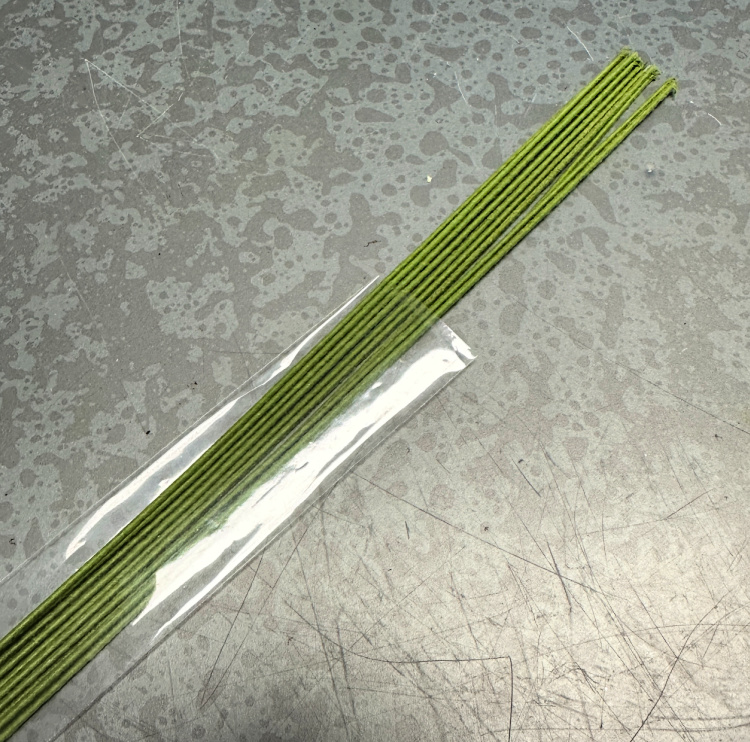
- Start with one 14 inch piece of floral wire. I like to use 18 weight wire for this project. You may use paper wrapped wire like I have here or standard wire. You will add a second piece of it as you progress with your crown.
- Take your floral tape pull tightly as you wrap the entire length of the first piece of wire with one layer of the floral tape. The stickiness of the tape will help your baby’s breath adhere to the wire.
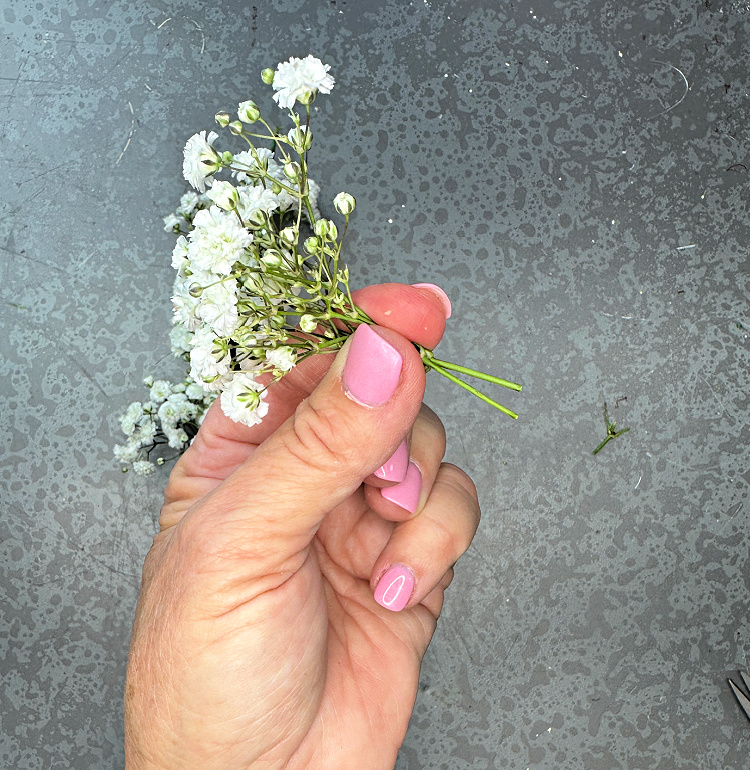
Step 2: Prepare the Baby’s Breath
- Cut the baby’s breath into small stems to about 1 – 2 inches in length. Remove any excess leaves or smaller flowers from the lower parts of the stems.

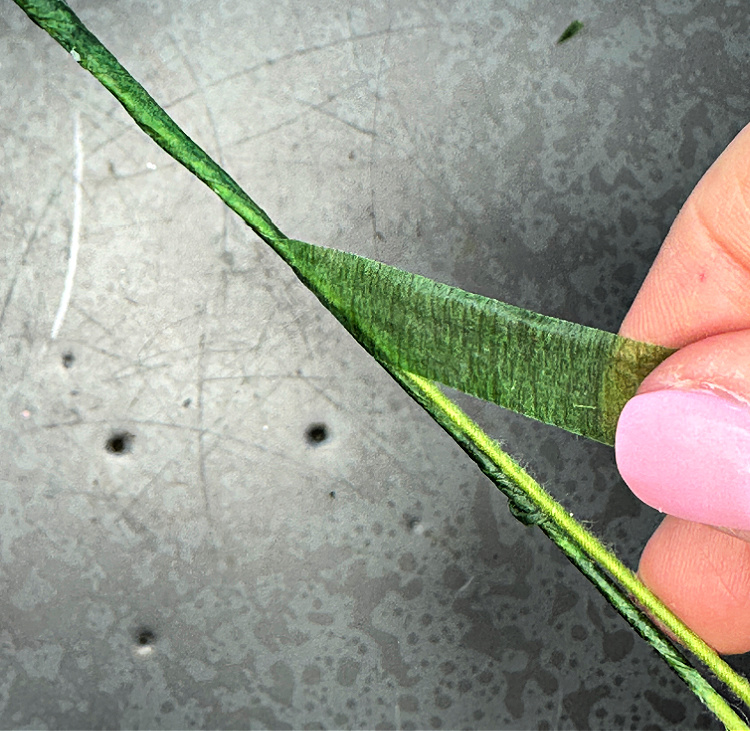
Step 3: Attach the Baby’s Breath
Take a bundle of 3 or 4 small stems of baby’s breath and lay them next to your tape covered wire and using your floral tape, wrap it securely around the baby’s breath and the wire.
Continue adding baby’s breath clusters, slightly overlapping them and covering the stems of the previous ones with each new addition. You can see the progress as you continue to add little clusters of the baby’s breath to the wire.

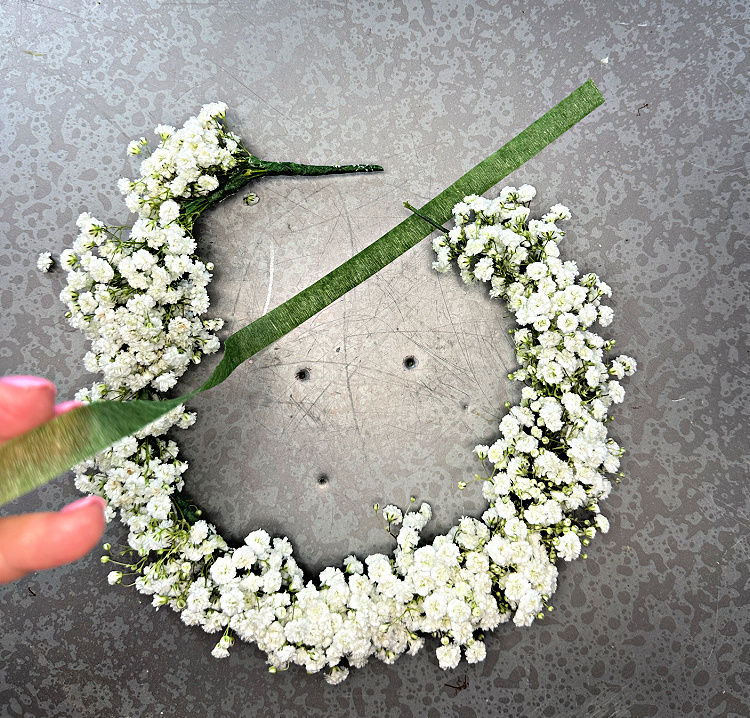
Step 4: Build the crown
As you work around the crown, when you think it is likely long enough, curve the wire into the crown shape and try it on to check the fit and balance of the crown.

Unless you are making a very small crown you will need to add a second wire to your crown. Do so before you get to the end of the first wire. Lay the second wire alongside the first and wrap both of them with tape.
After adding the second wire, continue adding the baby’s breath to the wire until your crown is large enough.

When the crown is long enough to fit, cut the wire off allowing an inch of overlap.

Tear off a piece of the floral tape and stretch and wrap it tightly around where the wires are overlapped.
Step 5: Finishing Touches
Once you’ve covered the entire wire base with baby’s breath, go around the crown and secure any loose stems or flowers with additional floral tape.
Trim any excess wire or stems to create a clean and polished finish.
If you would like to add ribbons down the back, you can simply attach those where you have secured your two ends of wire together.

Tips for Success:
- Keep it Fresh: Baby’s breath looks best when it’s fresh, so try to make your crown close to the time you plan to wear it.
- Customize: You can personalize your floral crown by adding other small blooms or greenery to complement the baby’s breath.
- Storage: If you need to make the crown ahead of time, mist it with some water and put it inside a plastic bag. Store it in the refrigerator to keep it fresh until you’re ready to wear it.

Creating a floral crown with baby’s breath is a delightful way to connect with nature and add a touch of whimsy to any event. Whether you’re crafting one for yourself or as a gift for someone special, follow these steps and let your creativity blossom!
How long was the ribbon you attached? They look beautiful!
I just looped it around the crown in the back and fed it through itself.