How to Make an Island…
How to Make an Island…and save thousands!
 This post contains some affiliate links for your convenience. Click here to read my full disclosure policy.
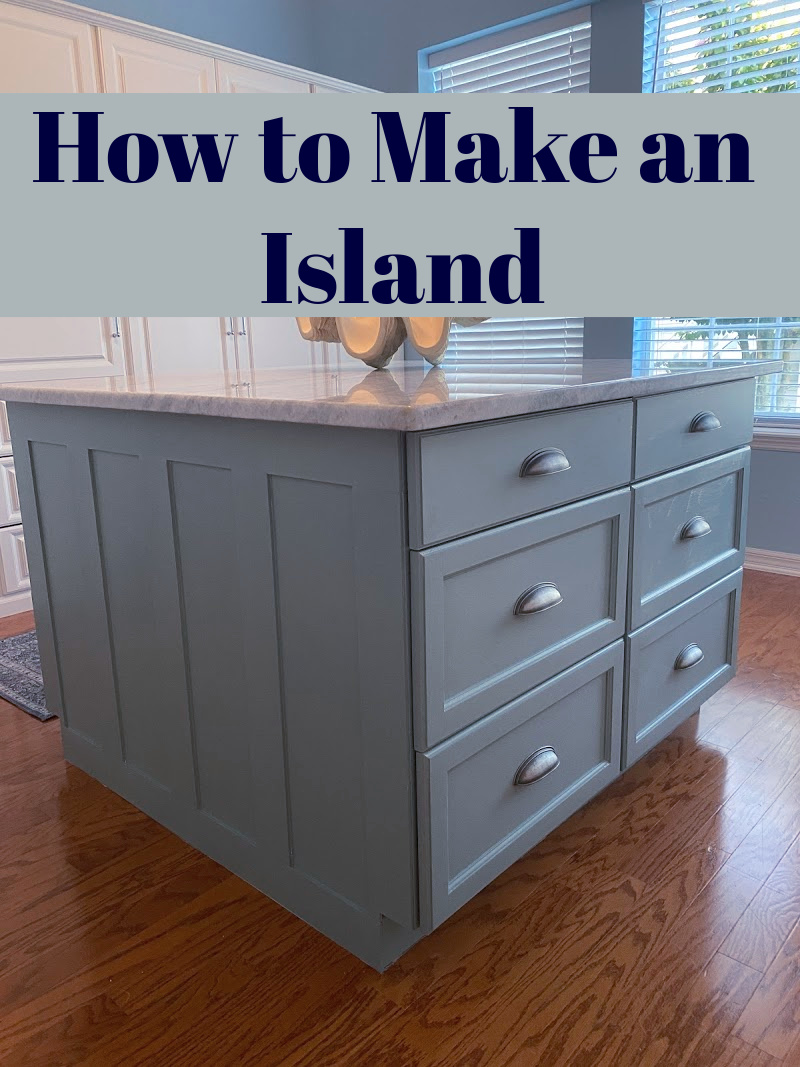
After pricing an island for our closet we learned it was WAY more than we wanted to spend. So…we learned how to make an island! This one is in a closet, but could work for a kitchen, too!  This is the floorplan showing how our house was originally built. A previous owner added on across the back of the entire house. This gave us an additional bedroom, the room I call the tavern room and a big room behind the master bedroom.
  Having a 15′ x 12′ spare room for a craft room was great, but having it off of the master bedroom was weird. If you look at the floorplan, you can see the bathroom and current closet could use some help. It was time to take over this space for a master closet. The first step was to take down the blinds and paint my nice pink room blue.
  This picture is more indicative of the color of the pink. We decided we would have basic built in closets installed, so there were big parts of the walls that would be covered and didn’t need to be painted.
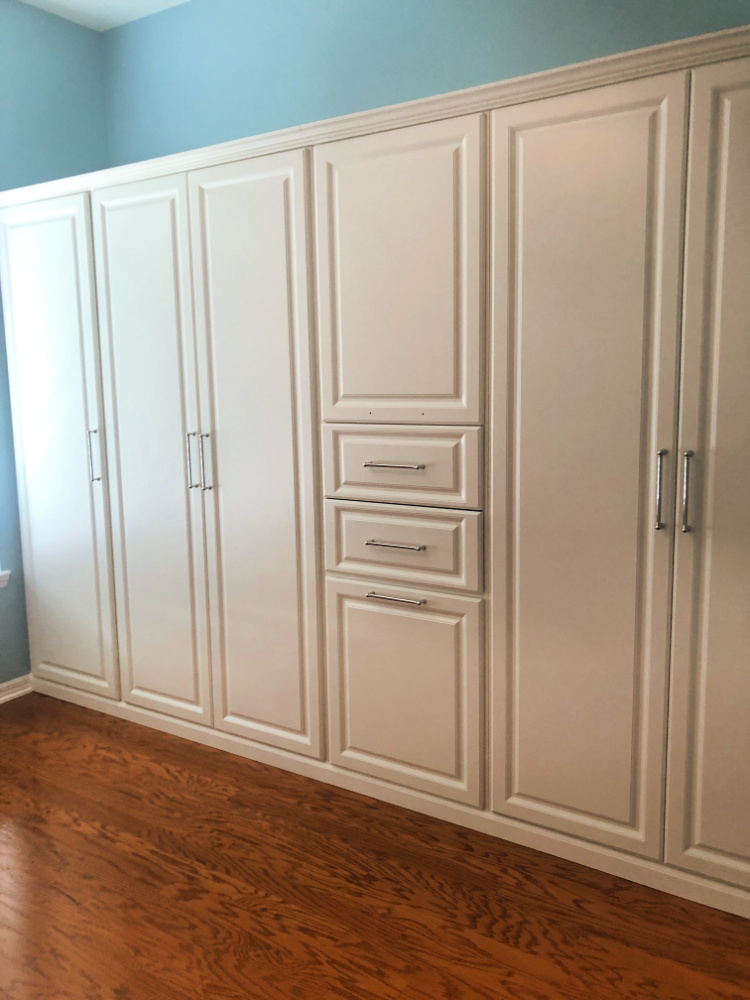
Closets by Design was reasonable and installed our new closet system. We were now left with a giant open room with closets on the two walls. We knew we needed an island!  I was not looking for anything fancy like this…
 Something basic like this but with drawers and just 48″ square was all we were looking for. We started out at a high end kitchen and bath store. The quote…$11,000 We went to a local cabinet installer and the quote was…$6,500 Finally a trip to a big box store gave us a price of …$4,800.
 The best answer turned out to be four unfinished drawer base cabinets from Home Depot. These cabinets cost $165 each. The cabinets were screwed together back to back and side to side and secured with Liquid Nails. The ends were finished with 1/2″ x 4″ poplar trim from Home Depot for a total of $50. They were attached with contact cement. Joints were finished with spackle and then sanded.
 I primed the cabinets with a good bonding primer from Benjamin Moore. Only one coat of primer was needed.
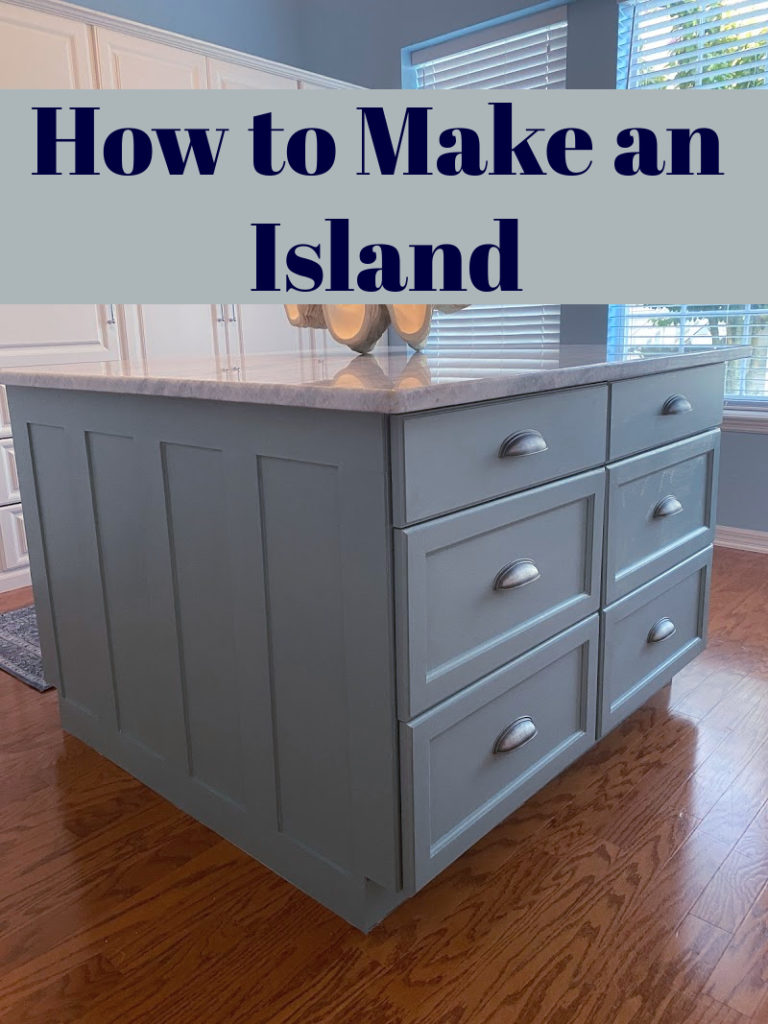
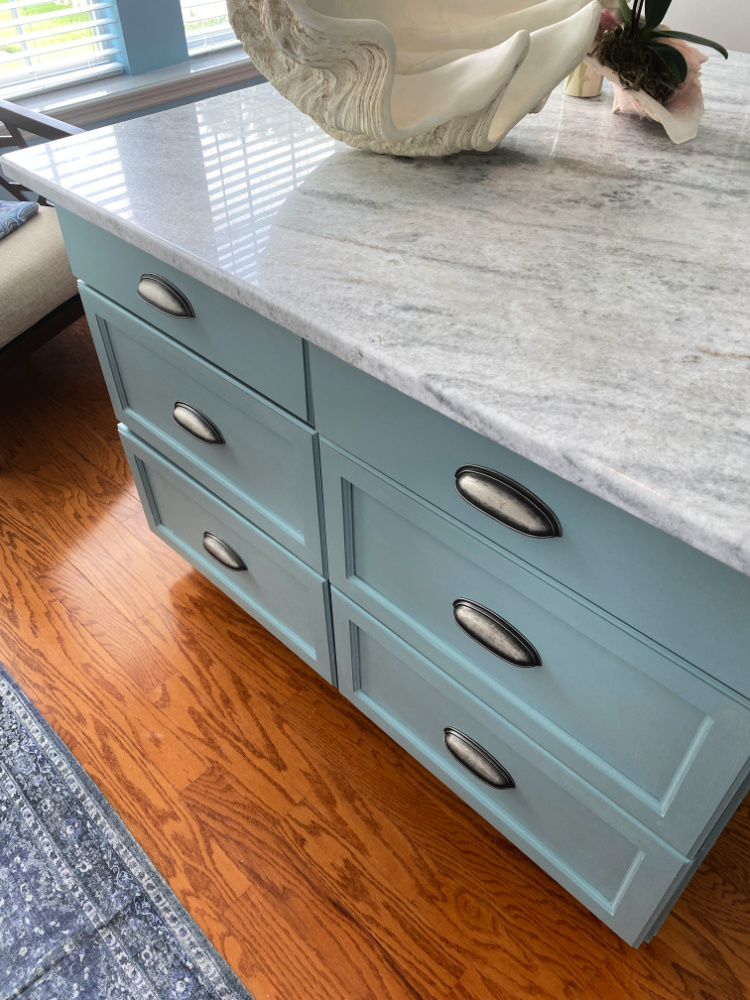
 The paint I used was General Finishes Persian Blue Milk Paint. I only needed to add one coat of paint to the island. I did not even use one quart of the paint. I then finished it with two coats of Behr Decorative Finish Wax. This is the kind of wax, another brand that you can have delivered from Amazon.
  A friend recommended a local company that gave us a great price of $650 on our stone top! It really finishes off the lovely addition to our closet. Who would have thought that my husband and I could make an island? We did….and for a FRACTION of the price of having it built for us!
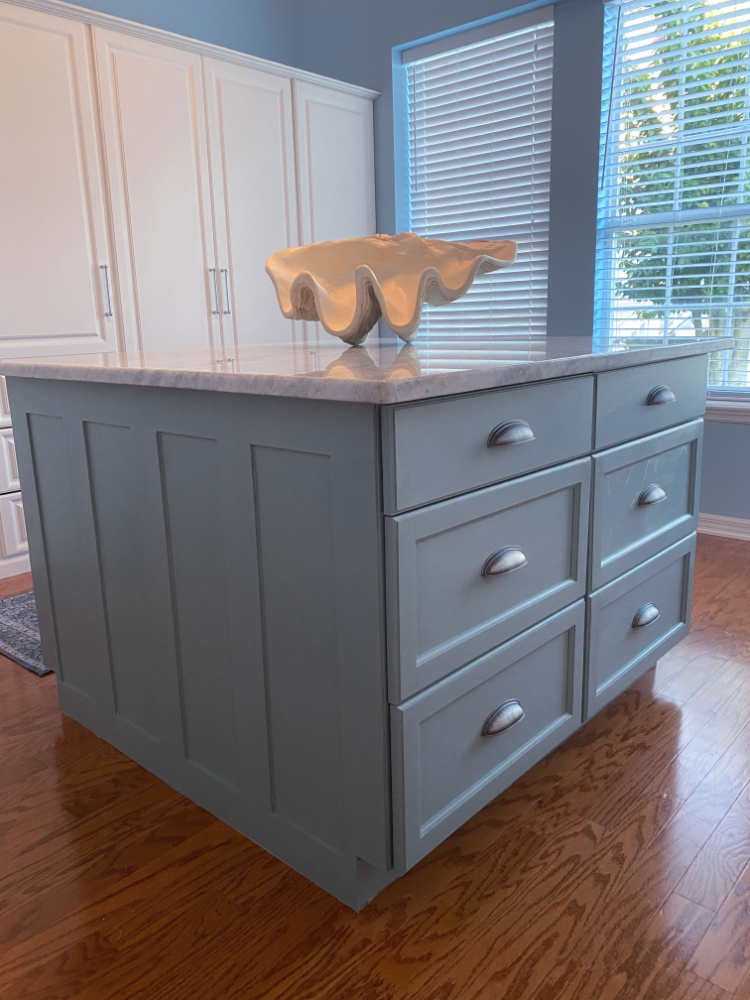
Don’t overlook the option of making an island for yourself. No matter if it is for your closet like ours, or a more traditional kitchen island. I now have a surface for folding clothes or packing suitcases!
The handles I selected were Sonoma Cabinet Hardware. The answer to installing drawer hardware easily is to invest in this little tool, that is less than $8!
Nicely done island. A very bright, fresh and inviting room. I’m a little jealous.
Thank you Karen…of course, now my closet puts my kitchen to shame!
This is amazing! So happy that you found such a great solution!
Thank you for sharing!
Happy day!
karianne
Thanks so much KariAnne, it is great to have made something and saved all of that money!
This is great! I love General Finishes Milk Paint– I painted my kitchen cabinets with it, along with several other things in our house– and I haven’t used up my quart yet! It’s amazing paint!
Liberty
What a great idea and such a bargain compared to custom cabinets. It looks custom in the end anyway. That’s my fantasy closet!
Thanks so much Andrea! We were SHOCKED at the prices we were getting! It is a great space, but of course it puts my kitchen and bathroom to shame now!
I love this; looks so professional and you saved a ton of $$$. My kind of deal.
Thank you so much Eleanor! It was a big savings to do it ourselves!
Chloe I can tell you that I am facing the same dilemma. Thank you for the tutorial; now you gave me the inspiration to try on my own. Beautiful job! It looks like a high-end product anyway. Stay safe!
Oh Edmee, trust me, this was so economical, AND easy!