
How to Make a Fall Swag with my Secret Tip!
There’s something so welcoming about dressing your front door for fall, and a handmade swag is the perfect way to do it. If you’ve ever admired those lush arrangements overflowing with autumn leaves, berries, and pumpkins but felt intimidated to make one yourself, I have a simple trick to share—start with a faux fall garland! By cutting apart a garland and using its pieces, you’ll have a ready-made mix of colors and textures that makes creating a full, beautiful swag easy and affordable. With just a few steps, you can craft a stunning fall accent that will greet guests all season long.
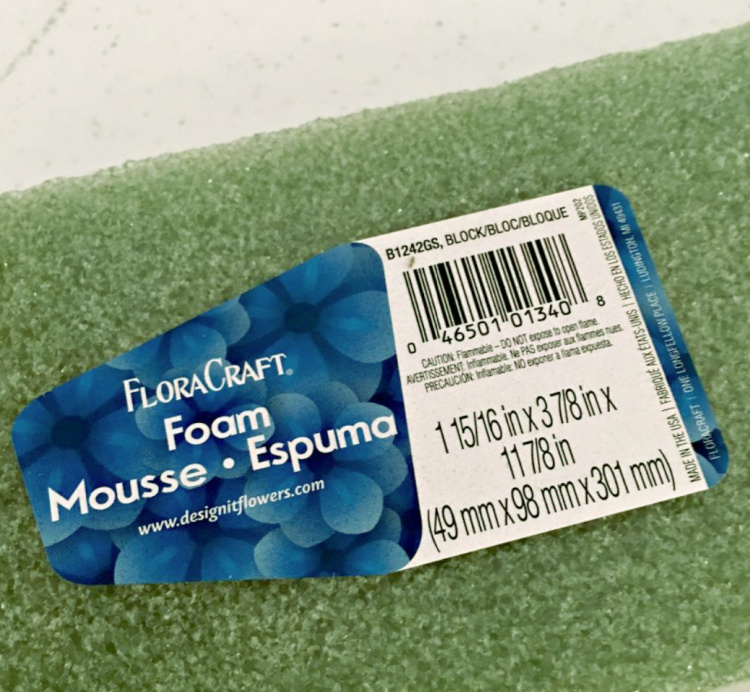
I use this size of block of styrofoam for any of the swags I make to display on my front door, or elsewhere in my home. You can also cut a piece approximately this size for the base for your swag.
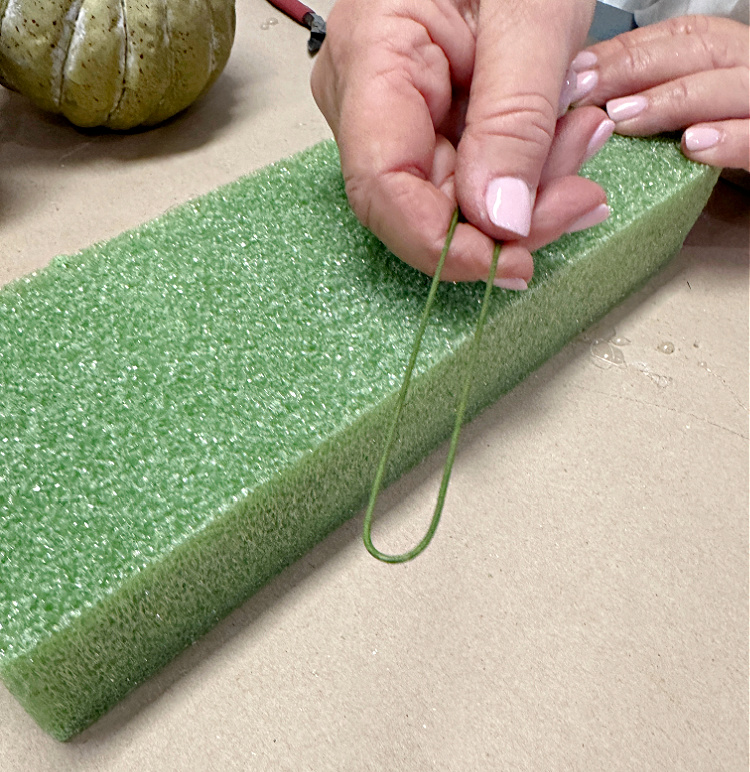
It is very important to make put a wire hook in your swag BUT, not to allow the wire to pull through the styrofoam block. Use a heavy weight (18wt. is good) piece of floral wire and bend it in half as shown. Push the ends of the wire through the styrofoam, BUT do not pull it all the way through.
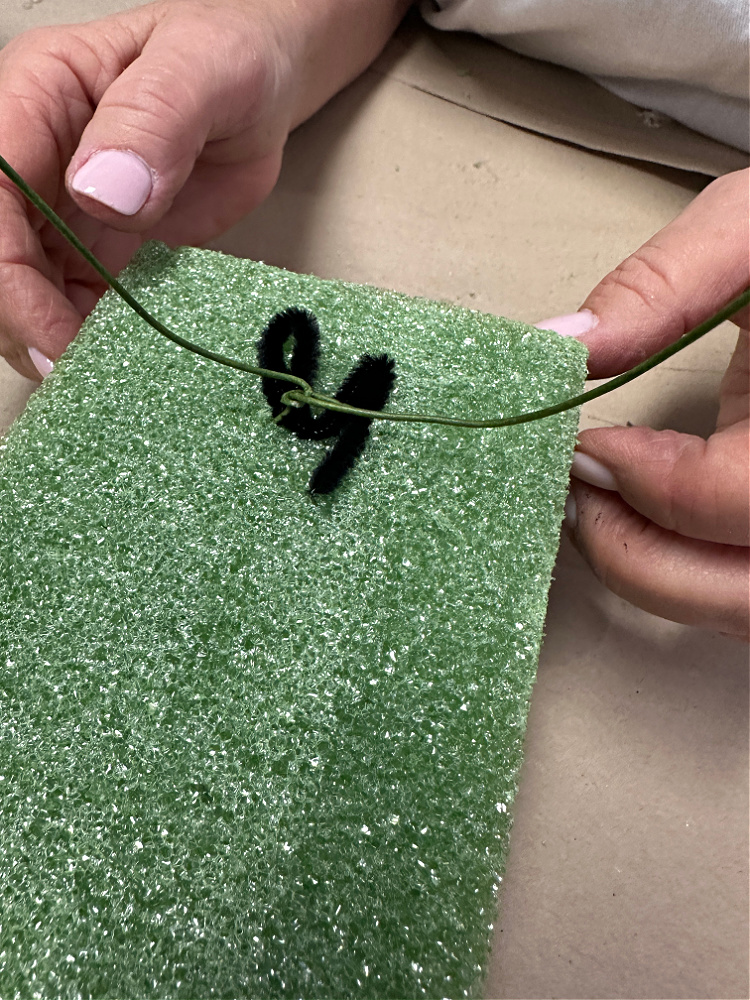
Take two short pieces of a pipe cleaners and bend them into a “W” shape. Pull the wire down against one of the W’s of pipe cleaner.
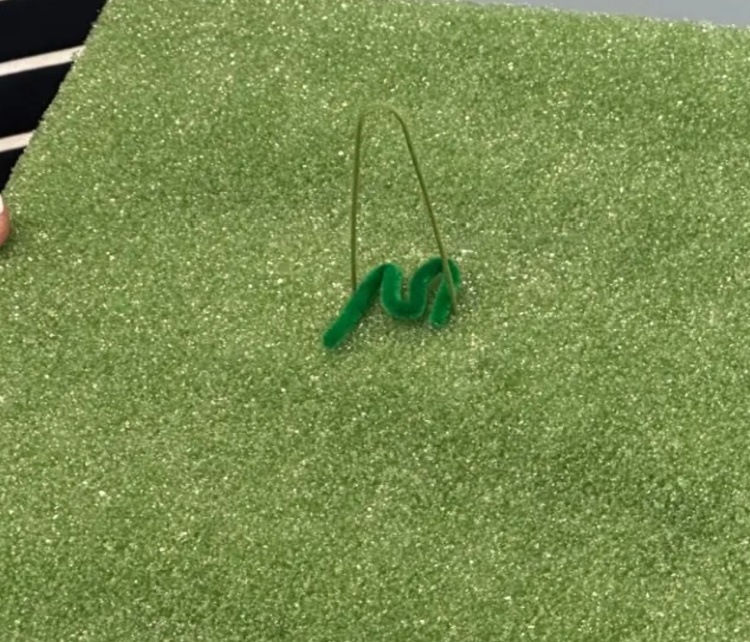
That will keep the wire from pulling all the way through your styrofoam. Do the same on the back of the foam block. Twist the wires and form them into a circle to hang your swag from.
This post contains some affiliate links for your convenience. Click here to read my full disclosure policy.
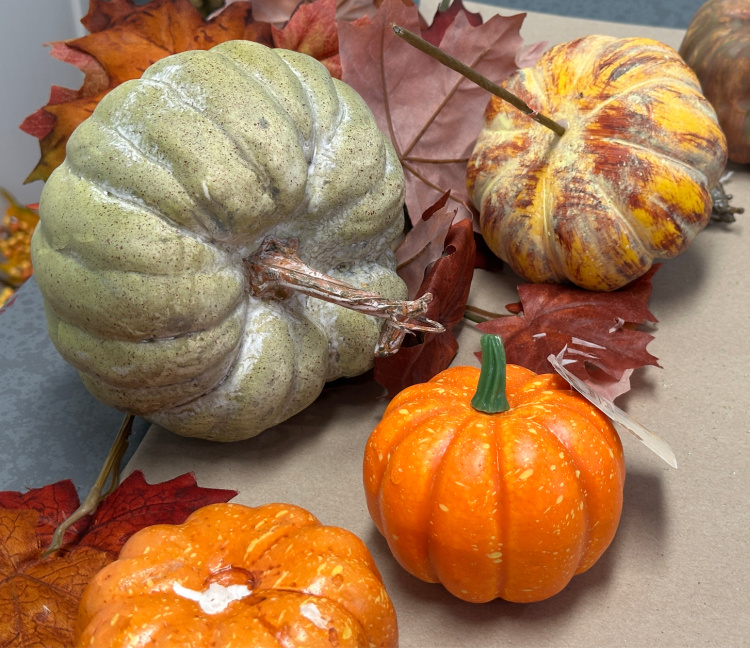
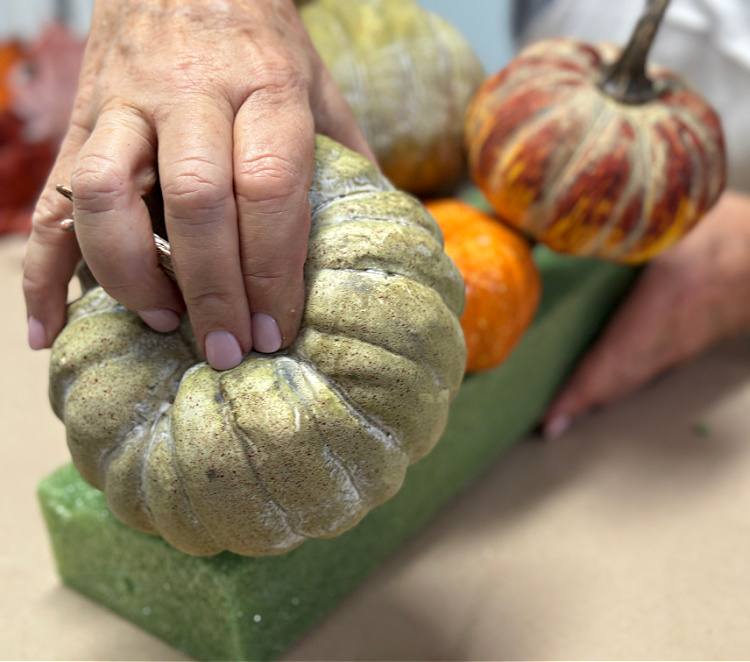
I dug through my fall decor items and pulled out all kinds of small pumpkins in different colors. I also pulled out a few stems of artificial fall leaves. If you don’t have any of these items, you can easily pick them up from Dollar Tree or from a craft store. Make sure your pumpkins are the styrofoam kind. If you aren’t sure, press on them firmly with your thumb. They should give just a little bit.
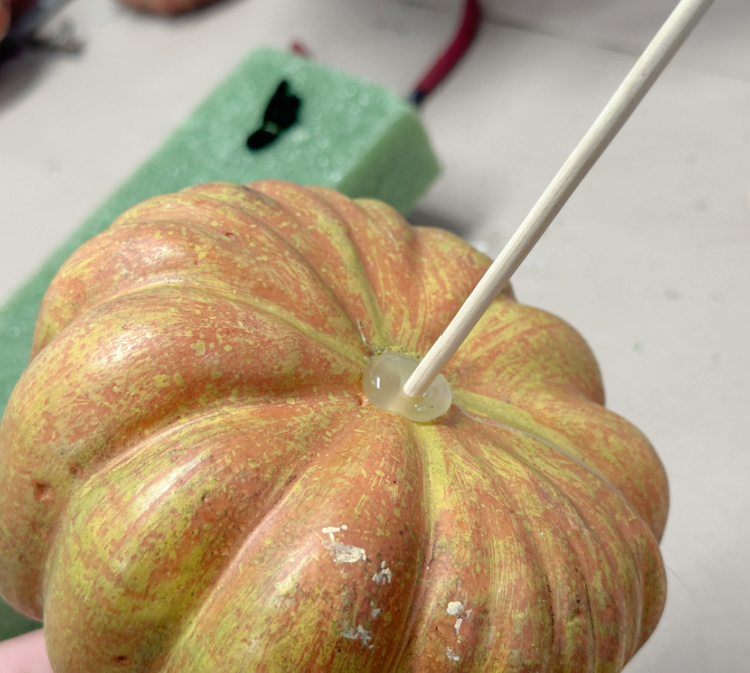
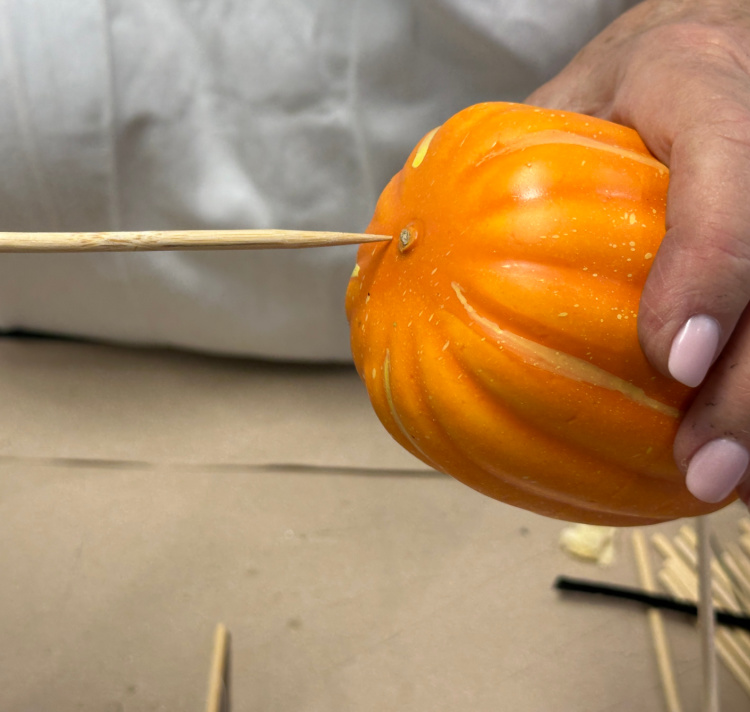
Some of my pumpkins already had sticks or wires in them from previous projects. Take a heavy skewer and stick it into the bottom of your pumpkin. To make sure your pumpkin doesn’t slip off of the stick, add a little hot glue where the stick goes into the pumpkin.
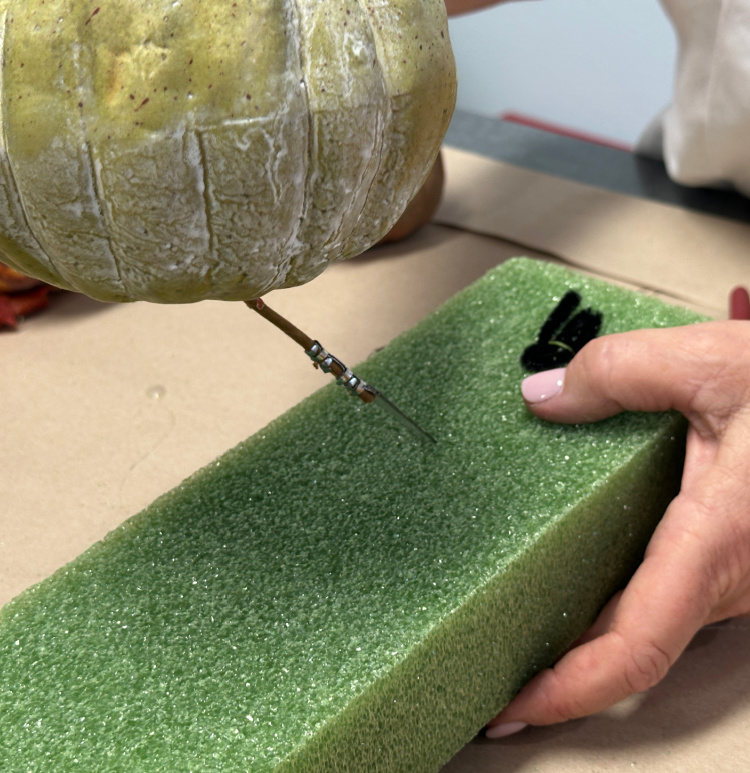
(Ignore the steel pick on the bottom of the wire on this pumpkin.) Take the pumpkins on the sticks and stick them into the styrofoam, arranging them up and down the center of the foam. If they do not feel secure in the foam, add a small amount of hot glue where the stick enters the foam to insure they will not slide out.
It is as easy as this to just poke the skewer into the bottom of your pumpkins. Make sure you select pumpkins in a variety of shades for your swag. If you can’t find the colors you want, just add a little acrylic paint to them to change them.
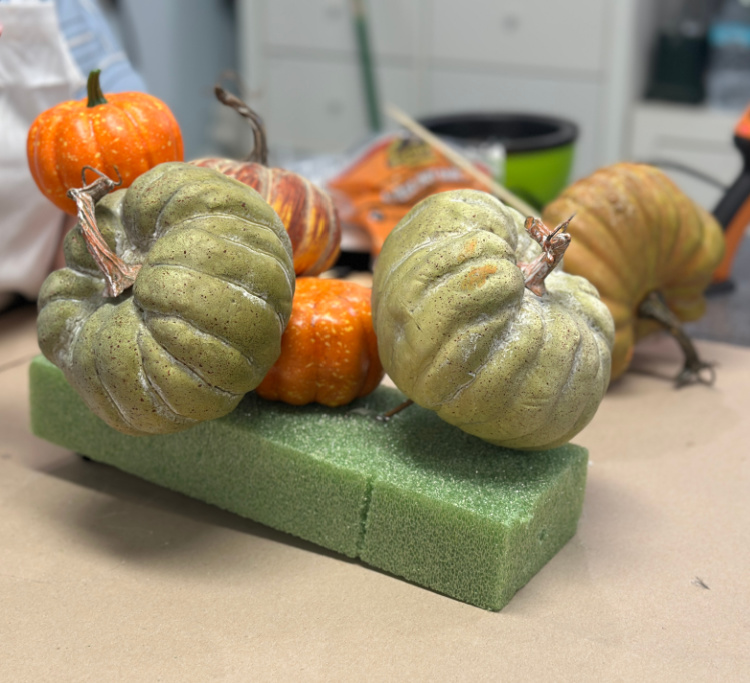
Continue to fill the top of your styrofoam with the pumpkins.
Here you can see me adding some hot glue to the stick in the bottom of this pumpkin to make sure it stays firmly in the foam.
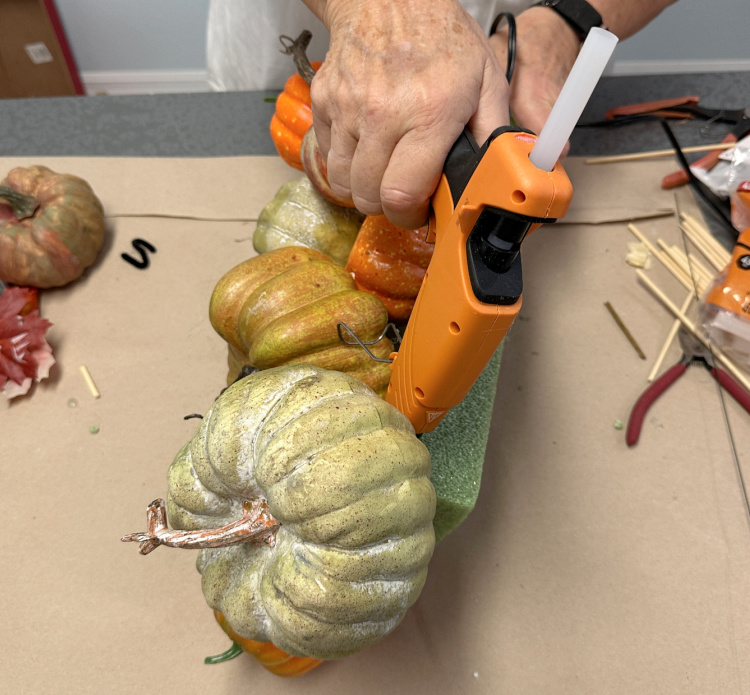
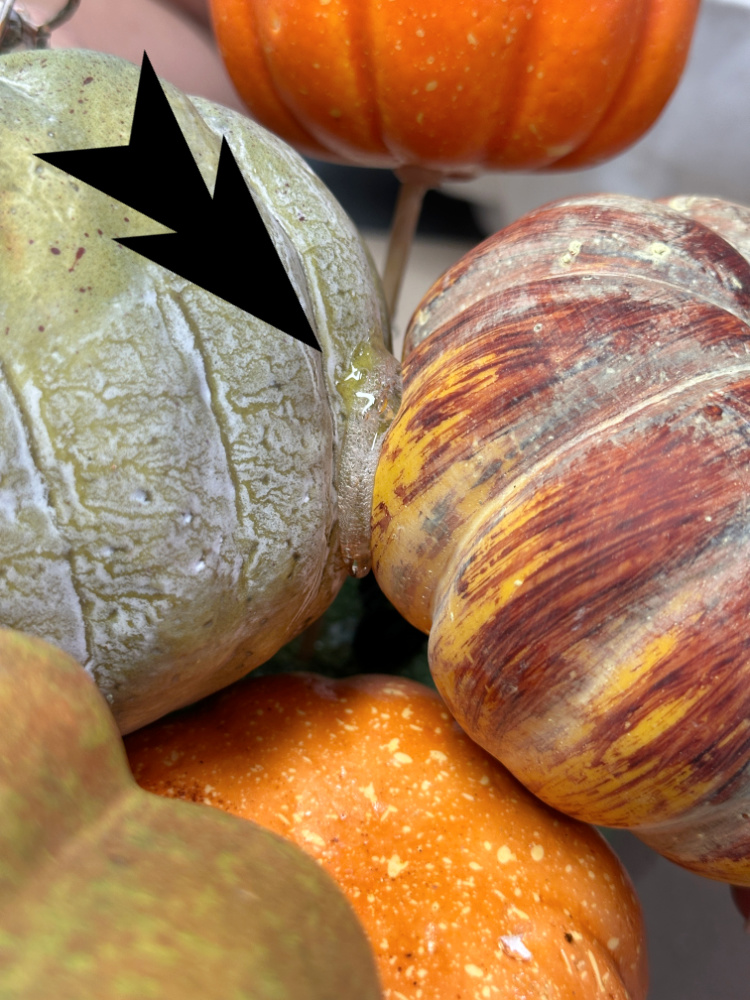
After you have added all of your pumpkins, use hot glue to attach your pumpkins together so that they stay where you want them to on your swag.
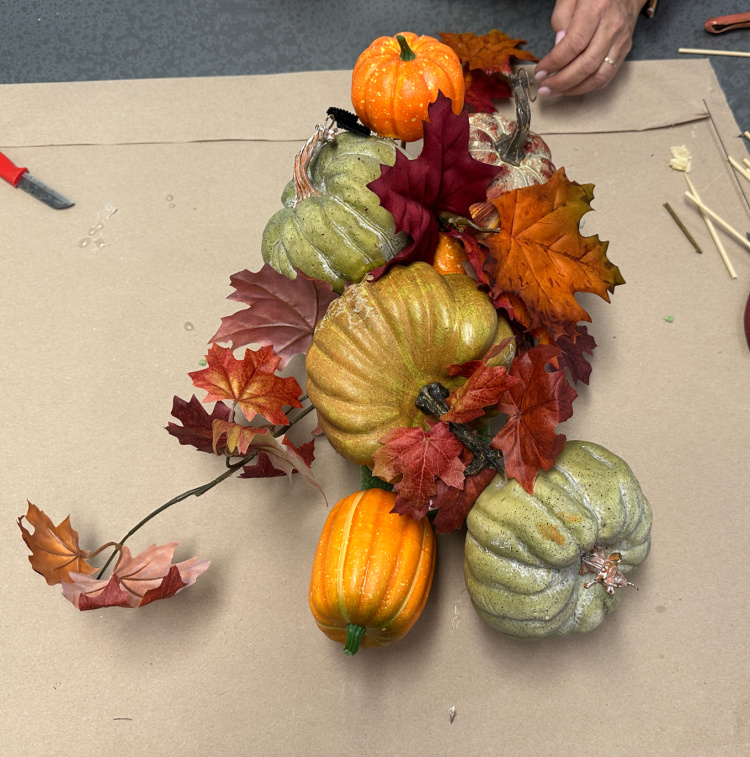
This is how my swag looks with just the pumpkins on it! Time for the magic of the fall colored leaves!

Cut apart some stems of fall leaves and stick them into the styrofoam, filling between and around your pumpkins.
This is my best HINT for your front door this fall! To make your swag or wreath blend with garlands you may hang around your front door, save one garland when hanging those. This is just one of the garlands like those I hung around my front door.
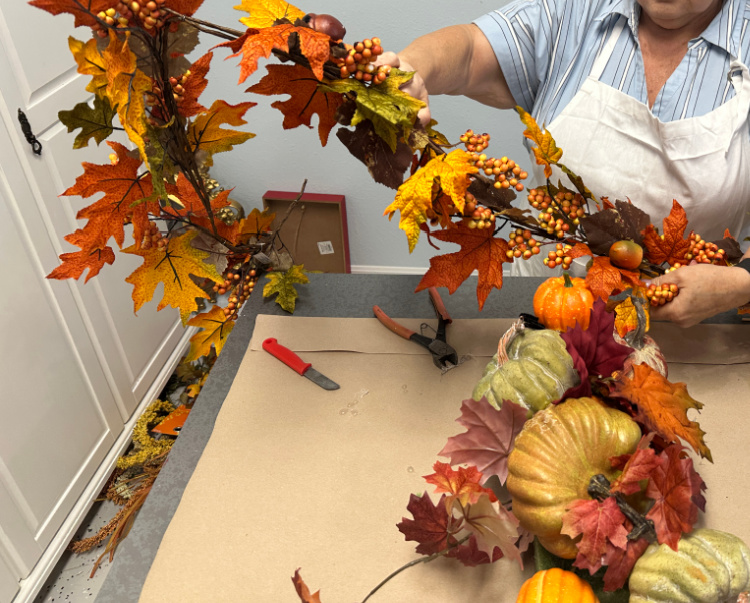
Cut that garland into three or four pieces with a good pair of wire cutters and then attach those pieces into your styrofoam. To get them to attach just the way you want, you might want to use some ‘U’ shaped floral pins.

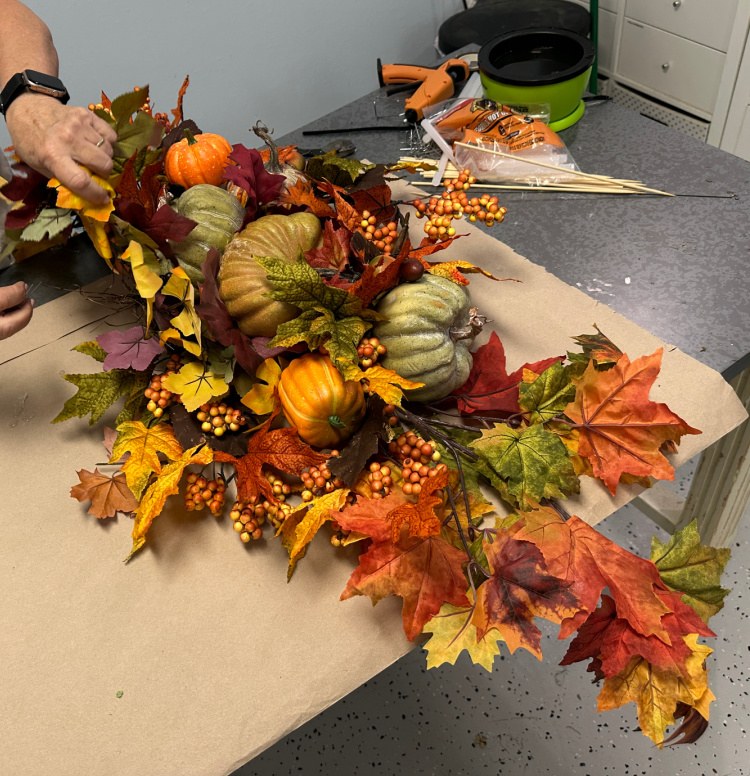
Here I am putting some final touches on the swag in the craft room.
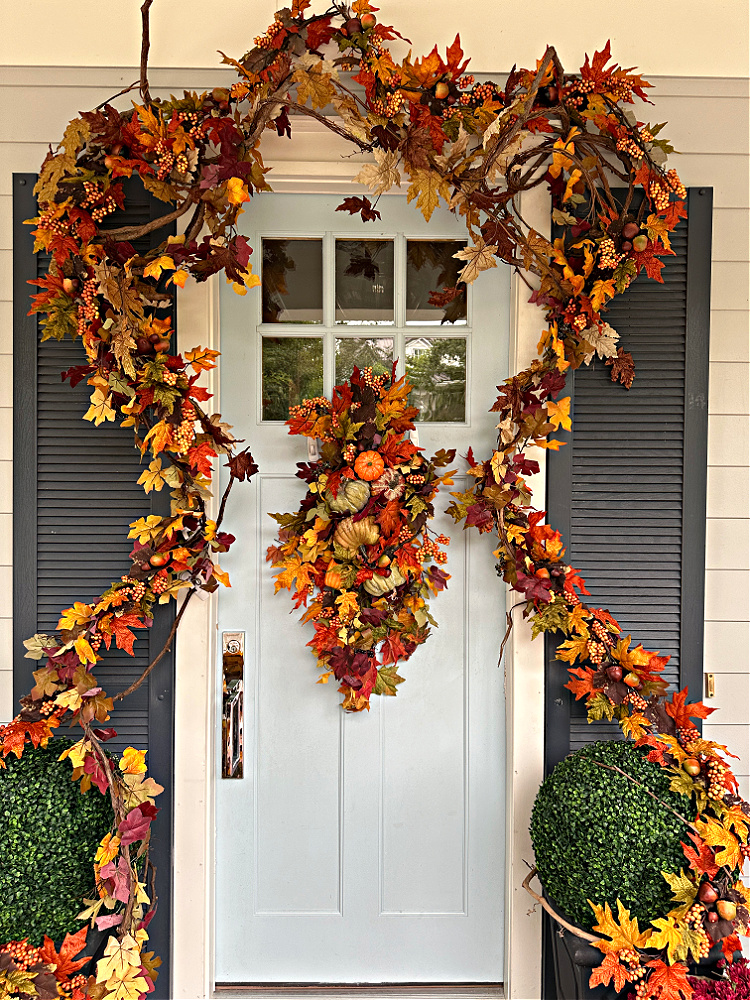
Here is my swag all ready to greet guests all season long! I am so happy with how it turned out!
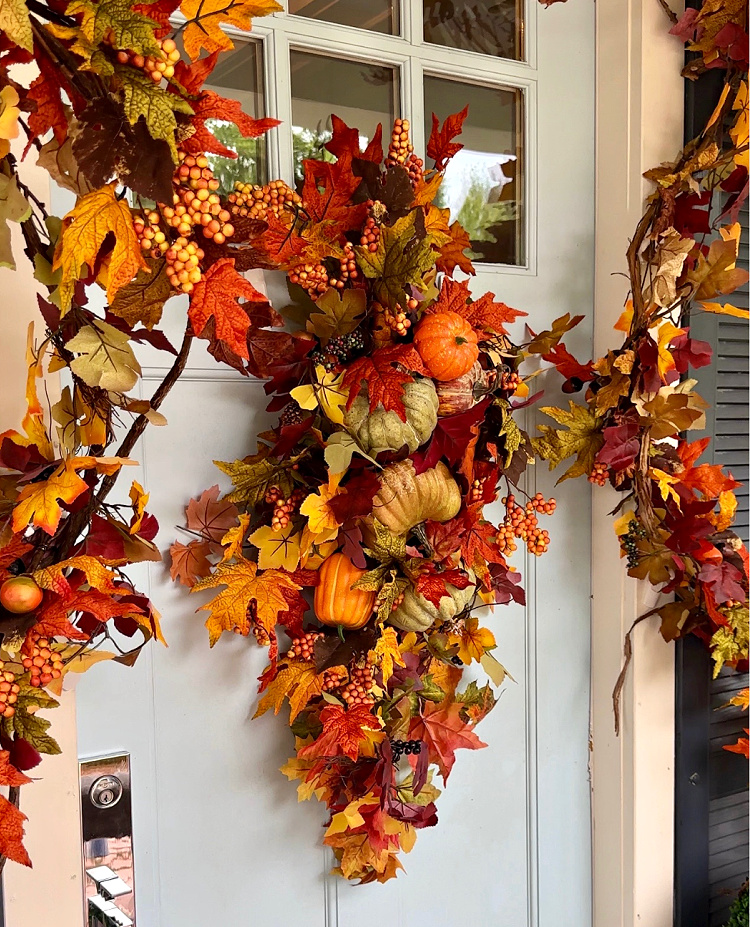
You can see here how well the swag blended with the garlands I hung around my front door for autumn!
I love this idea, it looks beautiful. x
Never heard of a door swag before! I love it, so unique. 🙂