Catalog Knock Off Door Swag
Catalog Knock Off Door Swag
This post contains some affiliate links for your convenience. If you click on any of the links in this post, I may get a small commission that will in no way affect the price of anything you might purchase. Click here to read my full disclosure policy.
The Challenge:
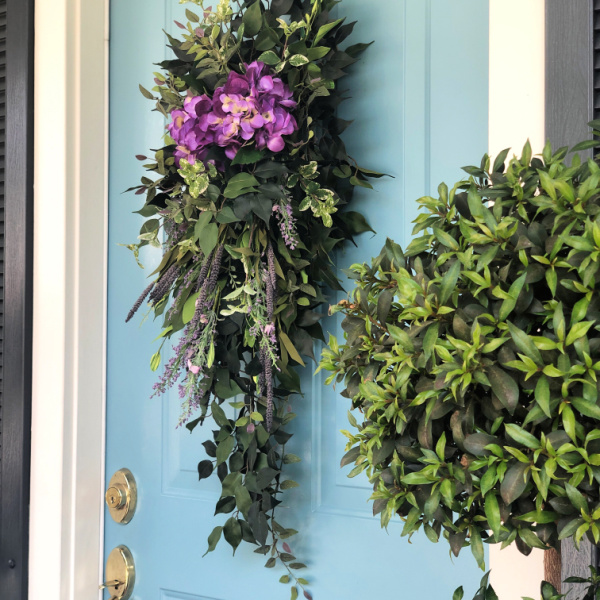
I am back at it again! I spotted this beautiful door swag in one of the many catalogs I receive. It is so pretty and I knew my Mom would like it on her door. 
But…is this worth $249? Okay, full disclosure, it is now on sale for $174.99. I knew I could make this for less than half that.
The Base:
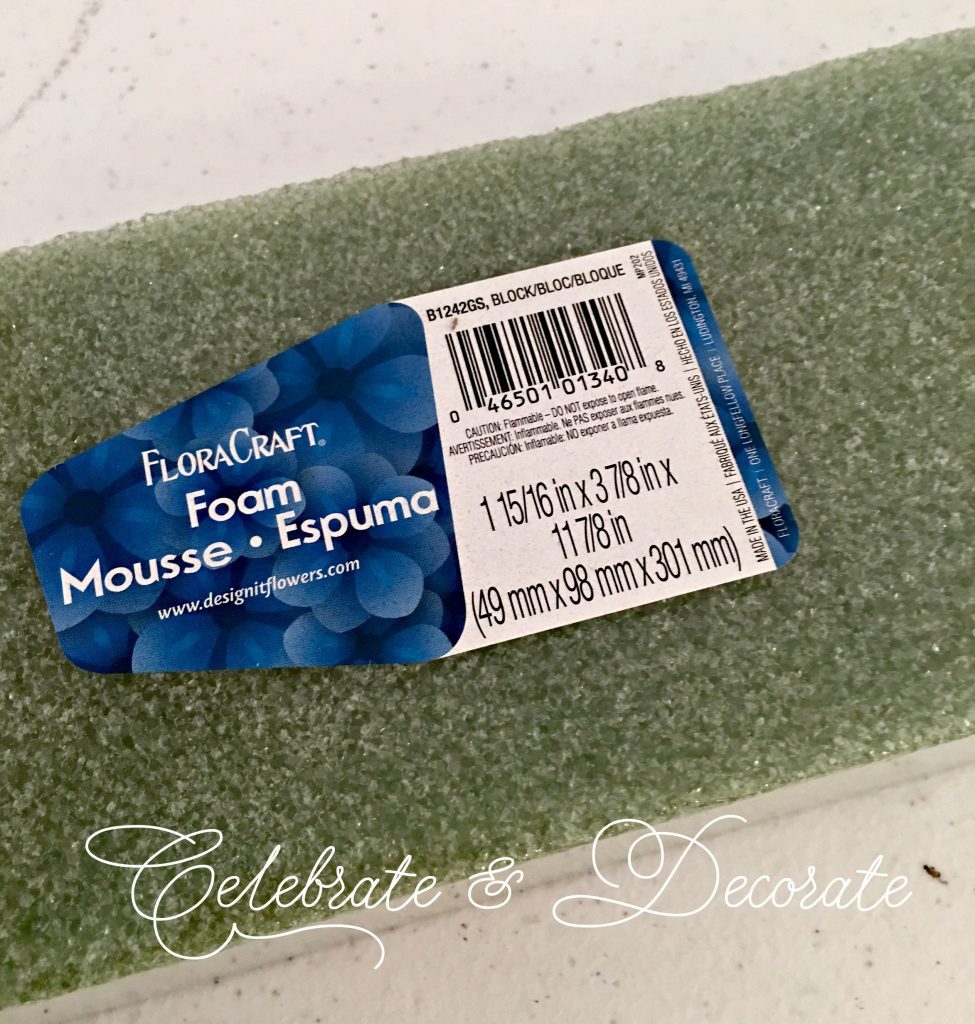 I begin all of my swags with a block of styrofoam. This is a standard size that is about 2 inches by 4 inches by 12 inches. Here is a link for getting your styrofoam blocks!
 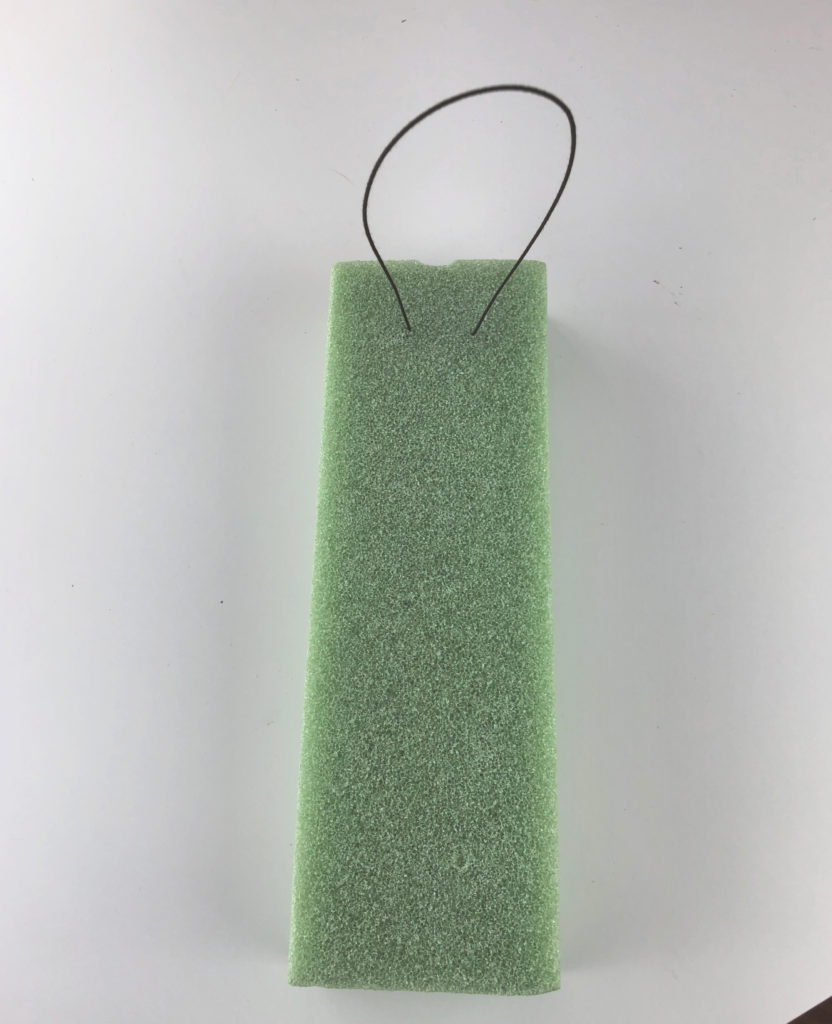 The first step to making your swag is to give yourself a hanger to hang it from the door where you will be displaying it. I like to use a paper wrapped wire. Push both ends of the wire through the foam, but DO NOT pull it all the way down tight agains the foam. If you do, it can cut right through the foam.
;
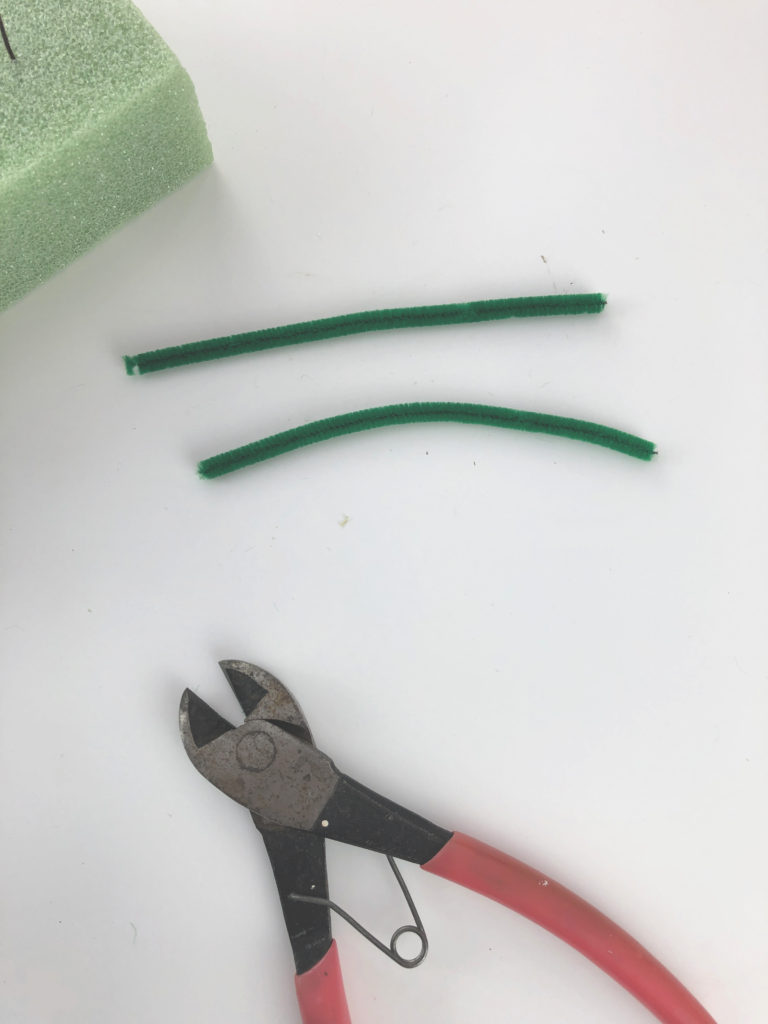 Cut a pipe cleaner in half with a pair of wire cutters.
 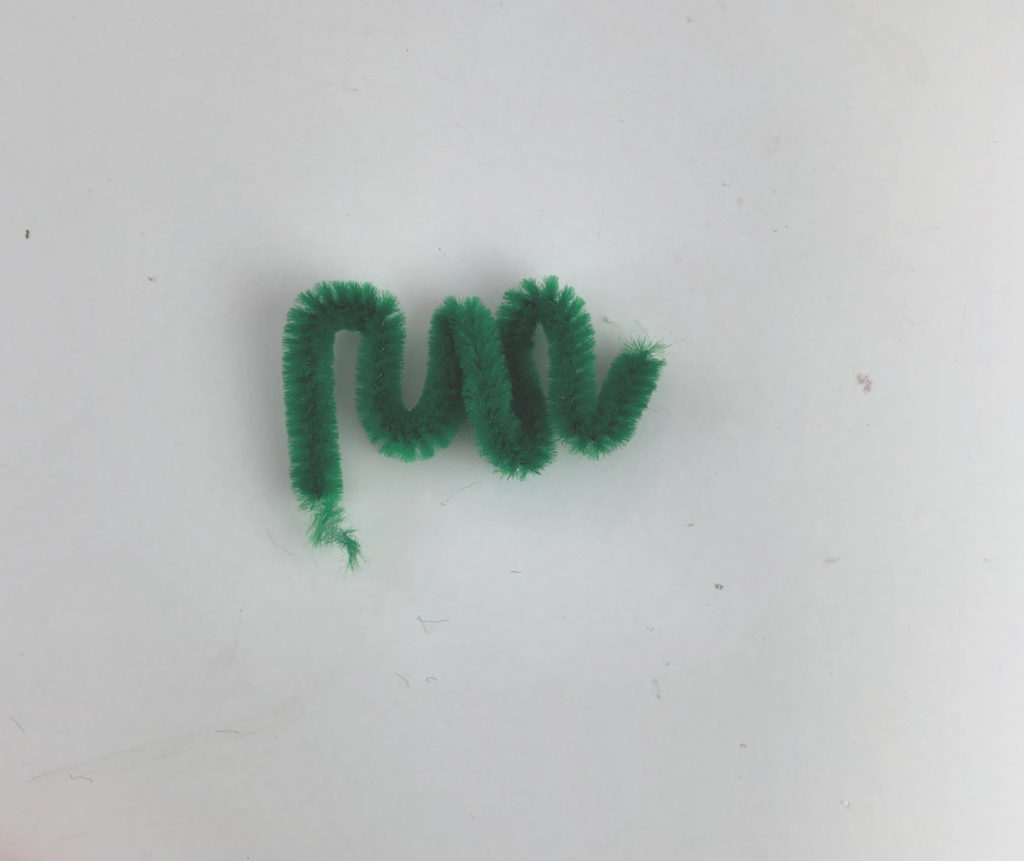 Take each half of the pipe cleaner and bend it as shown, or in and “M” or “W” shape.
 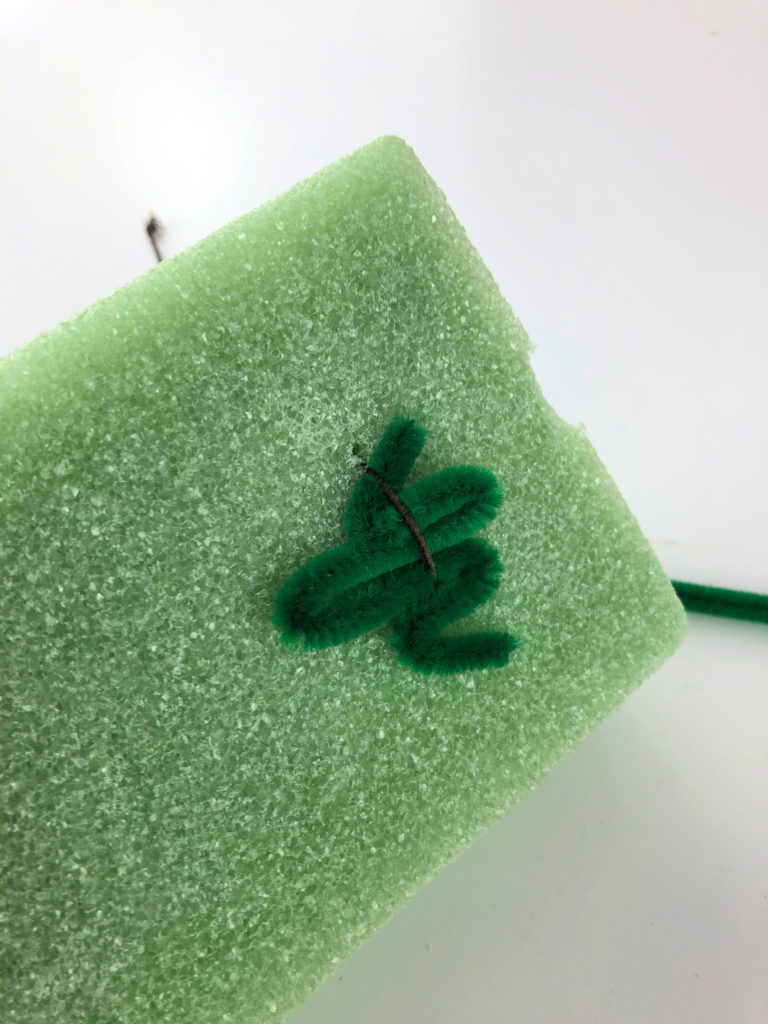 Take that squiggly piece of pipe cleaner and put it down beneath the wire and then you can pull the wire tight. That pipe cleaner will keep the wire from cutting through your foam.
 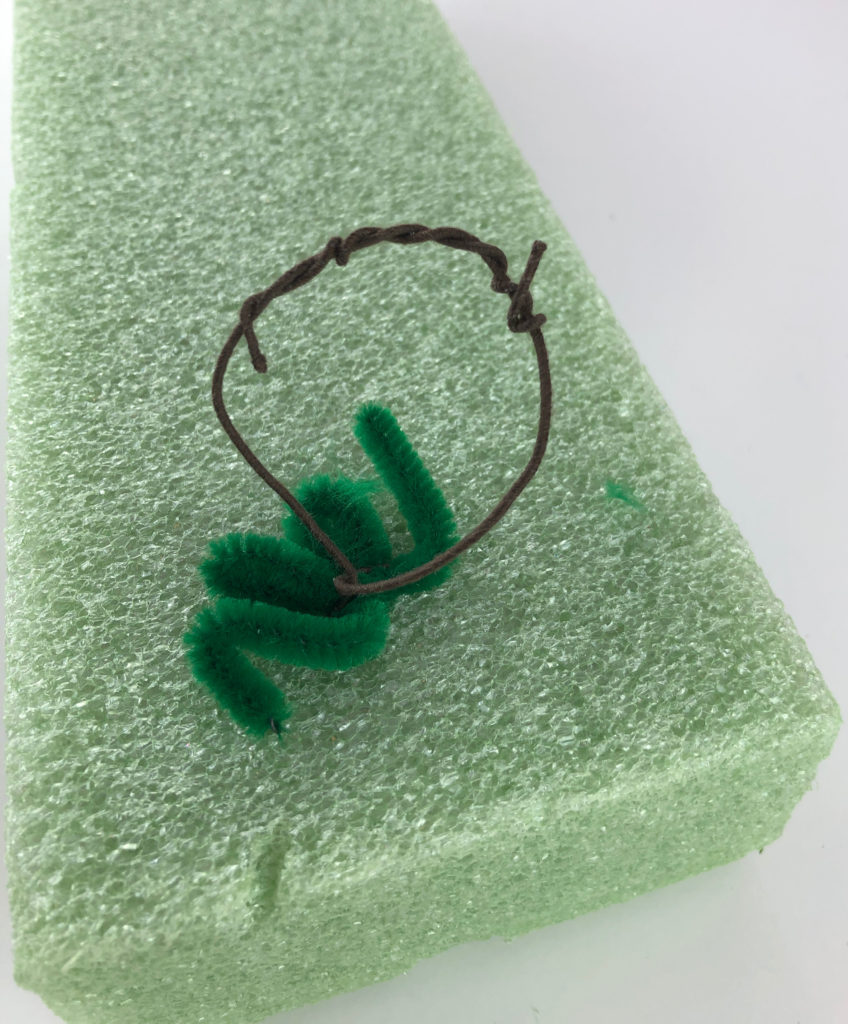 Use the other half of the pipe cleaner on the back of your foam and then twist the ends of the wire and make a circle to hang your swag on a hook on your door.
Build Your Swag:
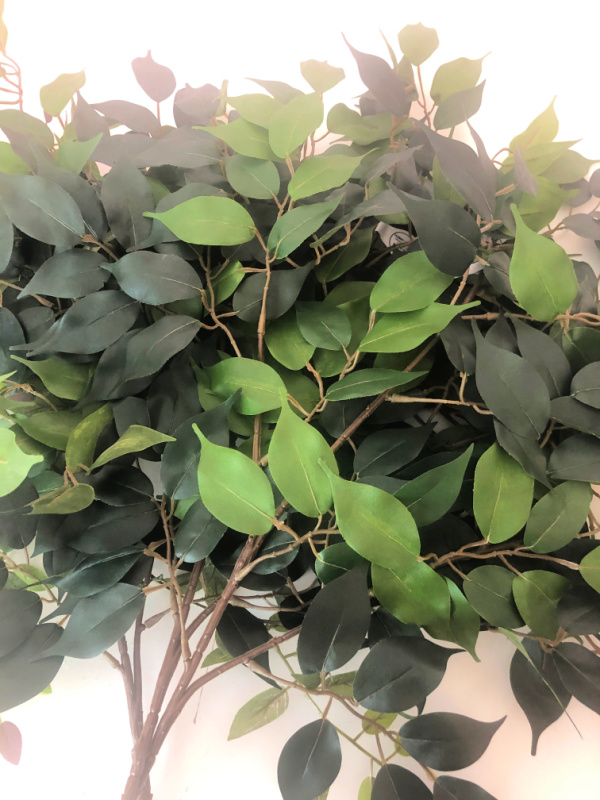 For the majority of my greenery, I selected less expensive ficus branches from Hobby Lobby. Of course, you want to buy them when they are 50% off, like I did!
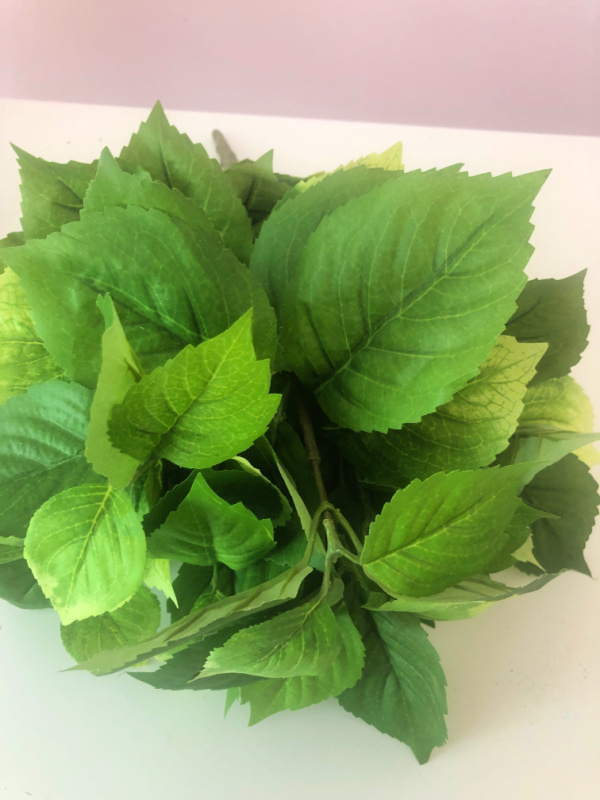 My big bargain was the addition of a bunch of hydrangea leaves I used leftover from my 4th of July wreath.
  Cut apart the pieces of the ficus branches.
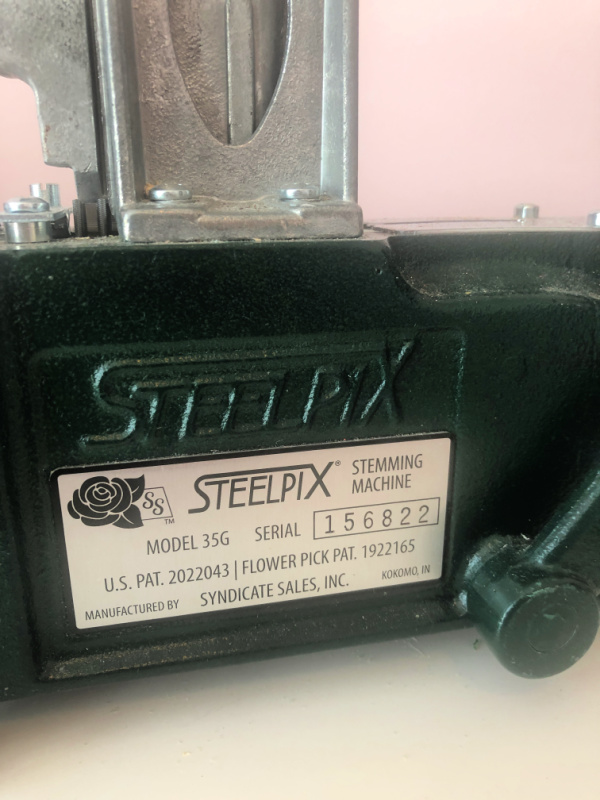 I used a steel pick machine, but you could use wood wired sticks like I showed when I decorated my mailbox for the 4th of July.
 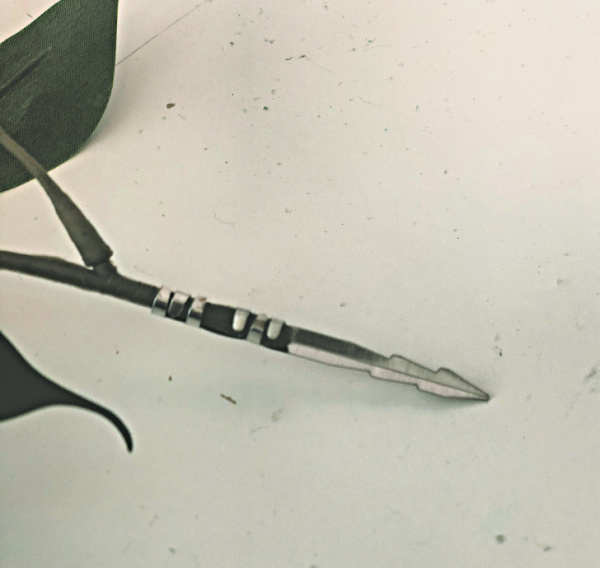 This is how the ends of the stems will look like with the steel picks on them ready to use them to make your door swag.
 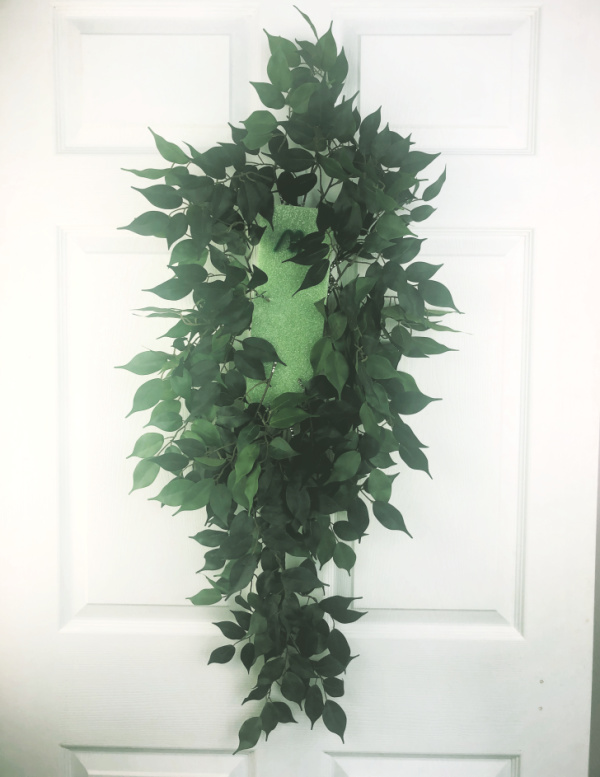 Just add your ficus tree leaves all around the styrofoam forming the shape of the swag that you want.
 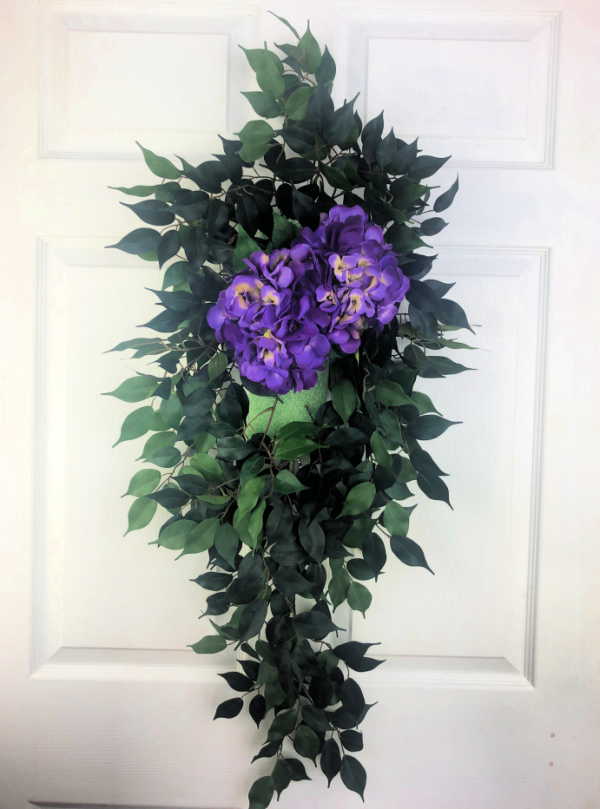 It’s time to add those big beautiful purple hydrangea blooms. If you prefer, you could use pink or white blooms.
  Fill in the space around the blooms with the hydrangea leaves, then add a branch of variegated stems and add a few stems of silk lavender. Your door swag will be complete!
The Results:
 This beautiful door swag now adorns my home and for just $59.00!
This is fantastic and a fraction of the cost. Job very well done.
Cindy
Thank you Cindy! I just can’t see any justification in those prices!!
I love your step by step instructions, it helps someone such as myself get started and actually finish a wreath or swag. Enjoy your trip to Italy my friend. It is hot here…..100 degrees for about an hour yesterday!
Kari
I am over HOT! Unfortunately Italy is going to be HOT too. Thanks sweetie! You are amazing! Looking forward to seeing you at Haven!
Chloe, Great project–and I bet you could do it for even less. I always pick up greenery at deep discounts at the end of seasons and tuck it away. I think I have all the makings for this in the basement, right now–even the purple sage stems.
Very pretty and only thing I would do is add some cardboard/felt to the backside to make sure the picks or branch ends don’t scratch the door.
Thank you Sandi, and that is a great idea! I don’t sell these often, but when I do, I always add ribbon or felt for a more finished look!
So pretty Chloe! I know your mom loves it!
Yes, she does! But she keeps after me to change it up often, too!
Absolutely beautiful Chloe, I know that you are feeling great about the end result. I too cannot justify those prices. Well done my friend.
I can not wait to try this !! Thank you
Such a great idea. Love how it turned out. Thanks for sharing with Charming Homes and Gardens Link Party.
Rachel
I love this Chloe! I learn so much from you!! You need to run a craft camp in sunny Florida!!
Thank you for this great step-by-step step tutorial. The styrofoam is a great idea!