How to make a Kentucky Derby Centerpiece that will WOW your guests this May!
I really began this project thinking this would be a horse head ‘wreath’ to hang on my front door as I gather friends for a celebration of the Kentucky Derby. When I got so far along with this, I knew it had to be the centerpiece for my Kentucky Derby tablescape.
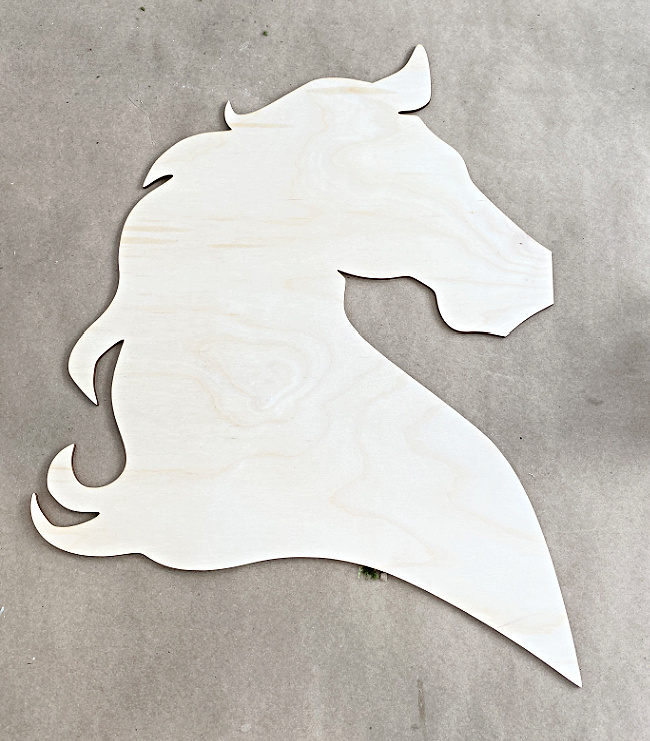
I discovered this horse head silhouette on Amazon and knew it would be the perfect base for what I had in mind.
I choose every product I use or feature. I may earn an affiliate commission if you buy from one of the product links, at no extra cost to you. This income supports this site. See the full disclosure.
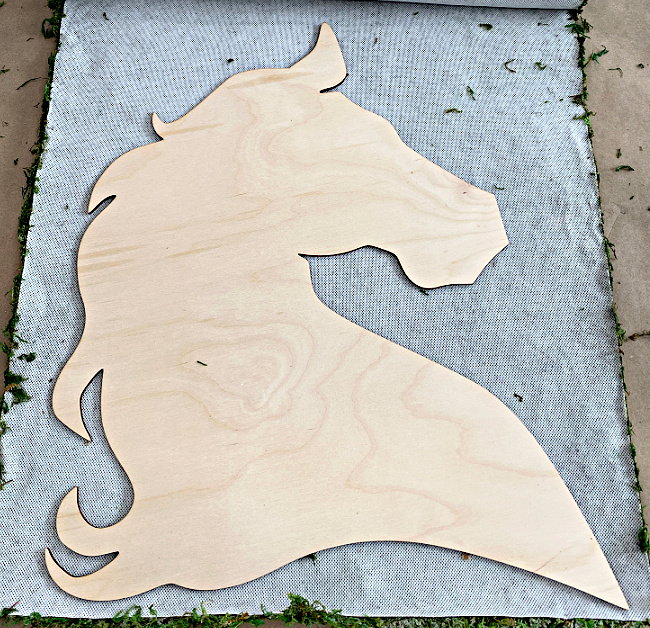
I laid the horse head out on a piece of moss. This moss was supposed to be adhesive-backed moss, but it did not want to peel off.

Use hot glue to attach the moss to the wooden horse head. Do a couple of inches at at time and push the moss mat down into the glue to make sure you have it attached securely.
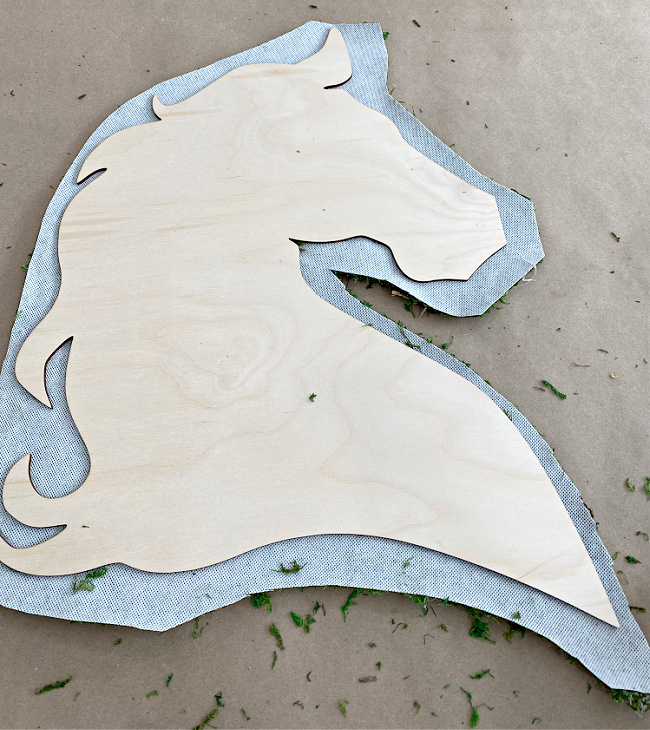
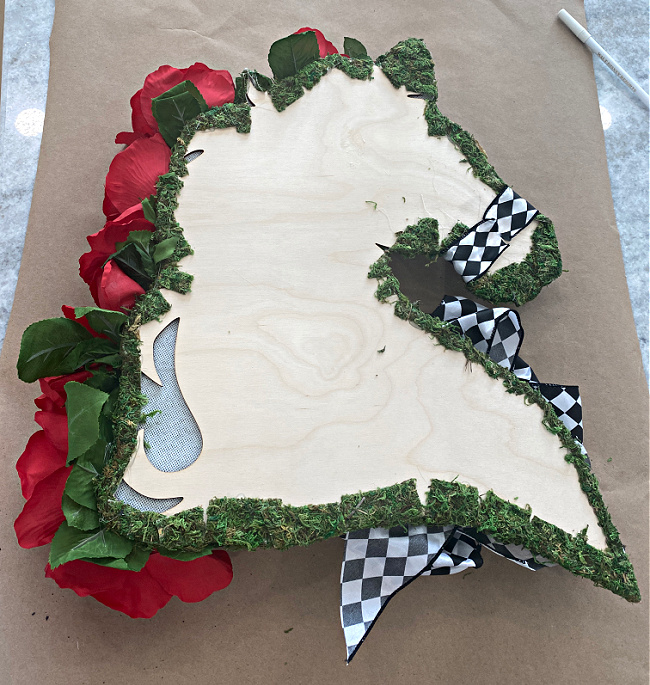
After I had the square of moss glued down, I turned the horse head over. I started by cutting the moss around the silhouette leaving about an inch all the way around the wood. Although I love the curlicue design of the horse’s mane, that is not going to show on mine, so I just allowed for extra moss mat in that area and will just glue it over the curlicues.

I cut tabs, each about one inch wide all the way around the wood.
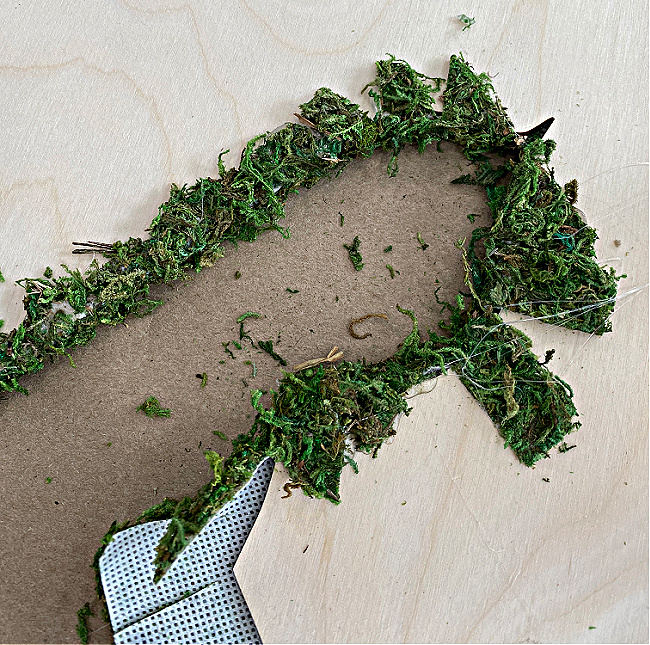
Next, I pulled those tabs around the backside of the horse head and glued them down.
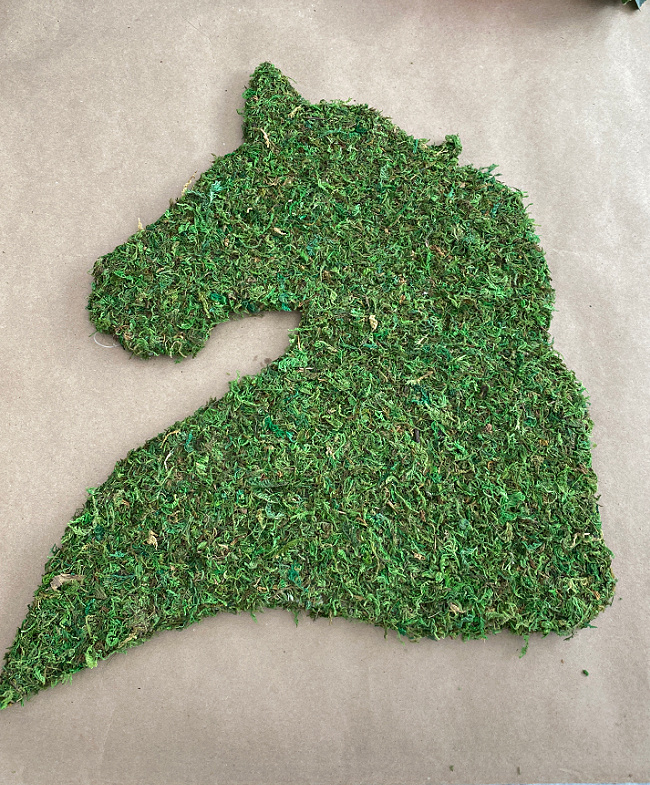
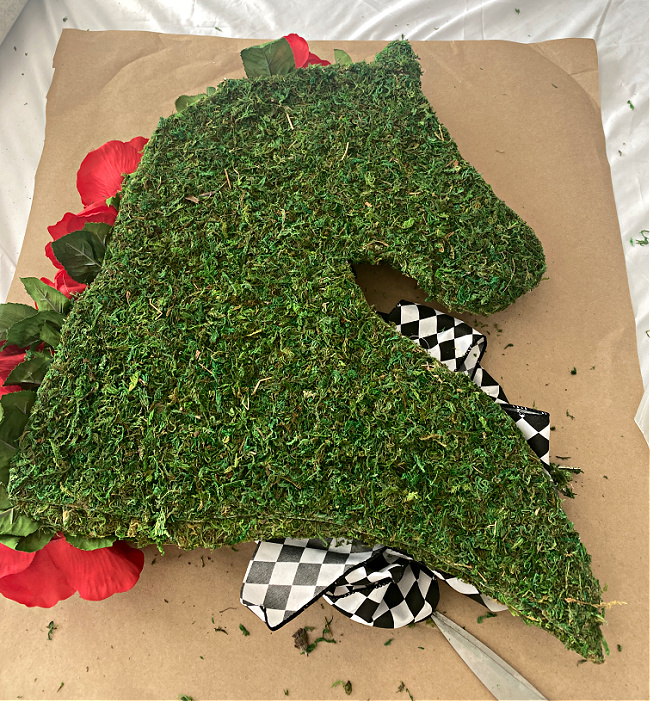
Yay! My horse head was looking great!
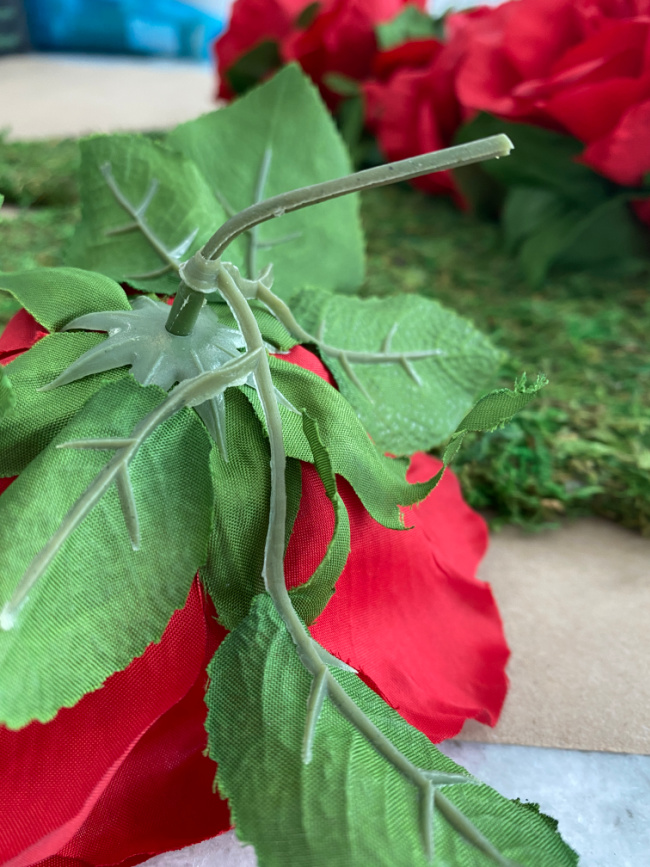
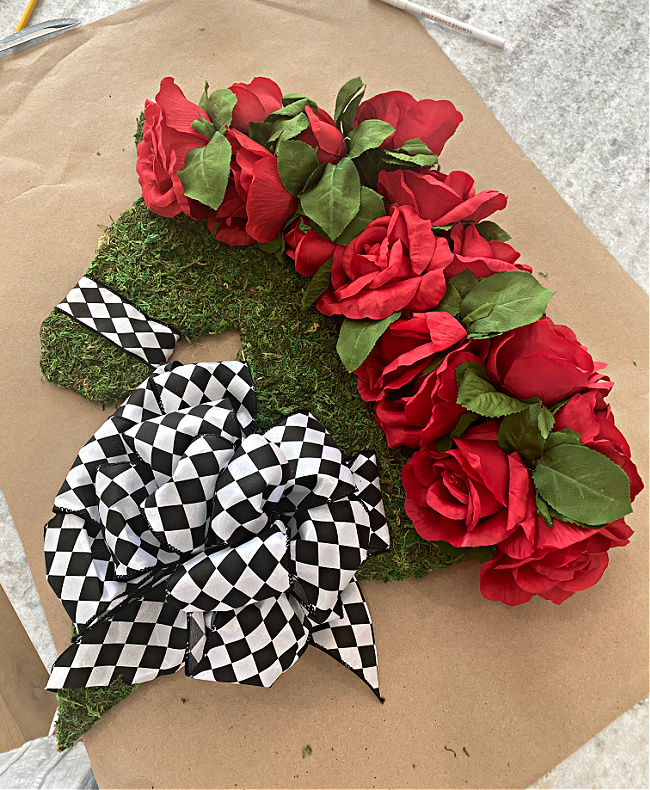
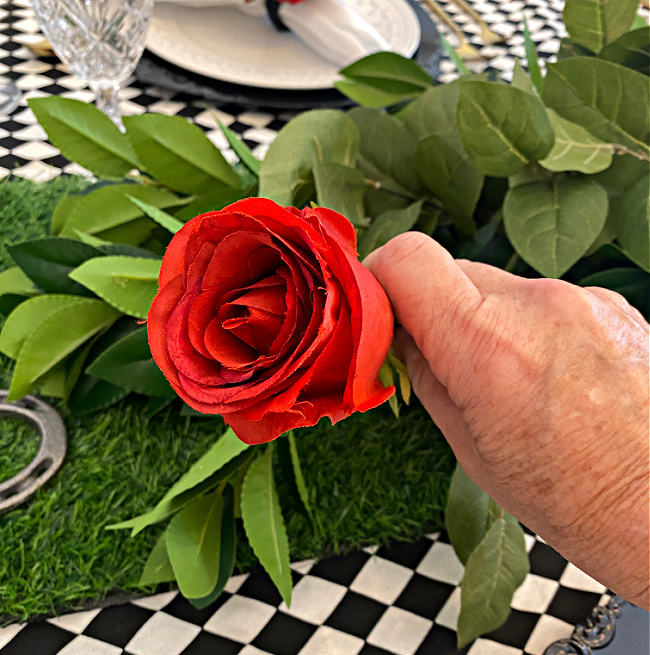
Time to add red roses!! This is all about Derby time and the run for the roses! I selected some artificial red rose bushes and cut the blooms from the bush. I bent the little stem so they would lay against the moss covered horse head.
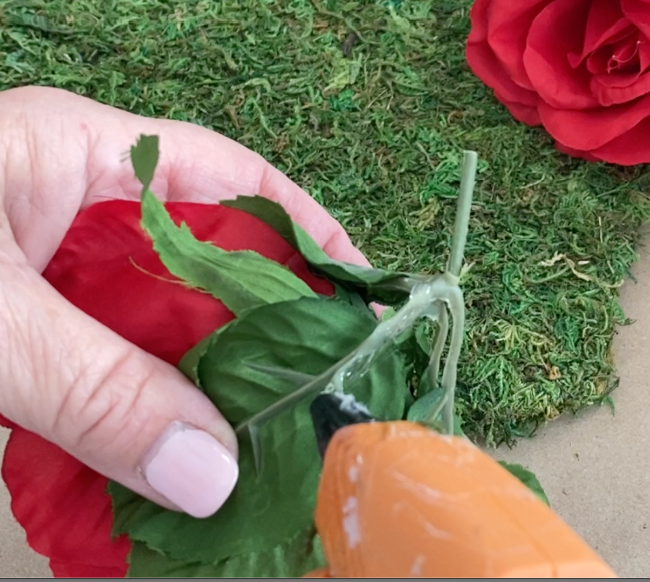
To get the roses to stick, I used a generous amount of hot glue to the stem, the leaves and the rose itself.

My horse has a beautiful red rose mane now!
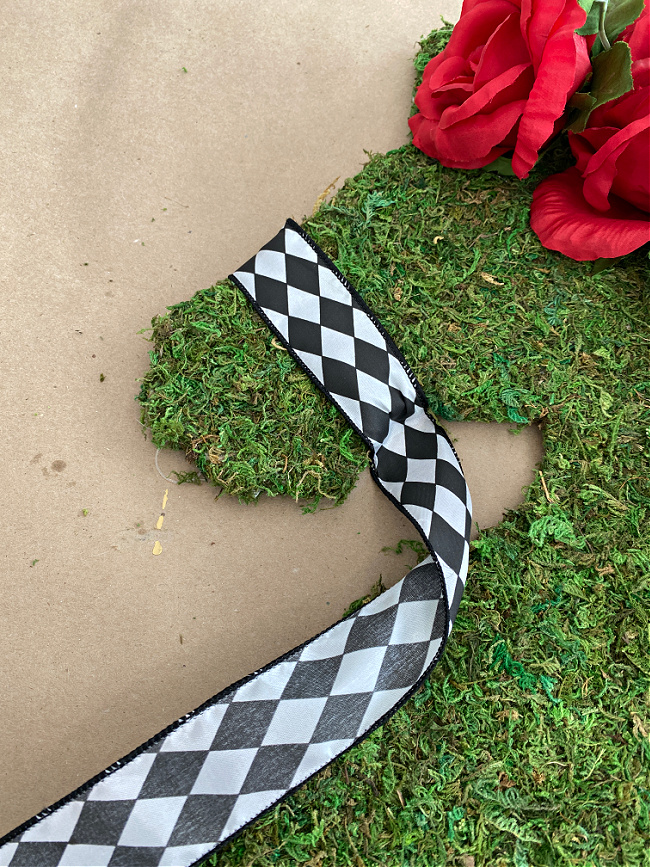
A little bit of black and white harlequin ribbon was attached. I thought I would be making this as a horse head “wreath” for my door.
If you want to make a horse head wreath, this would complete it. An extra large black and white ribbon was attached to the base of the wreath. All that needed to be done was to add a hook to the back of the wooden horse head and it could hang on your door.
Let’s make it into a centerpiece!
If I had known I was going to decide to use this as a centerpiece I would not have added the ribbon and flowers until I added the moss to the backside.

I found some much better adhesive backed moss for the backside of the horse head. This worked really well and stuck securely.
I cut the same shape and attached it with the adhesive. No tabs were required. Instead, I just attached the moss on the back down to the edges of the moss. In a couple of spots where the white adhesive edge was showing, I just glued a little bit of the green moss in those spots. The rest of the backside is decorated just like the front was, with the red roses and the ribbon.
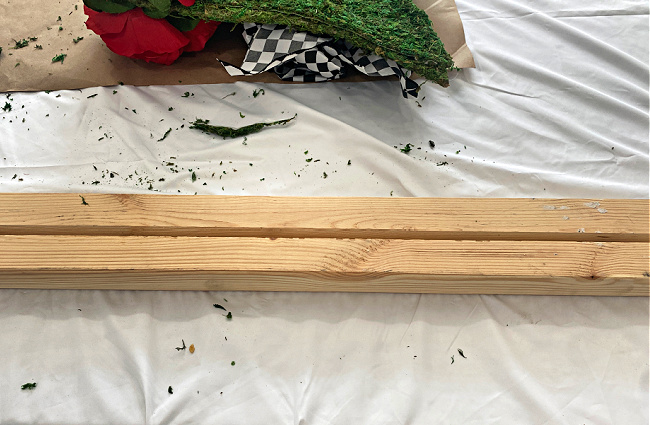
I was so lucky that with all of the construction work being done around my house, it was easy to find a scrap of a 2 by 4. I was also very fortunate that my talented woodworker was here working on my new kitchen cabinets, so he happily cut this for me. I simply showed him what I needed, a slit cut in the wood that would accept the moss covered horse head.
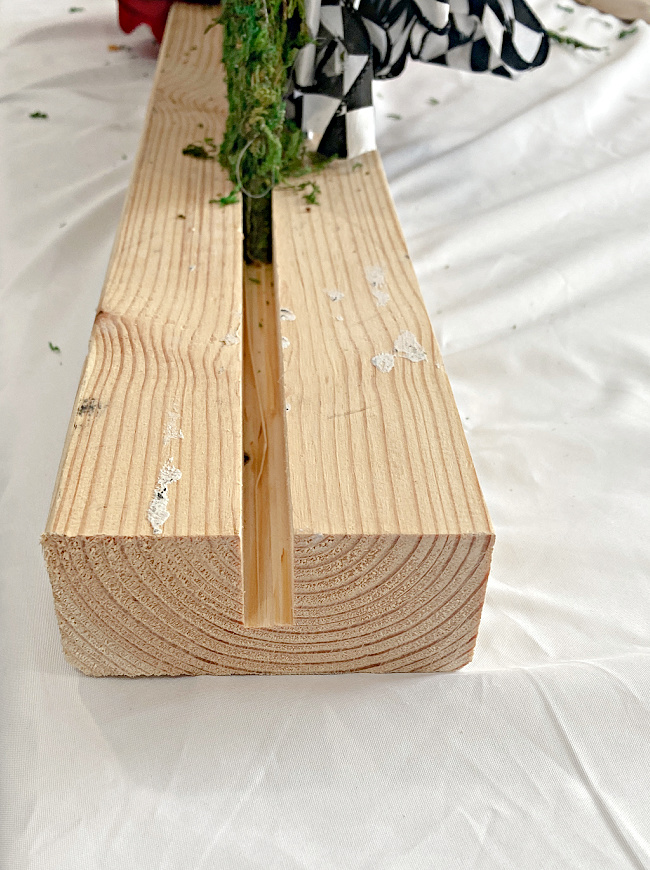
This photo shows you a little closer how the slit is cut and is holding the horse head.
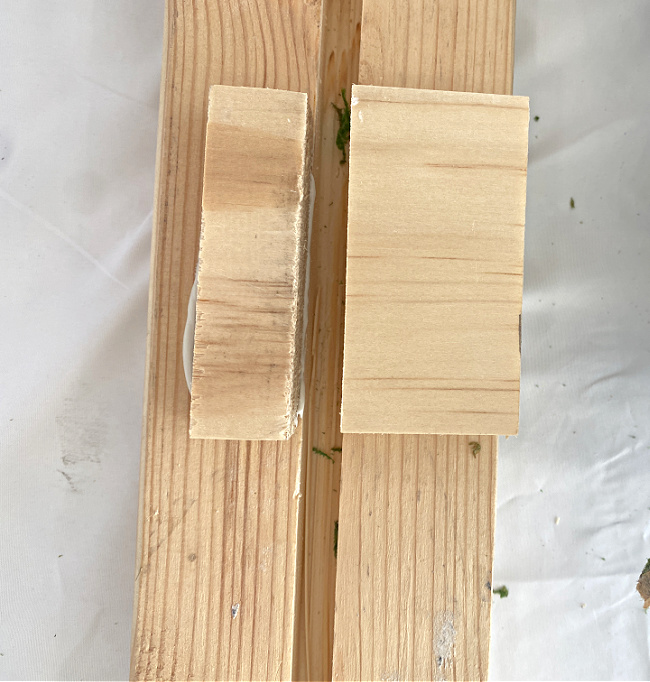
I knew my horse head would require a little support, so I took two small pieces of wood and used liquid nails to attach them on either side of the cut in the wood base. These will help keep the horse head steady and sturdy.

Of course the fun came when I got to put my horse head on the table and work on completing my centerpiece.
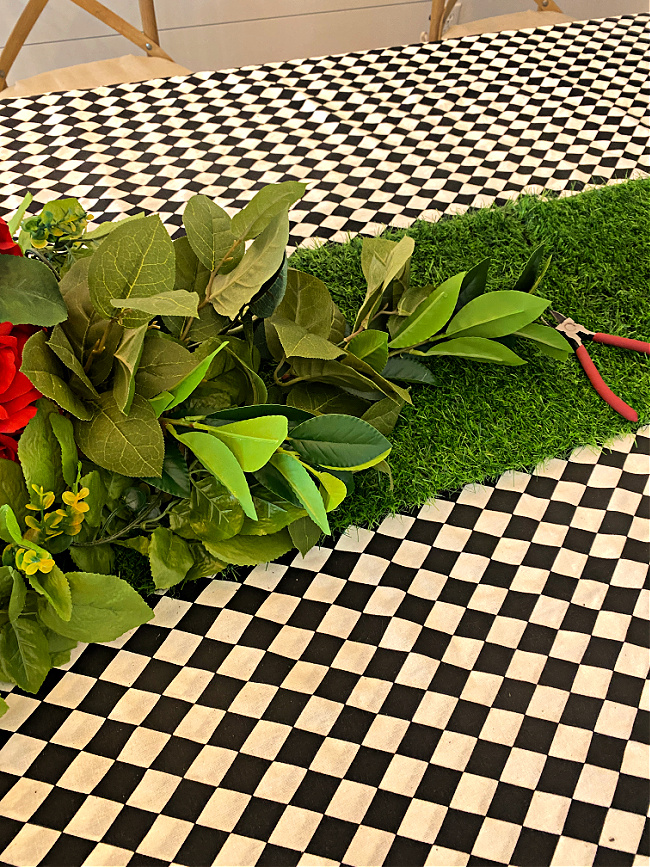
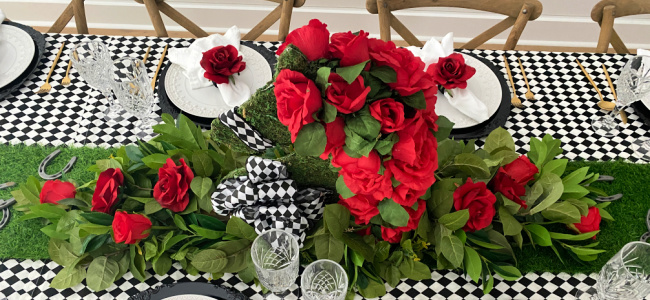
I cut apart some artificial greenery and placed it around the wooden base to hide it.
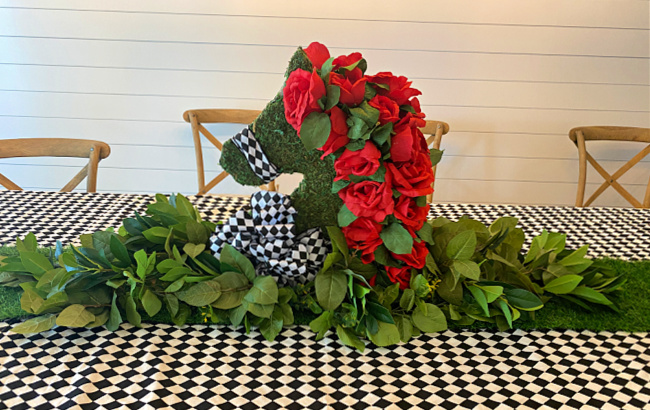
Looking pretty good! Now, I need your input! I didn’t add another bow at the base on the backside, what do you think? Add another, or just keep the bow toward the front, or just skip that bow?
I added some more roses into the greenery around the base.
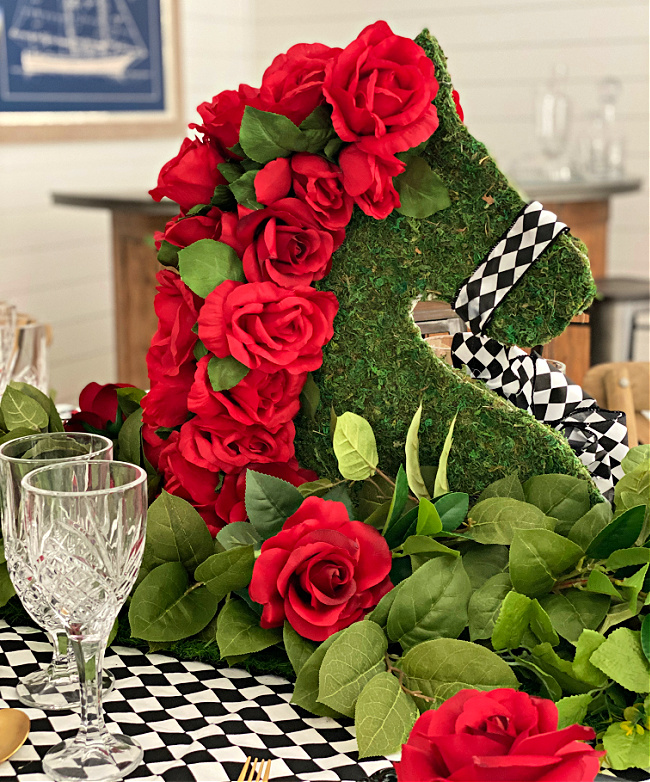
I am so very pleased with my elegant horse head centerpiece. I think this would be stunning as a centerpiece on a buffet table, too!
I look forward to sharing the rest of the details of this Kentucky Derby tablescape with you in the next couple of days, along with a very special Derby celebration!
Supplies for this project:
Harlequin ribbon
Wood horse head cut out
Moss sheeting
Red silk roses
Make your own napkin rings to add to your Kentucky Derby tablescape!
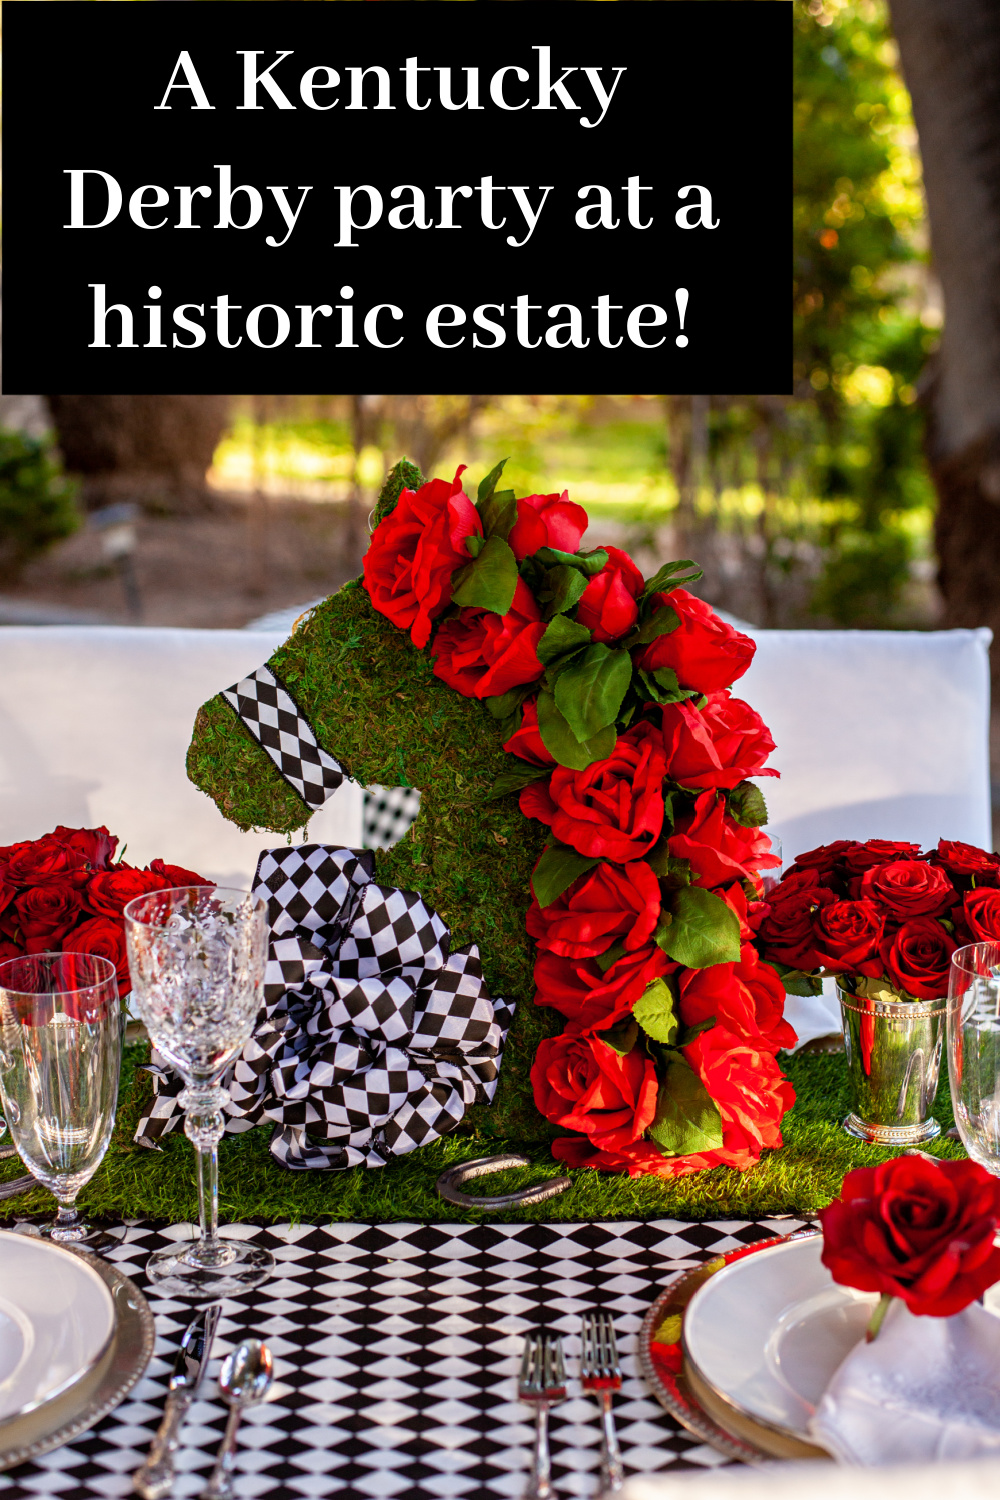
Check out the Kentucky Derby party at a Historic Estate!
Wow Chloe, this is amazing!! So brilliant the way you created it!
Thank you so much Jenna! I am not the artist you are, but I can craft a hundred different ways!
This is such a creative idea Chloe. I love how it turned out!
It is really good. For me the only thing I don’t like is the big pile of ribbon at the base, for me it’s not needed, just a little too much, otherwise very cleverly done.
Thanks Irene, that is what I thought after I finished it… that the bow could have been left off!
Oh my goodness Chloe – this is absolutely amazing! Who could have even imagined a moss covered horse head with a red rose mane. You are so creative! We don’t celebrate the Kentucky Derby here in Canada but I can imagine all the fun and parties that go along with it. And those ladies in their fabulous hats! The table is gorgeous and the choice of Harlequin fabric was genius! I hope you have a wonderful upcoming Kentucky Derby party this year!
Thank you so very much Kim! I am always up for a themed party, so the Derby is one I love to plan and decorate for!
Wow, your centerpiece looks amazing! I’d like to invite you to the Home Matters Link Party to share each week Thursday (9pm) through Monday. We have 12 features each week. Hope to see you there!
Hello Chloe. This is such a cute centerpiece idea! I am going to attempt to make it but would like to know what size horse head you ordered. The Amazon link has a drop down option and I don’t know which one to select. The size you used looks great and I would like to order that one. Please advise. Thank you so much.
Thanks so much Monica. This really was an impressive centerpiece that everyone loved! I noticed that Amazon says it is not currently available, so I found the same cut out available on Etsy. I would go with at least a 20″, maybe even a little larger! I think mine was 24″. Here is the link to the one available on Etsy, and I have updated the link on the blog post!
https://rstyle.me/+j7yDOFJWWTXTEkjHZDNz4g
Thank you so much for sharing this, it is amazing. I am going to try and make one.
Carolyn
Thank you so much! I am glad you like it! It is pretty easy, but if you have any questions, please reach out!