DIY Halloween party invitation
An elegant Halloween party deserves an invitation that is every bit as memorable as the celebration itself. Rather than sending a traditional paper invitation, I tucked mine inside a miniature coffin-shaped box filled with wispy gray cloth. The presentation immediately introduced the ghostly theme and gave my guests a little glimpse of the eerie evening to come.
Your invitation is your first opportunity to establish the mood of your party. Whether it is playful, sophisticated, or delightfully spooky, a creative invitation can build excitement long before your guests arrive. This DIY Halloween party invitation may look elaborate, but it is surprisingly easy to assemble.
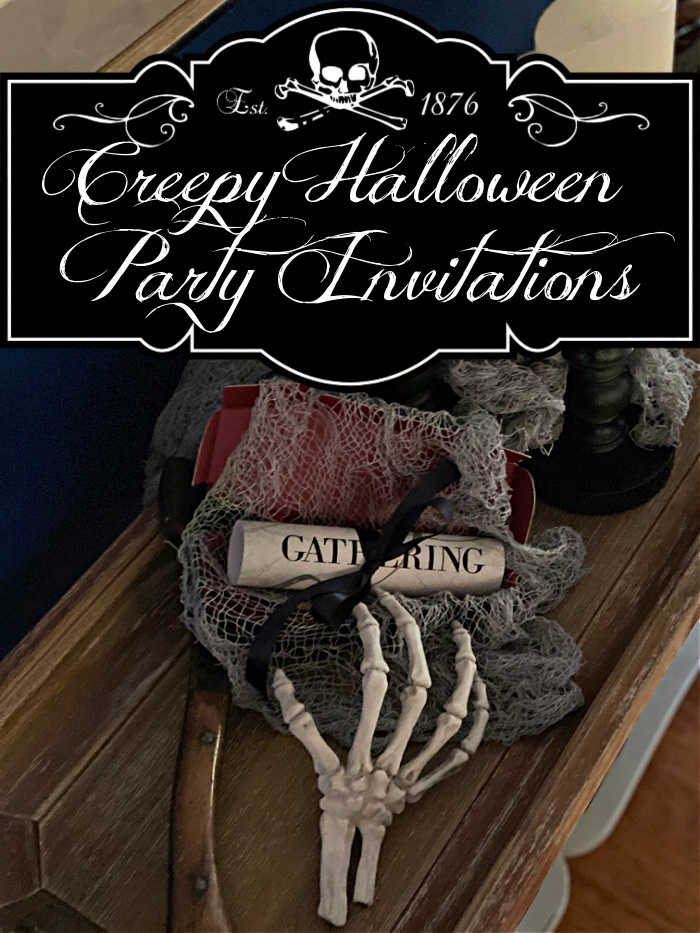
When you send an invitation, it is your opportunity to set the mood for your party. No matter if you send a paper invitation or something three dimensional, the invitation is your chance to to express your creativity.
This post contains some affiliate links for your convenience. Click here to read my full disclosure policy.
Supplies for these invitations:
I originally created these invitations for a Halloween dinner party I hosted for a gathering of bloggers at my home in Florida. Because my guests were traveling from across the country, I already knew who would be attending. That gave me the freedom to concentrate on creating a dramatic keepsake invitation rather than using it to collect responses.
Design the Halloween Invitation
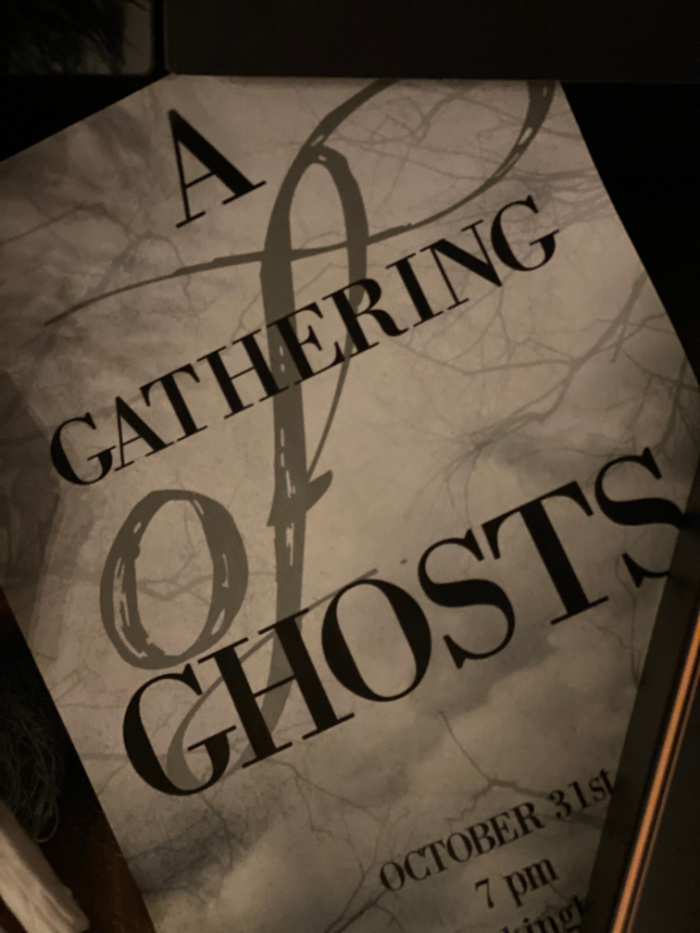
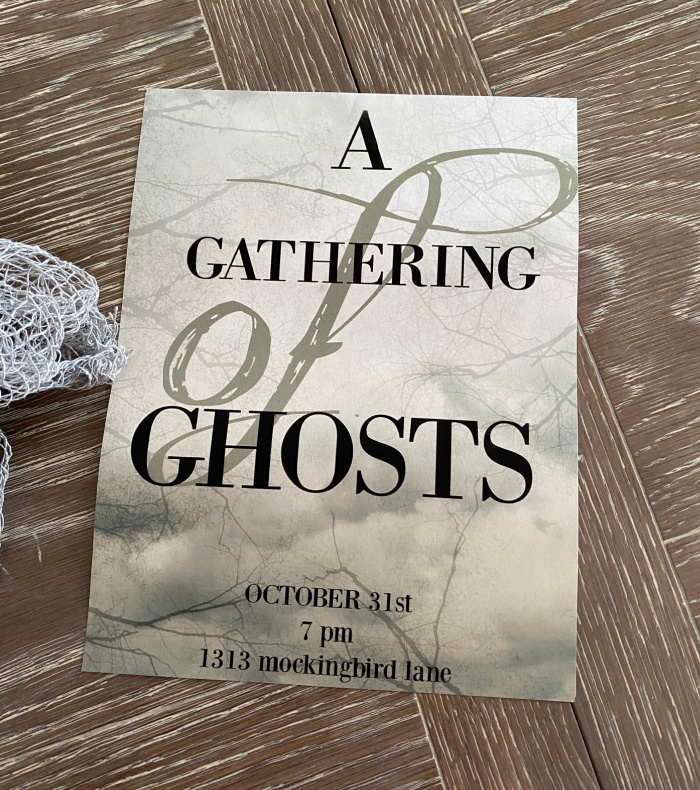
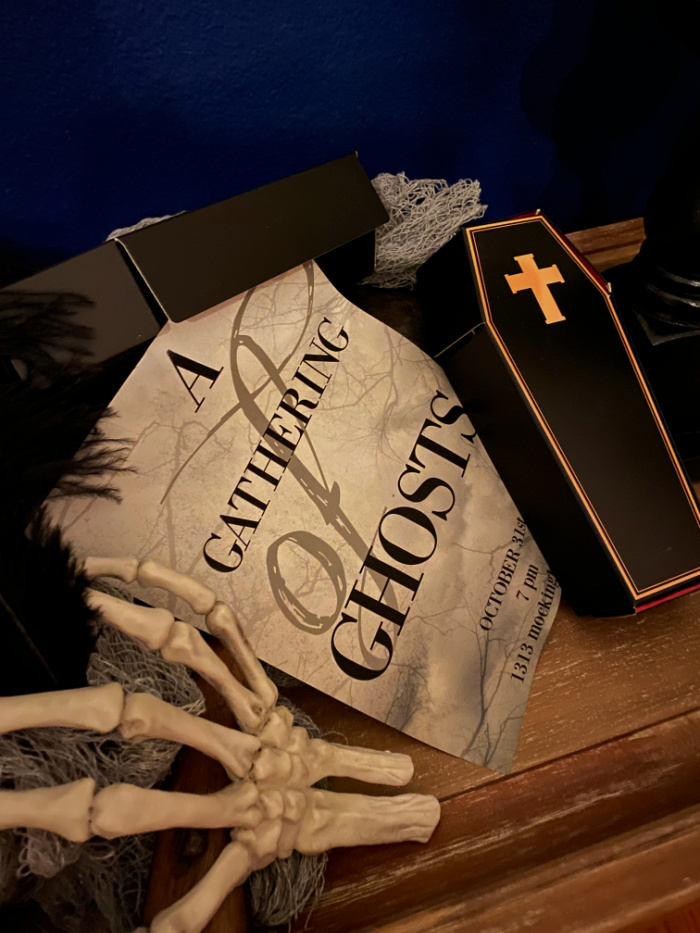
You can design the paper portion of your invitation to complement any Halloween theme. I created mine on an 8-by-10-inch blank canvas and used a classic Bodoni-style font for the primary wording. For the oversized “of” in the background, I selected a decorative script font. I then experimented with shadows, textures, and other effects until the invitation had the aged, ghostly appearance I wanted.
I printed the finished design on plain white paper, but scrapbook paper, parchment-style paper, or printable vellum would also be beautiful. Because I wanted to include additional party information on the back, I chose an opaque paper. The reverse side is the perfect place for the date, time, address, RSVP instructions, dress code, and any other details. This leaves the front uncluttered and allows the artistic design to make a stronger impression.
I printed the finished design on plain white paper, but scrapbook paper, parchment-style paper, or printable vellum would also be beautiful. Because I wanted to include additional party information on the back, I chose an opaque paper. The reverse side is the perfect place for the date, time, address, RSVP instructions, dress code, and any other details. This leaves the front uncluttered and allows the artistic design to make a stronger impression.
Choose a Coffin-Shaped Box
I found these fun little cardboard coffin boxes on Etsy.
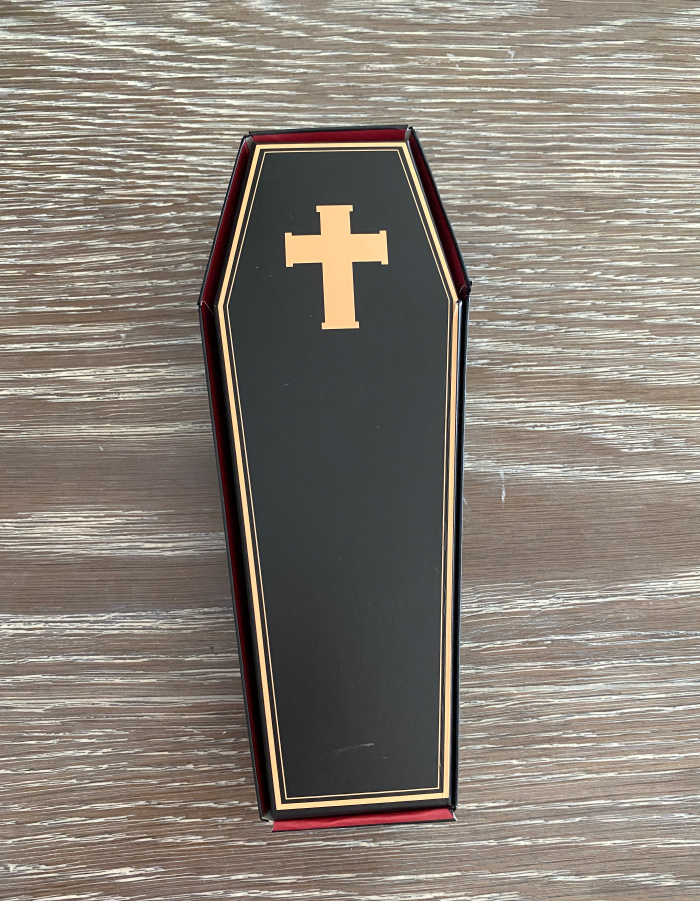
I found miniature cardboard coffin boxes that were just the right size for presenting the invitations. They required a little folding and assembly, but each box became easier to put together once I understood how the pieces fit.
You can also find premade cardboard or wooden coffin boxes. Wooden boxes could be painted, distressed, or decorated with spooky scrapbook paper to coordinate with your party décor. They would make especially memorable keepsakes for your guests.
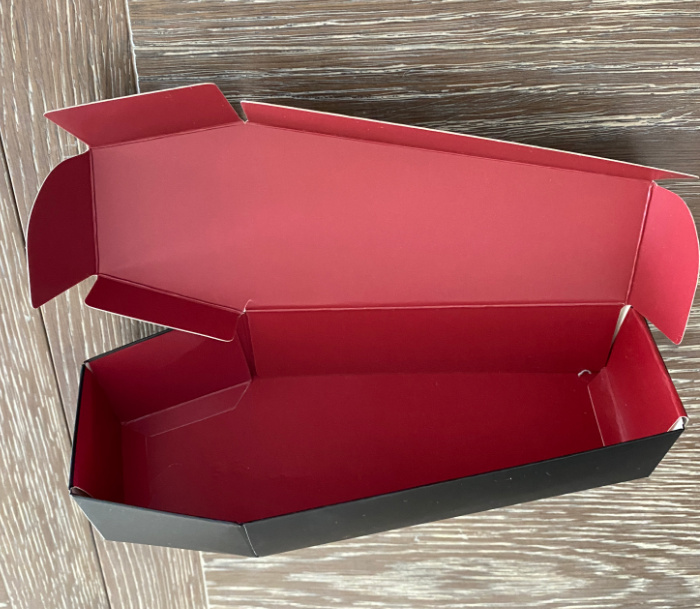
Line the Box with Creepy Cloth
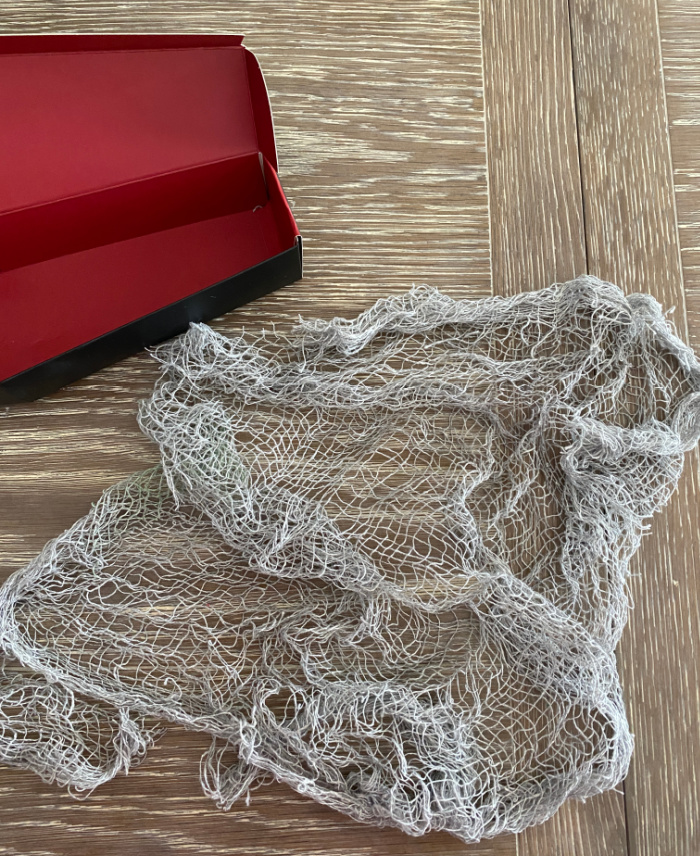
After assembling the boxes, cut pieces of gray cheesecloth or Halloween creepy cloth large enough to line the inside. Leave enough fabric extending beyond the edges to loosely wrap around the rolled invitation.
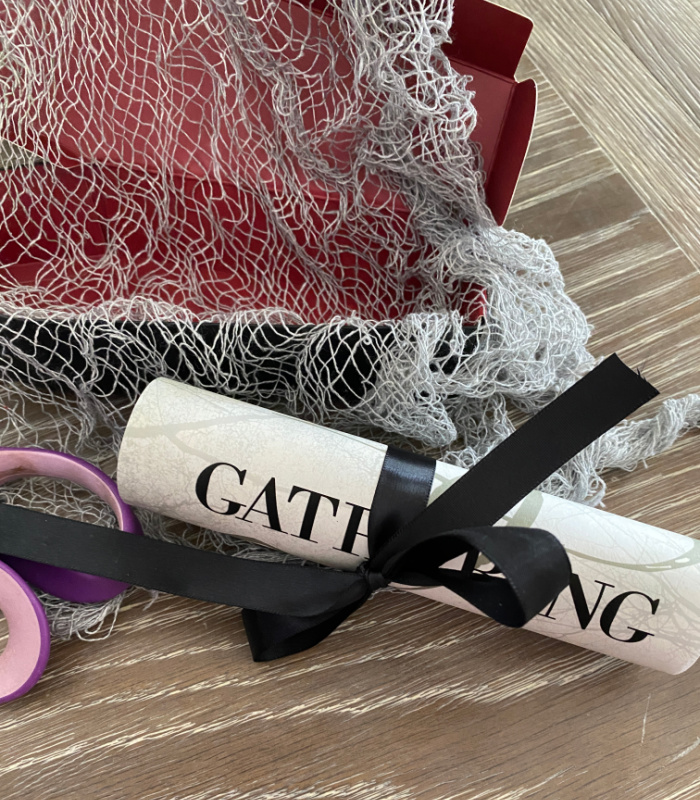
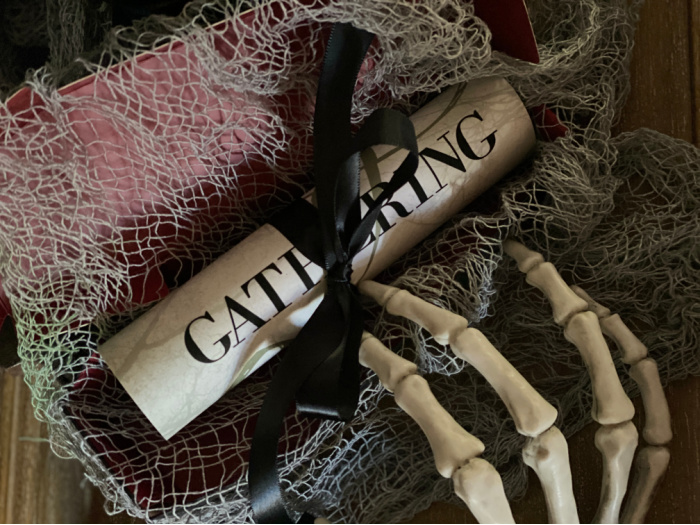
Gently roll each invitation without creasing the paper, and secure it with a narrow black ribbon. Nestle the invitation inside the cloth-lined coffin and arrange the fabric around it for an aged, wispy appearance.

Mail or Hand-Deliver Your Invitations
These invitations are especially fun to hand-deliver, but they can also be mailed. If you are shipping them, place each coffin inside a sturdy outer mailing box to protect it during transit. Add extra creepy cloth, black tissue paper, faux feathers, or a tiny skeleton hand around the coffin to make opening the package even more theatrical.

Pin this!
Check out the Elegant Halloween Party decorations!
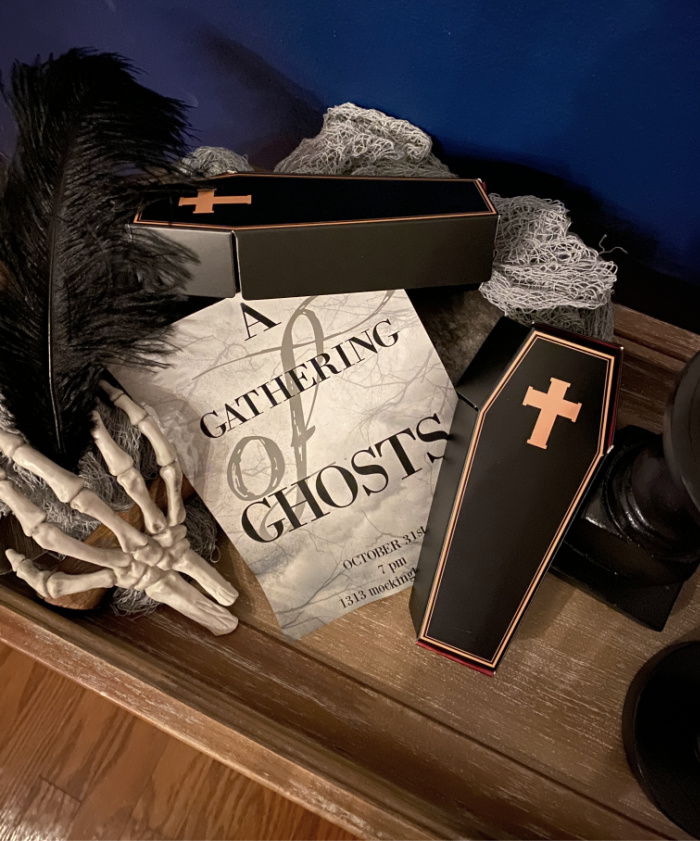
The invitation is the first hint your guests receive about the celebration ahead, so why not make opening it part of the experience? These miniature coffin-box invitations set a wonderfully eerie mood while still feeling elegant and thoughtfully made. Whether you mail them or deliver them in person, they are certain to make your guests curious about the ghostly gathering awaiting them.
Want to see how the invitation inspired the rest of the evening? Visit my Elegant Halloween Dinner Party to discover the candlelight, dark florals, ghostly decorations, and spooky details that brought the celebration to life.
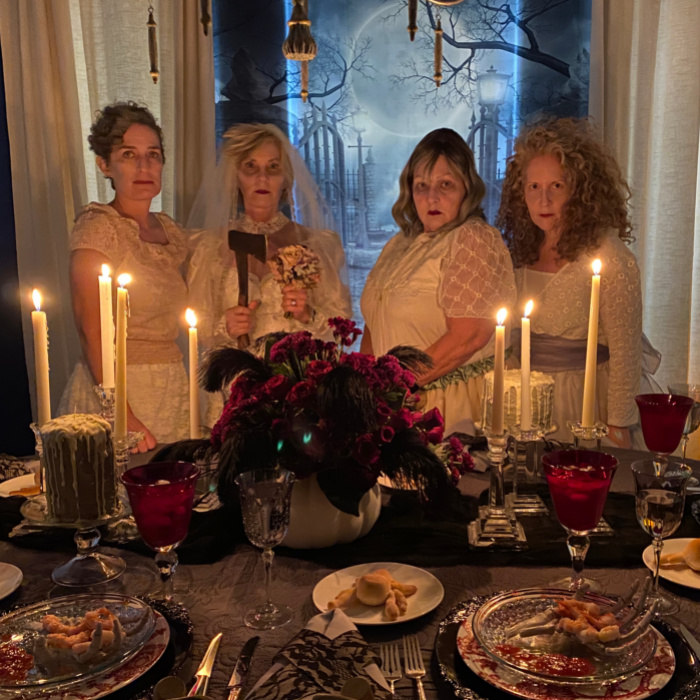
Love this idea, Chloe! And the picture of you ladies is fabulous!
Thank you Kim, the only thing that would have made it better would have been having you here!