How to Make Your Own Air Dry Clay Napkin Rings
I had never used air dry clay before, actually, outside of elementary school I don’t know that I have touched clay of any kind. I have seen plenty of projects on line and they didn’t look too difficult, so I ordered up supplies and got to work!
This post contains some affiliate links for your convenience. Click here to read my full disclosure policy.
Supplies for making your own clay creations:
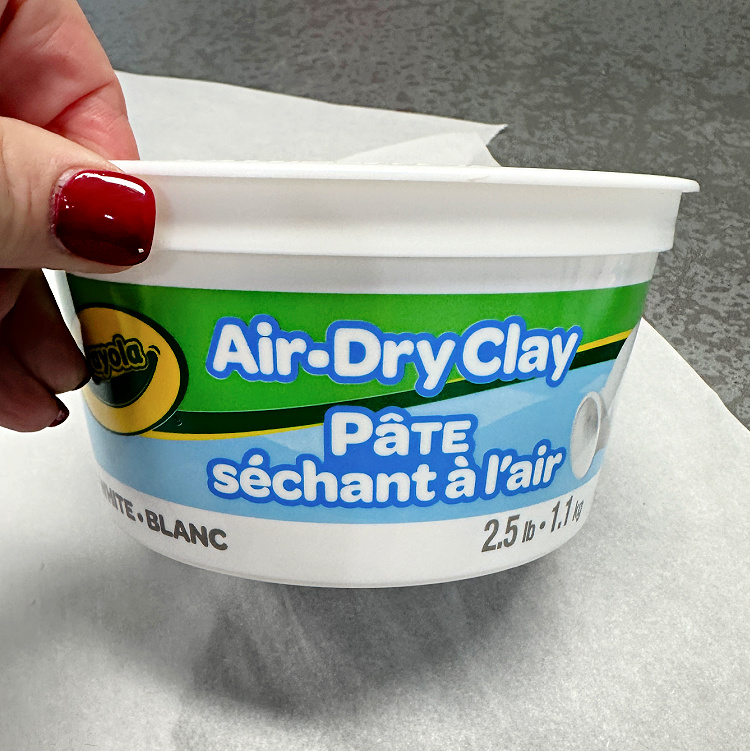
Crayola Air Dry Clay (white)
Clear Clay Rolling Pins
Metal Heart Cookie Cutter Set
Texture Roller
Mini Clay Cookie Cutters
Acrylic Paint
Ribbon
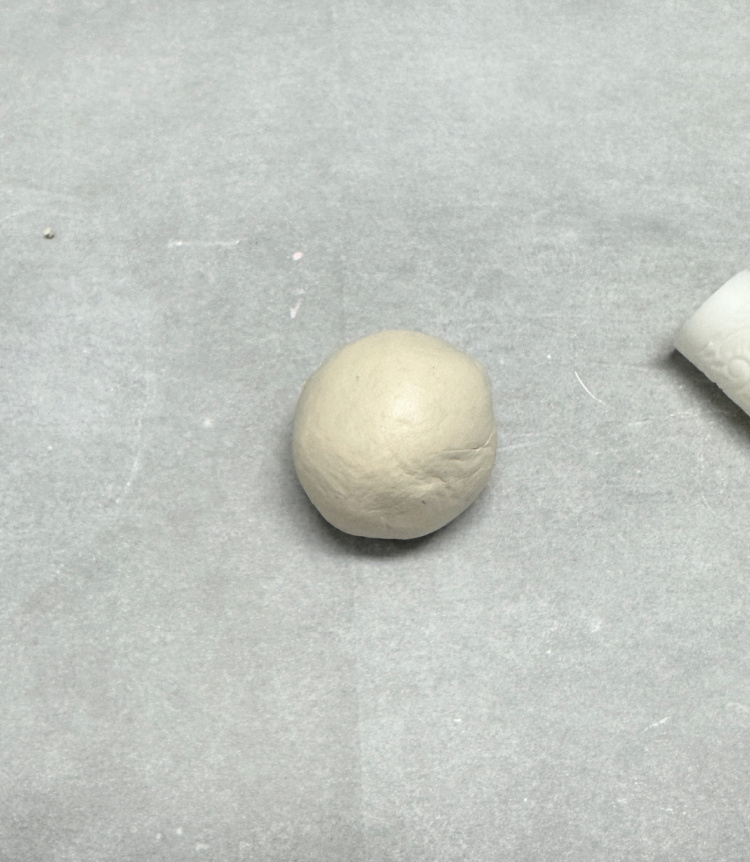
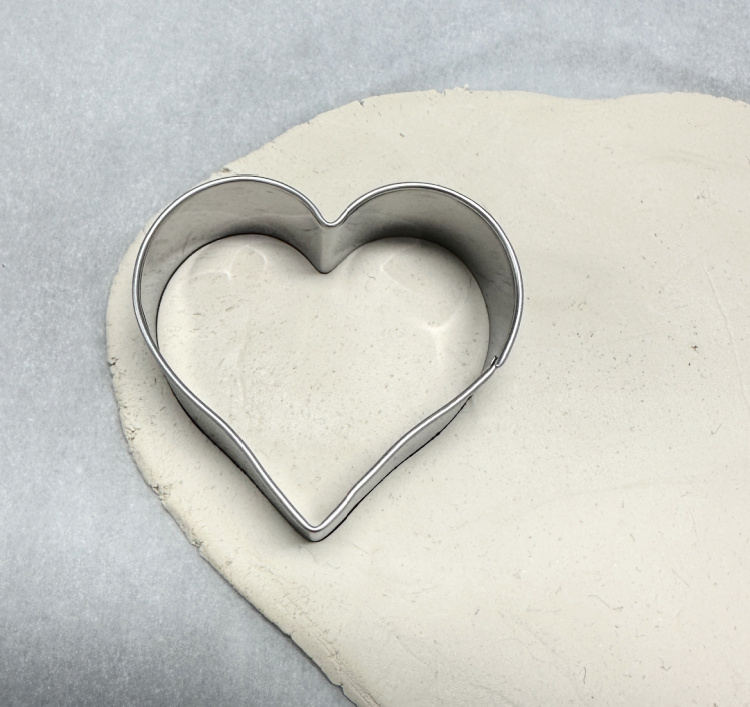
Take a portion of clay, I would not worry about measuring it, but think about a cup.
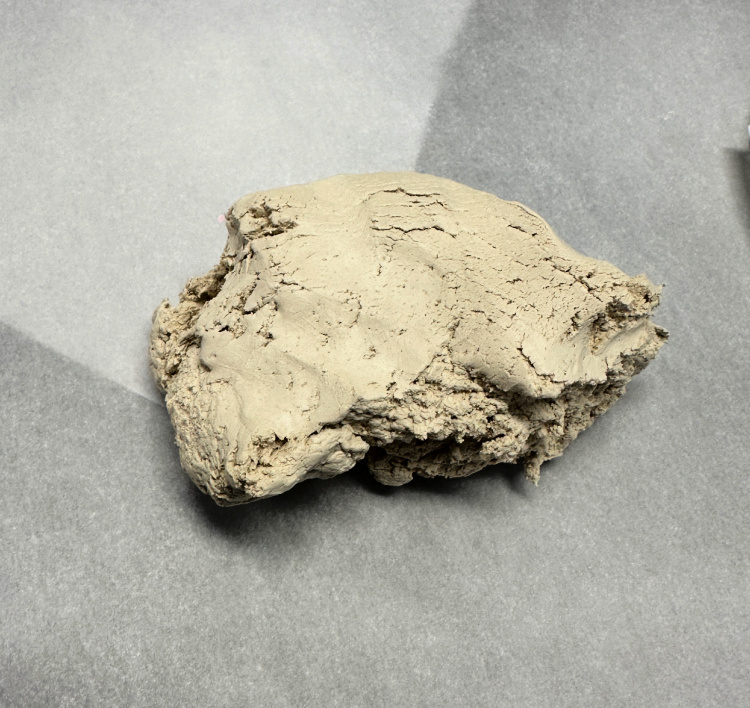
Work the clay in your hands and then put it down on a clean piece of parchment paper.
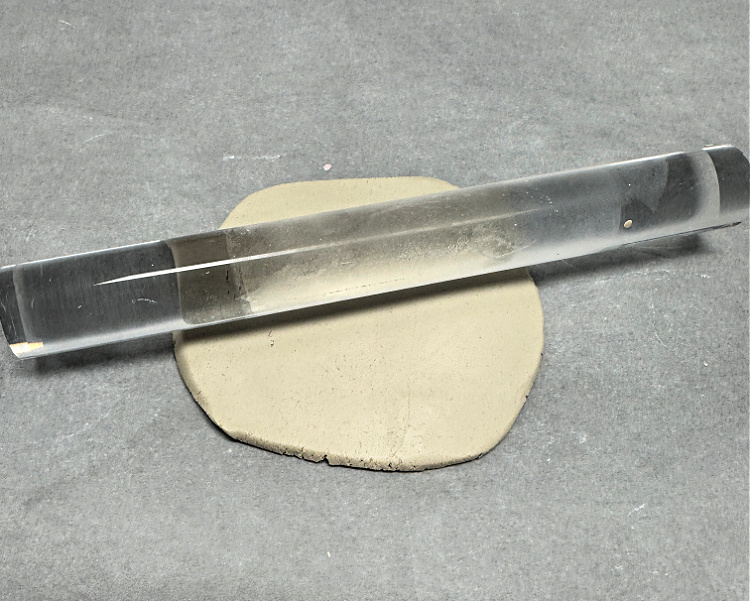
Use a clean clear clay rolling pin to roll out the clay to 1/4 to 1/2″ thick.
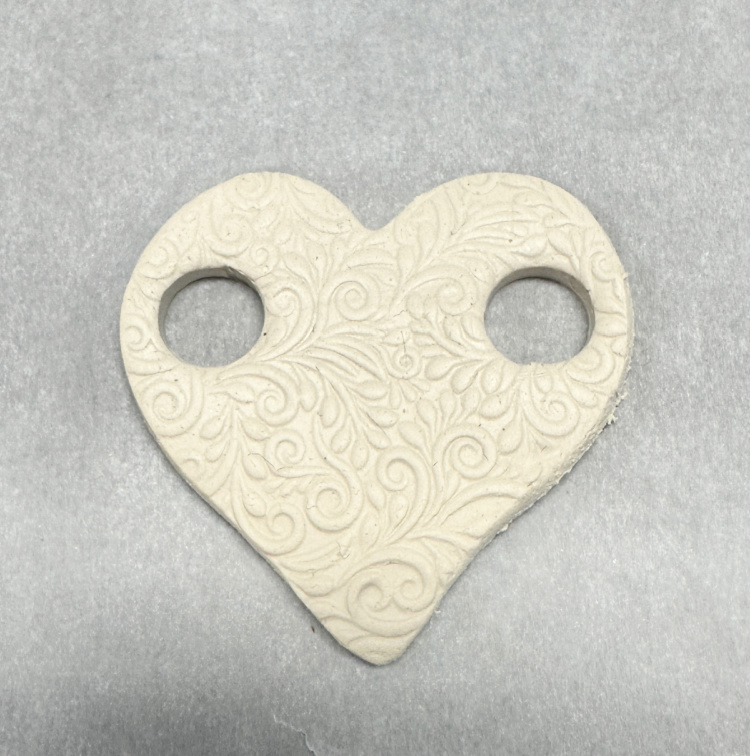
Use a heart cookie cutter to cut out your first heart. The clay will likely stick to the metal cutter. Be very careful pushing it out, as your fingers will easily make dents in your heart.
Gently lay your heart down on a piece of parchment paper and take the texture roller and roll it from the top down toward the bottom of your heart.
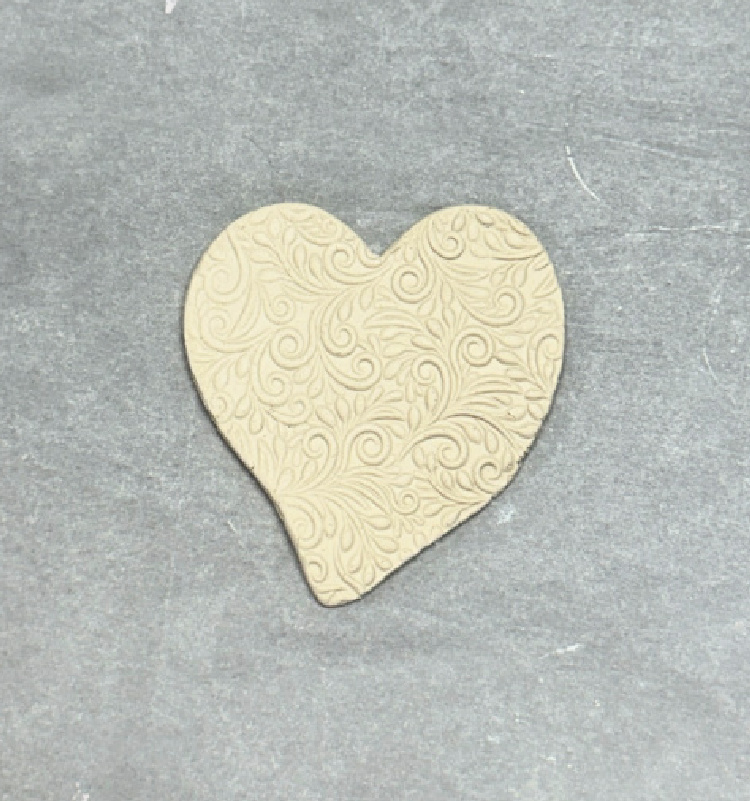
You might have to practice this a couple of times to get this part right. If you don’t press down hard enough, you won’t get enough texture on your heart. If you press down too hard, you will distort the shape of your heart. You can see on the one below how I pushed a little too hard and bent the end of the heart.
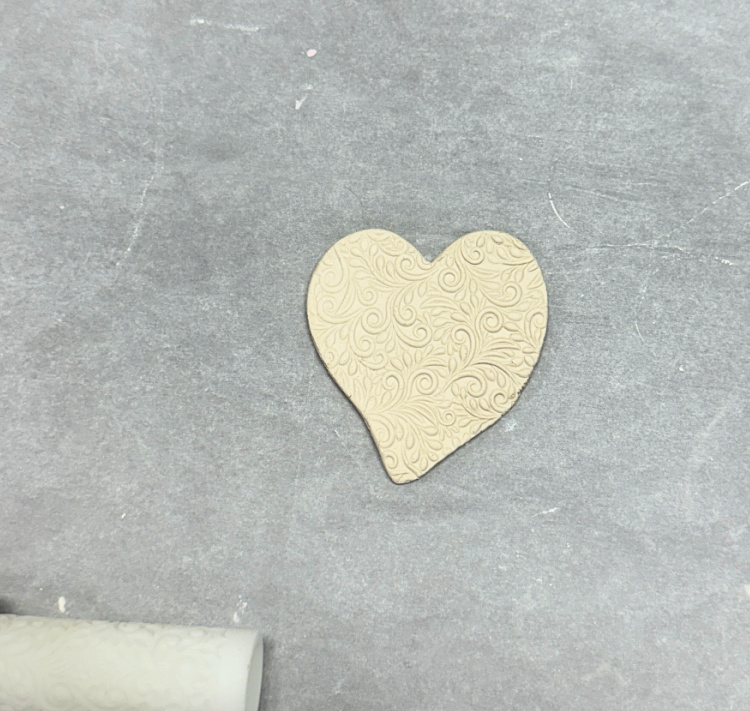
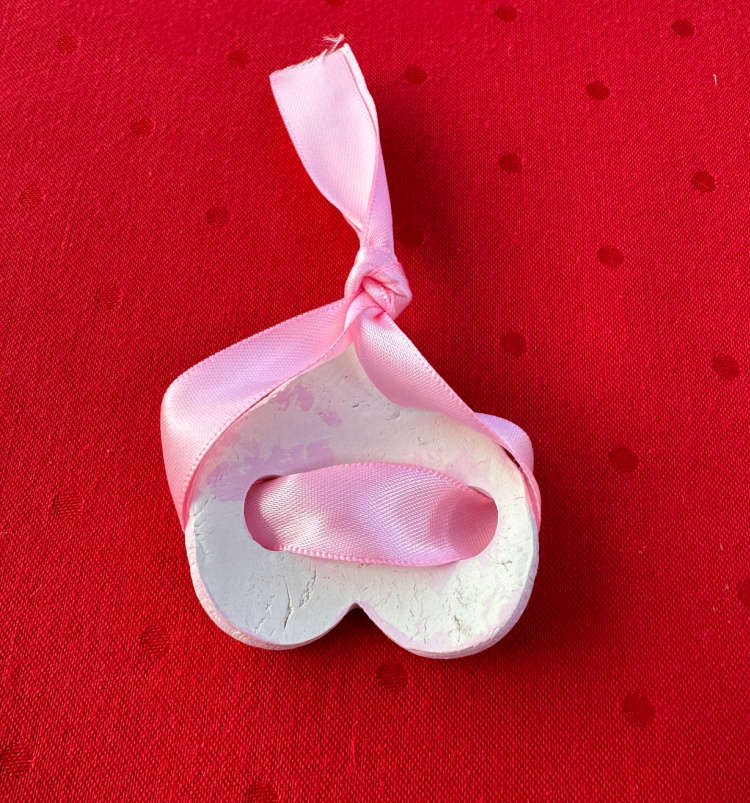
When you are happy with the texture of your heart, take the smallest circle in mini cookie cutter set (the 0.5″) and cut a circle one each side of your heart.
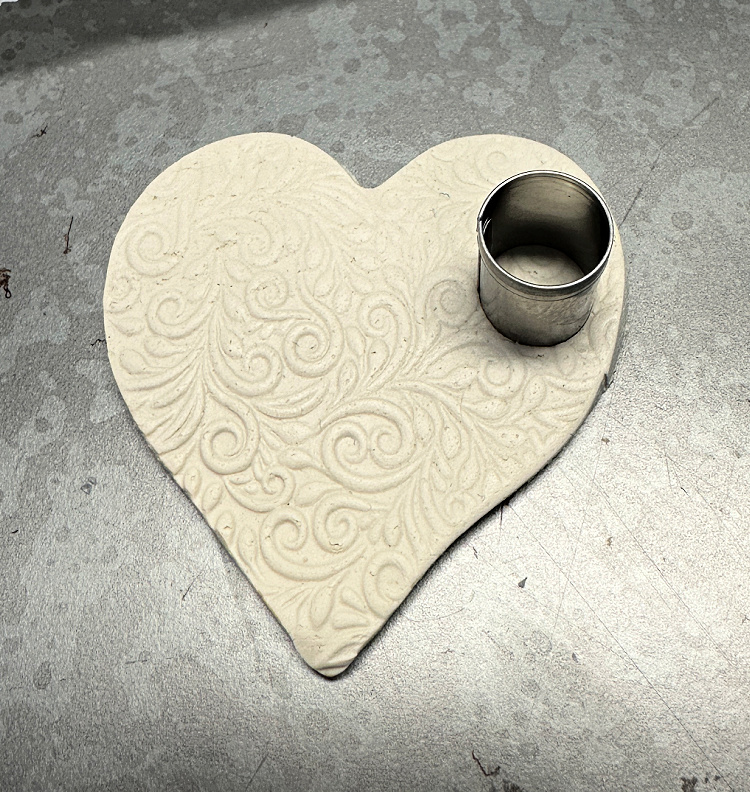
Cut another hole in the other side of your heart.
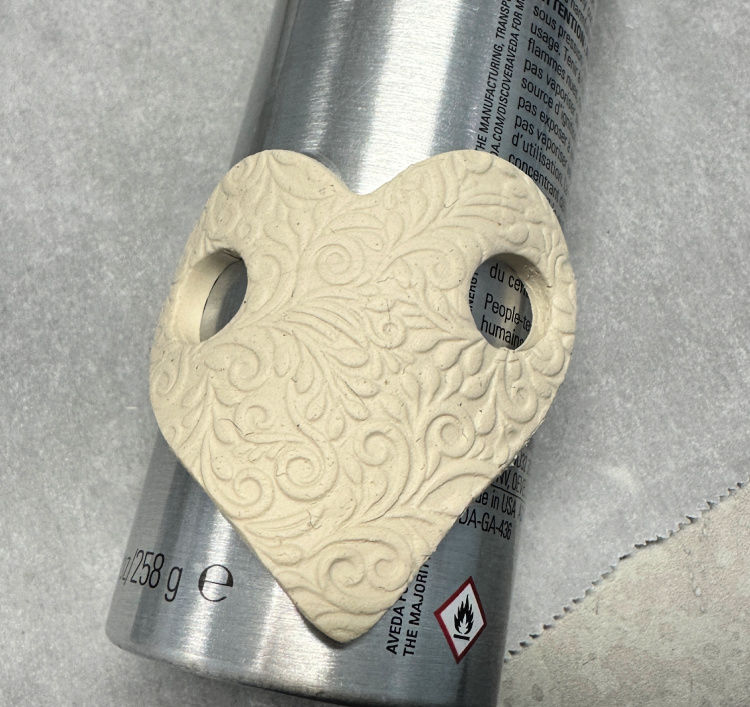
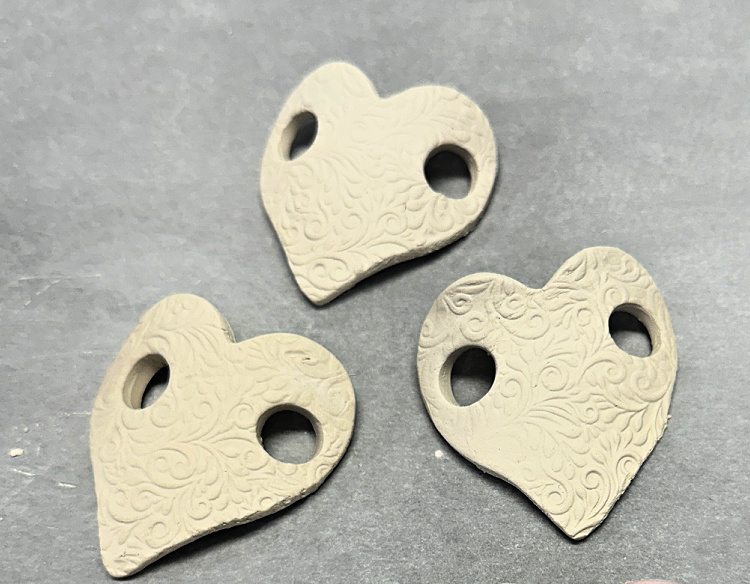
Next, take your heart and gently lay it on a can or jar that is the curved shape you want your heart to take on. I used both a hairspray can and a can of Looking Glass spray paint. Make sure you support the cans so that the weight of the clay hearts don’t make the cans roll over and your hearts fall off
Let your hearts dry. I felt mine were dry enough after 24 hours to paint, but I would recommend you allow 48 hours of drying time just to be sure.
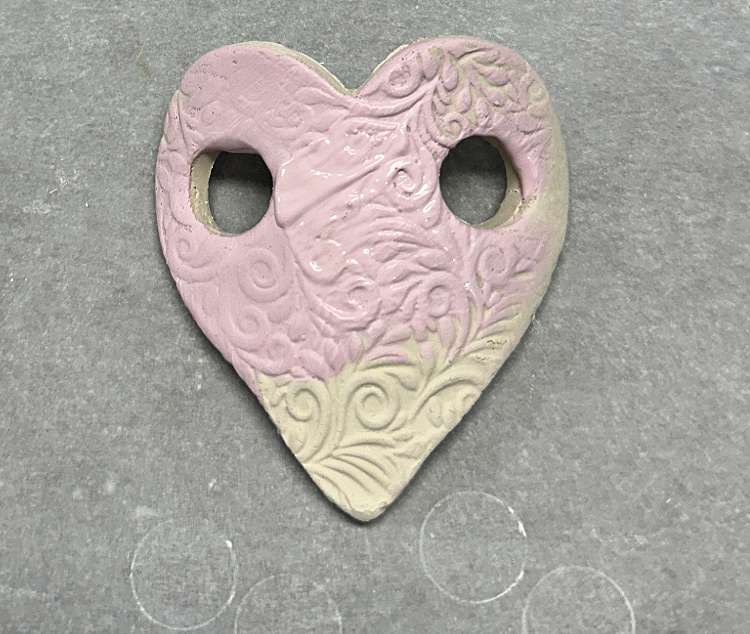
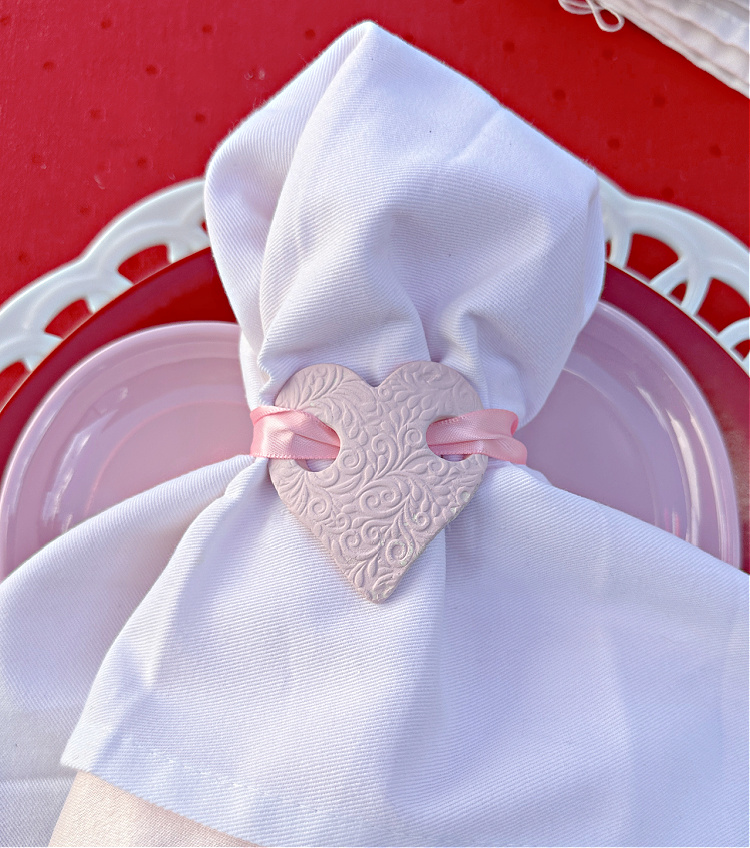
Select the acrylic paint you want for your hearts. I painted mine a soft pink. Paint them with two coats of acrylic paint.
Feed a ribbon through the holes on your heart as shown below. You will want the ribbon to go behind the heart.

Bring the ends of the ribbon around and tie them in a knot in the back.
You can then pull your napkin through the ribbon and you have a beautiful handmade napkin ring you have made!
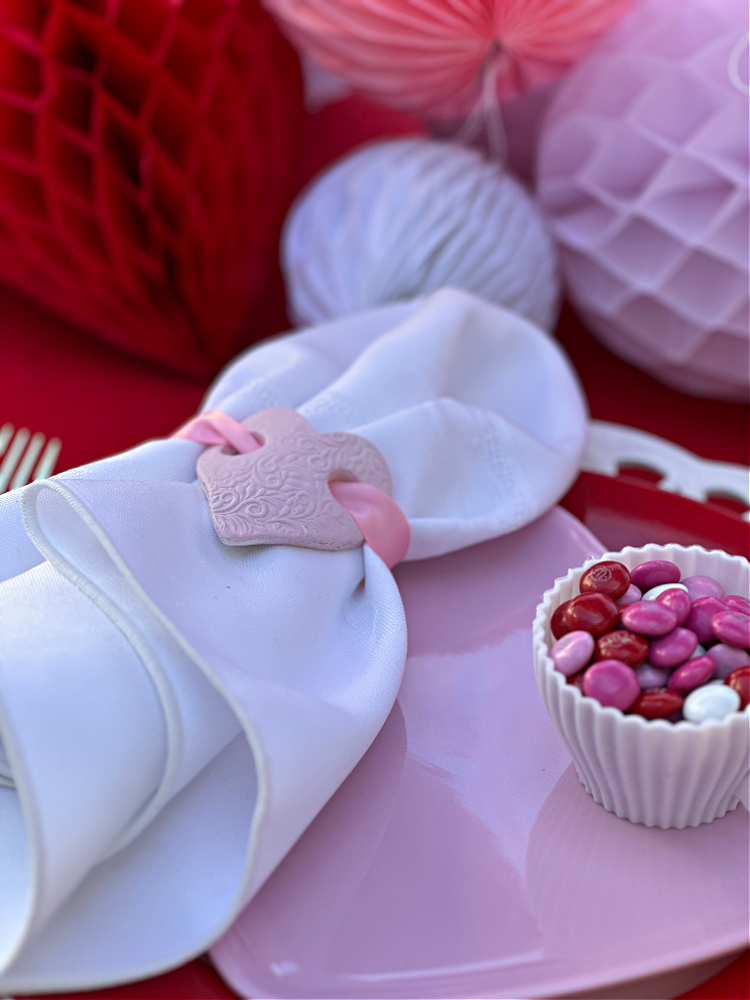
You can see how I styled these on my Valentine’s table for a Galentine’s gathering right here! I hope you consider trying this project, it is really not difficult!
So pretty Chloe, and thank you for the detailed tutorial!
Thank you so much Jenna! Now, if only I could paint like you can!!
What a fabulous idea! They are elegant additions to a holiday table. Looks pretty easy- I will try doing this soon.Could make them for every holiday….. Great for hostess gifts as well.
Thanks Julie! I am thinking about what other holidays I could use them for and how I could make them into place cards too!
These would also make lovely as tiebacks for drapes.
Oh, that is a great idea!!
What a great idea! I can’t thank you for sharing!!!
Thank you Tamara!
Love the tips and instructions thank you!
Thanks, it was much easier than I thought it would be! Don’t be afraid to try it!
Super cute! Thank you for sharing! ♥️
Thanks Liz! I am thinking of some more shapes to make!
Why not texture the clay before cutting out the heart?it seemed to work fine when you cut out the circle shapes.
I just didn’t think of that! Great tip, I will try that!
I love this idea! I’m already thinking of the different shapes I can do …. You can even write a simple message. Thank you for sharing!!
Thanks so much Eyda! I am glad you are inspired!
I’m wondering if maybe they would work for ponytail holders if made maybe smaller with narrower ribbon 🎀 or bracelets even😍.
I don’t see why not, I might roll the clay a little thinner for those uses, so it isn’t too heavy!