
How to Make Seashell Chargers
Did you see my summer beach tablescape from the blog hop last week? I really had this vision in my head of what I wanted my table to look like. I really wanted neutrals, but also pops of white. At first I thought I might just find some white chargers or paint some that I had, but after trying my dishes on them I knew I wanted to adorn them with seashells. I will show you how to make seashell chargers.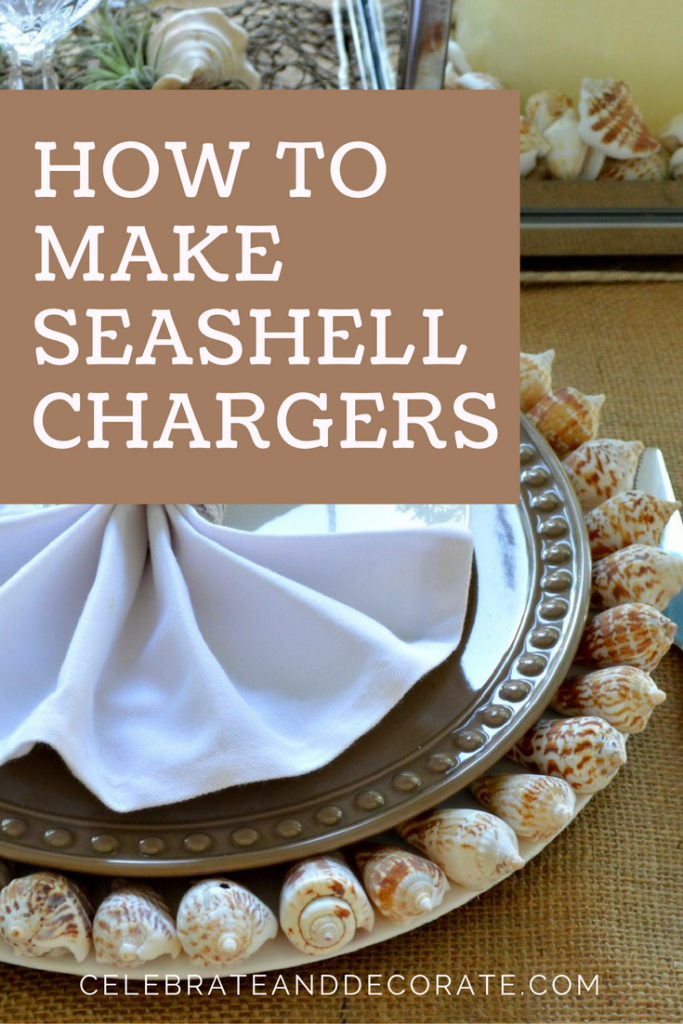
This post contains some affiliate links for your convenience. Click here to read my full disclosure policy.
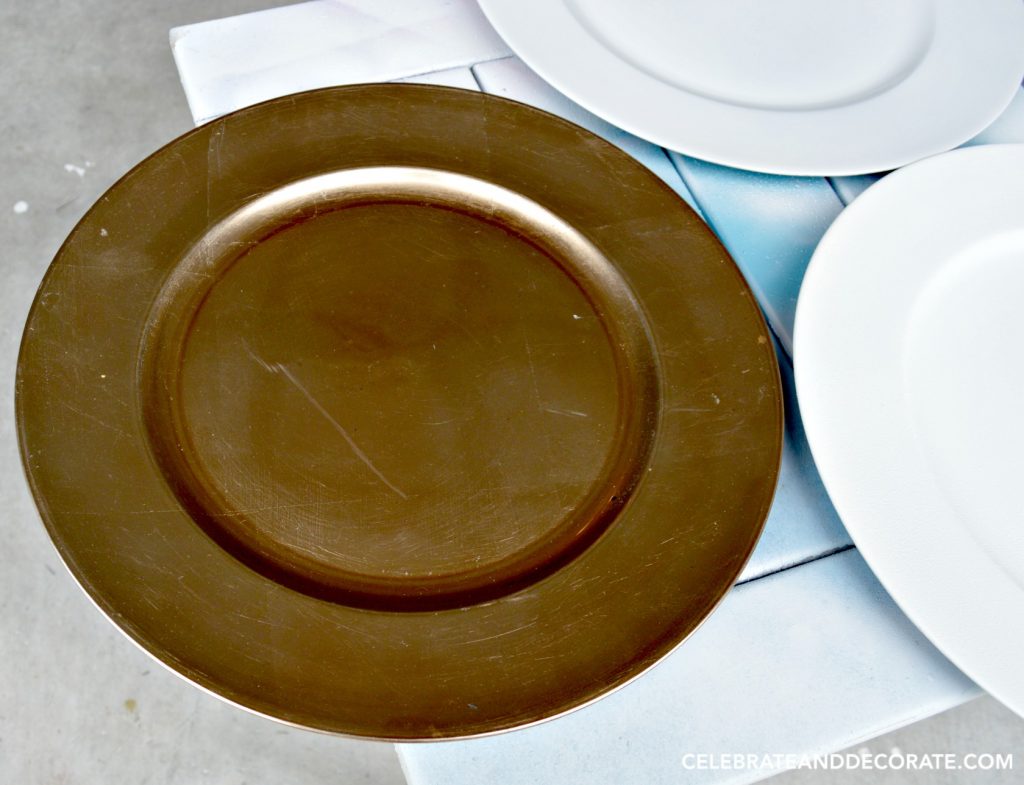
I have quite a few of these standard plastic chargers in silver and gold, but many of them have been scratched. I selected the ones that were in the worst shape and began to paint them.
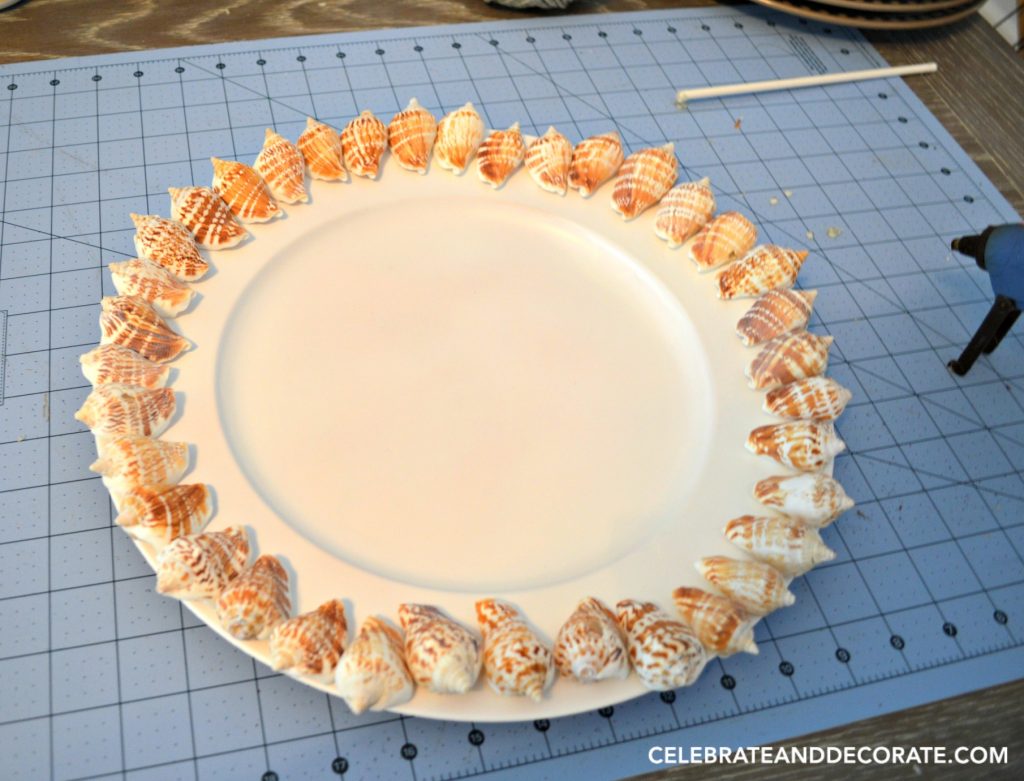
Make sure that you lay out all of your shells before you begin gluing them down so that you are sure you have the right shells and right sizes of shells that will fit all the way around your charger. I had to do a little switching them out to make sure they would fit without any gaps by the time I got all the way around the plate. In the above photo the shells are all just laying on the charger, none had been attached yet.
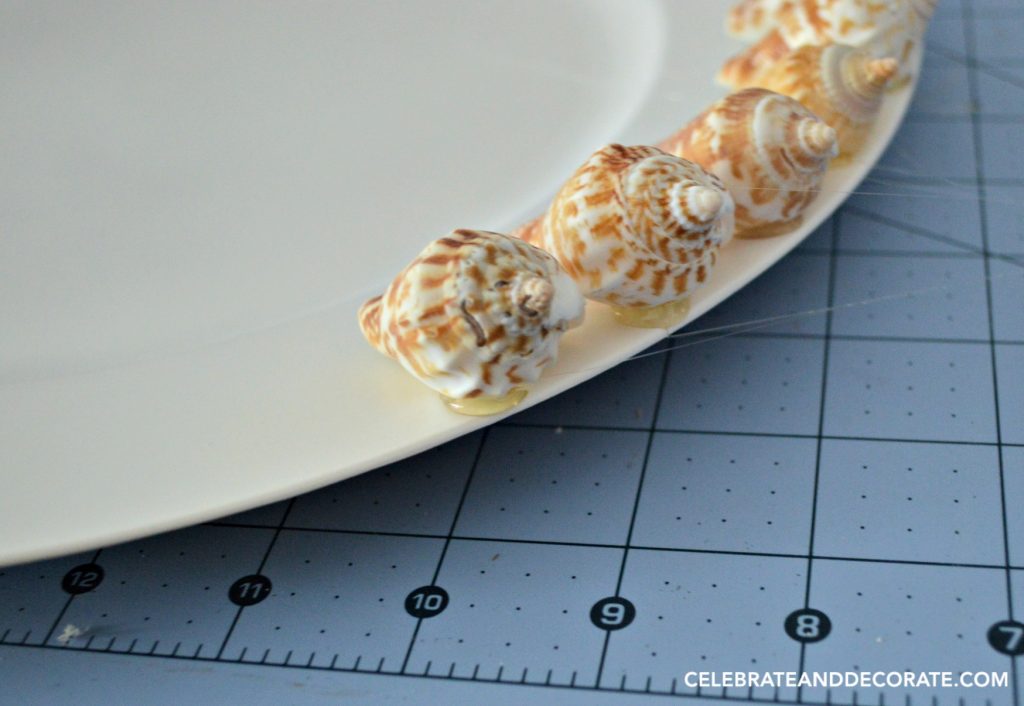
You can see the detail of how I glued the shells in this close up pictures. I didn’t worry about the glue ‘webs’ until I had completed a charger, then after using my fingers, I used a dry toothbrush to catch all of the rest of the little webs.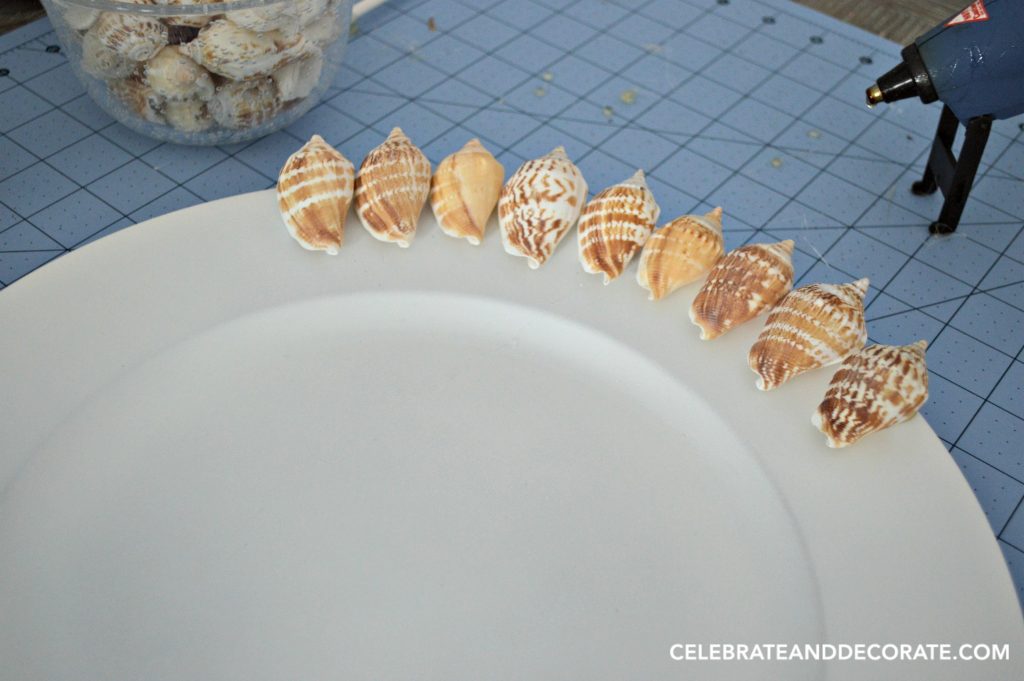
Once you know the shells will fit and fill the edge of your chargers, you start gluing! Watch your fingers, you know that glue is hot!
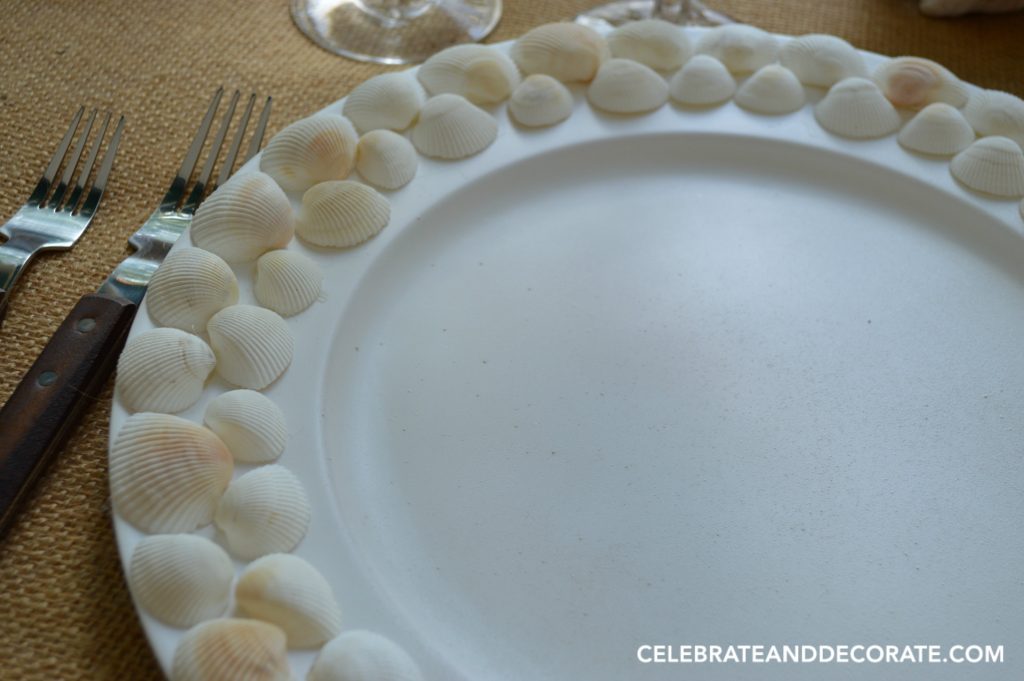
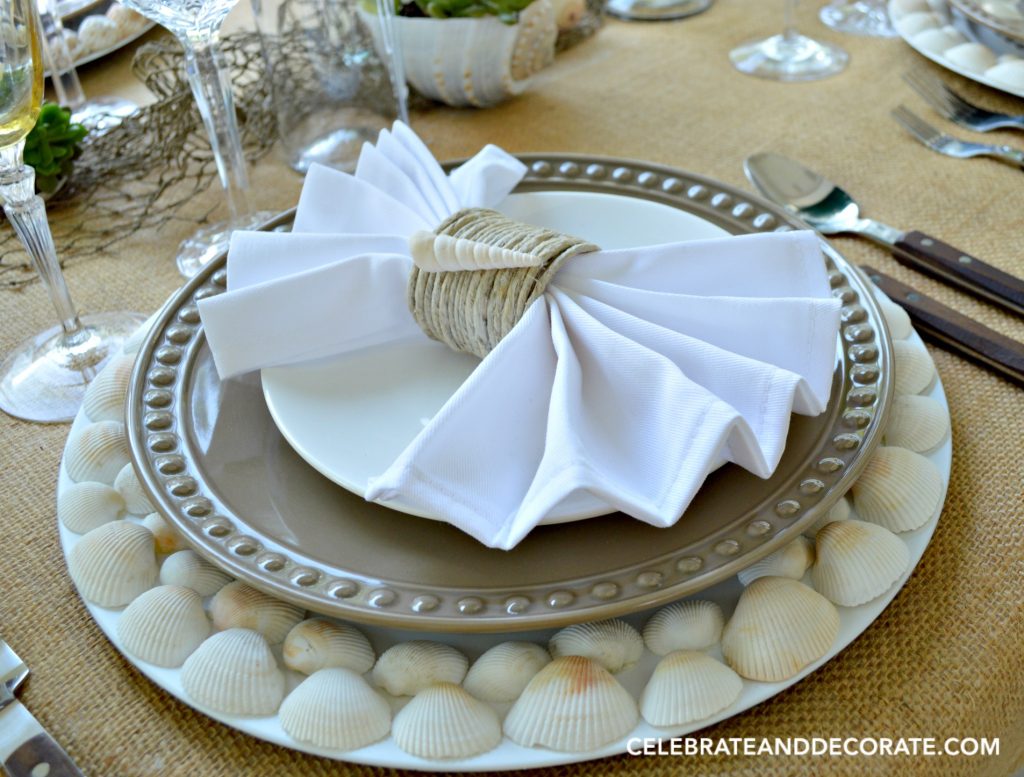
I used two different kinds of shells to make different chargers. I used the white ones in a double row, I think they are cut ribbed arc shells. I used the brown and white ones that I think are alphabet cones.  You do need to keep trying your plates on the chargers as you begin to glue down your shells, as a large dinner plate may bump the shells. Another solution is to use a salad plate that will support your dinner plate a little higher so it will clear the shells. I used that technique with a salad that supported the dinner plate without it moving around.
  This is the salad plate that I used beneath my dinner plates to raise the plate up just enough that they did not bump the shells.
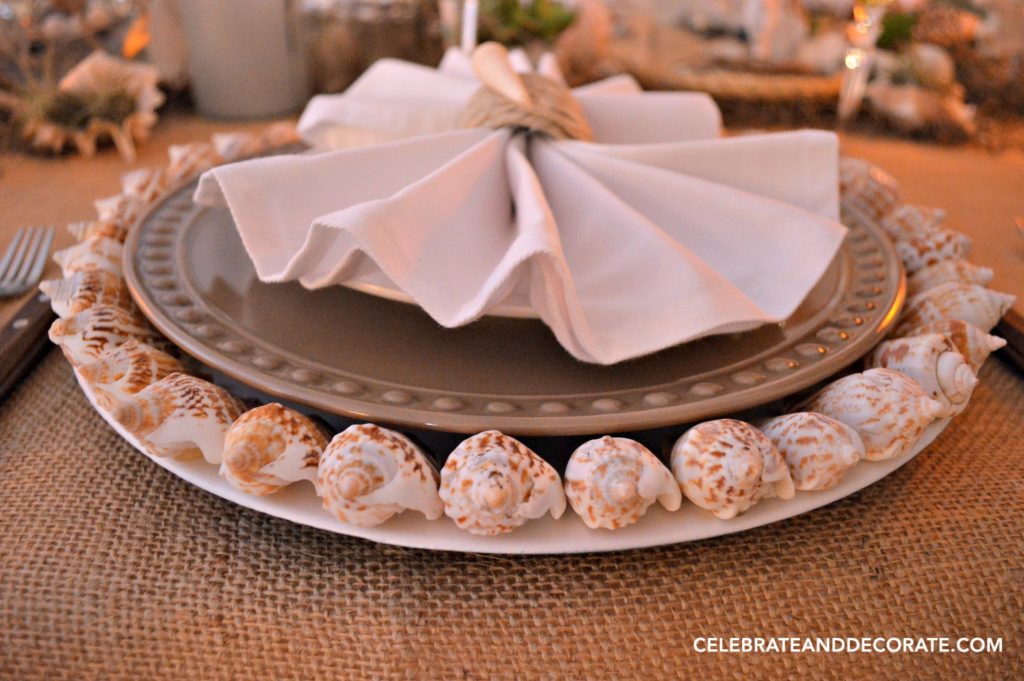
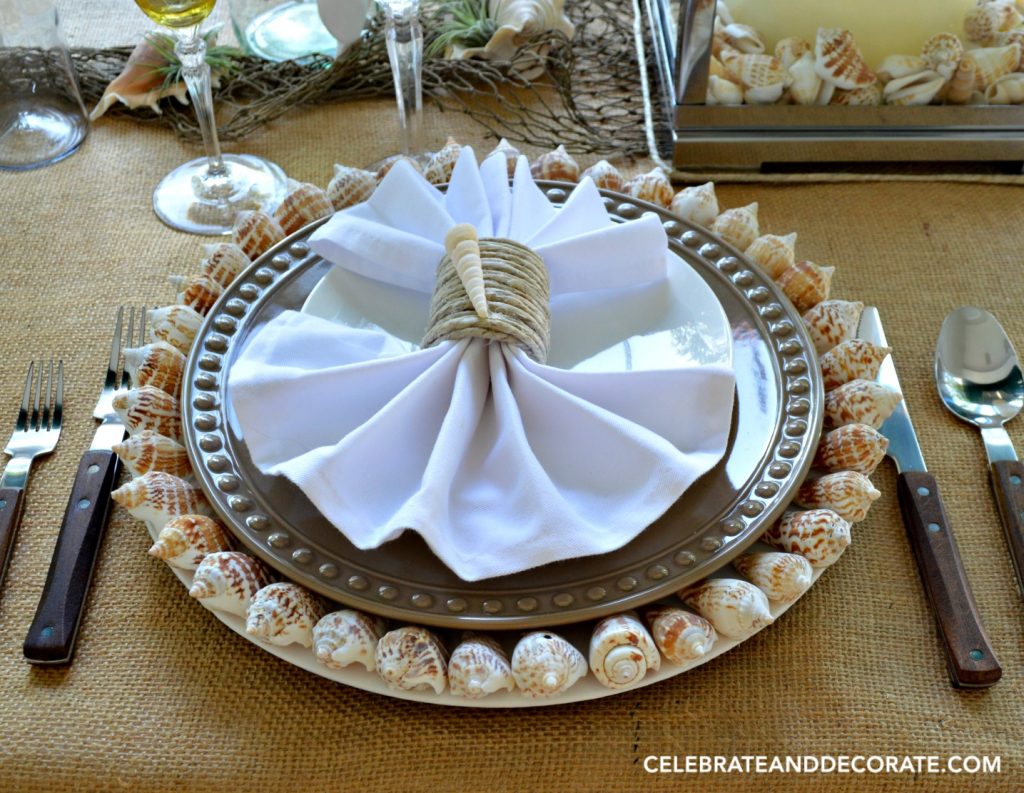
I think these were a perfect addition to my Summer Beach Tablescape! I am sure I will use these again in the future…maybe when I head to the beach for a real tablescape on an actual beach! While you have the shells and the glue gun out, why not DIY these Coastal Napkin Rings?
Shop This Project:
Chargers – Amazon
Seashells (if you don’t already have them) – Walmart
Glue Gun – Amazon
Hot Glue – Amazon
Spray Paint – Amazon
Such a cute idea Chloe! Thanks so much for sharing! I hope that you have a wonderful day!!!
Thank you Shannon!
It was so clever of you to embellish the chargers with shells and make the napkin rings too. To me, everytime I look at your post I see more details that really fit together to make it a rock star post.
I have not thought of spray painting chargers before! Wish I had known before I bought 10 pottery chargers that take up a bunch of space.
Thanks, Chloe
Oh, thank you Bonnie. I just paint things all the time…I have things that have been 6 different colors!
Chloe, I have wanted to do this project for a long time and now I feel inspire to get started! Thanks for sharing your details! Pam @ Everyday Living
These were really easy, Pam, just don’t burn your fingers!
These are so pretty. And a fast and easy craft. Forgive for repeating myself but you do set a pretty table.
Oh thank you Debra! You are so sweet!
I love these! So innovative. I recently wrote post about cleaning sea shells and making them Shine. I have quite the collection from our trip to the ocean. I would love to see this post on The Pinterest Game, it started tonight. http://Www.pinsinanutshell.com. See you there.
Thanks for inviting me and reminding me about it Kellie. It was a big day for me hosting a FB Live for Hometalk, but I have enough energy to share!
I admired these beautiful chargers in your tablescape last week! Great idea! ~Rhonda
Thank you Rhonda!
This is a great tutorial Chloe, I love the tip about using the salad plate underneath, very clever! I made 1 shell charger a few years ago, but was too lazy to make a set 🙂 I just use mine as a base for a centerpiece on the table. Your table from the hop was one of my very favorites!
what a great idea gives me ideas for halloween thanks for sharing have a great day
Ohhhh! That is a good idea Lorraine!
Totally loving this easy tutorial! Pinned!
Love these Chloe!
What fun! Such a cute idea for a beach/coastal theme party 🙂
Thank you Sam!
The place settings look great. I love easy they were to put together. Did you buy the napkin ring holders or make those too? Thanks for sharing on the Pinterest Game!
I made those! You can see the tutorial at: http://celebrateanddecorate.com/diy-coastal-napkin-rings/
These are gorgeous. I kept wondering how the dinner plate didn’t smash or break the shells – using a salad plate underneath to lift up the plate is genius! Thank you for sharing on Family Joy Blog Link-Up Party. Have a great week!
I used them again and skipped the salad plate and it worked fine, only touching the shells, gently.
Good instructions. However, regarding using the salad plate to lift the dinner plate: Is there any reason why you can’t turn the charger upside down, thus raising the center to take the plate while the shells are lower along the wide edge? These days people make personalized chargers using all sorts of things other than seashells, i.e. beads, stones, dried or faux flowers or grasses, etc. Using the backside of the charger seems the best way to go. And it doesn’t matter that the edges of the charger lays against the table or tablecloth, because the charger usually remains in place throughout the entire meal.
So pretty! I’m into all things seashells, so this is something I’ll have to make to add to my new craft obsession. Thanks for sharing on Merry Monday. This will be a featured pick. Pinned.
Thank you so much Erlene!
Great project for those of us who can’t have ever have too much table decor. They are beautiful Chloe and very easy on the wallet!
Thank you Sandra!
I really like that you painted the charges to match your design! I know that your tablescape was beautiful! Thanks for sharing with us at Merry Monday.
Thank you Shirley!
I am glad you found us and were able to join The Pinterest Game.
This is such a sweet idea Chloe. The little seashells take it to a whole other level. And each one is so unique with its own set of shells. Beautifully done and nice match with the napkin holders. Pinning and sharing.
What a fun project!
I have a bag of shells leftover from my sisters ocean themed baby shower this is a perfect use for them!
Thanks!
Michelle
Thank you for stopping by Michelle!
These are beautiful! Would be great for a beach wedding reception also. How fun and easy.
These are beautiful! Would be great for a beach wedding reception also. How fun and easy.
Wow, your chargers are gorgeous! I love how you styled them!! Thank you so much for sharing!! I have chosen your amazing post to be featured at the next Friday Favorites Party!! Hope to see you there – Hugs, Christine at Light And Savvy.
This idae is supper cool am really like it you made my day am so happy to ahve it
You made my day
Thank you so much