A Fantastic Fall Arrangement You Can Make Today!
Make this simple fall floral arrangement in just a short hour or less! Let this grace your mantel, your foyer or a sideboard and bring the colors of autumn indoors!
I began this fall harvest arrangement in the same way as I did the illuminated topiary. Click on that link to see all of the details and how I made that one.
This post contains some affiliate links for your convenience. Click here to read my full disclosure policy.
Select a container:
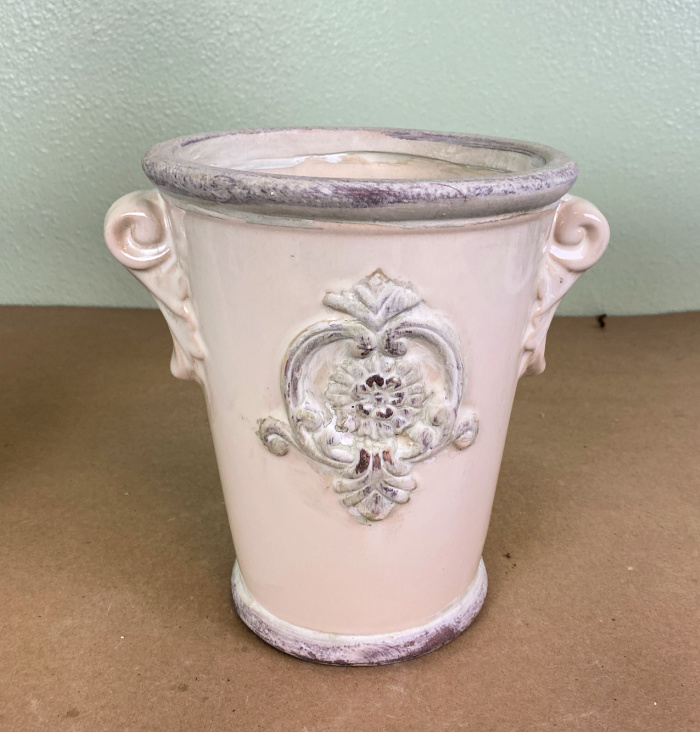
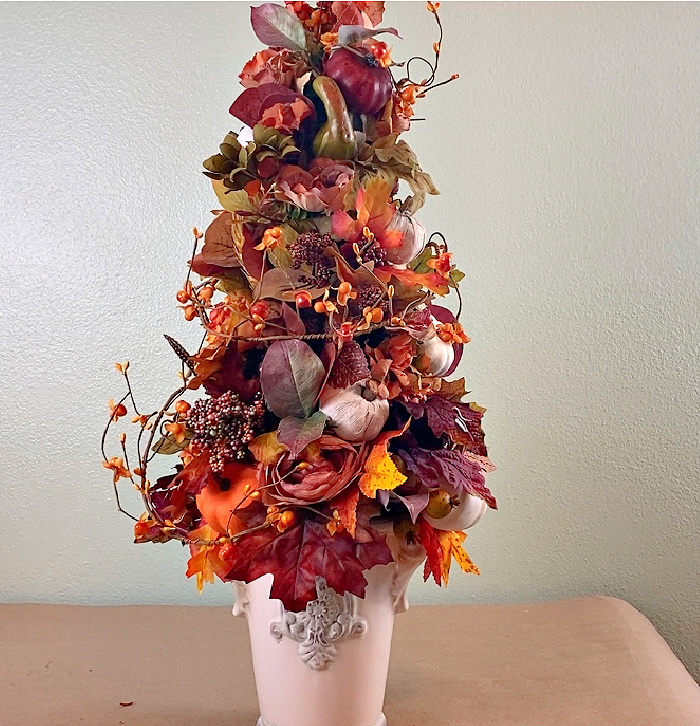
You will need to find a container that will accommodate the styrofoam cone you will use for the base for your topiary. I selected this cream colored traditional pot. You may have to do a little shopping to find something that is the right size and the style that you are looking for. I selected the same container, but, there will be a surprise come the end! You never know what container you may find and how it will look after your arrangement is complete!
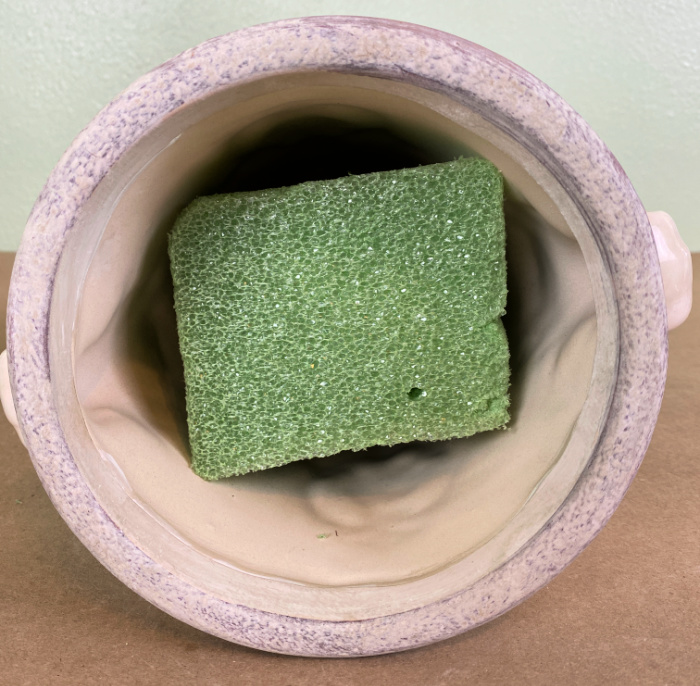
For this particular container, you will want to put a piece of styrofoam into the bottom of the container to raise up the cone you are using for your base. Wedge the cone in until it is very secure.
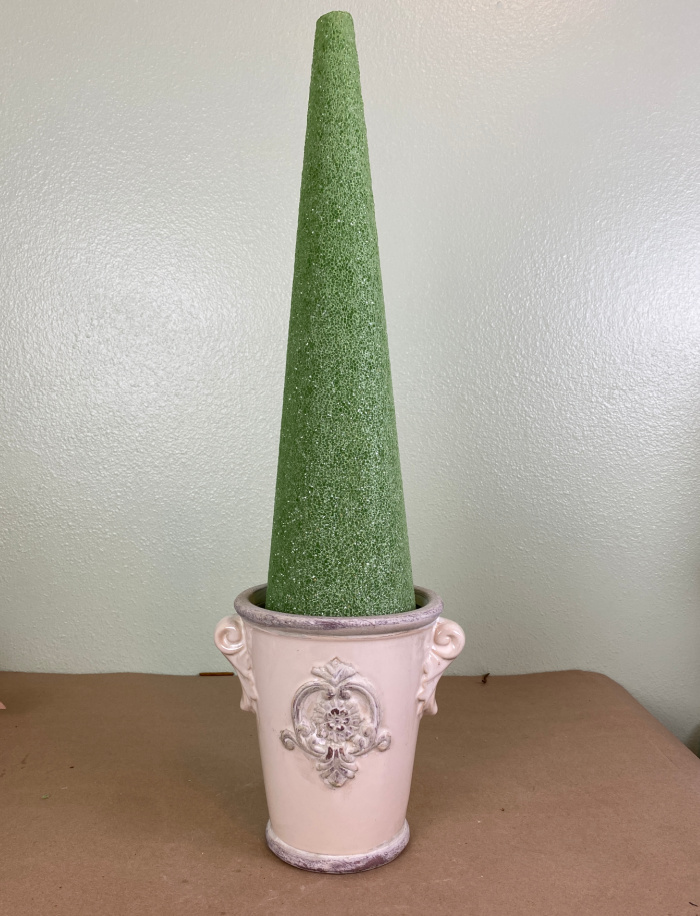
You can select whatever size styrofoam cone you want to build your arrangement. I used a 17.9″ cone for mine. You may want to even select a variety of sizes and make two or three of these to display together.

When you set your cone into your container, if it is not wedged in securely, you will need to do something to secure it. You can see from the photo below that there is space between the cone and the edge of the container.
One way to make the cone more secure is to wedge come pieces of styrofoam between the foam and the edge of the container. Another option is to use a wooden skewer and push it through the edge of the cone and down into the styrofoam that is wedged in the bottom of the container. You can always use both methods to make your base for your arrangement more secure. I usually opt for the doubly secure and use both of these methods together.

Build your arrangement on your base:
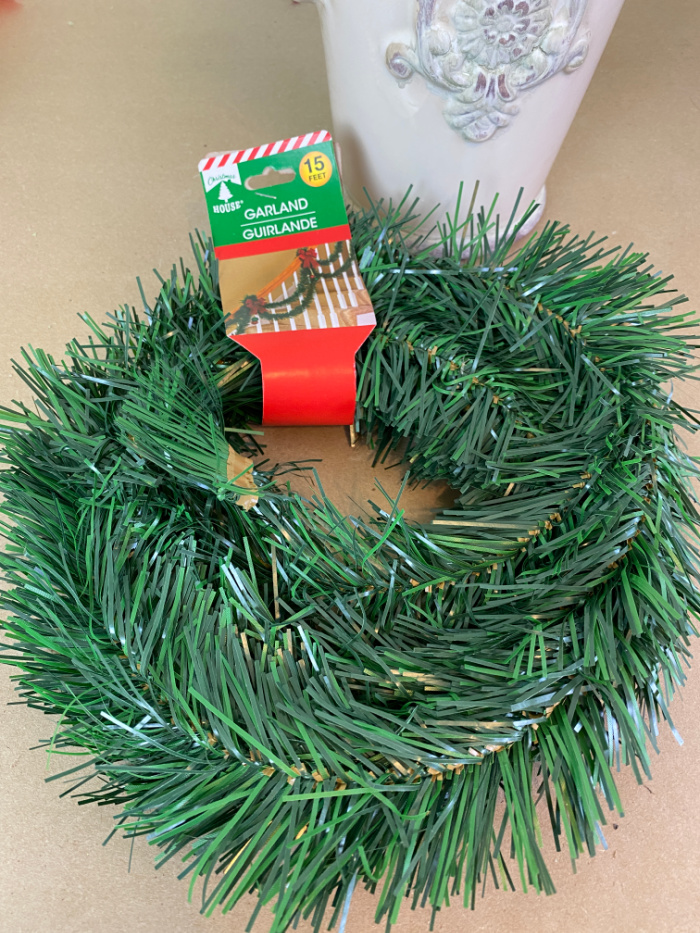
One of the things I always pick up extra ones of this time of year to have on hand all year long are these 15′ garlands from the Dollar Tree. If you are a regular crafter, you will find many uses for these one dollar garlands.
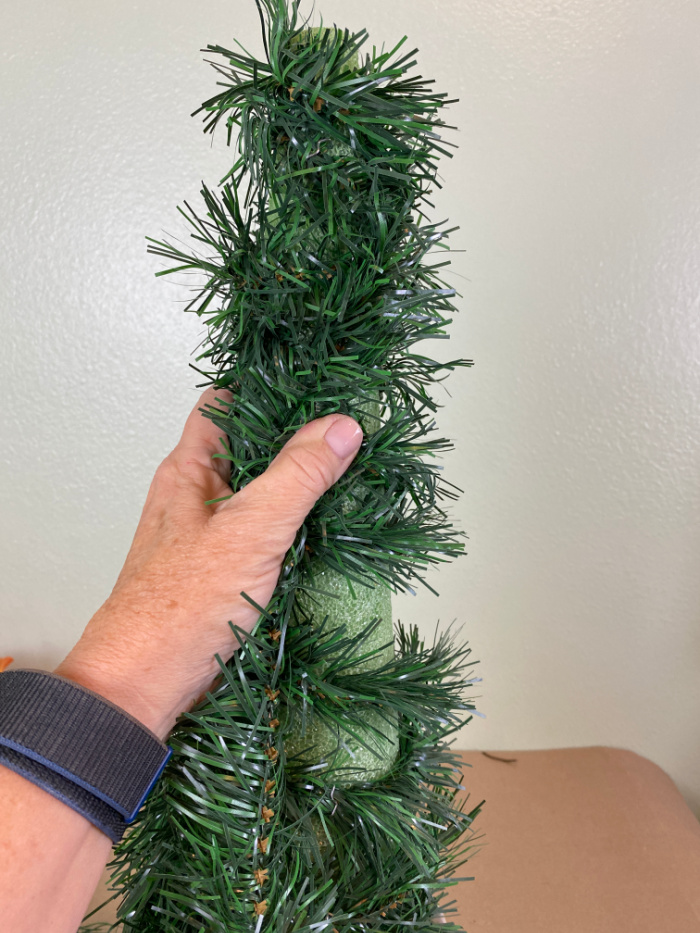
Unwind your garland and wrap it loosely around the cone. Secure the garland into the cone with greening pins.
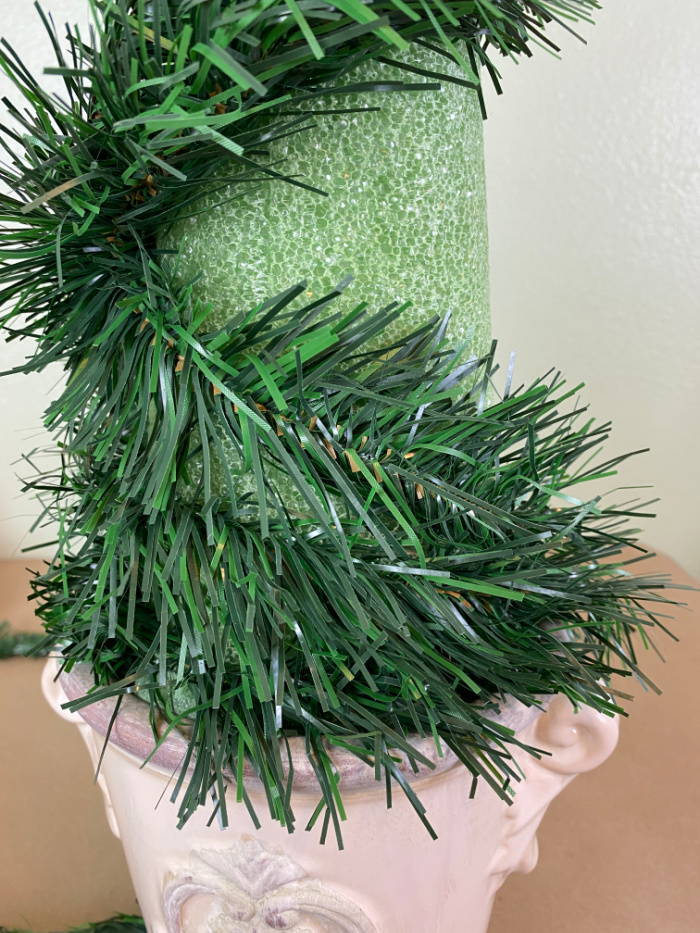
Wind the garland up to the top and then back down to the bottom. If there are places where it is particularly loose, just squeeze it to the styrofoam and secure it with the pins. You should not need to use more than eight or ten greening pins to attach the garland to your cone.
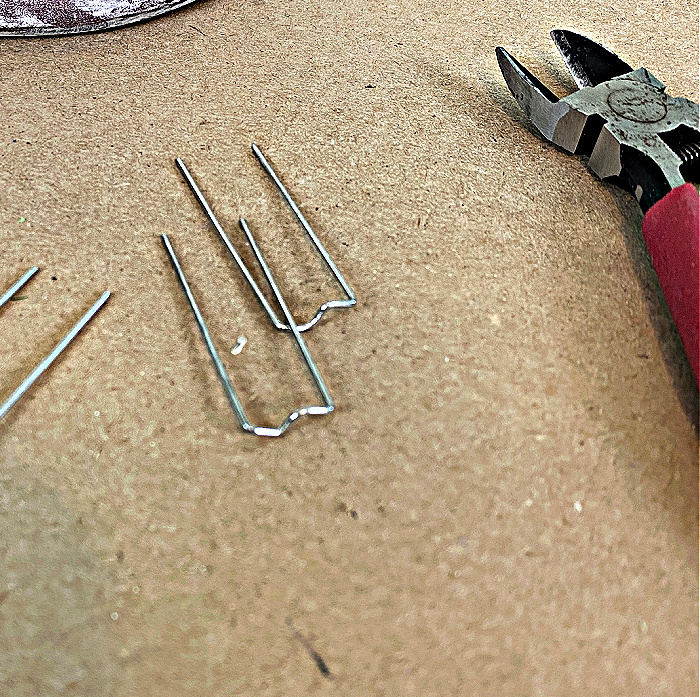
These are the greening pins you will want to have on hand to attach the garland and to use to attach some of the other things to your cone.
The creative part:
I try to not collect and save too much from season to season or year to year because, let’s face it, who has that kind of space? On the other hand, I cannot just get rid of perfectly good materials. Fall materials are one of those things I have a lot of. I did not have to purchase any fall items for fall decor. I brought out this big bin full of last year’s leftovers and went to work.

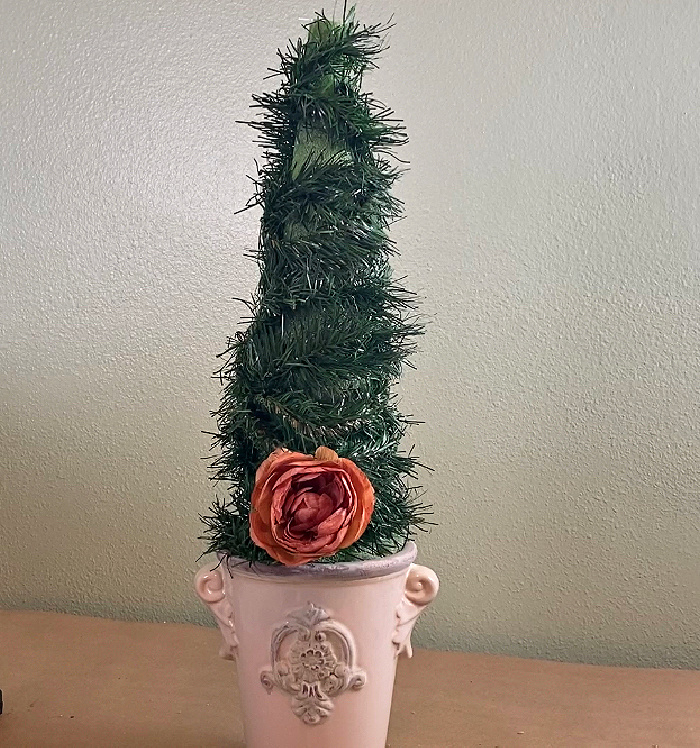
Begin with something as easy as a single bloom, or a pumpkin.
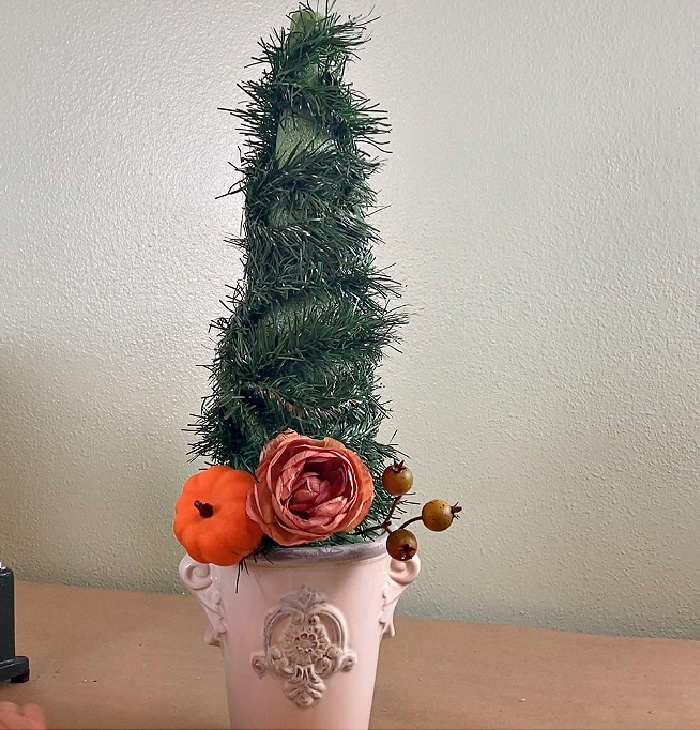
Continue to add whatever you have on hand or whatever you have picked up to build your arrangement. Blooms, berries, pumpkins, fall leaves, etc.
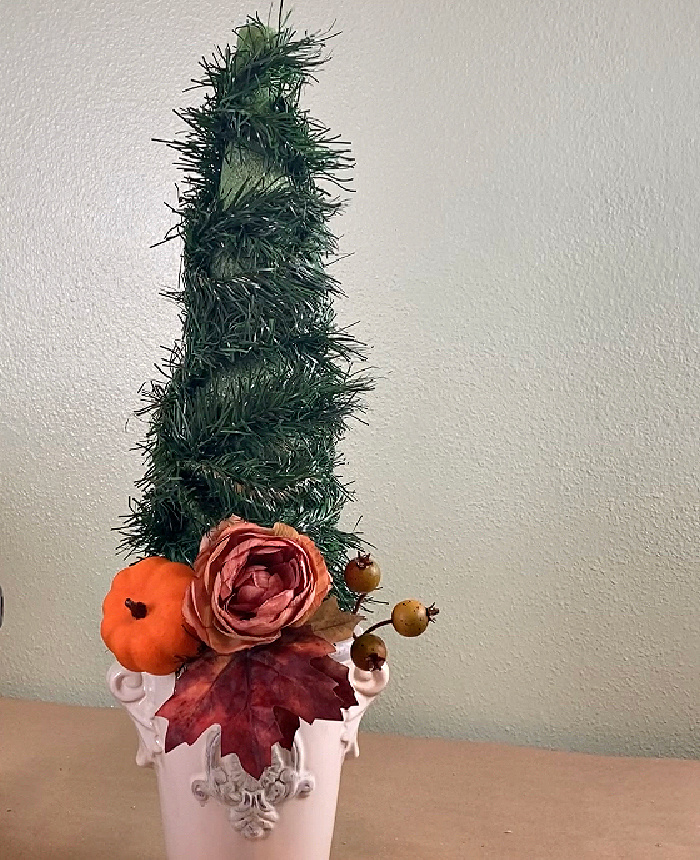
You will want to add larger fall leaves around the base of your arrangement.
There are a couple of different ways to add items to your styrofoam. If the stem is stiff, you may be able to stick the item right into the foam. More likely than not, some items will not work that way. One option is to use wood-wired sticks. Lay the stem up next to the wood wired stick and wrap the wire around the stem AND the wood stick.
Make sure that some of the wire at the end is wrapped ONLY around the wood stick. That will keep the item from coming off of the stick. You may find that you need to buy very short wood-wired sticks OR you may need to clip them shorter. Of course, if you clip them short, they will no longer have a pointy end to stick into the foam.
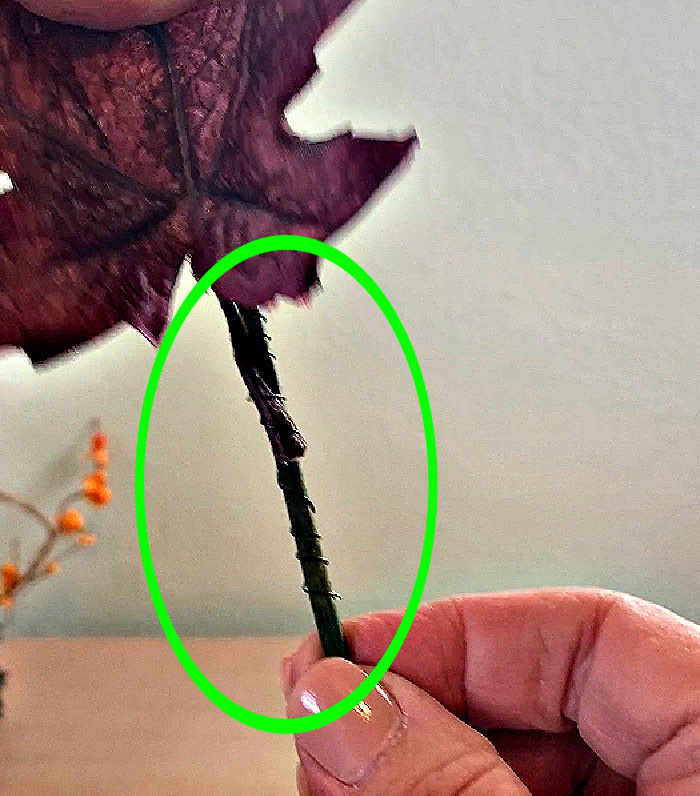
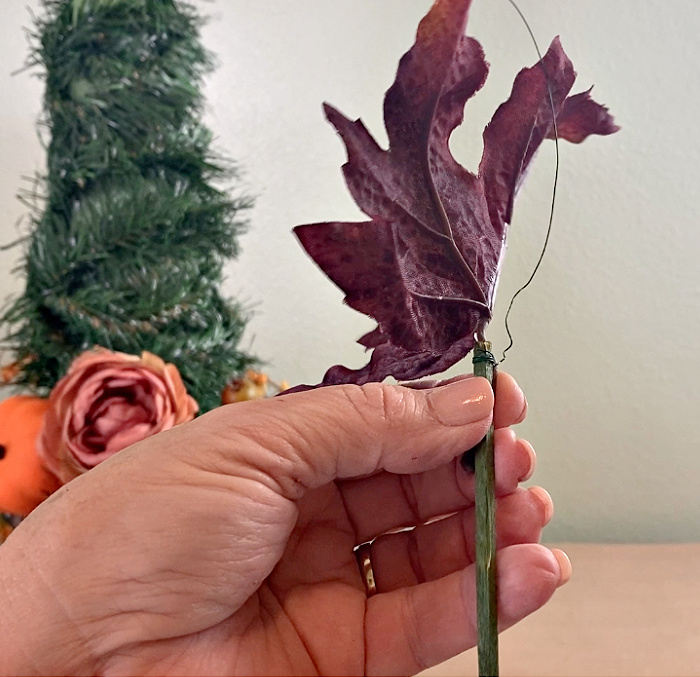
Another option (my preferred one) is to use wooden skewers. You can clip them as short as you want with your wire cutters. Do the same thing as with the wired sticks, laying them next to the leaf’s stem.
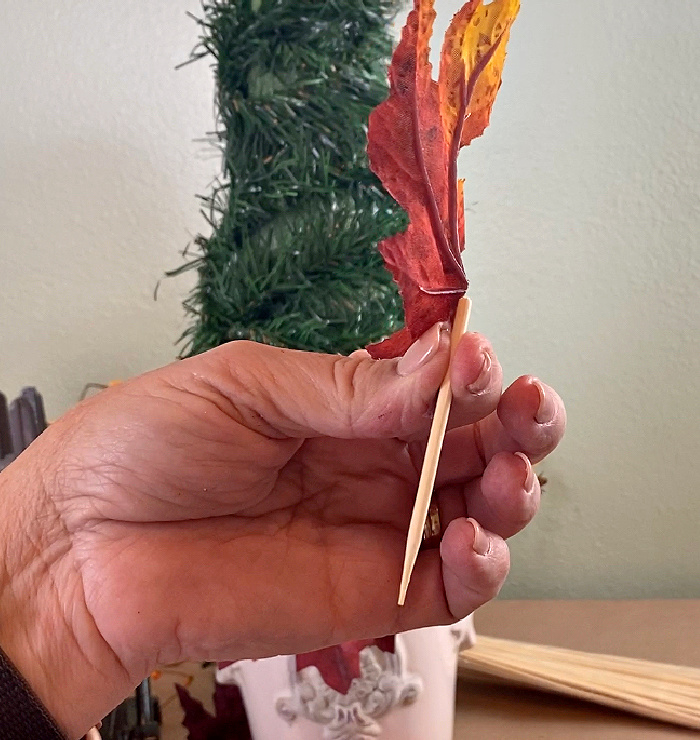
Next, using floral tape, wrap the floral tape, (while pulling tightly) around the leaf and the skewer.

Then you can easily stick the stem into the styrofoam.

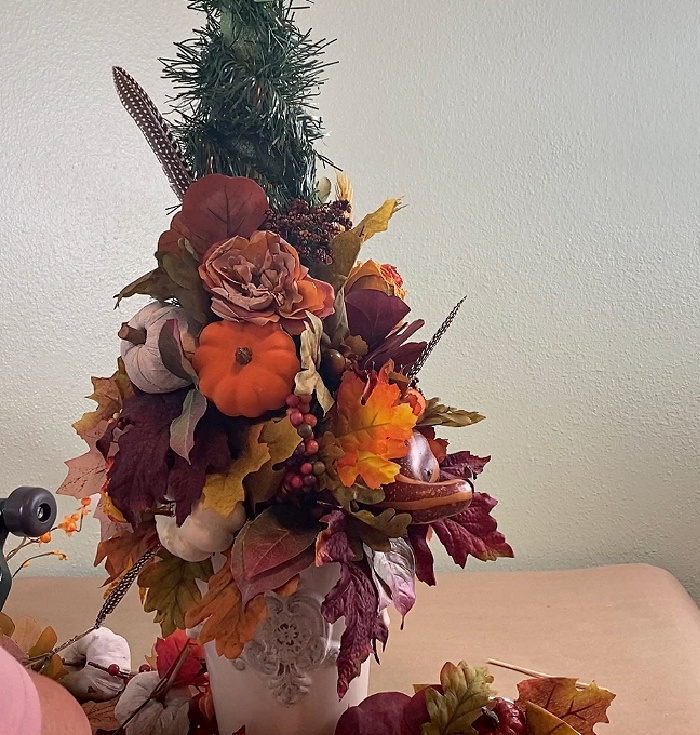
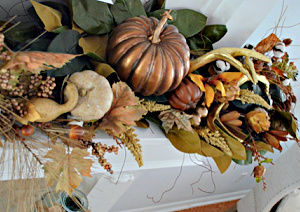
Continue to add artificial leaves, berries, pumpkins, etc. to your arrangement as you work your way up. I added these feathers which are perfect for an autumn floral arrangement.
To add pumpkins and gourds, simply stick a skewer into the pumpkin and then into the styrofoam. Make sure you keep the skewer short enough that it does not poke through your pumpkin.
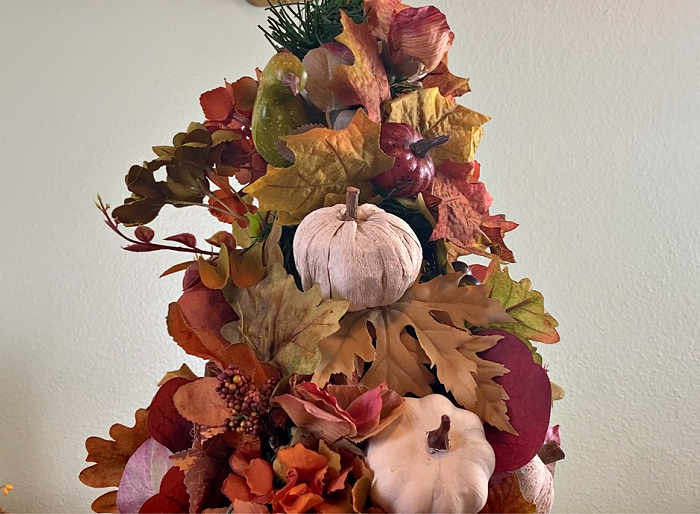
As you add leaves, tuck them beneath your pumpkins so that your pumpkins are the feature of your diy fall floral arrangement.

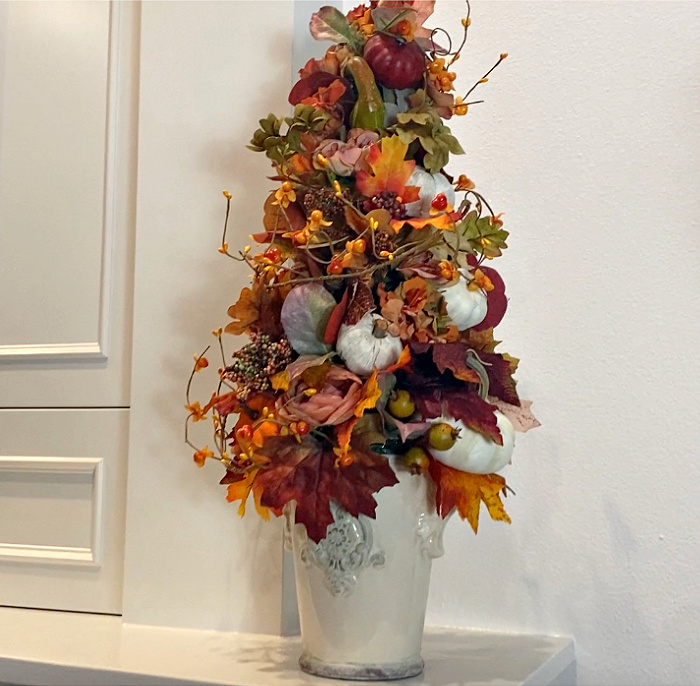
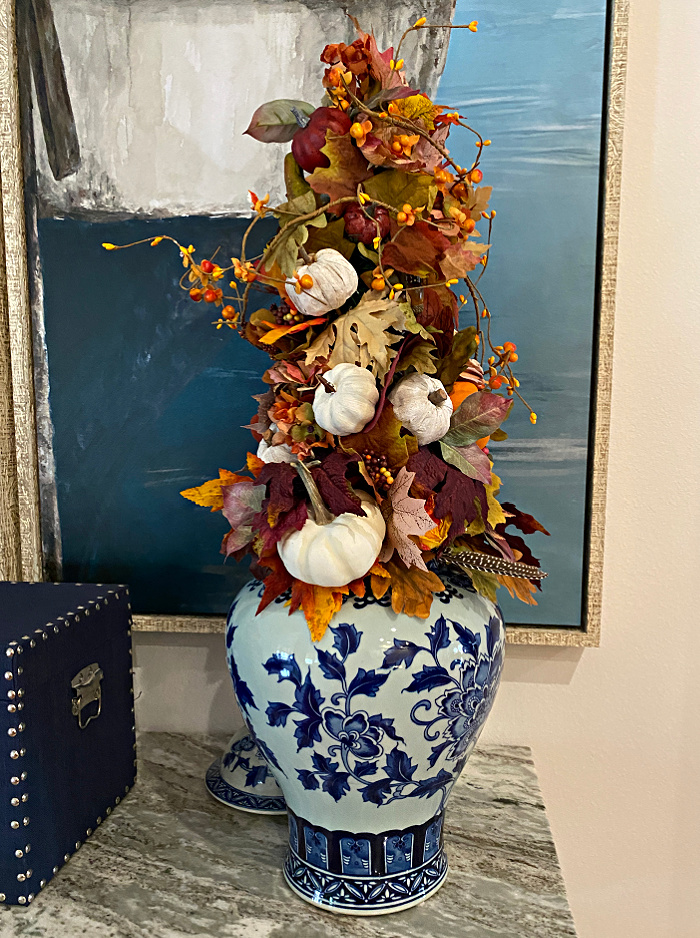
When you have filled your arrangement to the top, take a garland or vine of some kind (I used artificial bittersweet) and wrap it loosely around your arrangement from top to bottom. This fall floral arrangement with all the deep colors we love at this time of year will be lovely to display in your home.
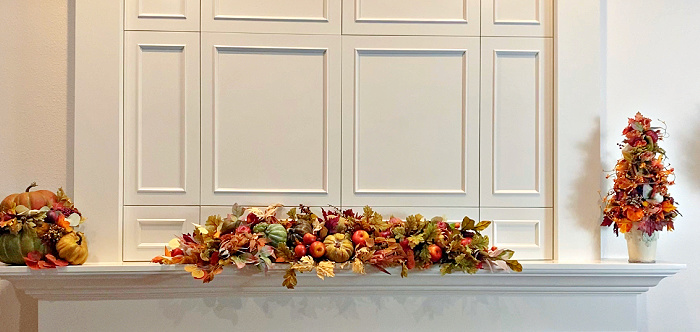
Add your arrangement to a place where you are already displaying something for fall in your home. I added mine to my mantel, but it seemed a little lost.
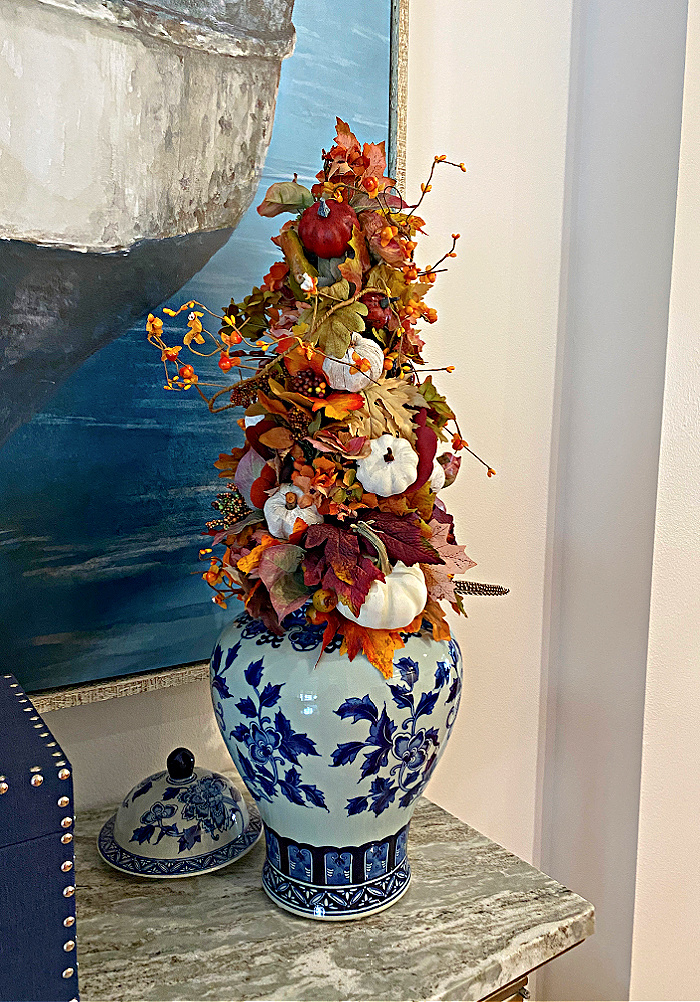
This is the wonderful thing about crafting yourself. I lifted the entire arrangement out of the pot it was in and set it into this large chinoiserie vase. Wow, what a different look this was.
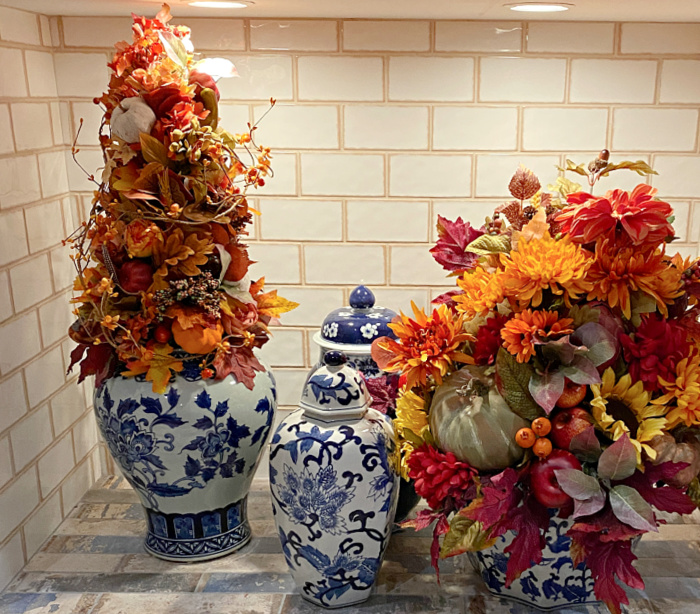
I really liked this arrangement of chinoiserie pots in my firebox with the autumnal floral arrangements. I did wonder how long this would last before my playful pup would decide these pumpkins were actually little balls.
As you can see, the arrangement is back in my foyer. Let’s just say, it didn’t last long! I had managed to get Lily to leave the big pot of driftwood alone, so let’s just leave it at that! I am happy to have this lovely autumn arrangement welcoming guests to my home this fall.
Supplies to make this fall floral arrangement:
- styrofoam cone
- container
- wood wired sticks
- OR
- wooden skewers
- faux fall leaves
- small faux fall pumpkins
- artificial bittersweet
- feathers
- floral tape
- greening pins
If you like this, you might like these too:


Chloe, love this one so much. I’ve that it’s a bit softer in color.
Hope that me saying this doesn’t hurt your feelings
Chloe I love this arrangement! And putting in the blue and white chinoiserie vase was the cherry on top of the sundae for me!
Beautifully done! So creative, love watching you work your magic! Happy Fall!
You constantly amaze me with your creativity, Chloe, love this fantastic idea and how your step-by-step instructions made it super easy to follow too! Happy Fall, CoCo
This is such a great idea, Chloe. Another creative project!