How to Make a Bee Skep Wreath
How to Make a Bee Skep Wreath
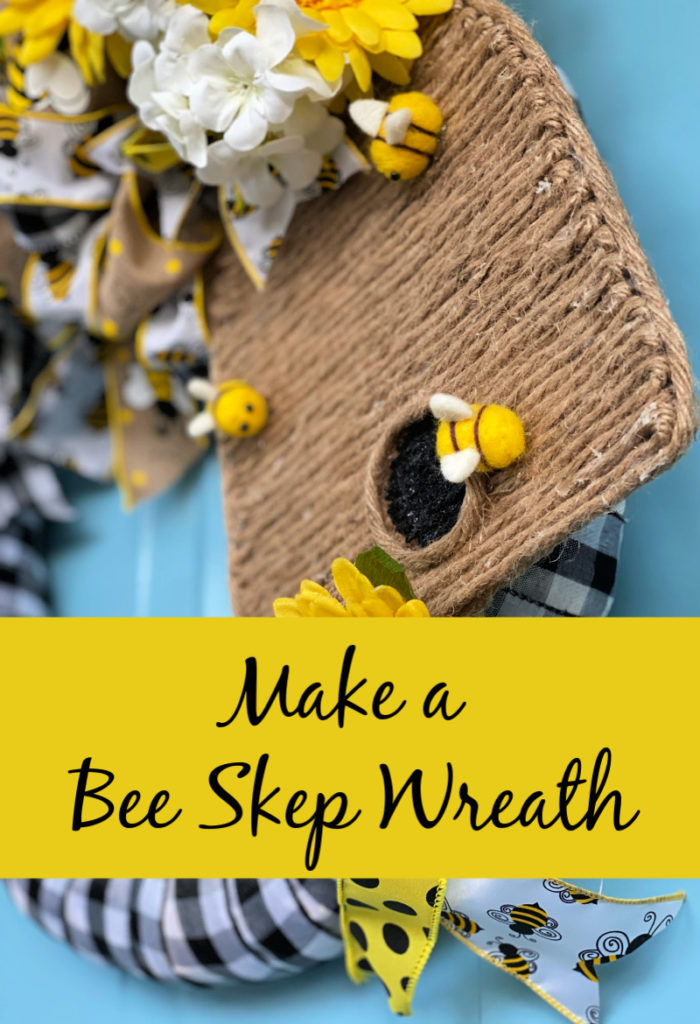
Bee skeps are so popular right now, but I wanted to add one to my wreath. I will show you how to make a bee skep wreath.
This post contains some affiliate links for your convenience. Click here to read my full disclosure policy.
Assembling the skep:
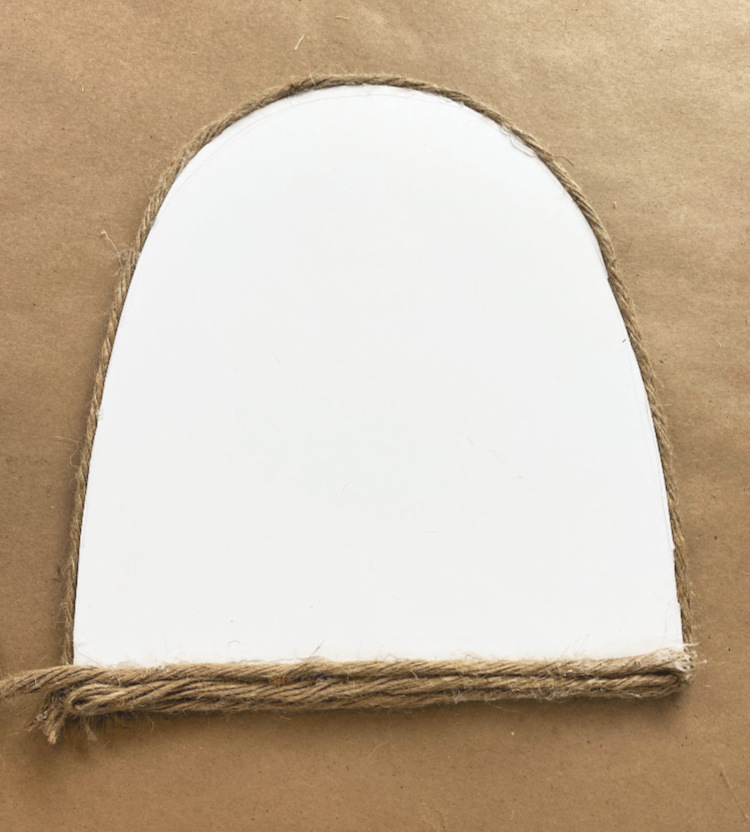 Start with a bee skep-shaped piece of foam core. Using jute rope, hot glue the rope around the edge around the edge of the foam core and then begin gluing the rope back and forth across the skep shape.
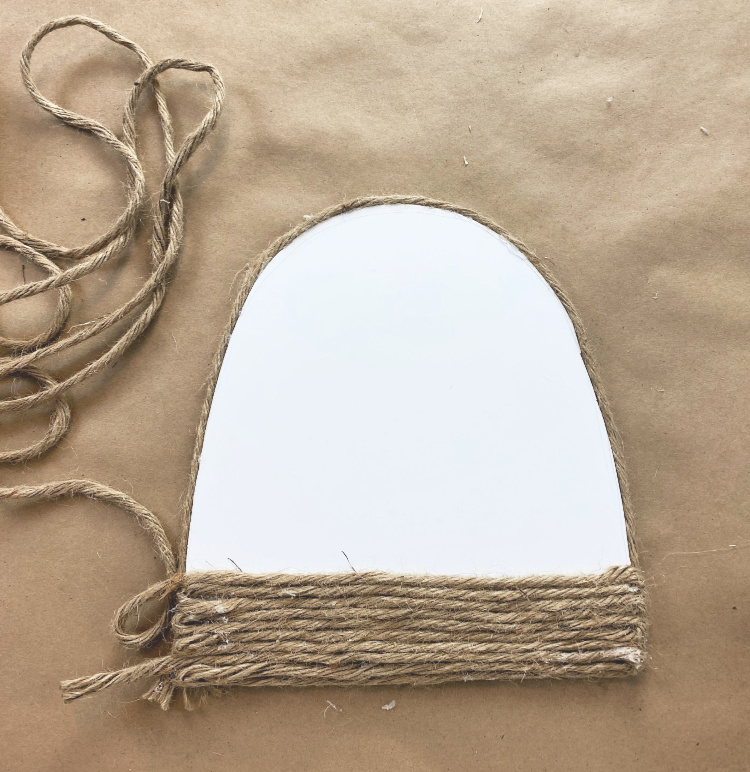
Continue back and forth across the foam core. Make sure you push each layer of the rope down tightly against the one beneath it. You won’t want any of the white to show through.
 Continue to finish the layers. How much rope you need will depend upon the size of your rope and the size of your skep.

When you finish at the top of your skep, take the rope and continue to wrap the rope around the edge of the skep once more.  Glue a circle of the same rope and secure with hot glue to your bee skep.
 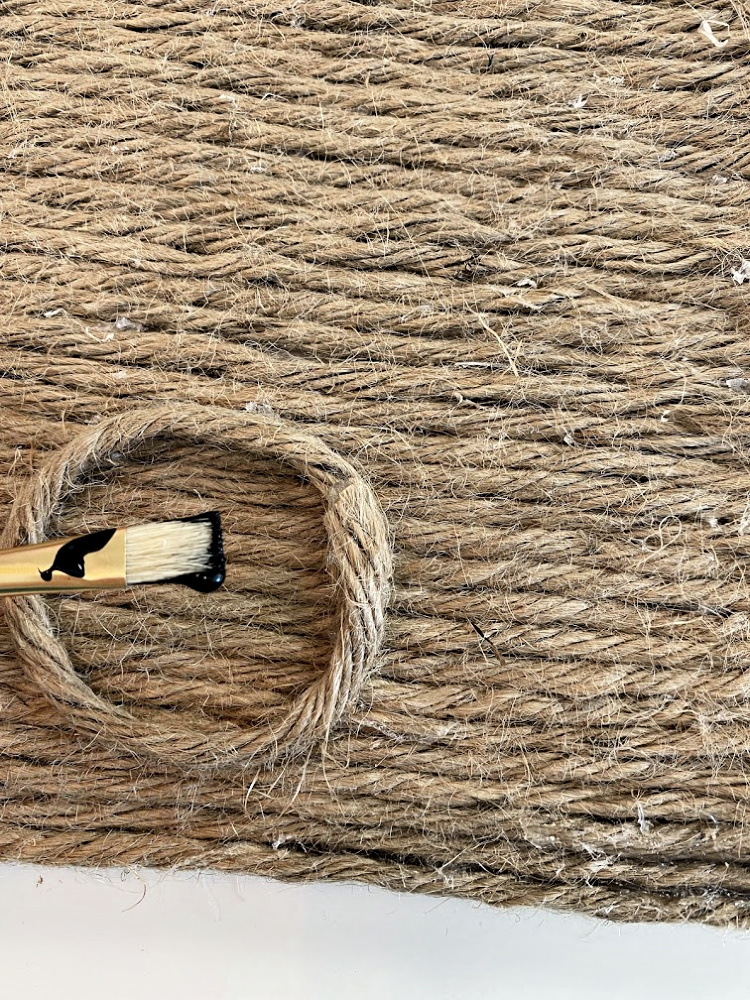 Paint the inside of the circle with black acrylic paint. use a rough bristle brush to work the paint down into the rope so that none of the rope shows through.
The wreath base:

Begin with an 18 inch straw wreath form. Do not take the plastic wrap off of the wreath. I picked classic black and white buffalo check ribbon. 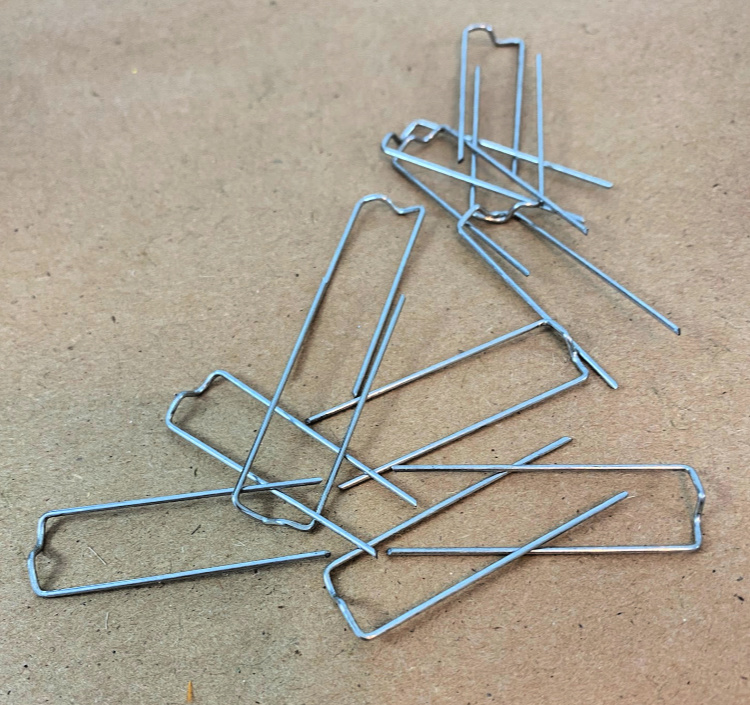 Get out greening pins.
 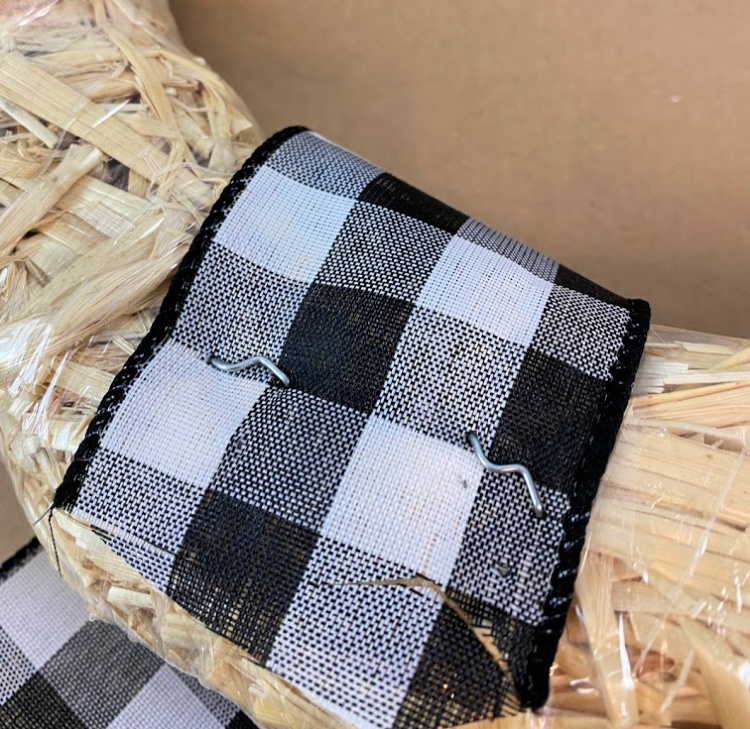 Use two of the greening pins to secure the ends of the ribbon into the straw wreath.
 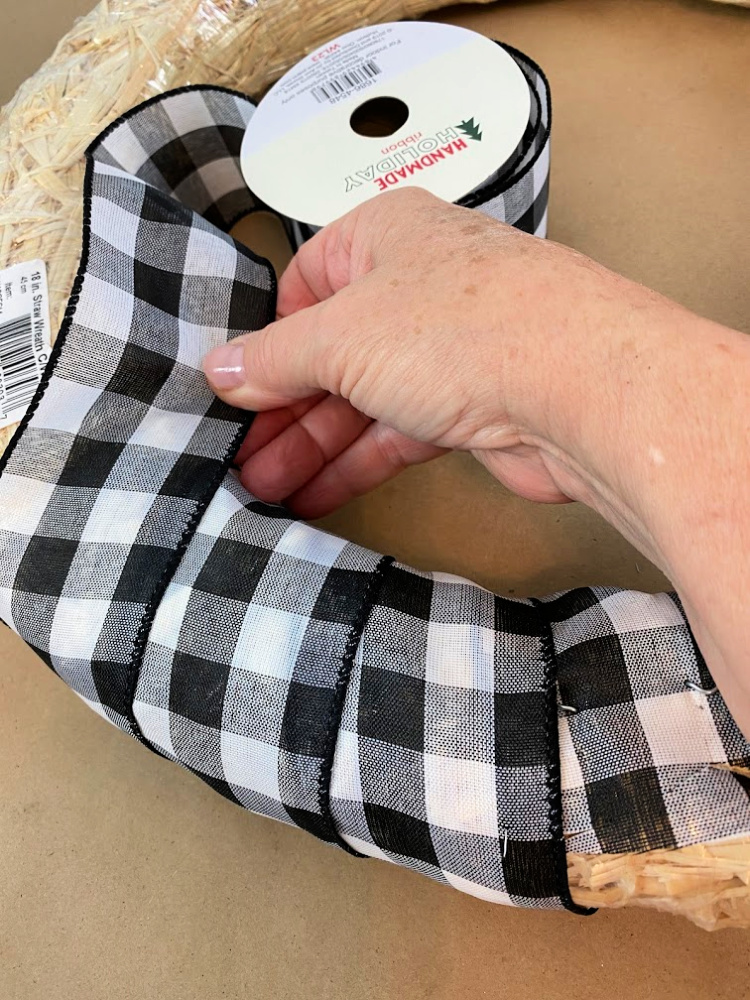 Begin wrapping the ribbon around the wreath, overlapping each end so that none of the straw wreath form shows through. When you complete wrapping the wreath, secure the other ends of the ribbon with another pair of greening pins.
 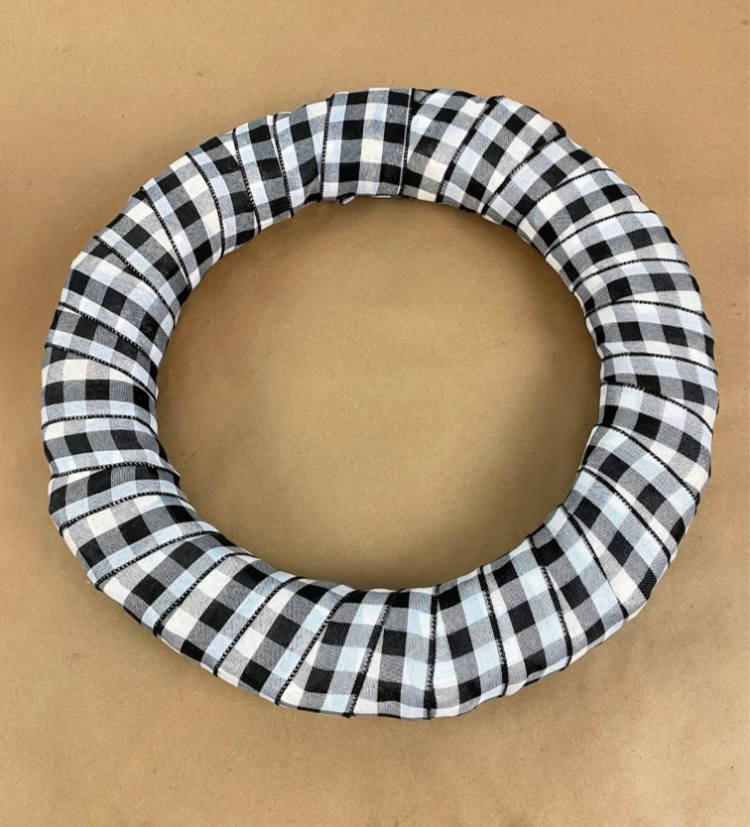 Your wreath will be looking like this, ready for you to decorate!
Putting it all together:
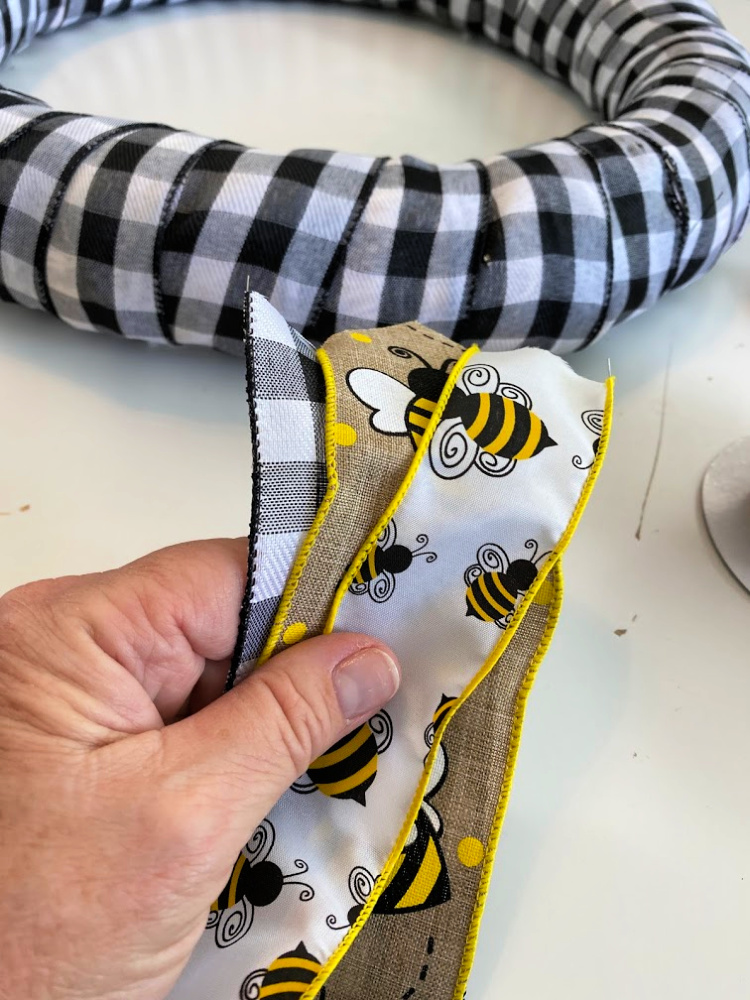
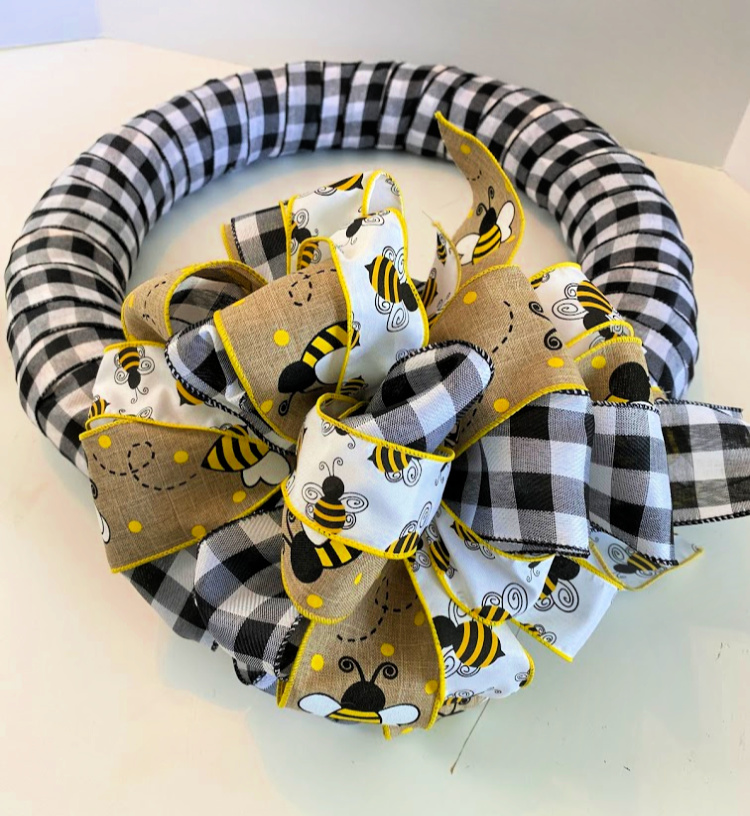
I layered three ribbons, the buffalo check, a burlap look with bees on it and the white ribbon with bees on it. Tie a bow with some ribbons you like!

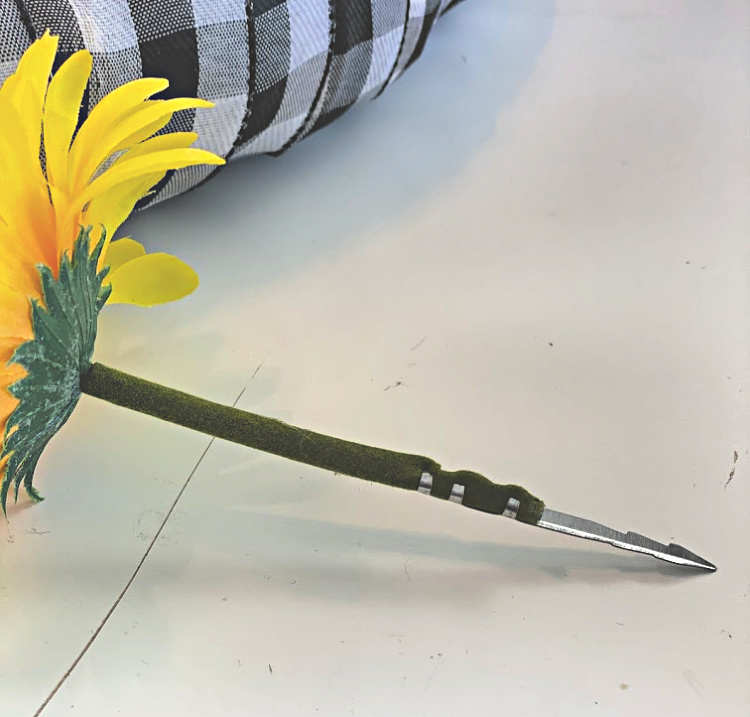
A SteelPix machine will add steel picks onto the flowers I will add to my wreath. These will make it easy to add the flowers into the straw wreath form. 
I selected yellow gerbera daisies and white geranium blossoms to nestle among the ribbons on the wreath. 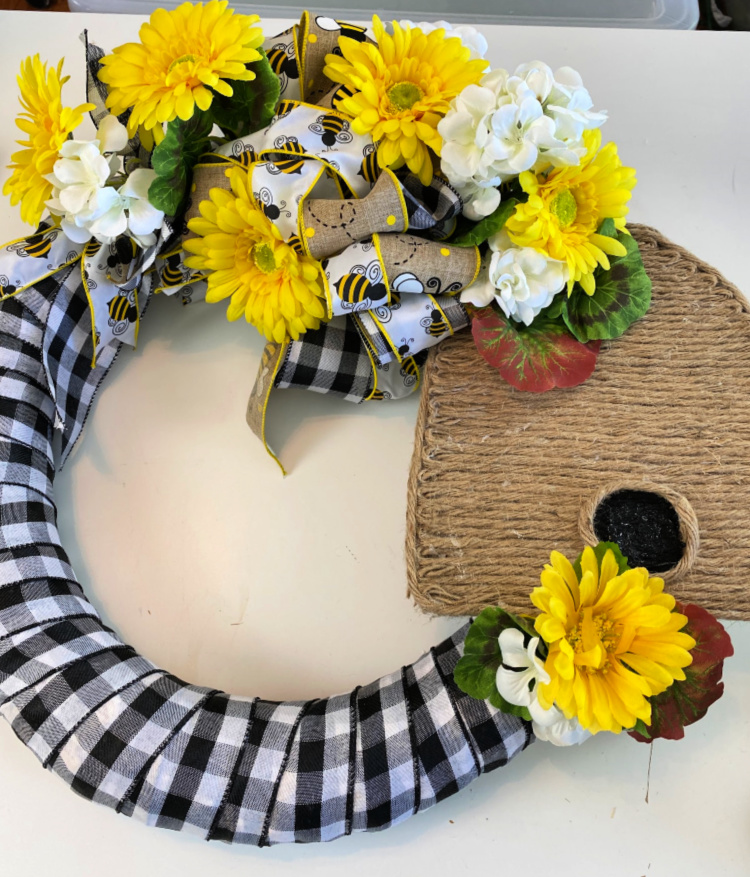 Attach the bee skep with hot glue to the wreath and add a couple of blooms at the base of the bee skep.
  Cut several pairs of ribbons about 10 inches using different ribbons that coordinate with the wreath.
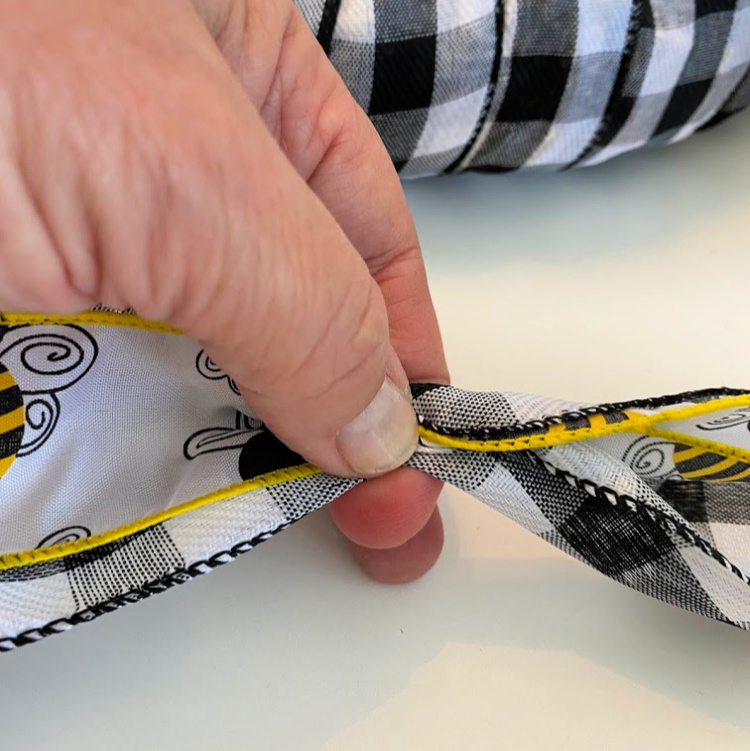 Pinch the pair of ribbons together in the middle.
  Place a greening pin over the two ribbons in the middle and then push it into your wreath form. Add as many of these as you would like wherever you would like on your wreath.
 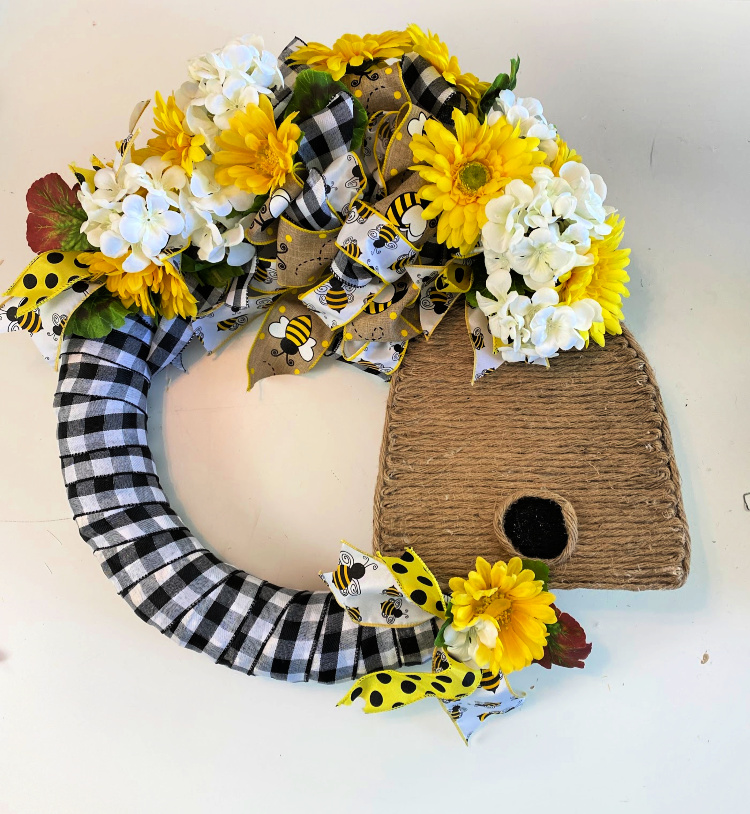 You can see how the extra ribbons add some additional color all around your wreath. There is only one thing missing. Do you know what it is?
 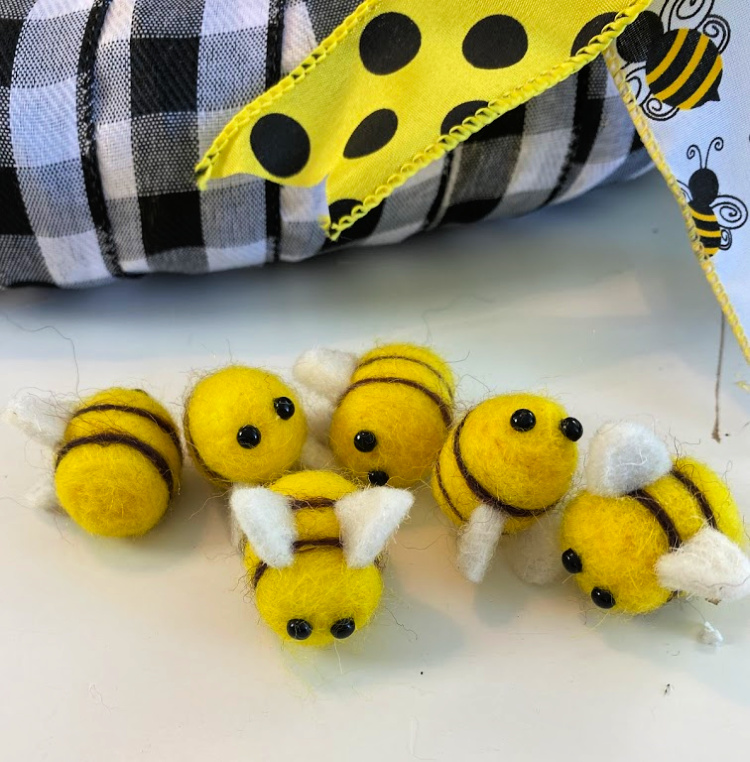 Bees!!! It is missing bees! How adorable are these little bees I found on Amazon! These are sweet little needle-felted bees.
 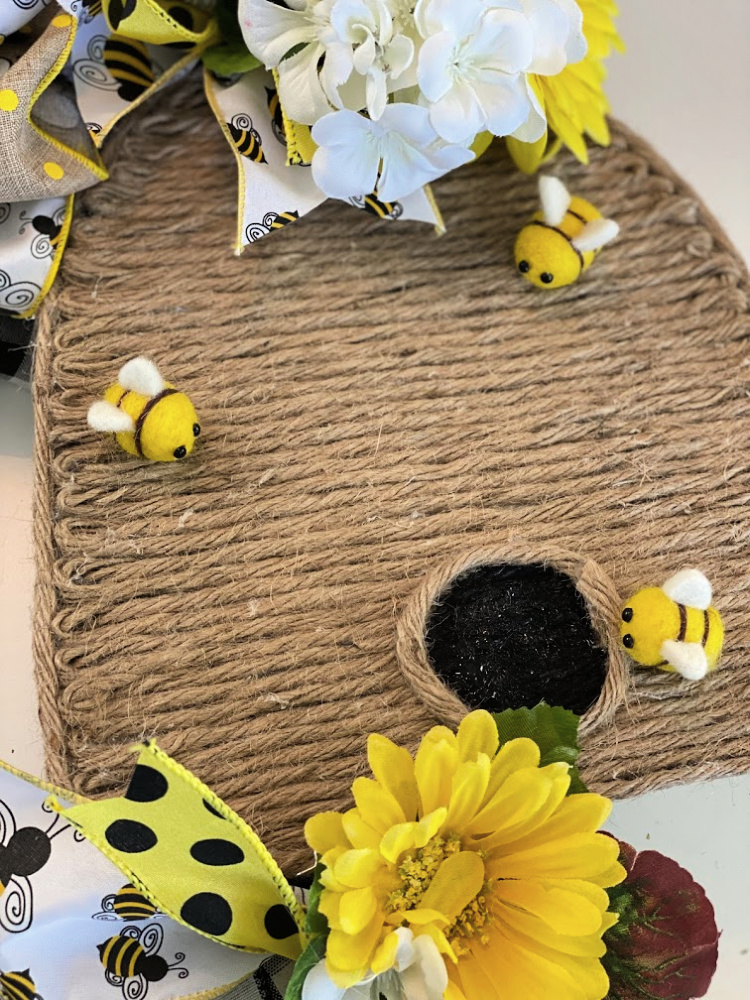 A little hot glue will secure those bees to the bee skep and I added a couple of them to a blossom or two.
 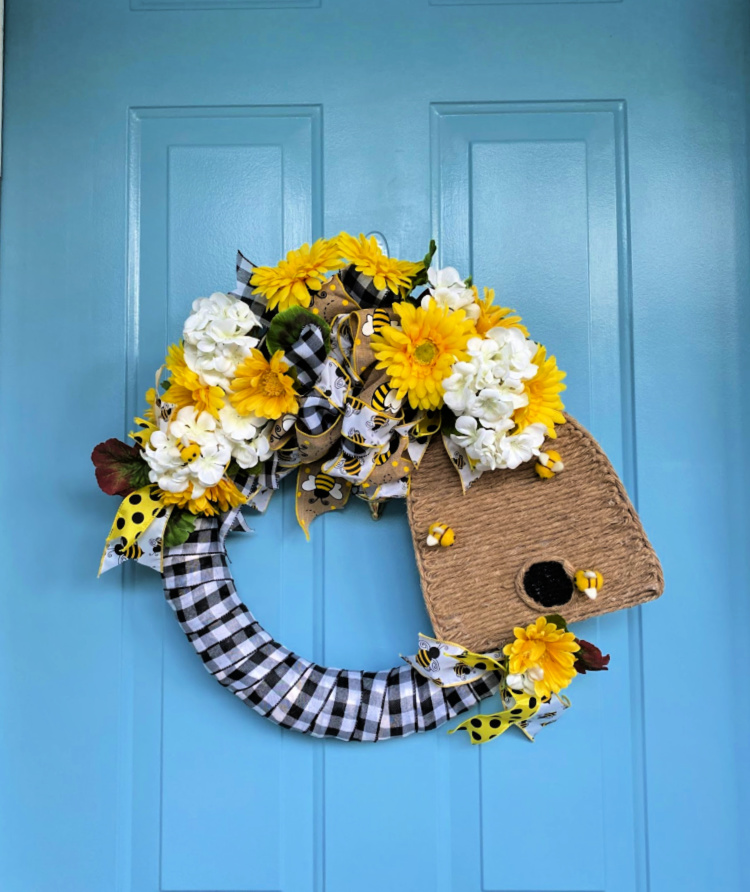 My wreath is now ready to greet the coming season on my door!
 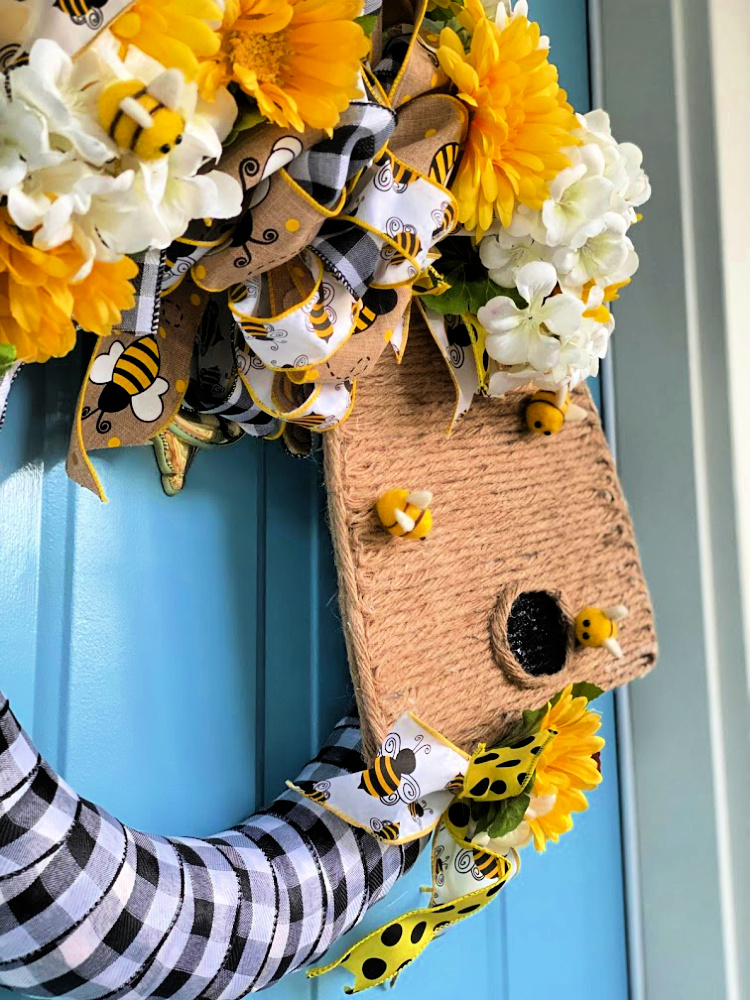 Consider making a sweet bee skep wreath to your front door! My DIY decorative bee skeps sit on the table on my front porch, carrying through my bee theme this summer!
 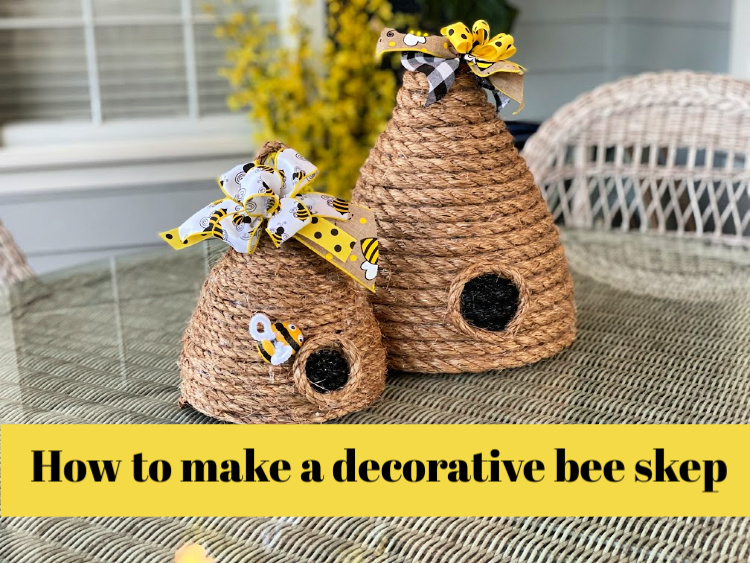 You can learn how to make these bee skeps here. Need some other crafts to do these days? Check out these 26 different craft ideas! I am sure there is something there for you!
Such a super cute wreath! Love it!
Omg Chloe, I love your bee skep creations! So adorable!! Thanks for sharing, so so cute!
This bee wreath turned out so cute–the hive is so fun & the bees really add the final touch.
Those felted bees are the perfect addition to your wreath ~ so whimsical!
Thanks so much Allyson, I LOVE those bees, too!!
Talk about gorgeous, my friend! Love the bee skep theme you are doing right now! Will you be attending the virtual Haven Con?
Thanks so much Julie! No, I won’t be attending. I look forward to Haven because it gets me in front of and with real people, not spending more time on my computer. I was disappointed they didn’t decide to or were able to move it to fall. I will miss seeing everyone and the great connections made at Haven. Chas and I are actually considering going to SNAP which was moved to the Fall. Are you going to attend the virtual Haven? I know they are saying they will connect you with brands, but from my recent experience, brands aren’t spending any money right now, not with influencers or anyone else.
Super cute! Thanks
Love love love it !!!!