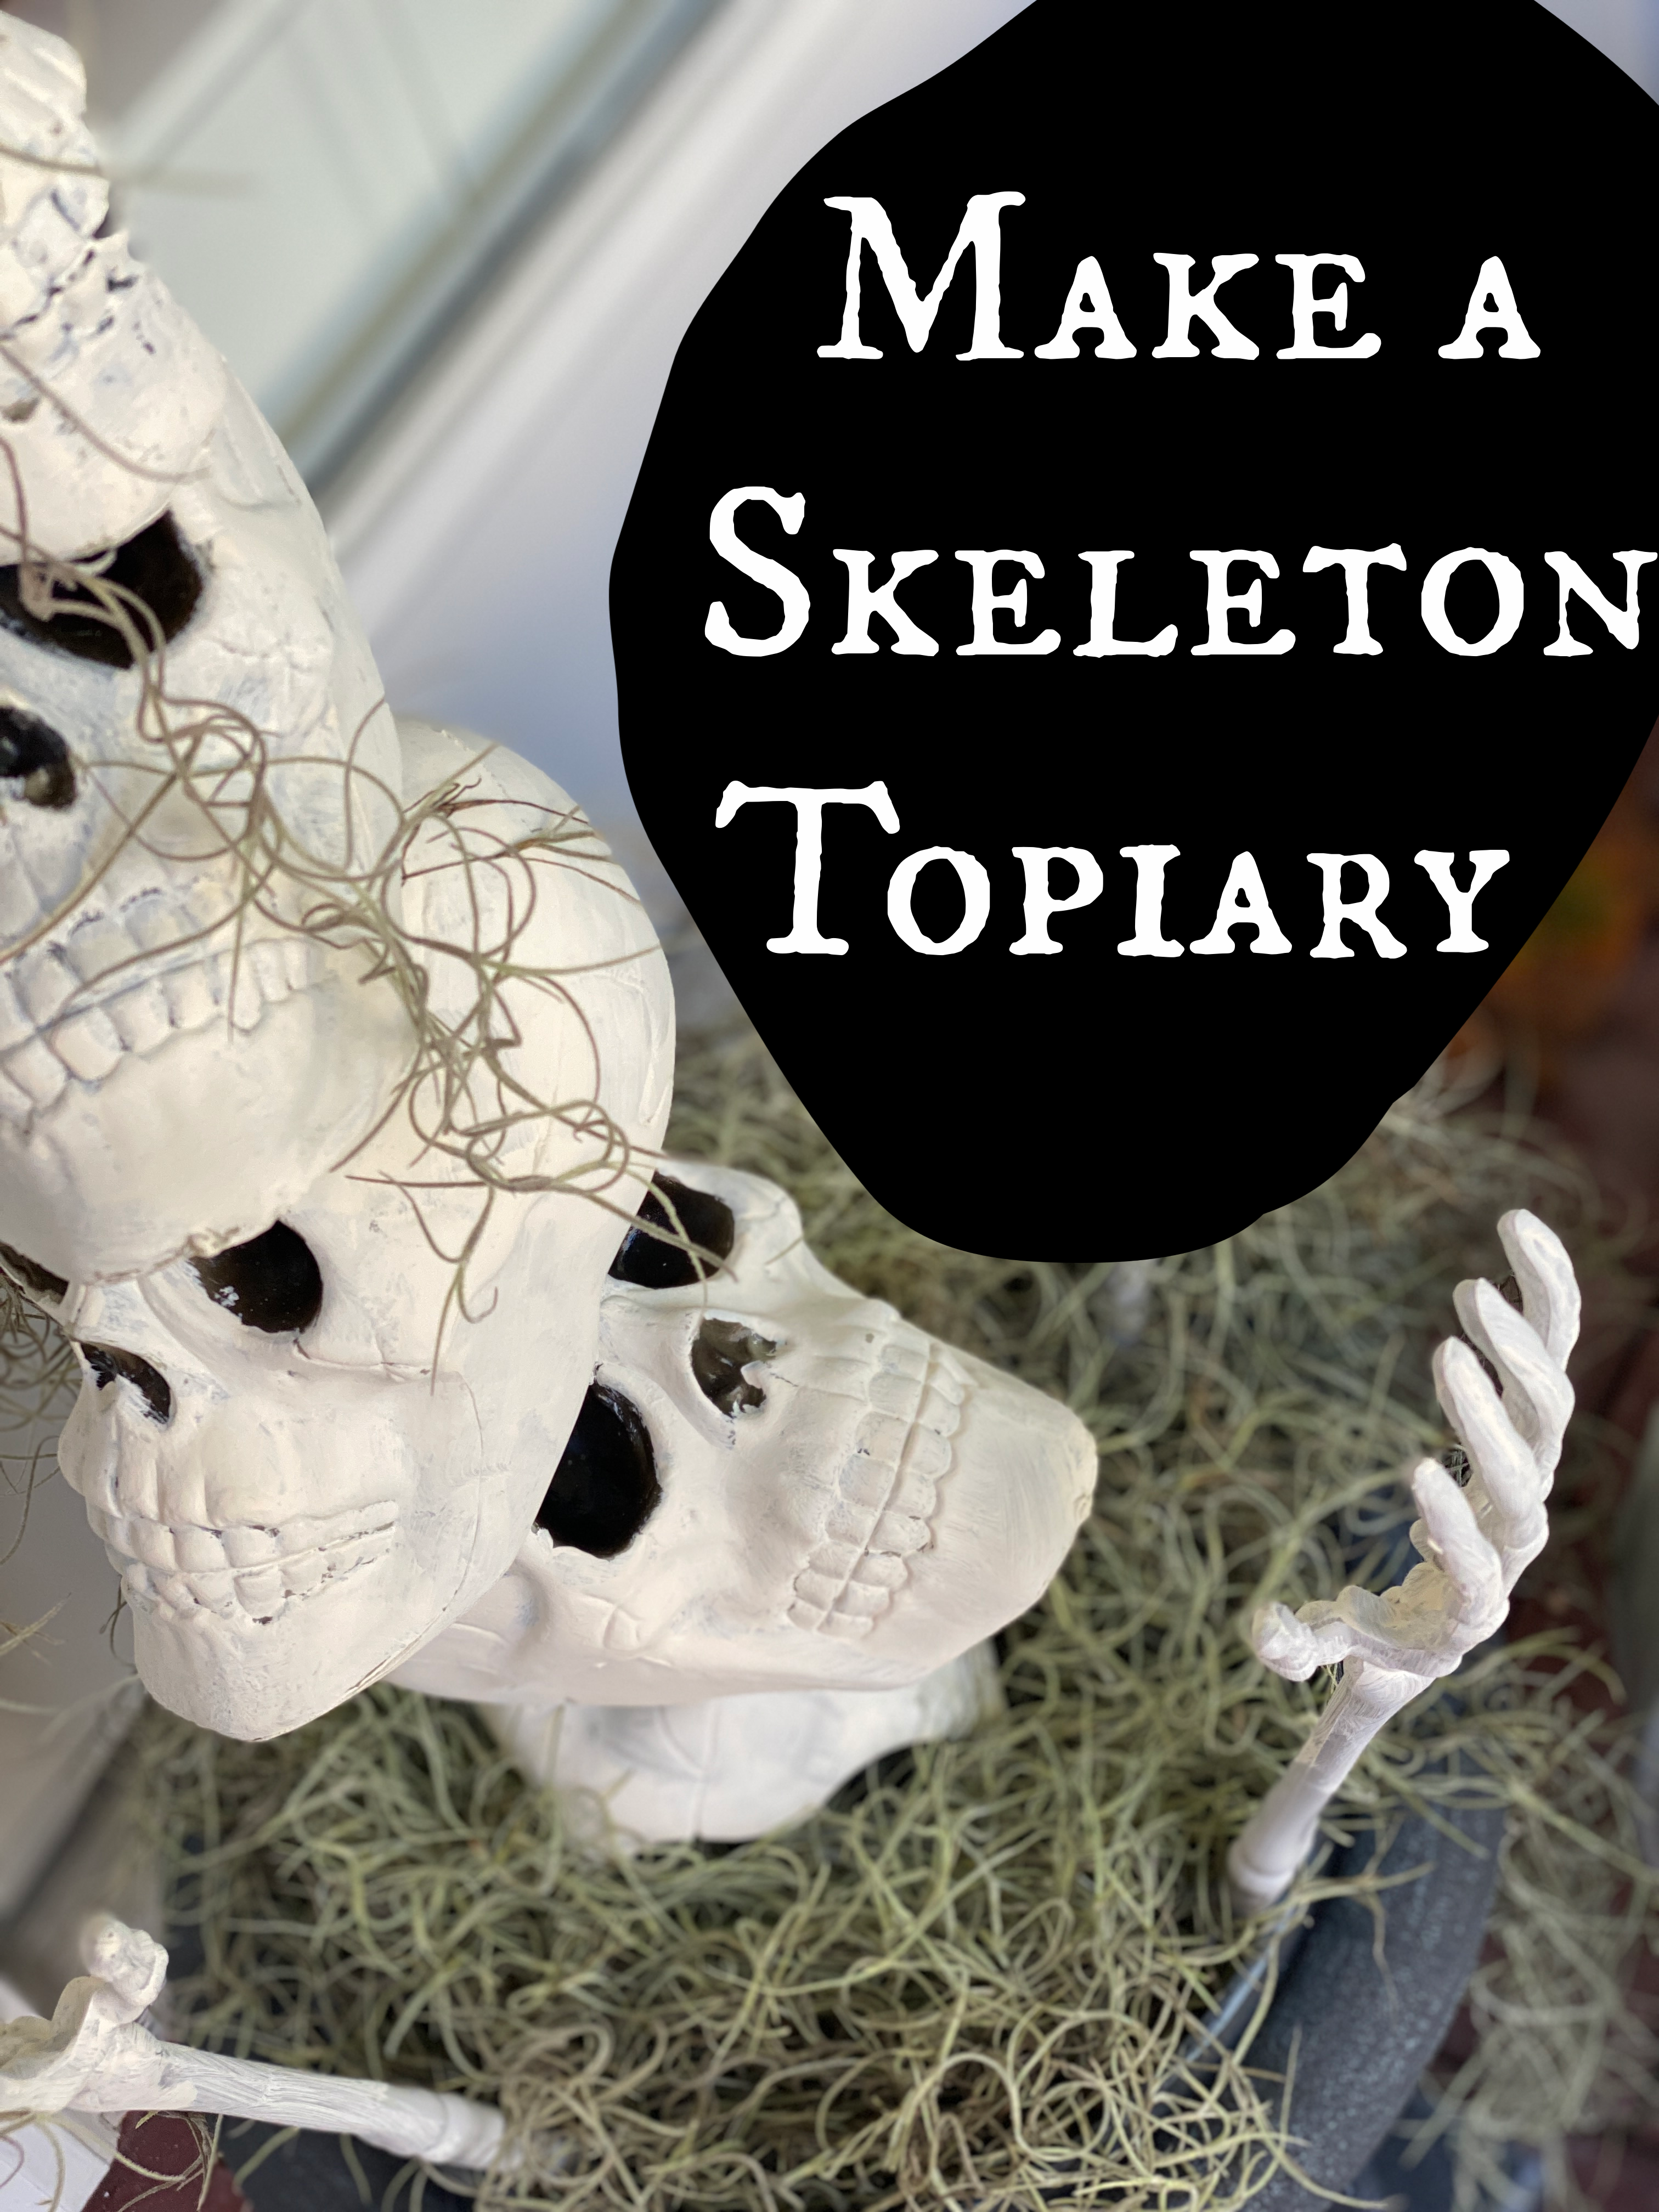
How to Make a Creepy Dollar Store Halloween Decoration!
If you like outdoor Halloween decorations, this is just the right place to be! I am all about easy Halloween decorations and this one is easy as can be! A pair of these would be perfect for flanking your front door, the perfect way to greet party guests and trick or treaters!

This post contains some affiliate links for your convenience. As an Amazon Influencer, I earn from qualifying purchases. Click here to read my full disclosure policy.
Supplies and equipment for your Halloween decorations:
The supplies for making these spooky Halloween decorations are listed here:
- Urn or pot of some kind for your base
- PVC pipe
- plastic skulls
- Spanish moss
- plaster of paris
- chalky acrylic paint
- waterproof sealer (if your topiary will be displayed outdoors)
- measuring cup
- water
- pieces of wood (used to make sure your pvc is straight in your plaster)
Set up the bases for your spooky Halloween decorations:
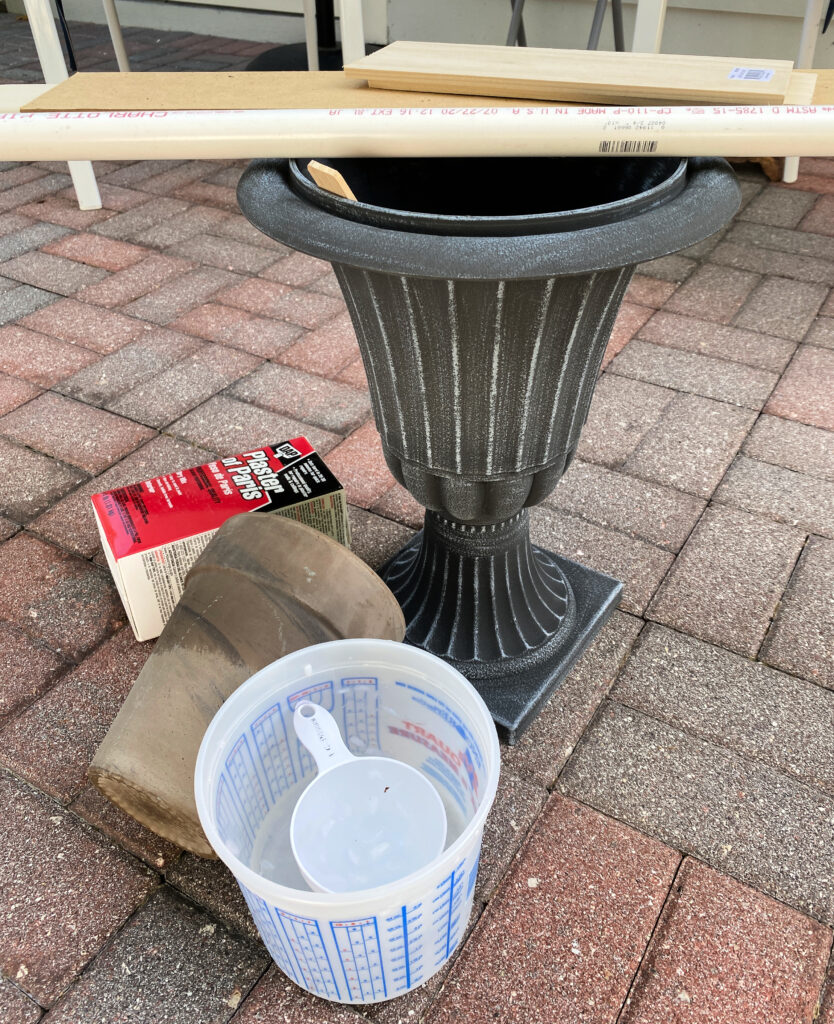
Gather your supplies for your base. Here is my decorative urn, a piece of pvc piping and some wood scraps. A bucket and measuring cup and the plaster of paris. You will want to have a paint stirrer to mix the plaster of paris, also. I used a 5′ piece of pvc, but you can make yours as short or as tall as you would like.
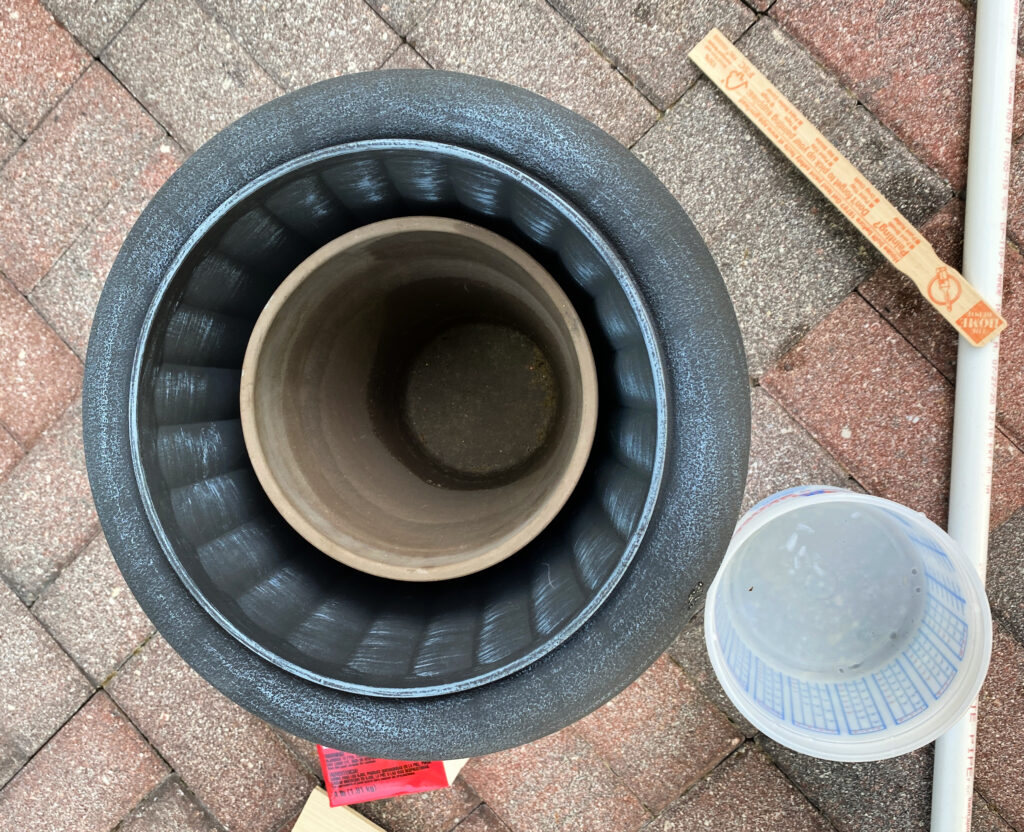
Here is the plastic urn I used. I use this for different decorations throughout the year, so I did not want to put the plaster of paris and the piece of PVC in the urn permanently. I found this flower pot without a hole in it that fit inside my urn. You can mix your plaster right inside of your urn if you like, or do something similar. Just make sure that whatever container you are using for your plaster is watertight.
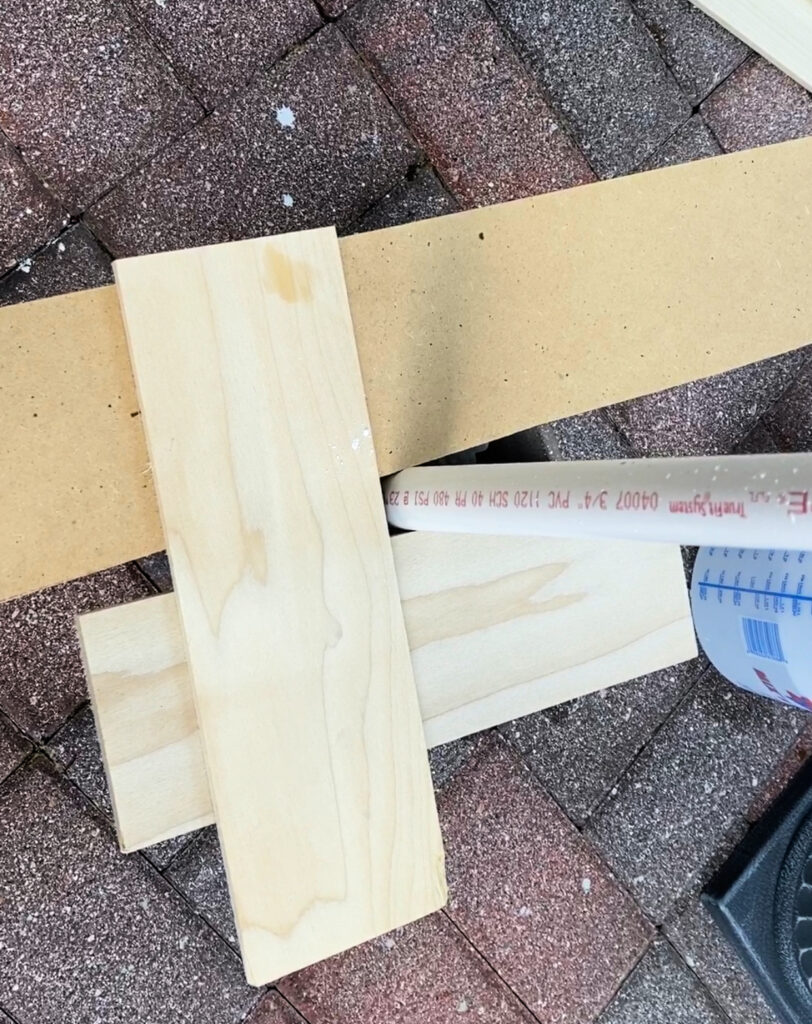
Mix the plaster of paris per the instructions on the package. Generally it is 2 cups of plaster of paris to 1 cup of cold water. Set a piece of 3/4″ PVC that is 5 feet long down into the wet plaster of paris. Make sure your PVC post is level and straight. You can use boards like I did above to hold the PVC straight until the plaster of paris sets.
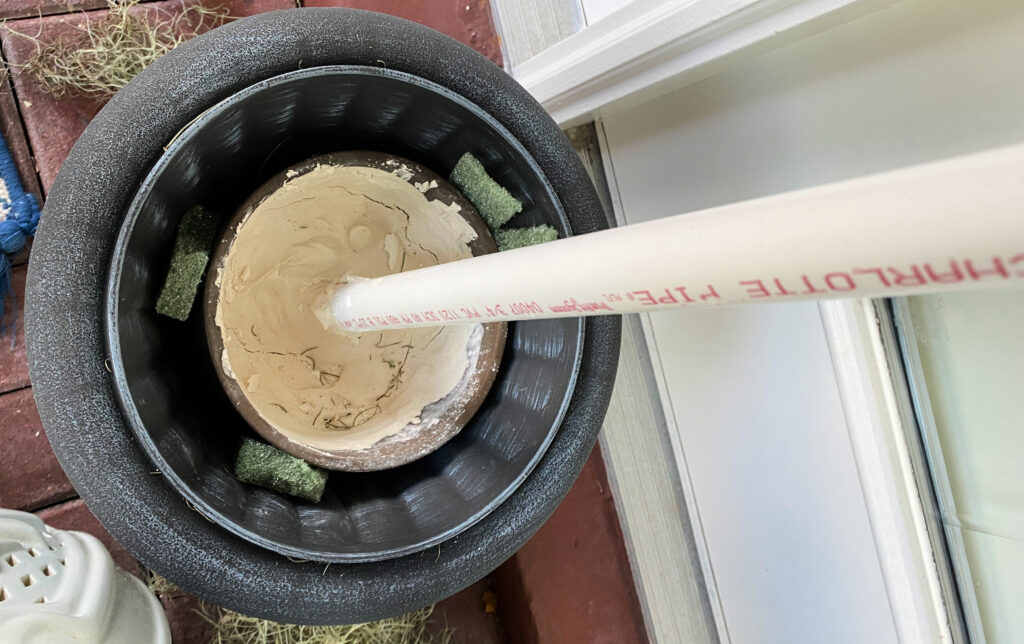
After my plaster was set, I found my pot wobbled a bit, so I used a few scraps of styrofoam to secure it and keep it from moving.
A creative way to prepare your skulls:
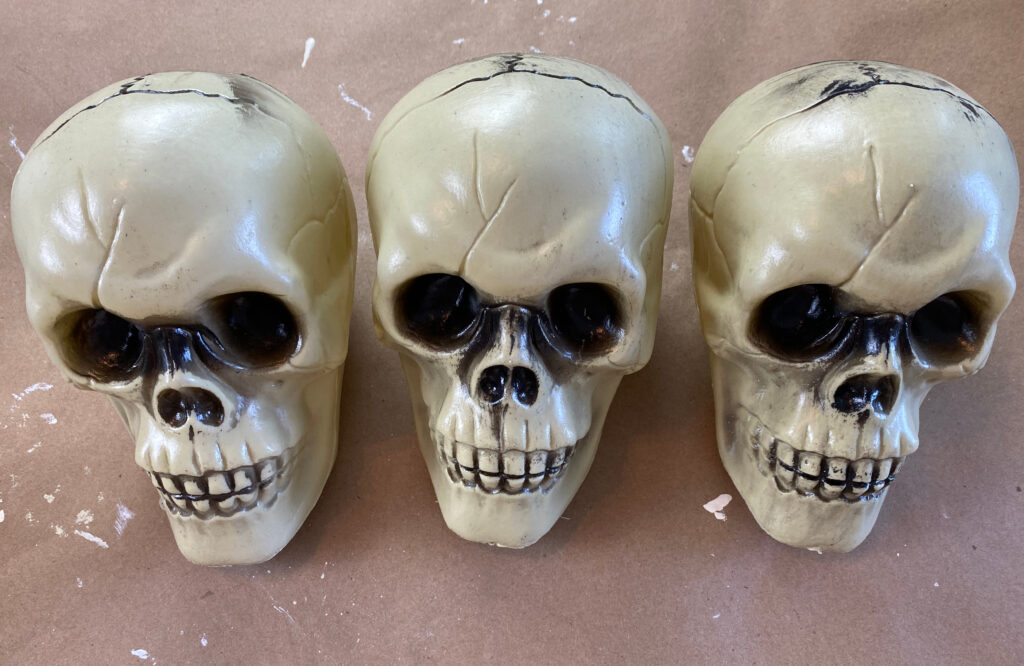
This is how the Dollar Tree skulls look right from the store. You can buy these individually at the store or order a case of 40 for all of your Halloween decorating projects! I have SO many ideas for things you can make with these! If you order a case, they will deliver them for free to your local Dollar Tree.
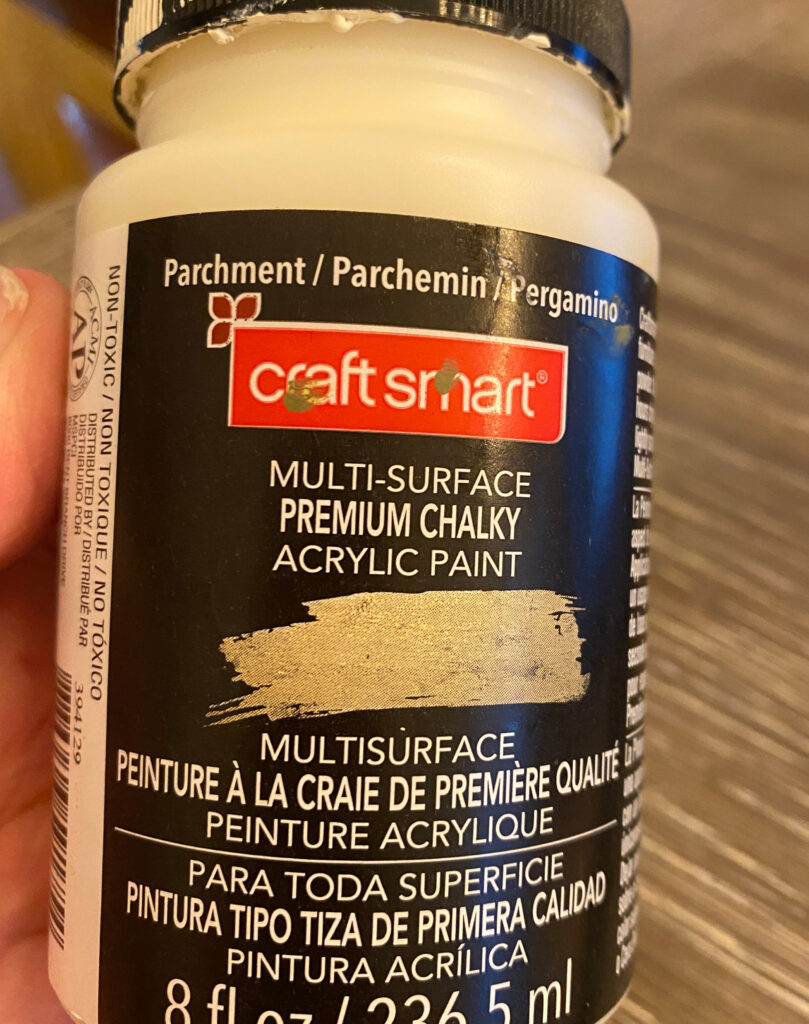
I recommend using some chalky paint like this to give them a more upscale look.
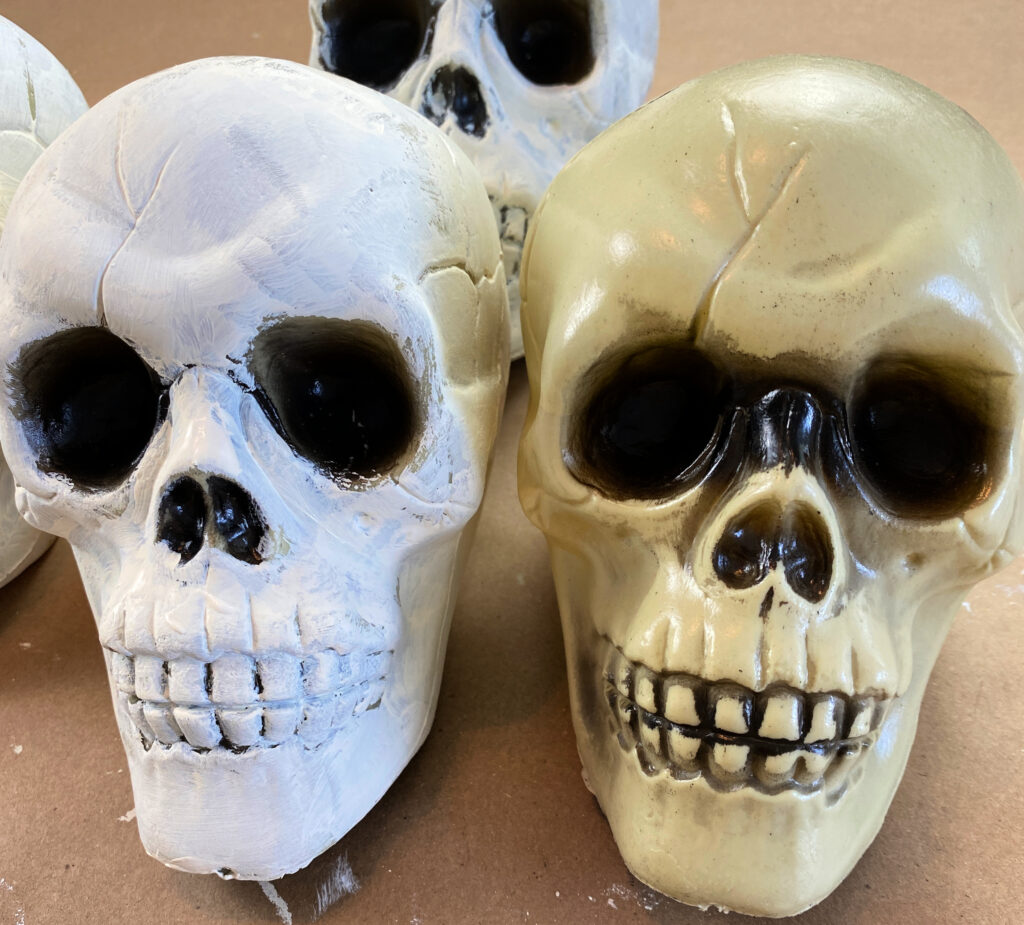
You can see the difference above between the painted and unpainted skulls. If you are going to display your decoration out in the weath spray them with a waterproof sealer.
Time to build your creepy Halloween decorations:
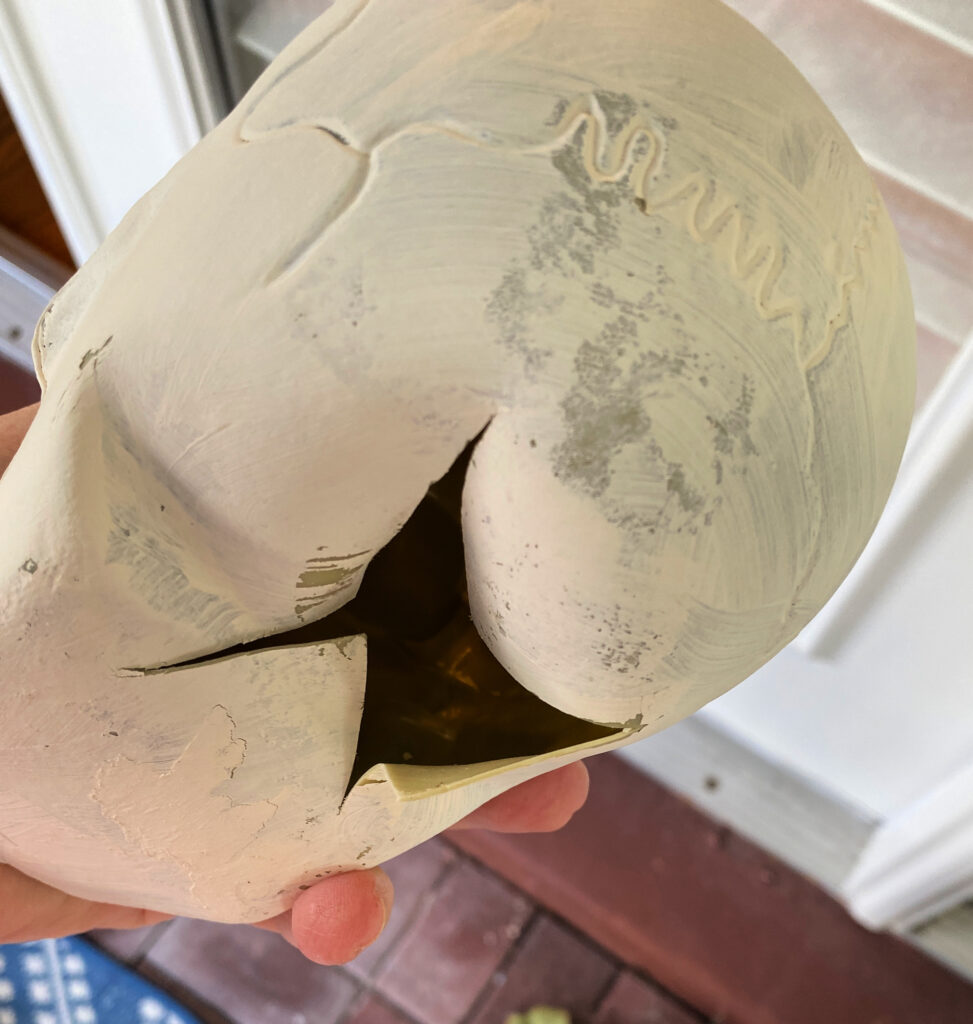
When each one of your plastic skulls is dry (if you decide to paint them). Cut an X in the bottom of each skull as shown above. Next, cut an X in the top of each skull.
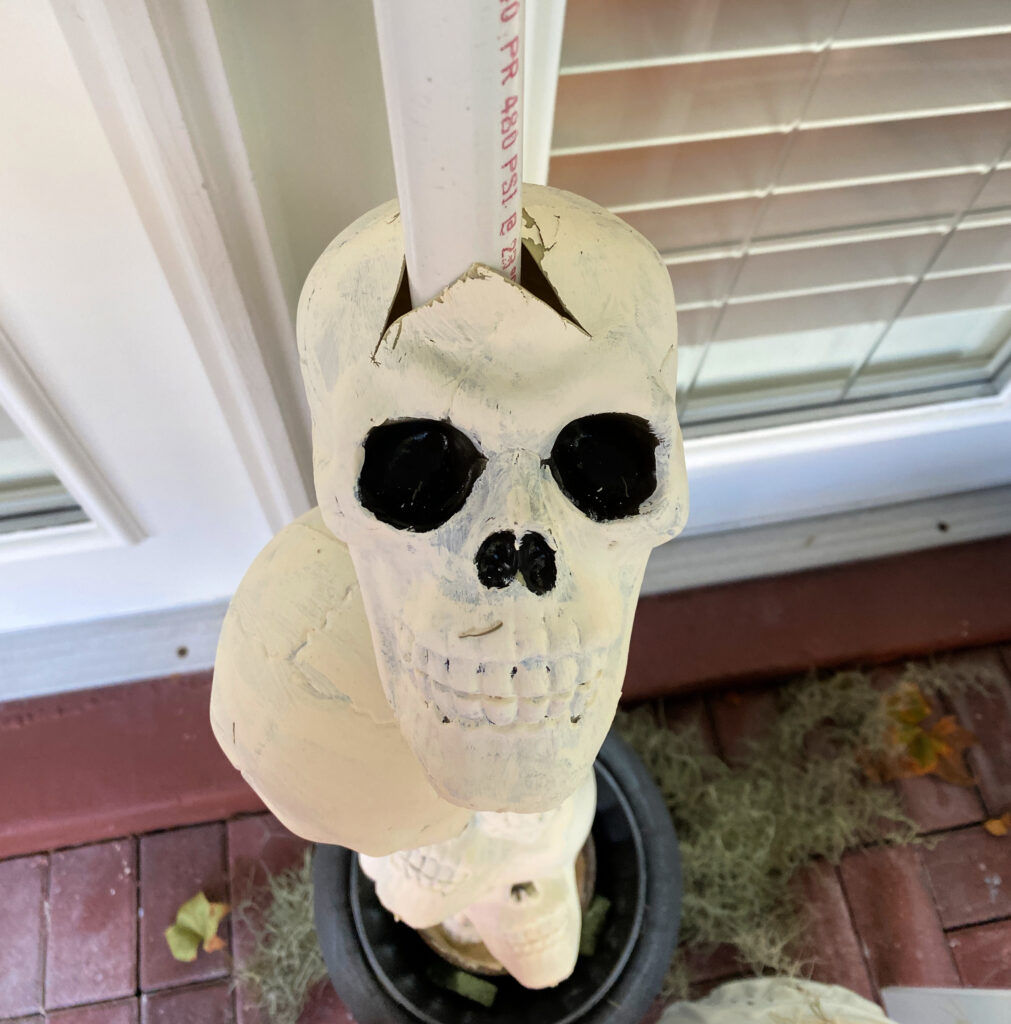
Slide the skulls onto your pvc pipe, one after another. Don’t be afraid to experiment with where you put your X’s in your skulls. Make some toward the front, some toward the back so your skulls are all at different angles on the pvc pole. Slide each skull down so it is snug against the one beneath it. When you get to the top skull, it will only get an X cut in the bottom of it.
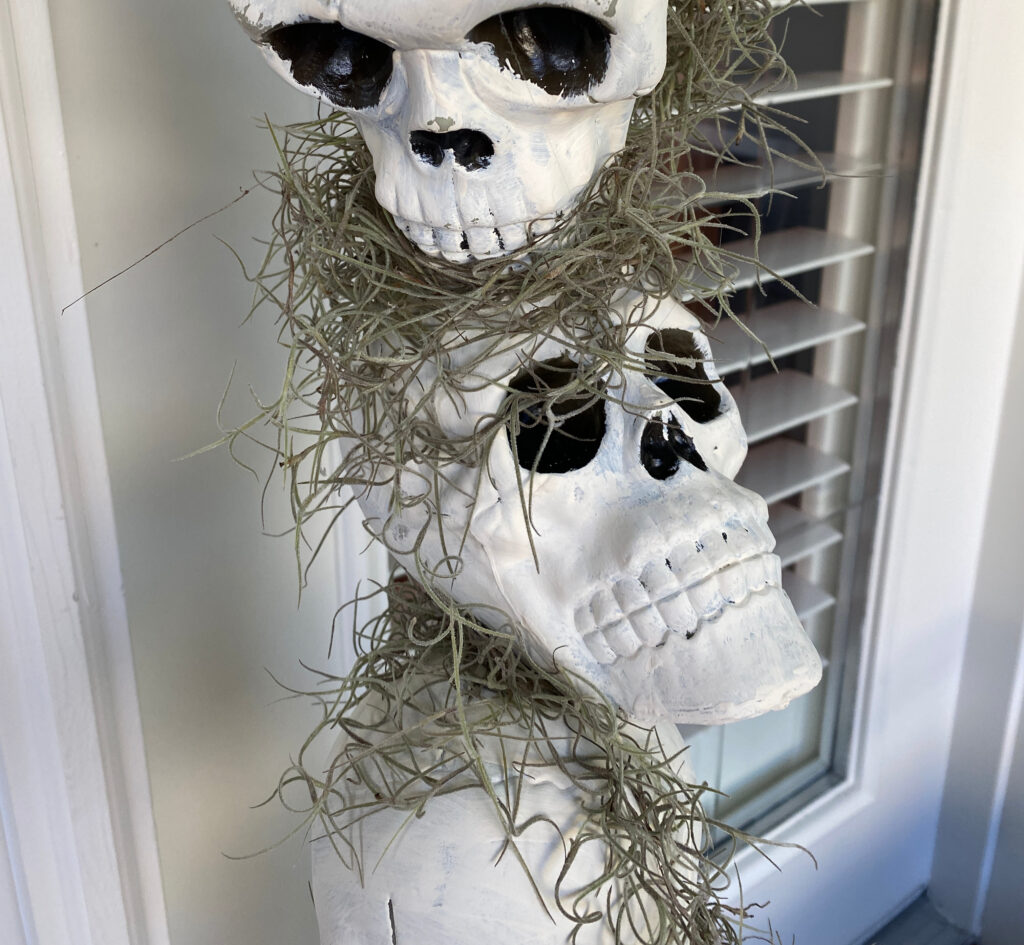
I used this chalky parchment colored paint to give my skulls a bit of an upgrade. Finish off your skulls with some spanish moss, tuck a little bit between each of the skulls and fill in the bottom of the pot with moss.
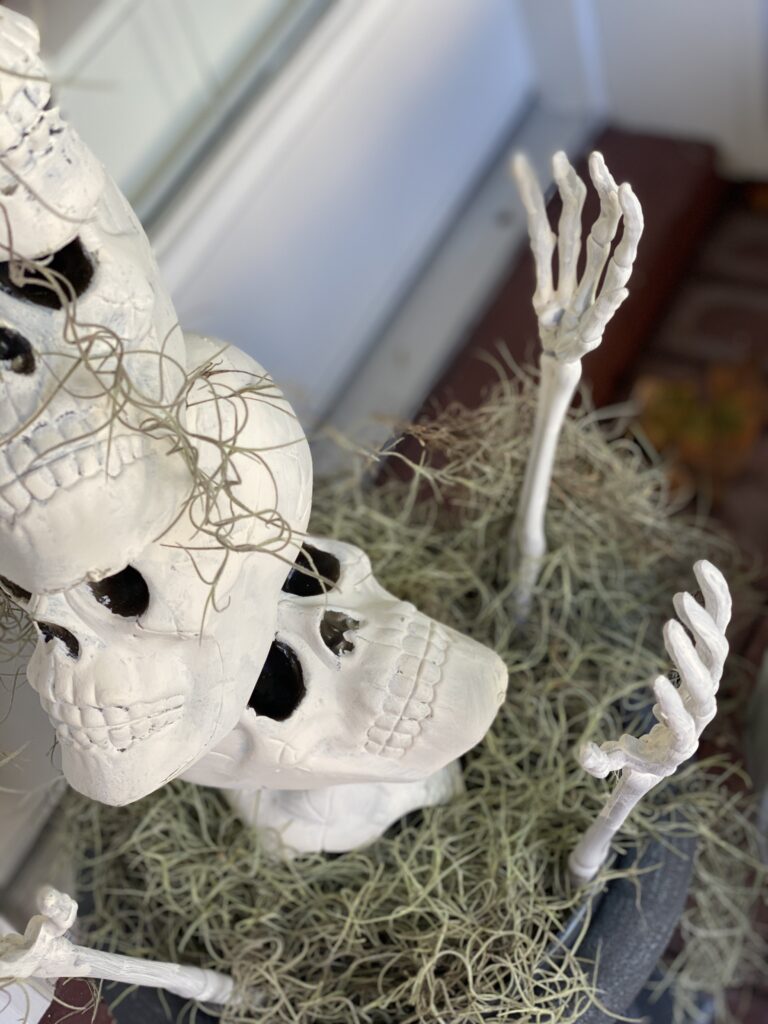
Add a couple of pair of Dollar Tree skeleton hands sticking out of the pot at the base and it looks like the skulls are reaching up for someone to save them! OR…are they trying to grab the passers by?
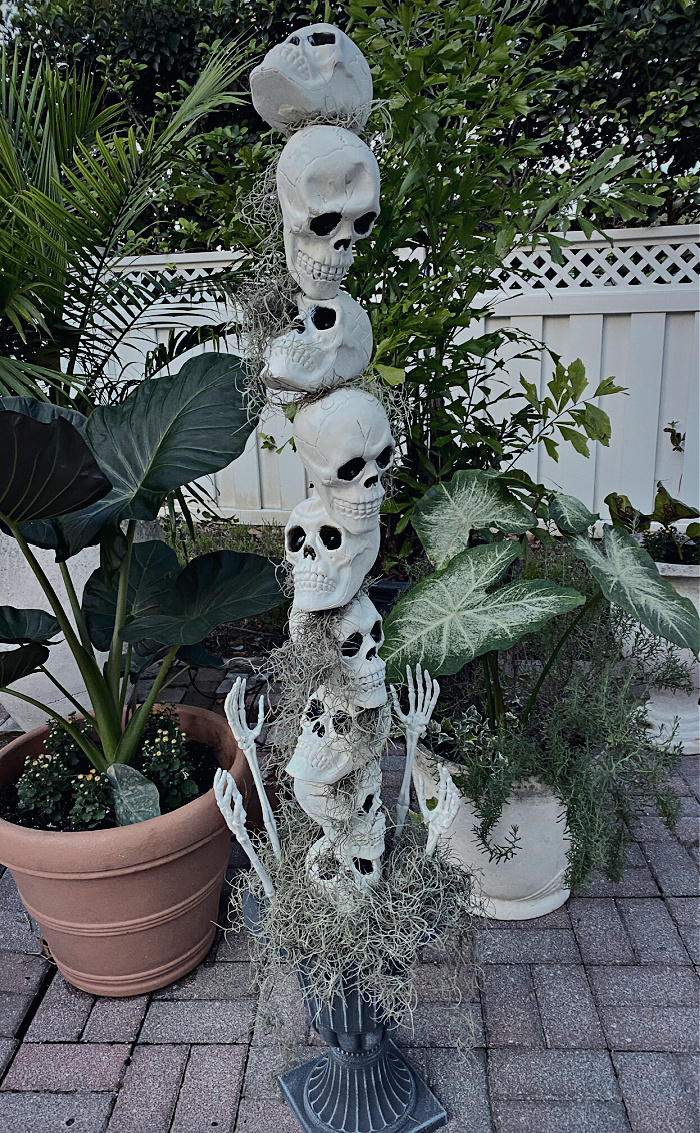
This will add the “creep” to any outdoor space for Halloween. Add some lights and sound to really “creep” out your decoration and have fun this Halloween! If you want your skeletons to be more fun than spooky, consider adding googly eyes to them! Another idea is to add witch hats to your top skulls!
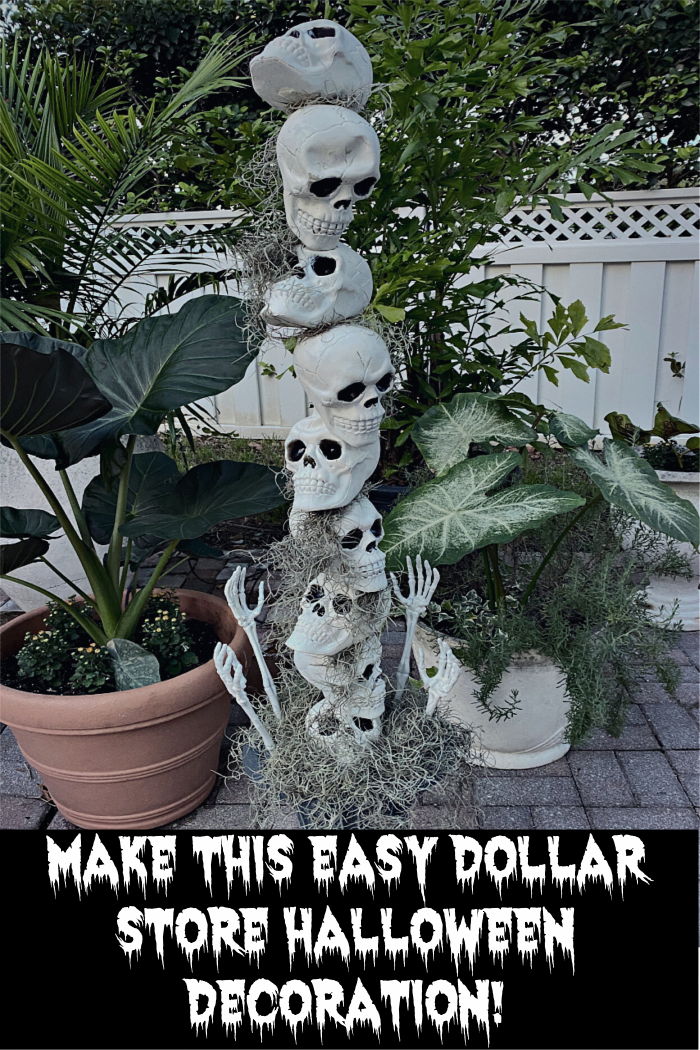
PIN THIS HALLOWEEN DIY
Shop this project:
- Urn Planter
- PVC Pipe – Home Depot
- Plastic Skulls
- Spanish Moss
- Plaster of Paris
More Halloween DIY Projects:
Get to your local craft store or dollar store to stock up on supplies and start making your own fun DIY decorations!
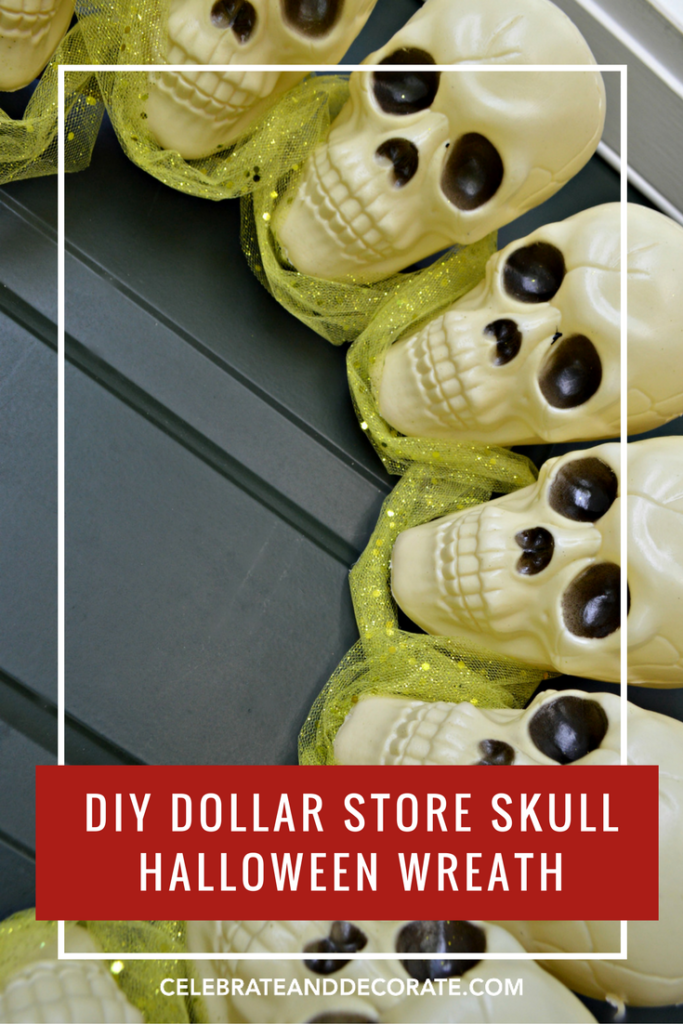
This easy to make wreath is a great way to keep your skull decor going this Halloween! Add a seasonal wreath like this one to coordinate with your skull creations!
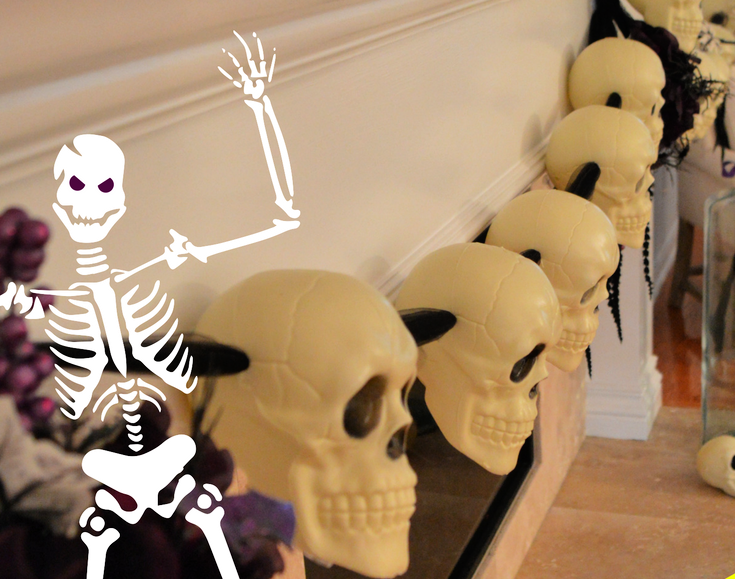
One of the easy decorations I made with these is this Halloween Skull Garland. I used this Halloween garland on my mantel, but you can just as easily use this outdoors! The plastic skulls will hold up just fine in all kinds of weather! You can also pop battery operated tea lights inside the skulls!
Even more of my best DIY Halloween decorations:
- Minnie Mouse Halloween Decoration
- Scary Halloween Decor for Your Front Porch (Using Dollar Tree black birds!)
- Decorate a Halloween Tree
- Make a Man-Eating Plant from a Halloween Pumpkin!
Do you have your own favorite creative ideas for Halloween? Do you make your own DIY Halloween decorations? Do you get out the duct tape and the white trash bags? Do you make your own tomato cage ghosts? I’d love to hear your creative ideas and what you do for Halloween porch decorations! Let me know in the comments below!
Clever idea, Chloe! Love it!
Thanks so much Debra!
I bet your granddaughters get a kick out of you skull topiary Chloe! I love the skeletal hands reaching up and the idea of adding some twinkle lights too. Happy to be hopping with you again. ♥
Thank you Mary, I know they will love it! Especially if it lights up!!
That is so GREAT! I’ve never seen anything like this. It’s like a skull rain chain. I love it when you see a totally original idea. A wreath too? How do you even have room for all the great things you make.
Oh, Andrea, that is fun…a rain chain! I don’t have room! I giveaway or sell locally all of the things I make, or I end up taking them apart and creating something new with them! This year I am taking all of the Halloween leftover decor up to the girls in Maryland! It will be time for all new next year!
This is a hoot Chloe; I love this for outdoor decor; I’d even go so far to say it’s a no brainer (pun intended)!
Thanks so much Sara, and I enjoyed the pun!!
Chloe you granddaughter is going to love this. It looks spooky and cute. Great job!
Thank you so much Terrie, I am sure the girls will love it!
So spooky cool ☠️
Chloe, the sad reality is knowing we won’t have many little ones trick or treating:(
I’m really going to miss that, but have been cheered up by your fun dollar store skull decor.
Breaking each skull up with the Spanish moss really made the topiary stand out! And shopping for the supplies at the dollar store wins over my frugal heart:)
RR
Thank you so much Rachelle. I know my granddaughters are going to miss trick or treating as much as I will miss seeing all of the kids in their costumes.
What a fun and unique Halloween creation, Chloe! You always manage to come up with the best ideas for creating amazing projects! This is so cool! Your grand-daughter is going to love it!
Oh thank you Gail! Sometimes it takes hours and hours of looking at the internet to get motivated. I used to go shopping for motivation, but I just don’t go out much these days!
Your skull topiary is fabulously creepy, Chloe! I love the hands reaching up from the bottom. I didn’t realize plaster of Paris sets in just 10 minutes. We have urns flanking the side of our front door that I usually stack with pumpkins, but I want to give this a try. My daughter and the kids in the neighborhood would love it! Thanks for the inspiration!
Thank you Rebecca, I am sure your daughter would like helping you make this too!
Always love your Halloween dollar store ideas! Wonderful crafting with you and thanks for sharing!
Thanks so much Chas. I wonder how many of these Dollar Tree skulls I have gone through over the years!
Chloe, this decoration. Is so darn cute. Very inventive. Your granddaughters will love it. Pinned, for sure.
Thanks so much Carol! Halloween will be different for our grands this year, won’t it?
Spooky fun Chloe! I always like the clever holiday topiaries you create.
Thanks so much Debbee! You are the queen of holiday decorating, though!!
I’m not a Halloween person but this is very cute. Big difference once you painted tge skulls. Fun project!
Cindy
Thanks so much Cindy. I am not doing much Halloween any longer, but this was an easy project Hometalk asked me to do a video for.
So cute and creative.
Thanks so much Rebecca!
How creative and so fun, Chloe! Thanks for hosting the hop! Blessings, Cecilia @My Thrift Store Addiction
Thanks so much Cecilia!
This is such a fun and creative Halloween decoration! Your granddaughters are going to LOVE it!! Pinned!
Thanks so much Lynne!
This is such a fun idea! I love how you used simple dollar store items to create something so spooky. Can’t wait to try this out for my Halloween party! Thanks for the inspiration! 🎃👻