Halloween Dessert Board
I was invited to a Halloween party this past Saturday evening and volunteered to bring desserts! My host was already making a Halloween charcuterie board, so a Halloween snack board seemed like just the ticket!
The “Board”
I had to travel with this board so I selected a round mirror with an inch high frame on it to help hold everything on my tray.
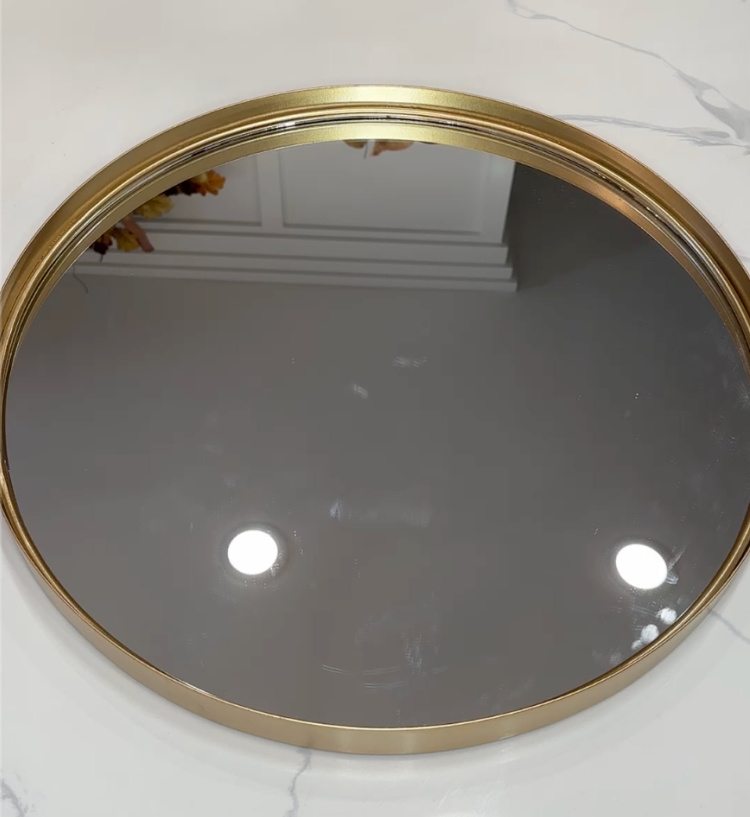
After cleaning the mirror, I used Saran Wrap Press and Seal to cover the surface.

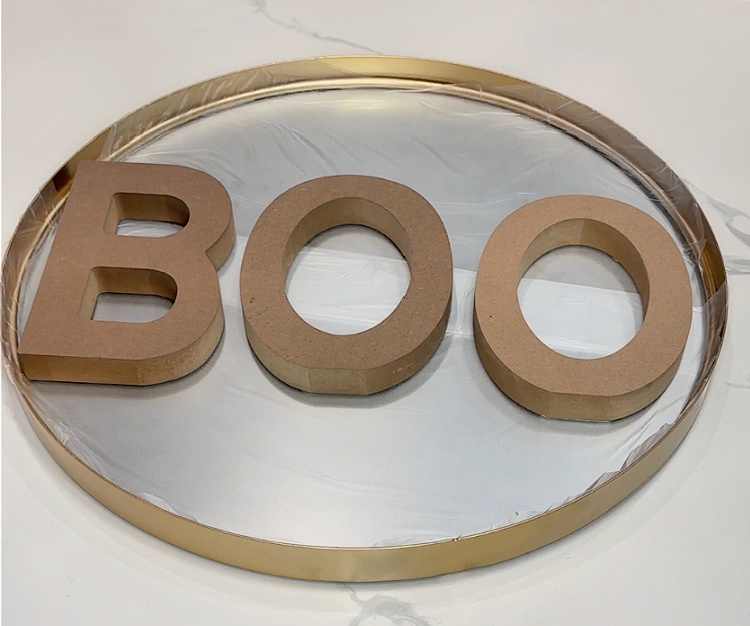
Make some B – O – O dishes!
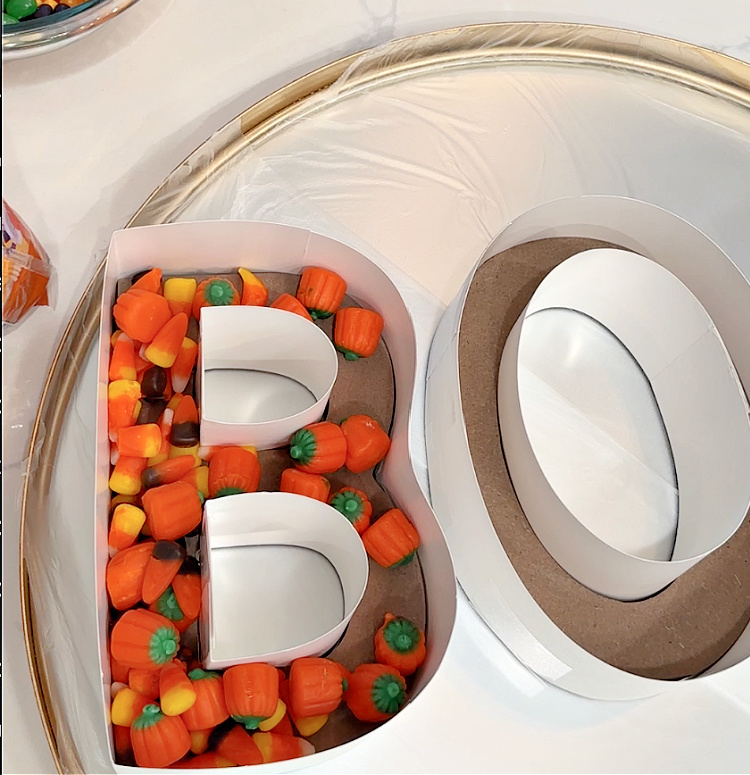
I picked up some wooden letters that spell out BOO. You can find letter shaped dishes on Amazon, but I wanted simple and inexpensive containers that were deeper than those, so I made my own!
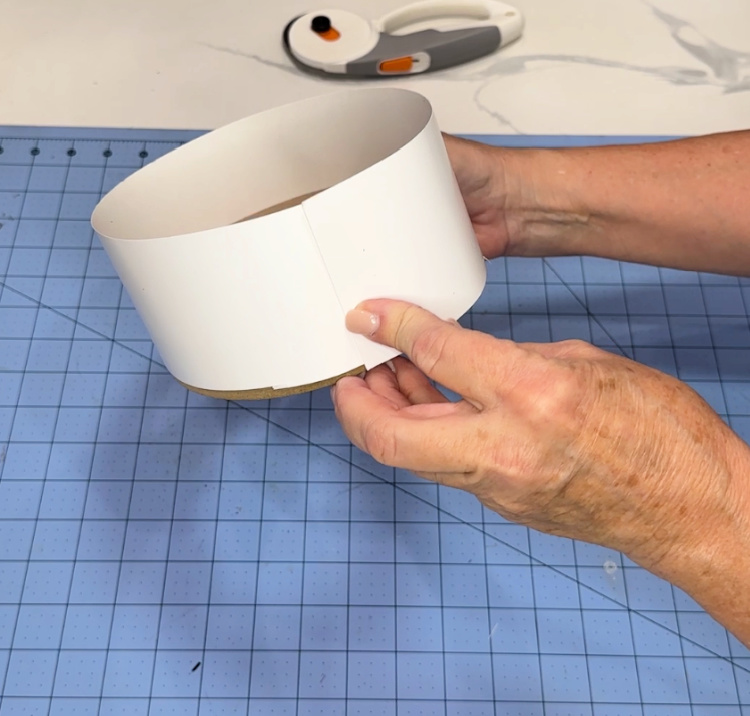
Use a cutting mat and some poster board and cut strips the width you want your bowls deep. My wooden letters were 1/2 inch thick. I wanted my bowls to be 2 1/2 inches deep, so I cut my poster board strips 3 inches wide.
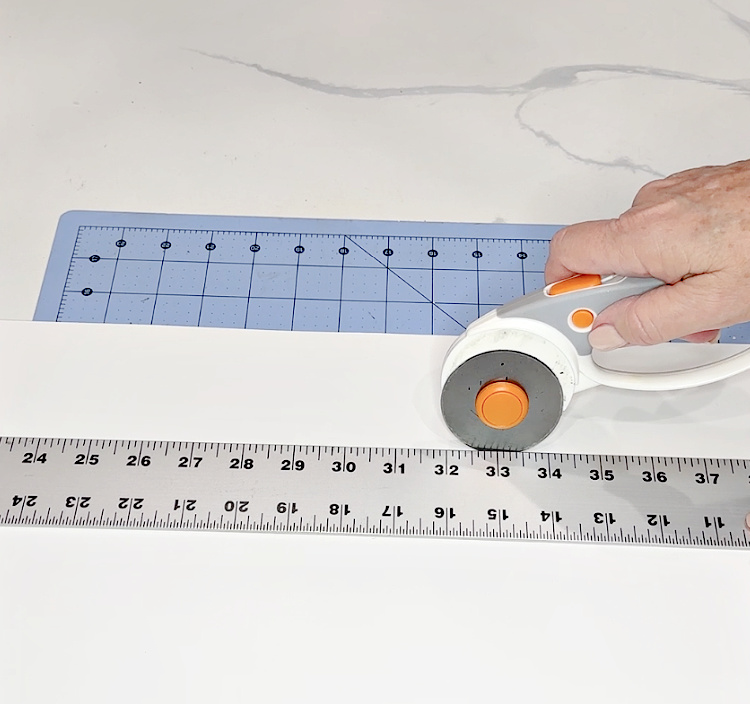
The first strips need to be long enough to fit around the outside of the letter.
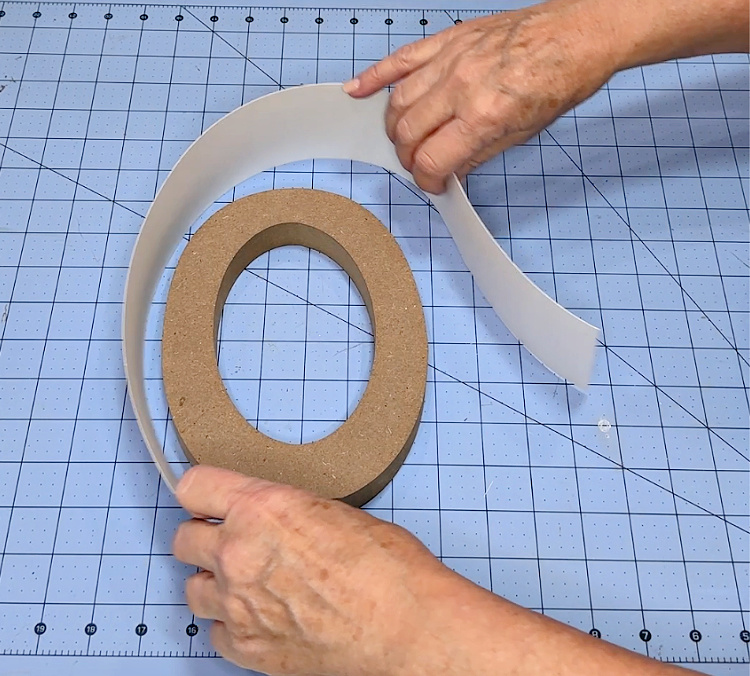
Wrap the poster board strip around the letter and secure it with tape. I used clear packing tape. You can even cover the entire piece with colorful duct tape if you want it to be grease-proof or just more colorful.
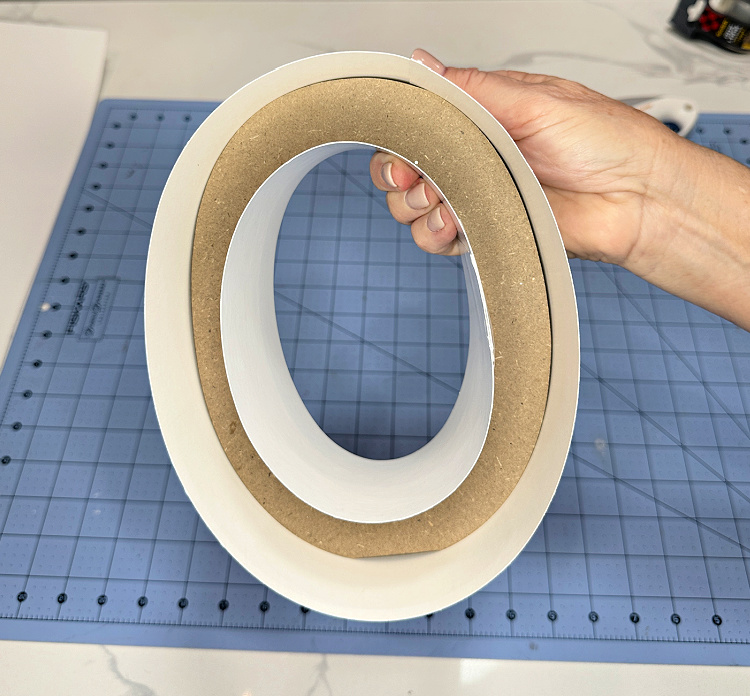
Repeat the same process making strips to fit the inside of the openings of your letters, also.
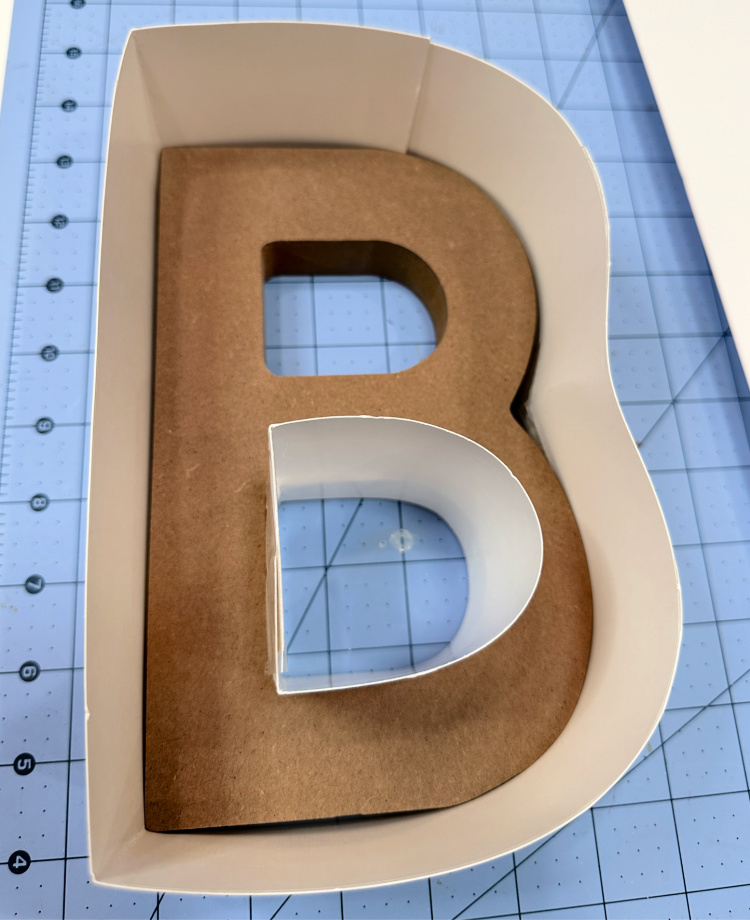
When dealing with corners like on the “B”, score the poster board edges so they stay snug on those edges.
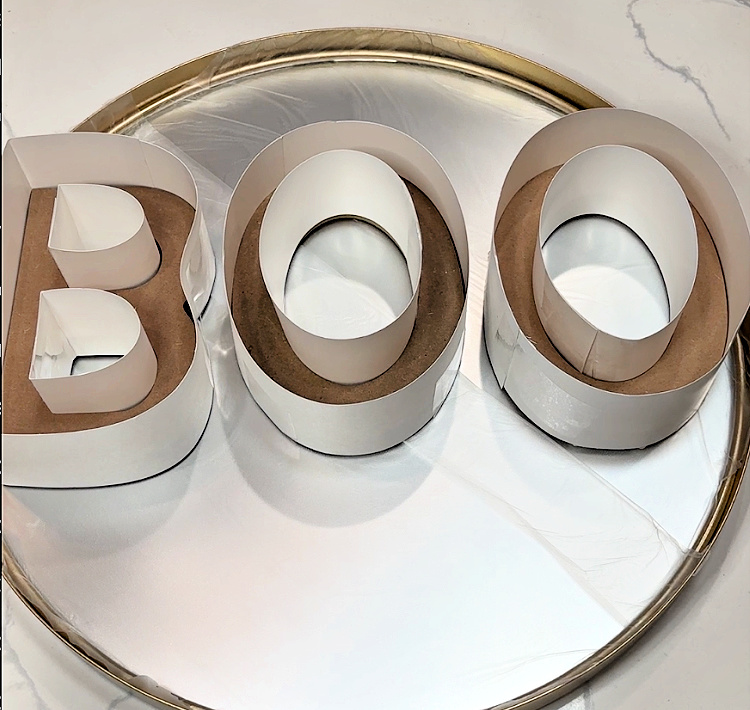
Your letter bowls are ready! Time to add the treats!!
Time to add the treats!
Add whatever kind of treats your guests will enjoy to your board. I started with some Brach’s harvest mix inside the B.
Reeses pieces are a perfect color treat for a Halloween treat board. Jelly Belly candies in orange purple and green filled in the second O.
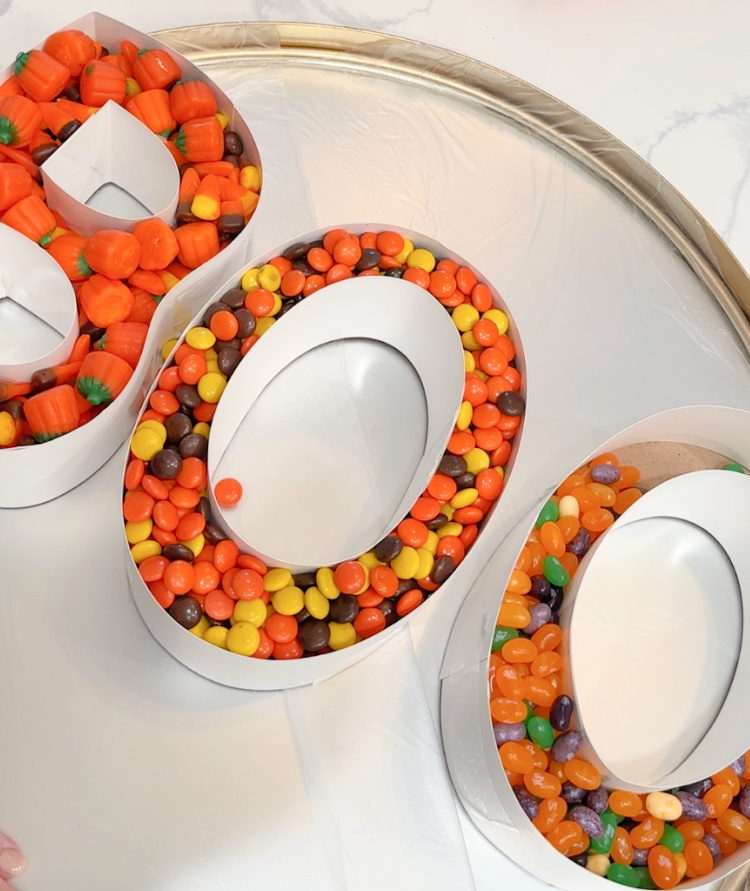
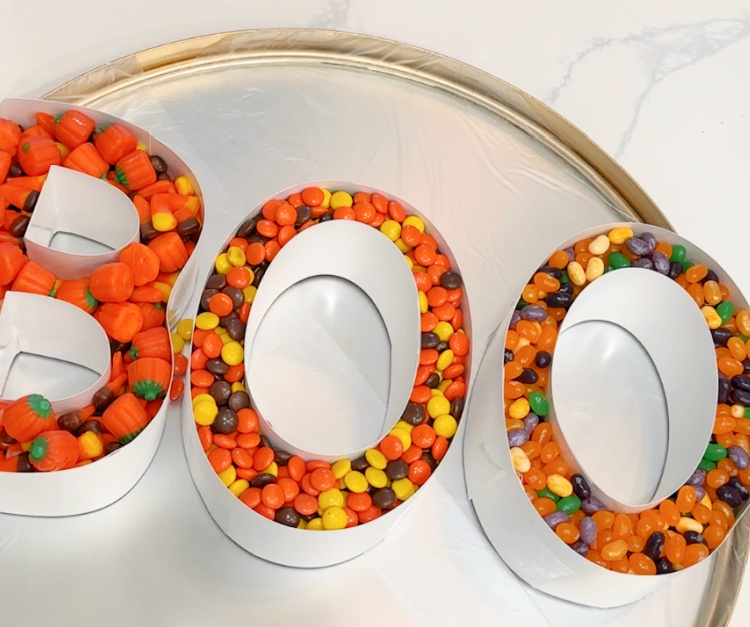
Fill in the center of the letters. I found candy coated mini pretzels, green flavored popcorn and filled the holes in the B with homemade chocolate skulls.

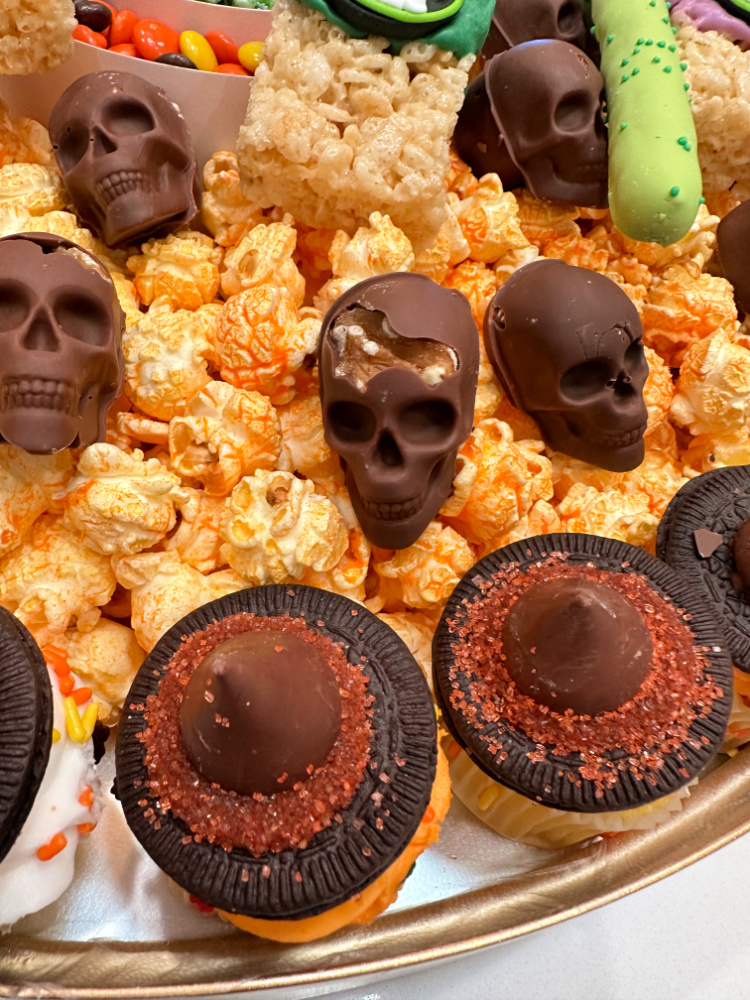
I lined one edge of the board with mini cupcakes topped with ‘witch hats’. The witch hats were easy to make using Oreo thins with mint filling and securing a Hershey’s Kiss with a little melted chocolate to the top of each cookie. Those were set on top of the store bought cupcakes.
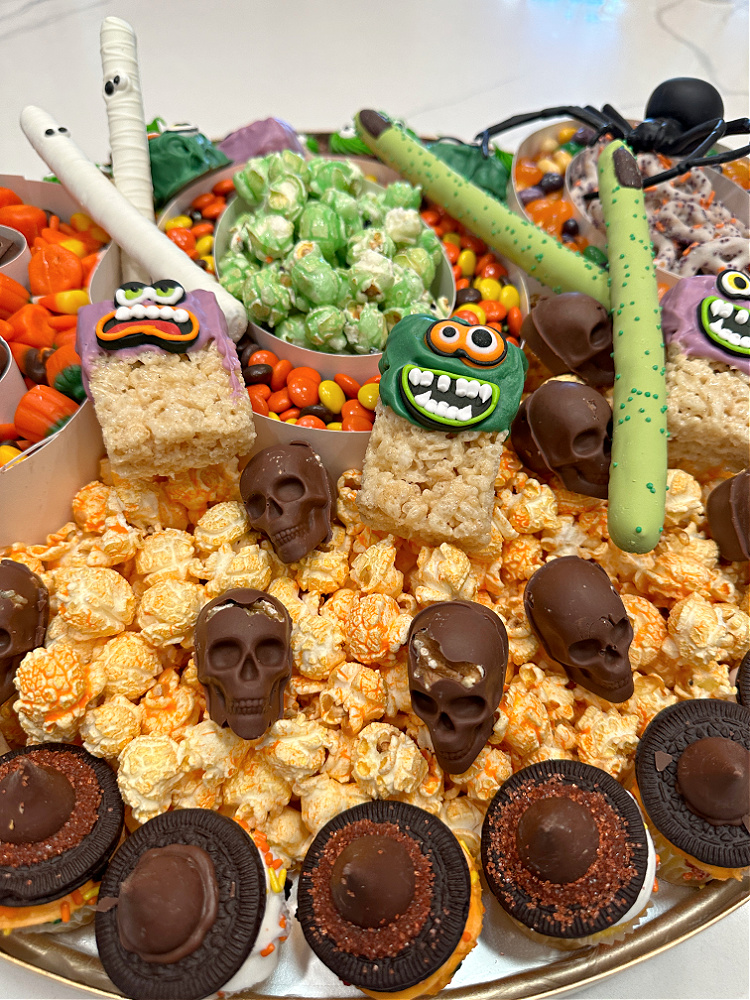
Empty spaces on my board were filled in with caramel corn and cheddar cheese popcorn. I added a few more treats. I made mini brownie cups, filled them with a little bit of green frosting and added candy eyeballs. Store bought Rice Krispie treats were dipped in green or purple candy melts and topped off with creepy candy faces.
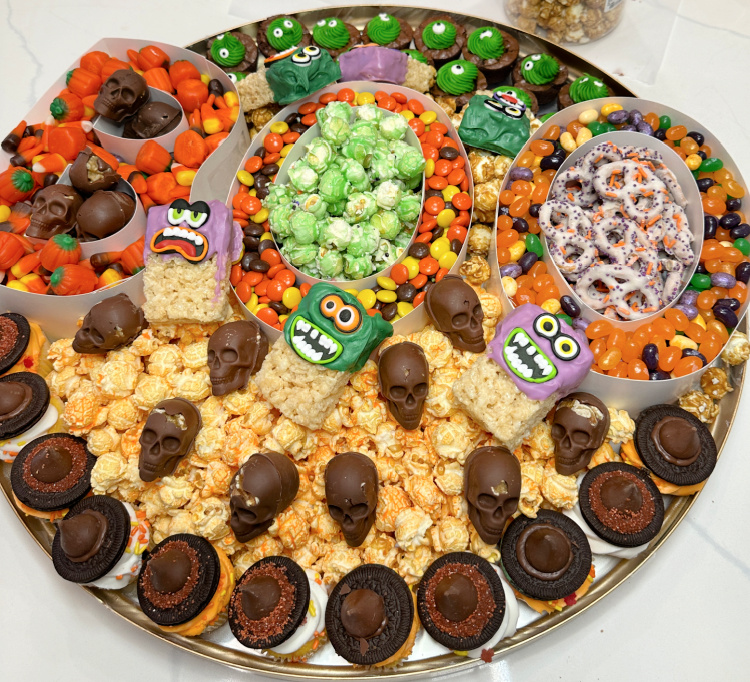
More chocolate skulls were nestled in the cheddar cheese corn. I tucked a walnut into the head of each skull mold to simulate the exposed brain, but some of them floated back inside the heads. Below you can see one of them that turned out especially good, exposing the walnut brain!
This cheerful witch was happy to deliver her (my) contribution to a fun Halloween party on Saturday evening!
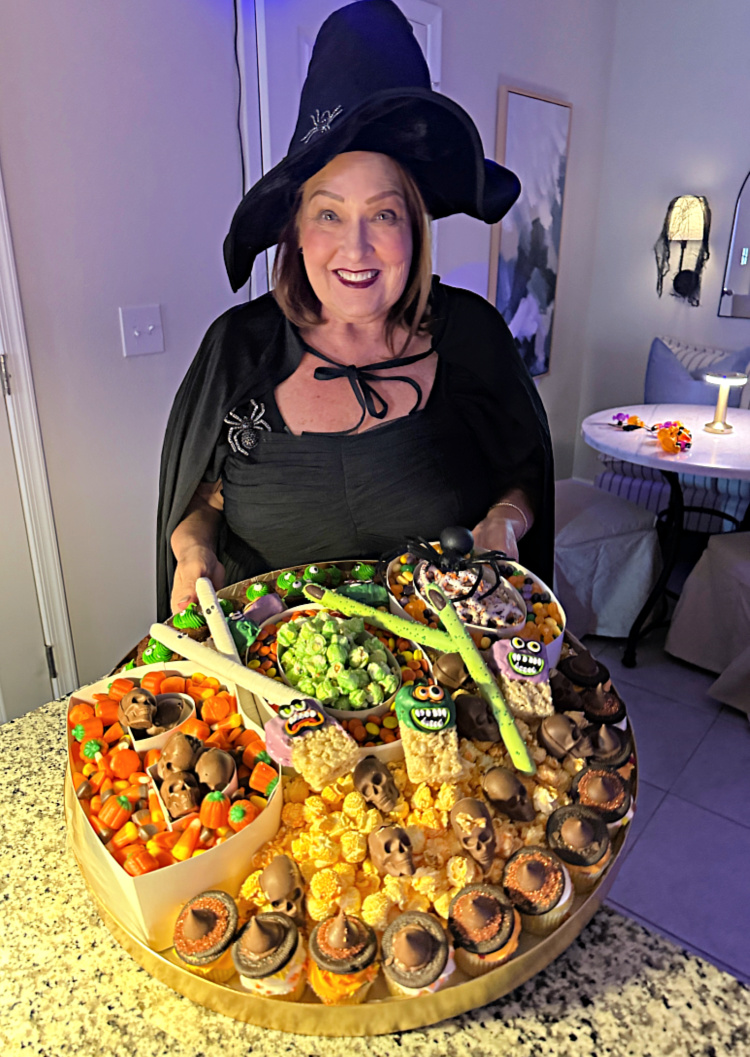
If you are hosting a Halloween gathering, take some of these ideas and make a Halloween themed board for your guests! Happy Halloween!
So fun and creative. It’s a diabetic’s (me) nightmare but I love it. Favourite part is the faces on the rice crispy treats.
Thank you Karen. I am not diabetic, but always fighting the weight loss battle, so I stayed away from snacking on it! The guests loved it though!
Love it ! Really great idea. Thanks for sharing.
Thank you Liz!
Love your costume. What a brilliant way to make use of the letters as snack holders. You always have so many great ideas. Thanks for sharing.
So cute and clever Chloe! I’m sure it was the hit of the party!!
I luv it Chloe….you are an inspiration for those of us who have to think a bit. I love the walnut brain and the BOO sign letters. Your costume was perfect. Have a restful October…well, after your visit to Bella Terra.
Kari
This is impressive and gorgeous!!!