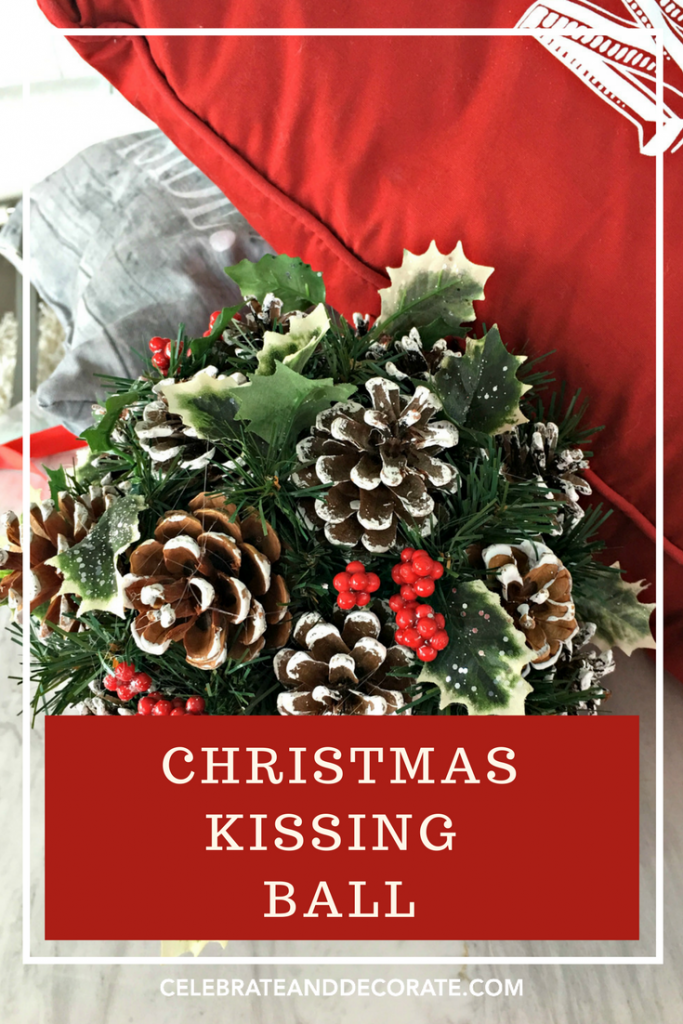
How to Make a Christmas Kissing Ball
A kissing ball is a fun holiday decoration that can add to your Christmas decor. Kissing balls can be made to coordinate with any of other decorations and can be made in fresh greens or artificial. I will show you how to make an artificial kissing ball you can display throughout the holiday season.
This post contains some affiliate links for your convenience. Click here to read my full disclosure policy.
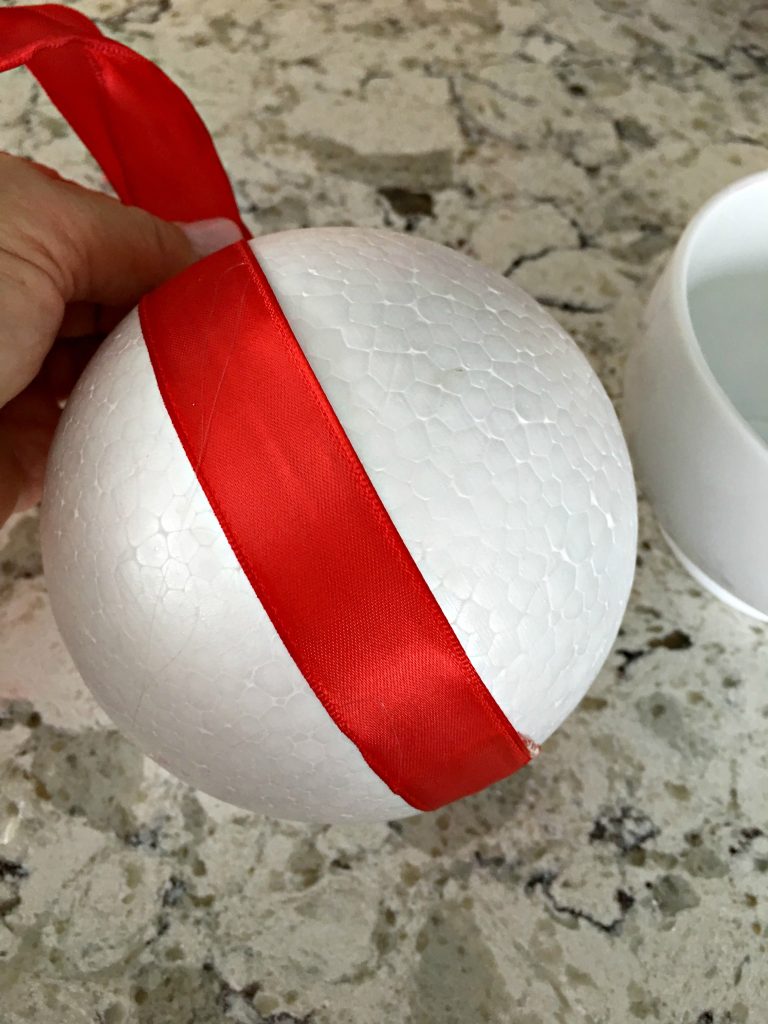
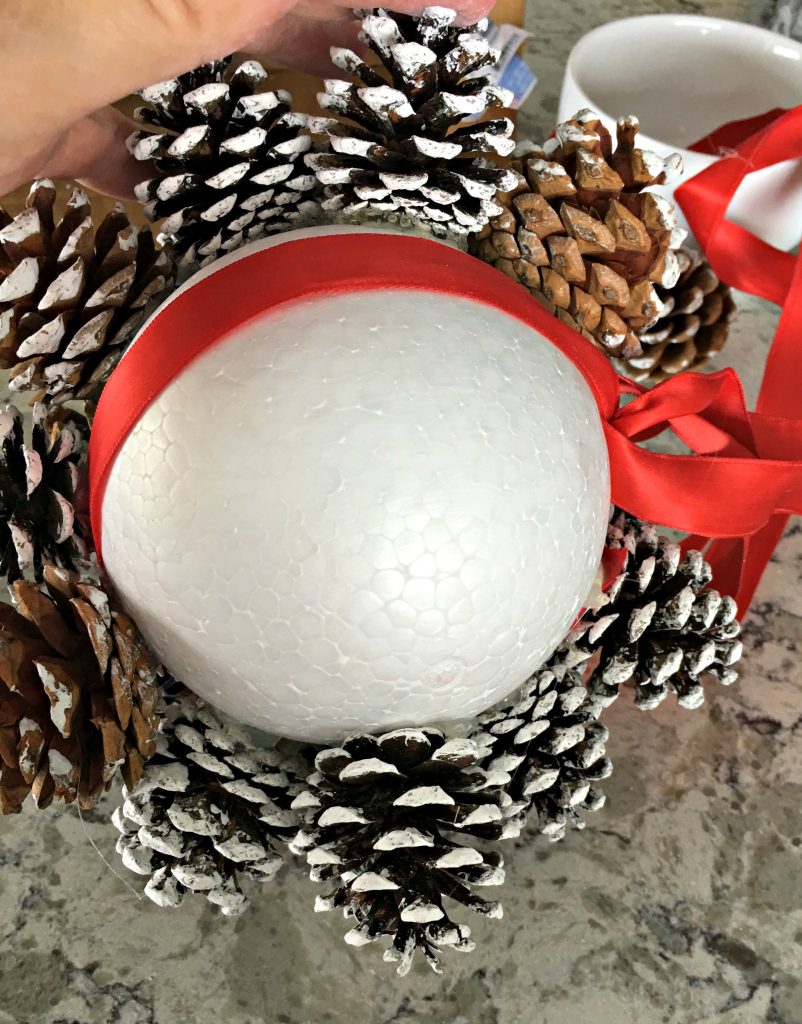
Select the size styrofoam ball you want to make your ball. Keep in mind that after you add your pinecones the ball will be much larger than the styrofoam ball you are beginning with.

Take your ribbon and wrap it around the ball, securing the ribbon with a spot of hot glue on the bottom of the ball. Pull the ribbon around to the top and tie it on in a secure knot. Take a second, longer piece of ribbon, the length you will want to hang your kissing ball. Feed the longer ribbon under the knot and tie it around the knot.
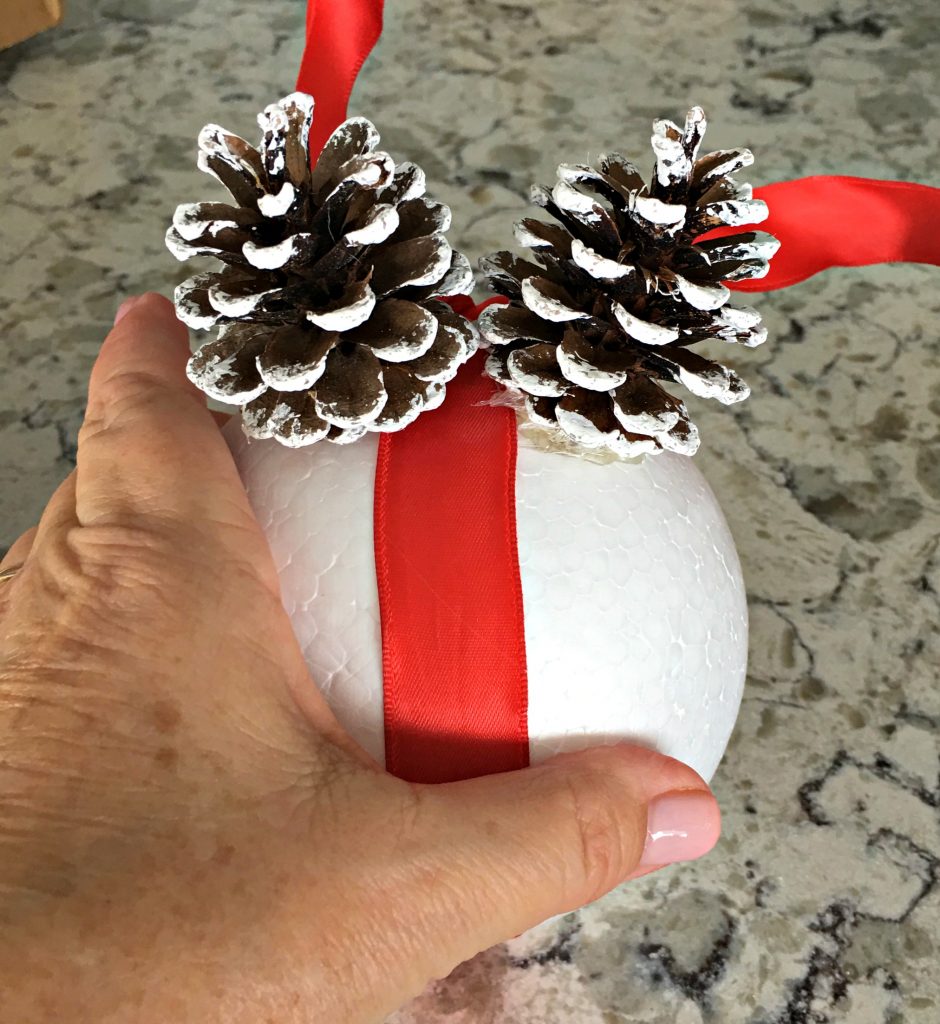
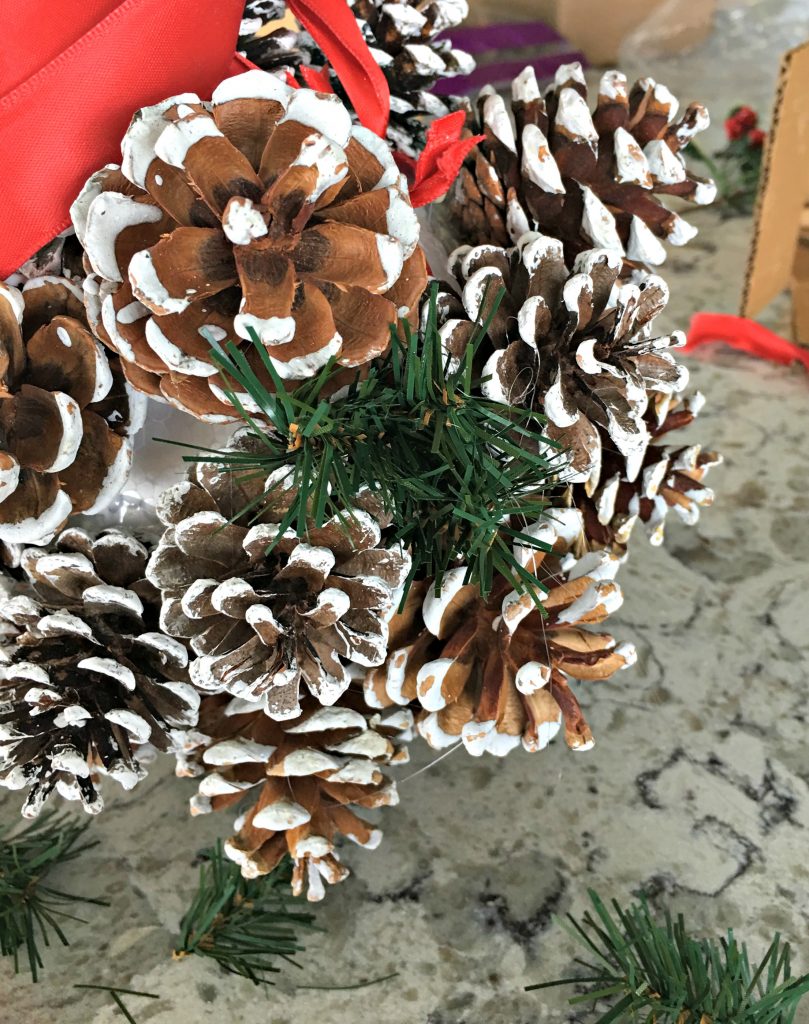
Time to begin using the hot glue to attach the pinecones to the Styrofoam balls. Hold them in place until the glue has dried and the pinecones are secure. Continue to move around your ball gluing the pinecones as close together as you they can easily fit together.
Keep working all the way around your styrofoam ball
When you have covered your entire ball it should look something like this:
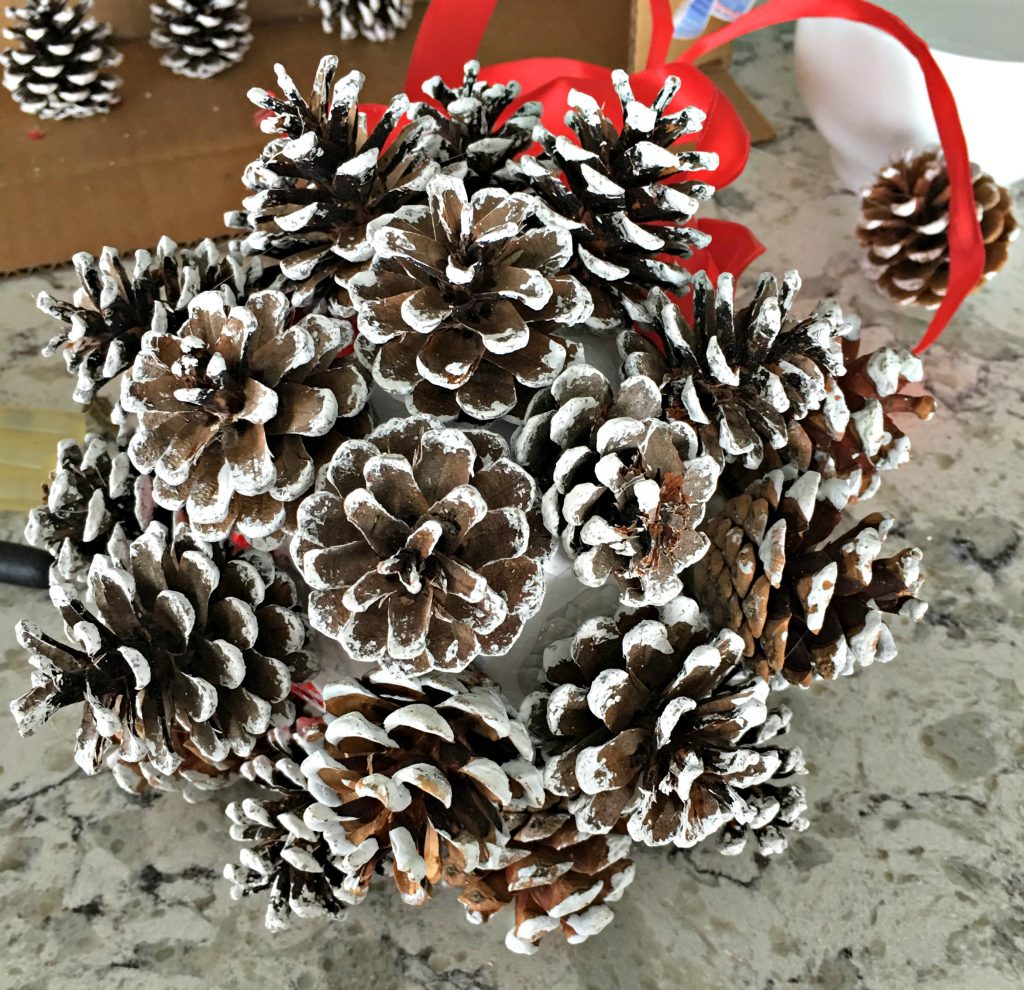
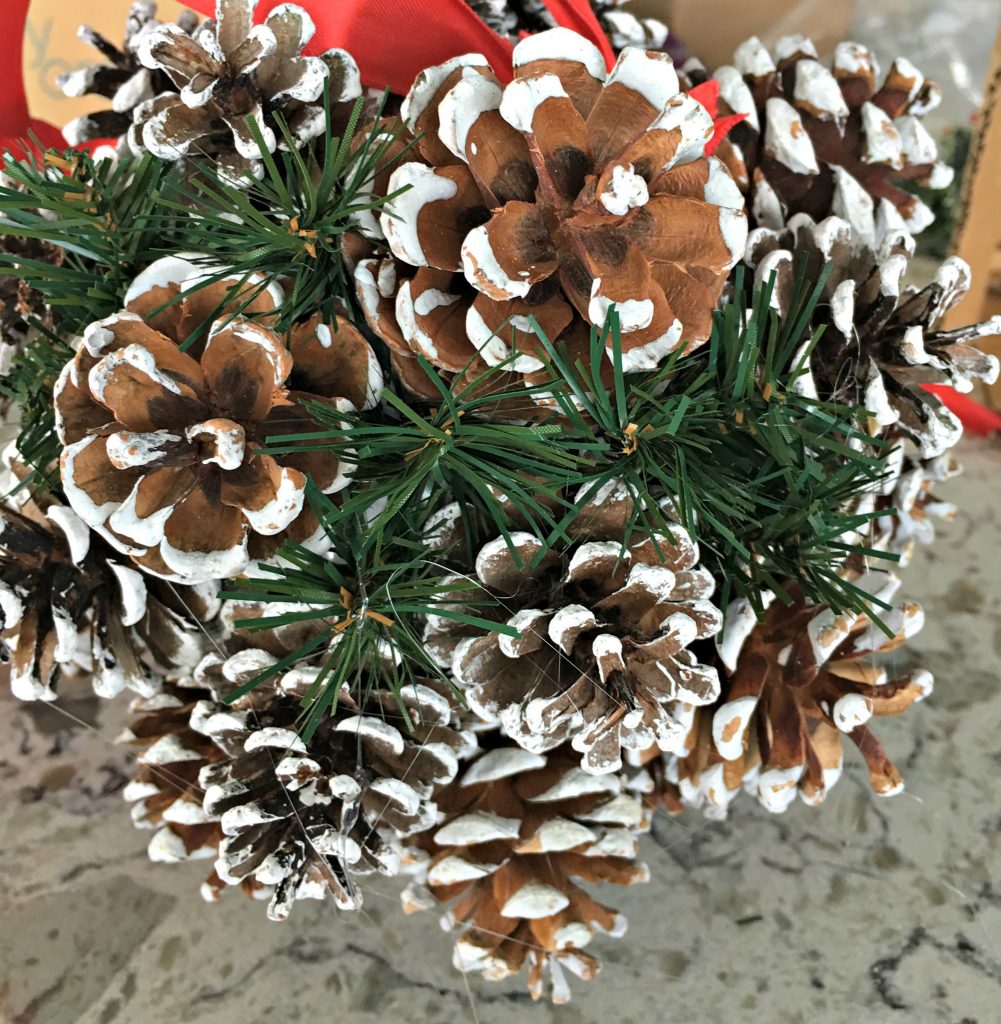
These are the spaces you will have between the pinecones. Do not be concerned if some of the spots appear large, you won’t see them at all as you complete your kissing ball.
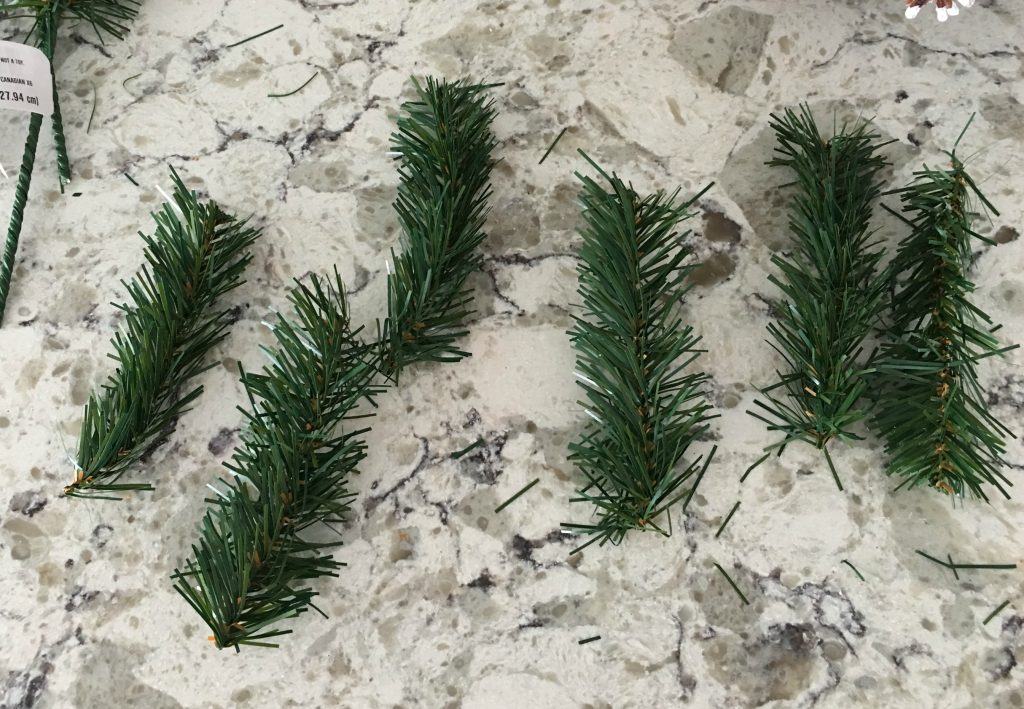
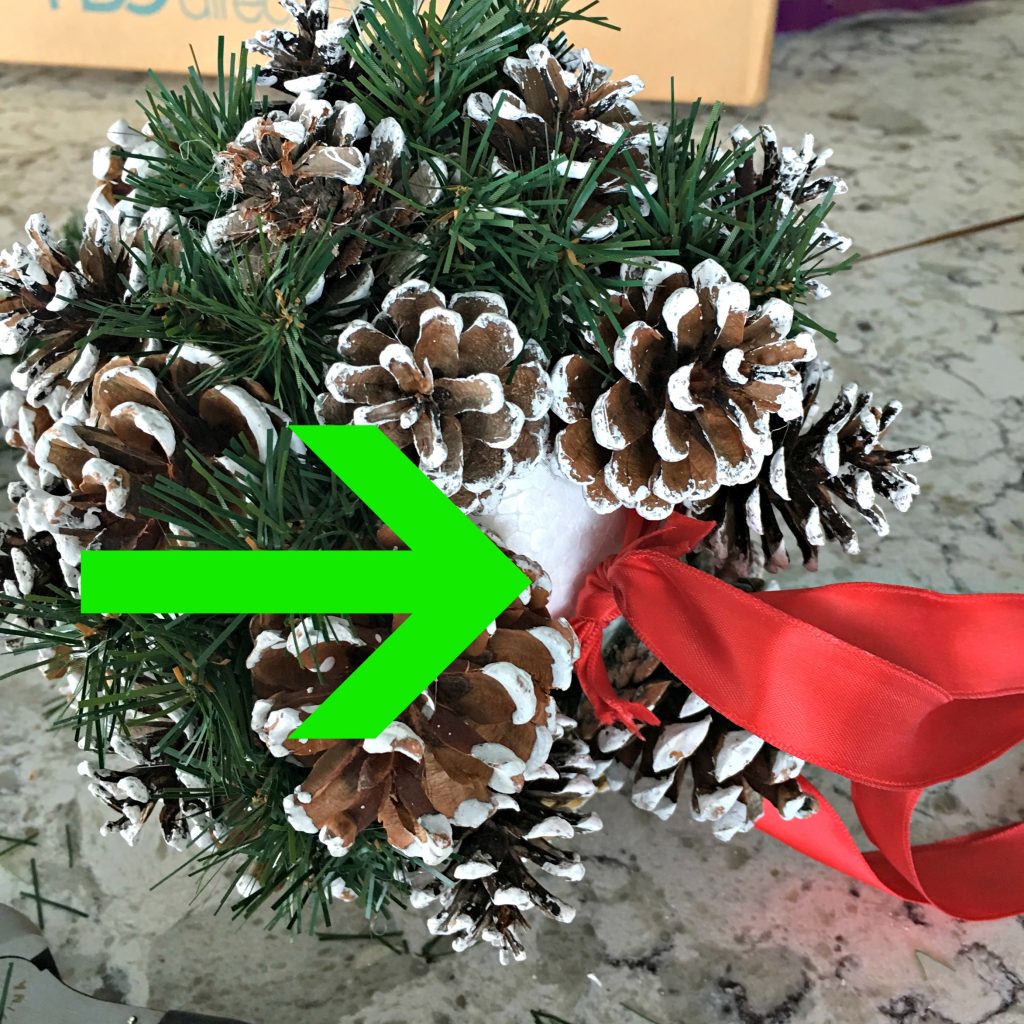
Take your some green pine sprays and cut each of the tips off of the stem. Cut each of these tips into 3 or 4 shorter tips. Apply a little hot glue to the end of your tiny pieces and push them down between the pinecones where you have white space showing.
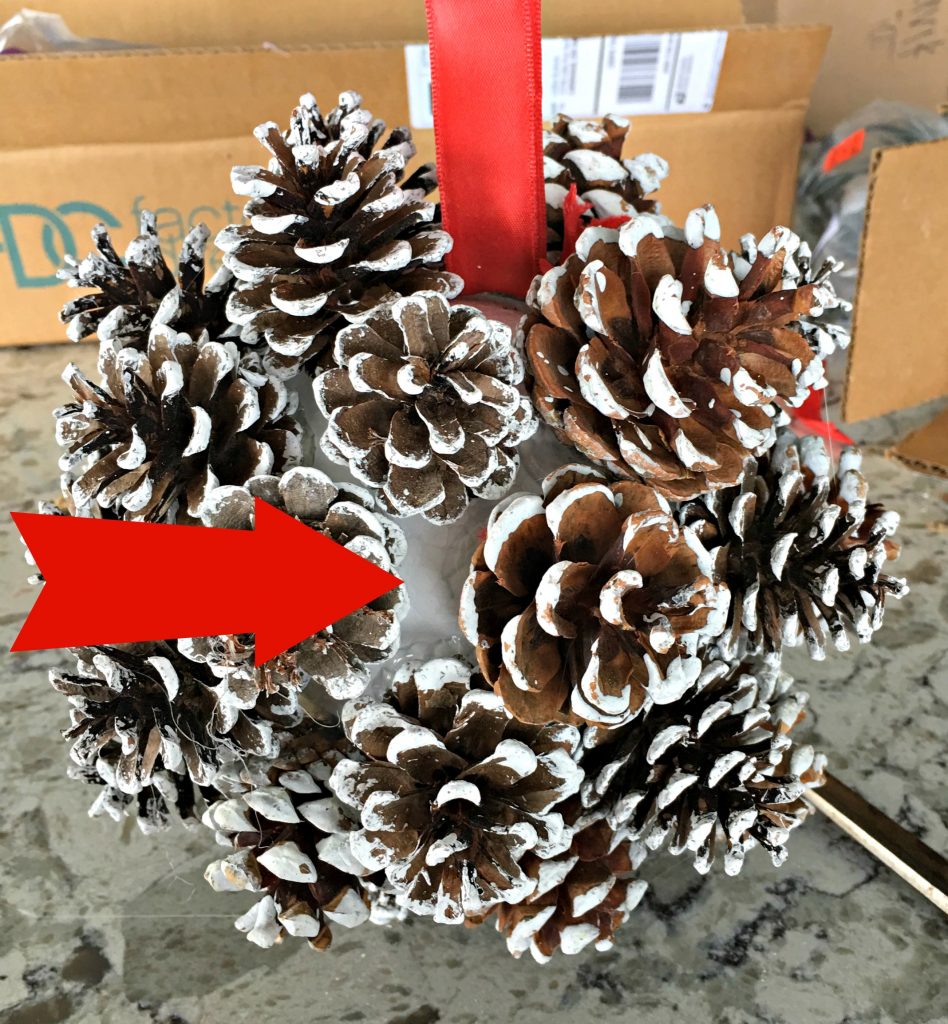
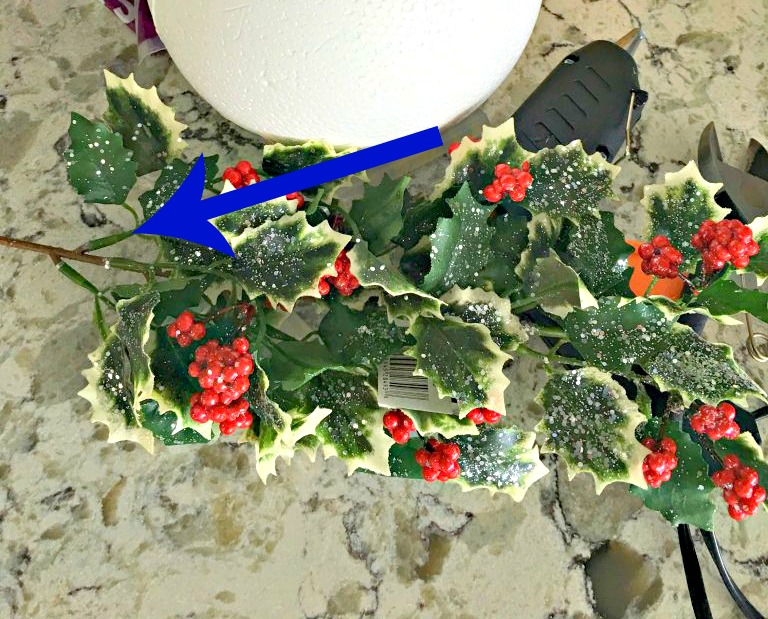
The green arrow shows where I have tied the hanging ribbon onto the ribbon around the kissing ball for hanging it for display later. I will fill this white space with the pine tips right up around the ribbon.
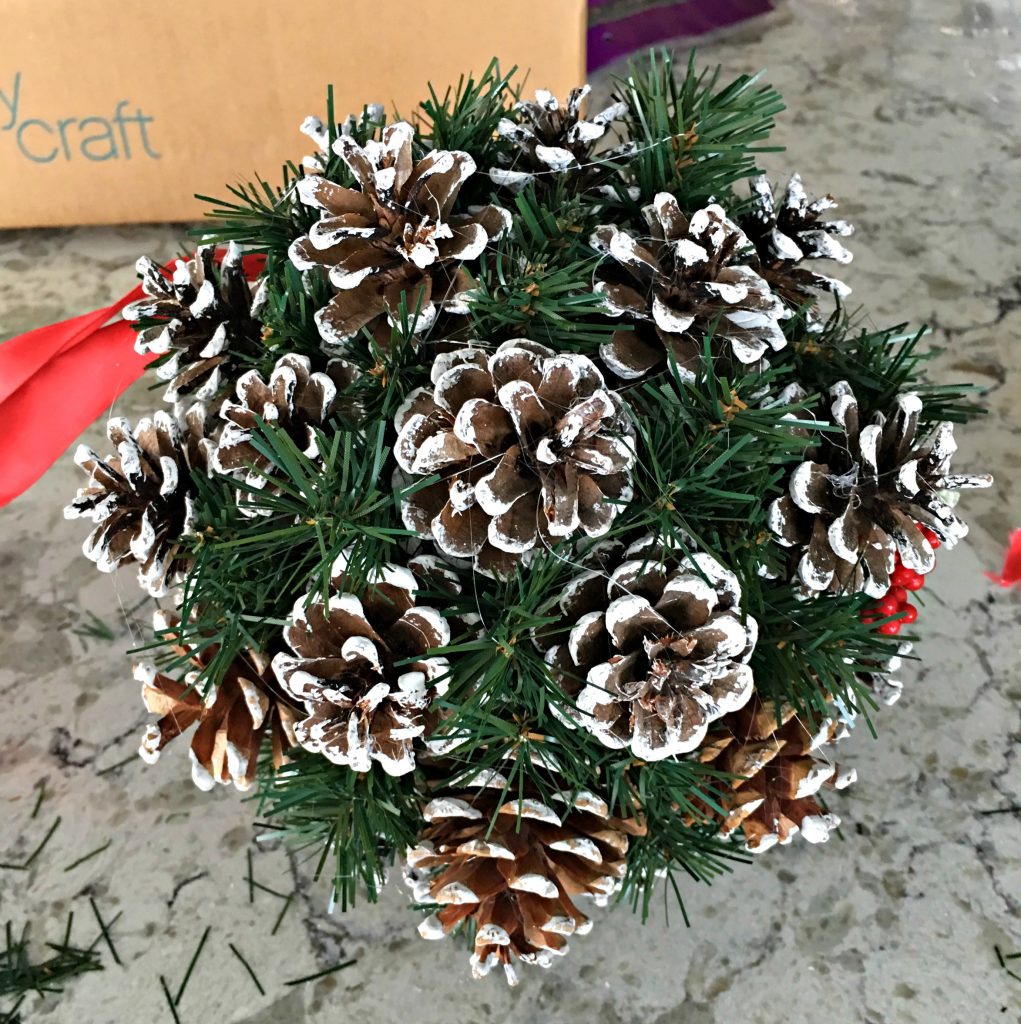
Your kissing ball will be coming together as you work all around the ball until you have filled all of the empty spots between the pinecones.The kissing ball is looking pretty good, but now for the “window dressing”!
Pull each tip of the holly off of the stem where the blue arrow is. Take each tip of the sparkling holly spray and cut it into small pieces with the wire cutters, as shown above.
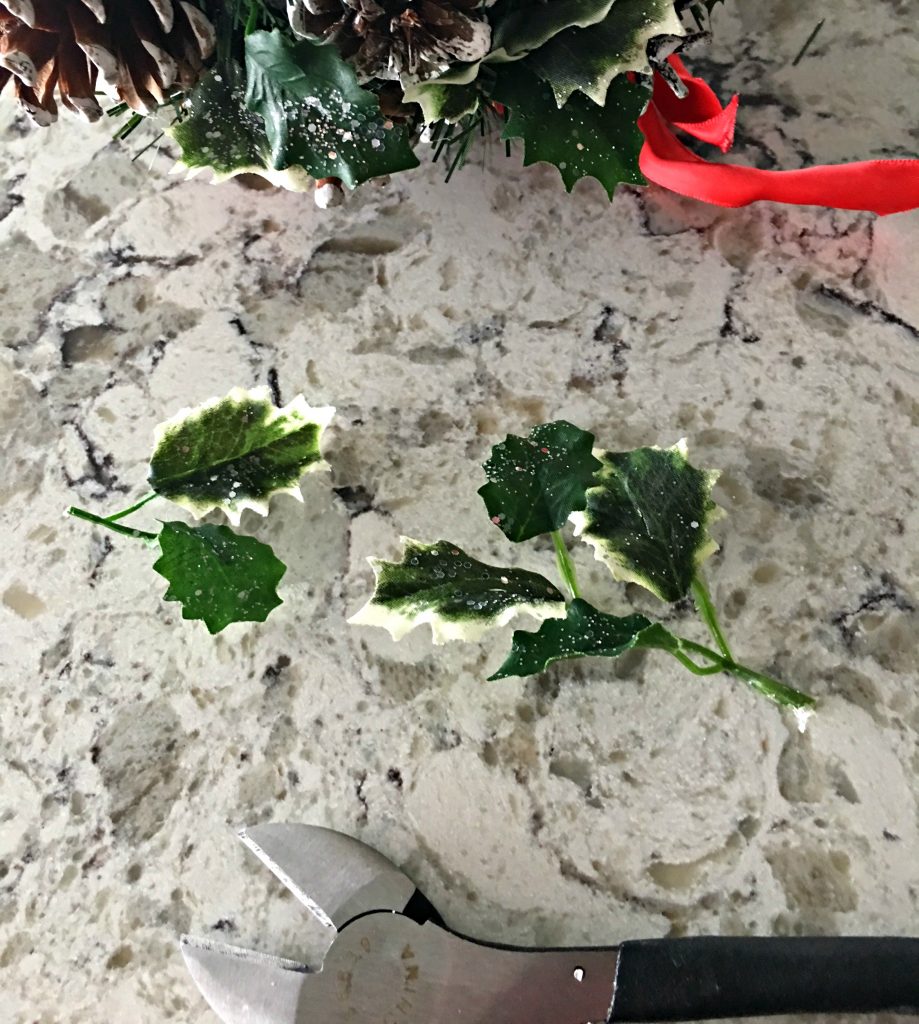
Glue these onto your ball in a random pattern. After you have added all of your holly pieces, pick all of the hot glue strings off of your ball so it will be ready to display.
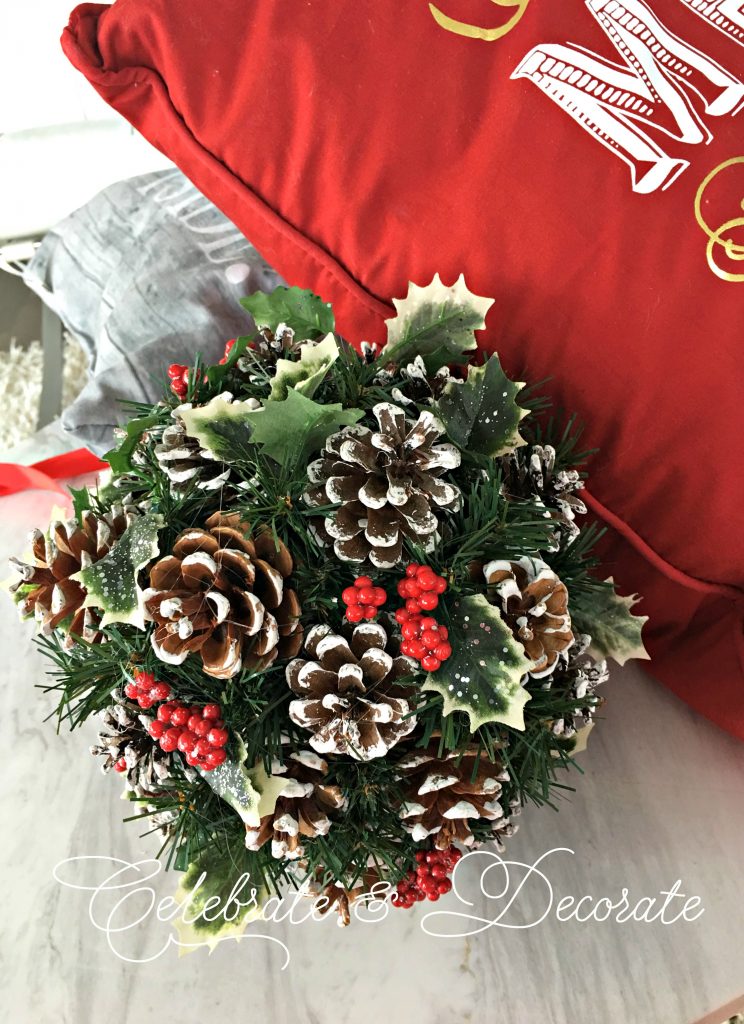
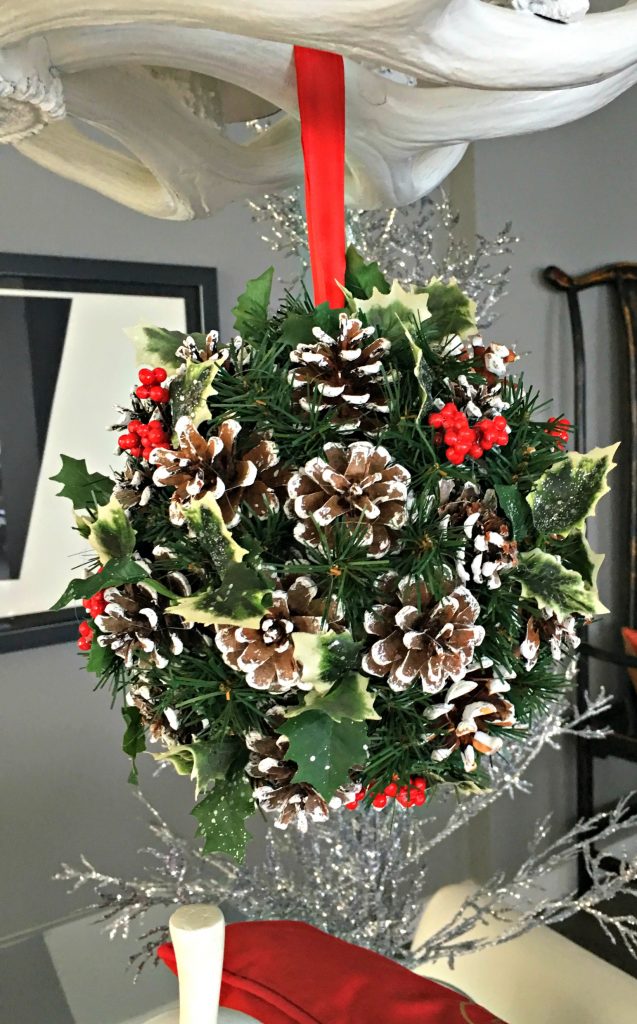
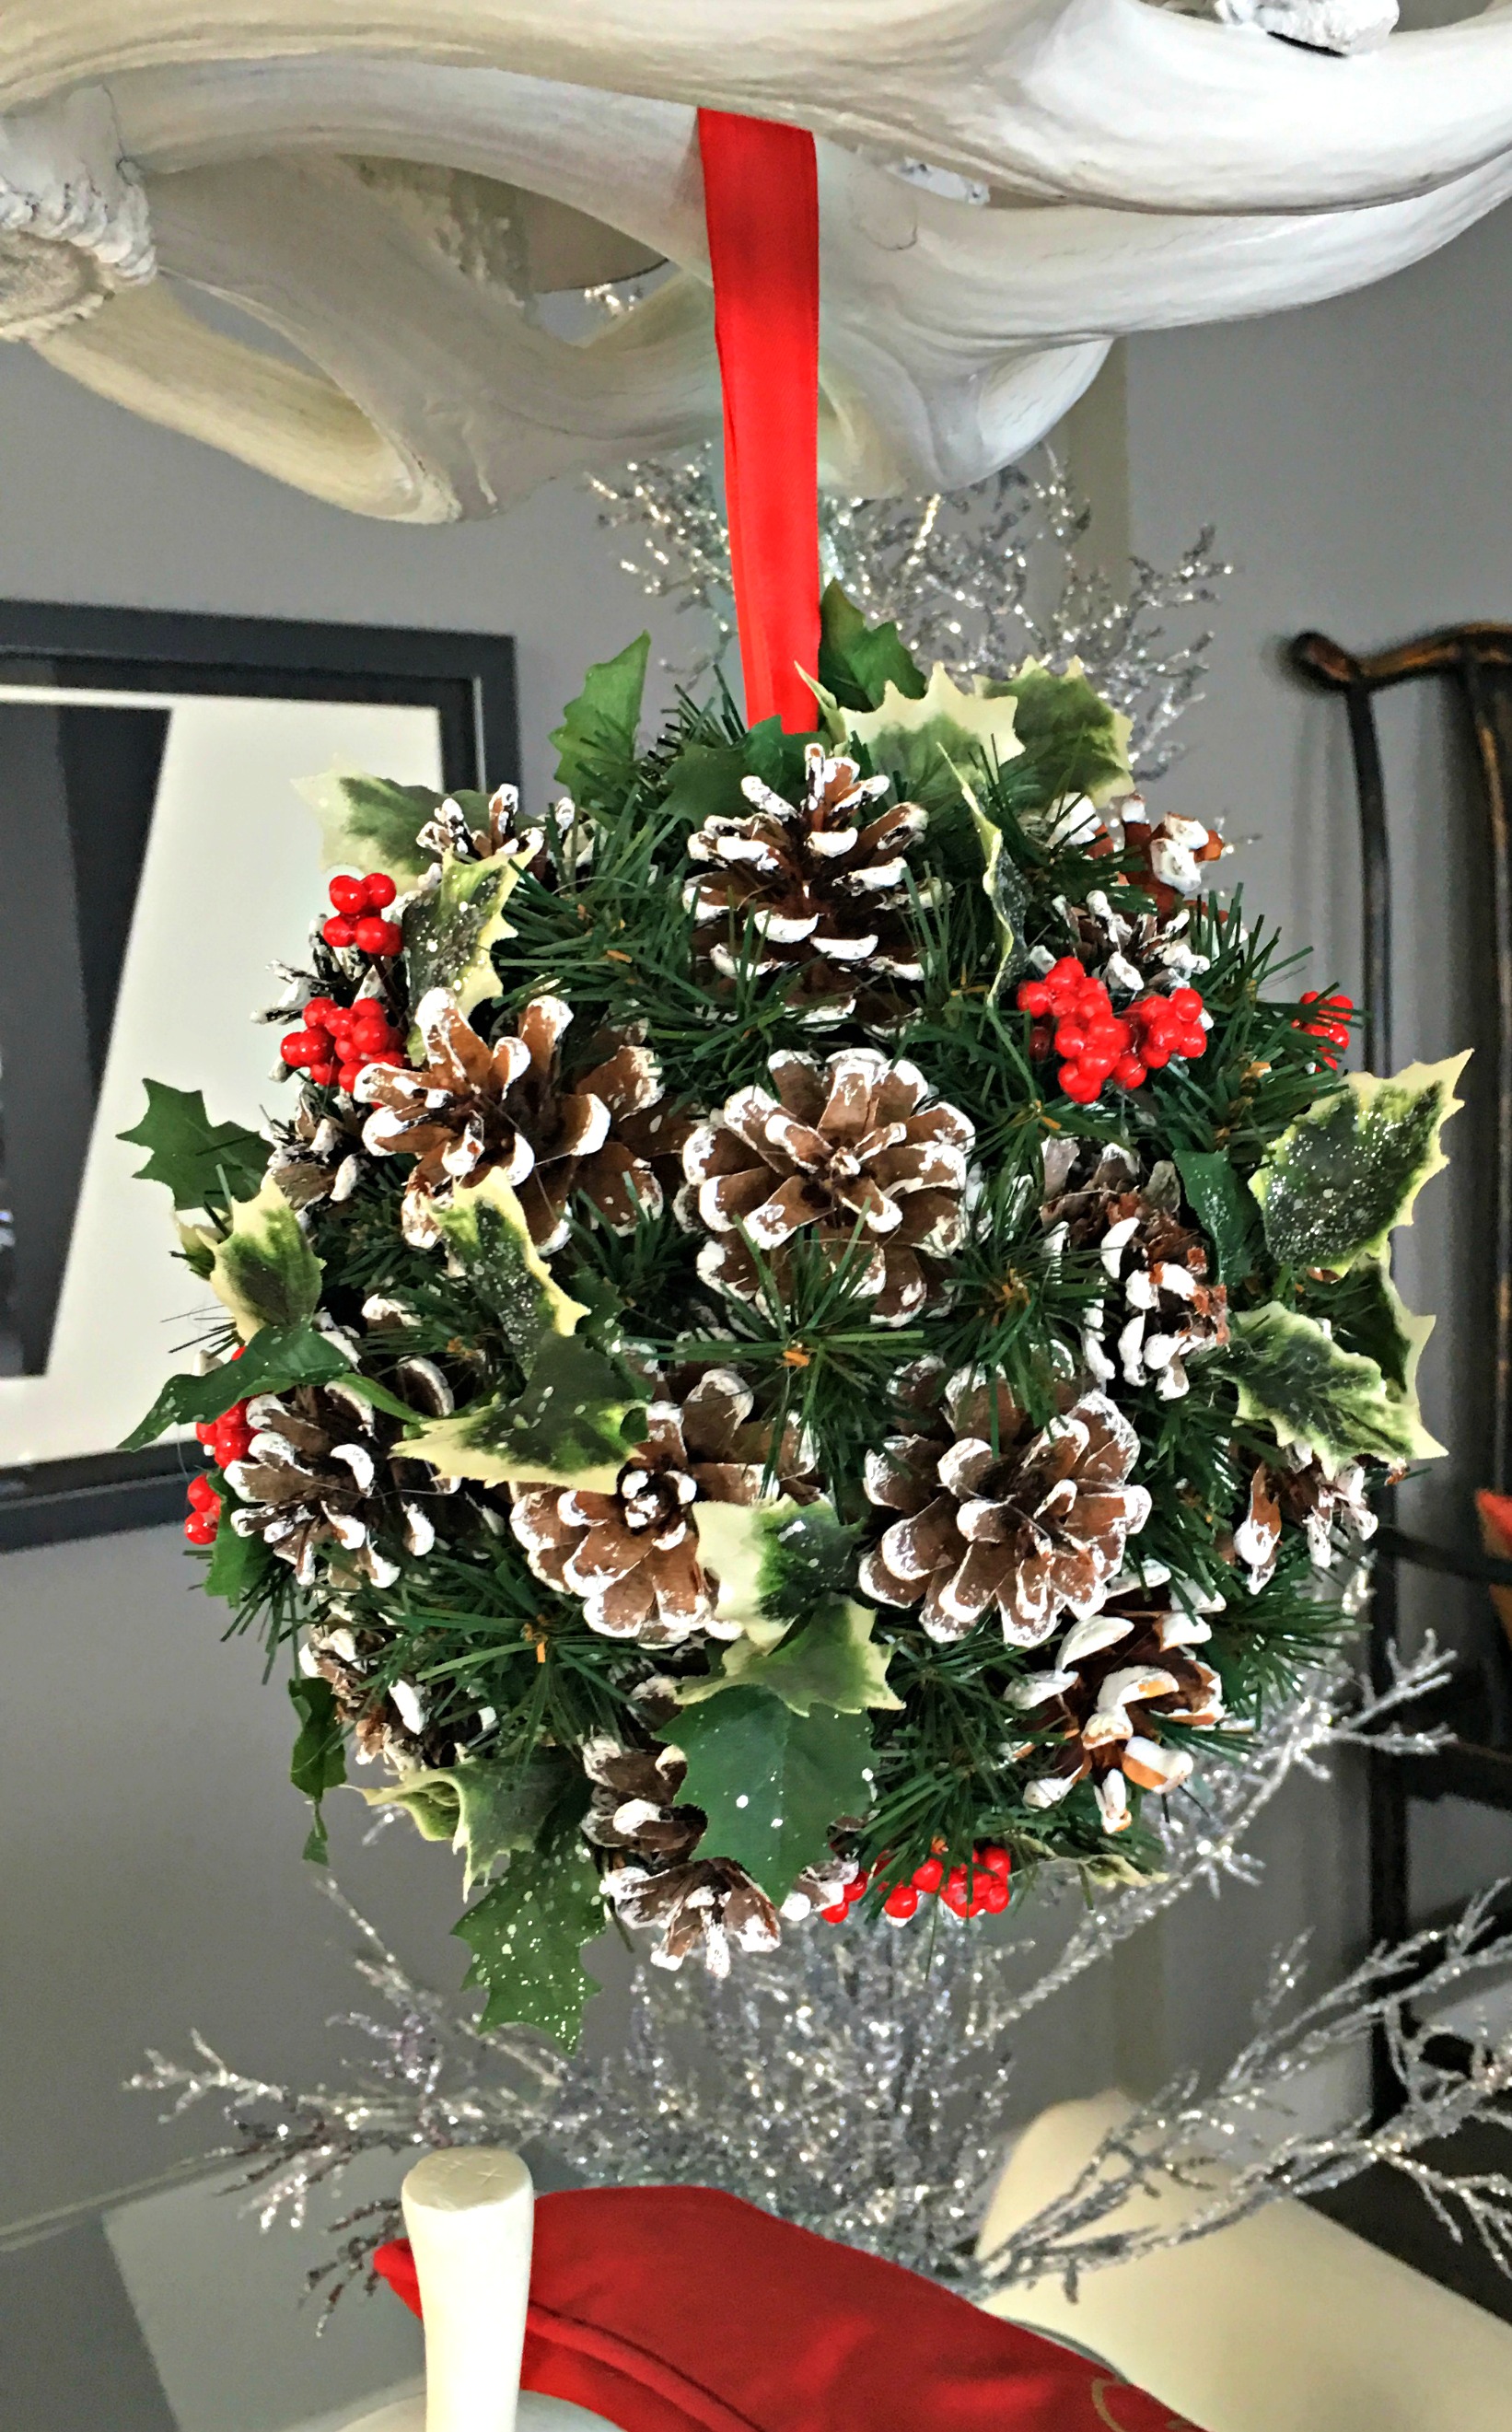
…and your Christmas Kissing Ball is ready to hang, to display and to enjoy!
Supply Shopping List
One 4.5 inch smooth styrofoam ball
Red 1/2 inch satin ribbon (you will want a minimum of 3 yards)
2 Bags of snow tipped pine cones
Hot Glue Gun and glue sticks
Wire Cutters
Green Canadian Pine Spray – 6 pieces
Artificial Sparkling Holly
Pretty kissing ball. I made some once but they were the soft pinks and whites. I have used them for bridal showers, baby showers, tea parties and more. About a year ago they got tossed out by accident in a box with trash. My heart sorta hurt as I had so much time and money in those cuties. Thanks for sharing your Christmas kissing ball. Hugs and blessings, Cindy
Chloe, another great DIY. These would be excellent gifts…thanks for sharing your creativity!
LOVE!
Thank you Tim!
love it i did mine but i cant find the 4.5 inch i got the 5.8 hehe but is cute one and big i put by my bay window Thank Kathy
So happy to hear you did this project, I am sure it looks lovely in your bay window! Happy holidays!
Hi Chloe, I missed your live tutorial on this. Is it available at a site online.?
Ginny
Hi Ginny! Yes, I was LIVE for Hometalk in NYC for this project. Here is the link! https://www.facebook.com/Hometalk/videos/2389183801099162/
I so want to make this for my outdoor porch! How big did it end up being after all was stuck in it?
It was a couple of years ago, but I think it was about 14 inches across.
How clever and creative an idea for making a kissing ball. I am eager to try to make this decoration because it is simple enough to make and pinecones are easy to come by with great results. Thank you.
Thank you Sue, I like to have some hanging decor to draw the eye up!
My friend shot some mistletoe out of a tree for me to use in my kissing ball. It looks so good with it’s tiny white berries. Just have to mist occasionally. Never heard of a kissing ball with out mistletoe before.
Hi
Just need to know approx. how many pine cones are required using 4.3 ball unable to find a 4.5
Denise, it always varies because pine cones are a natural product and vary in size.