
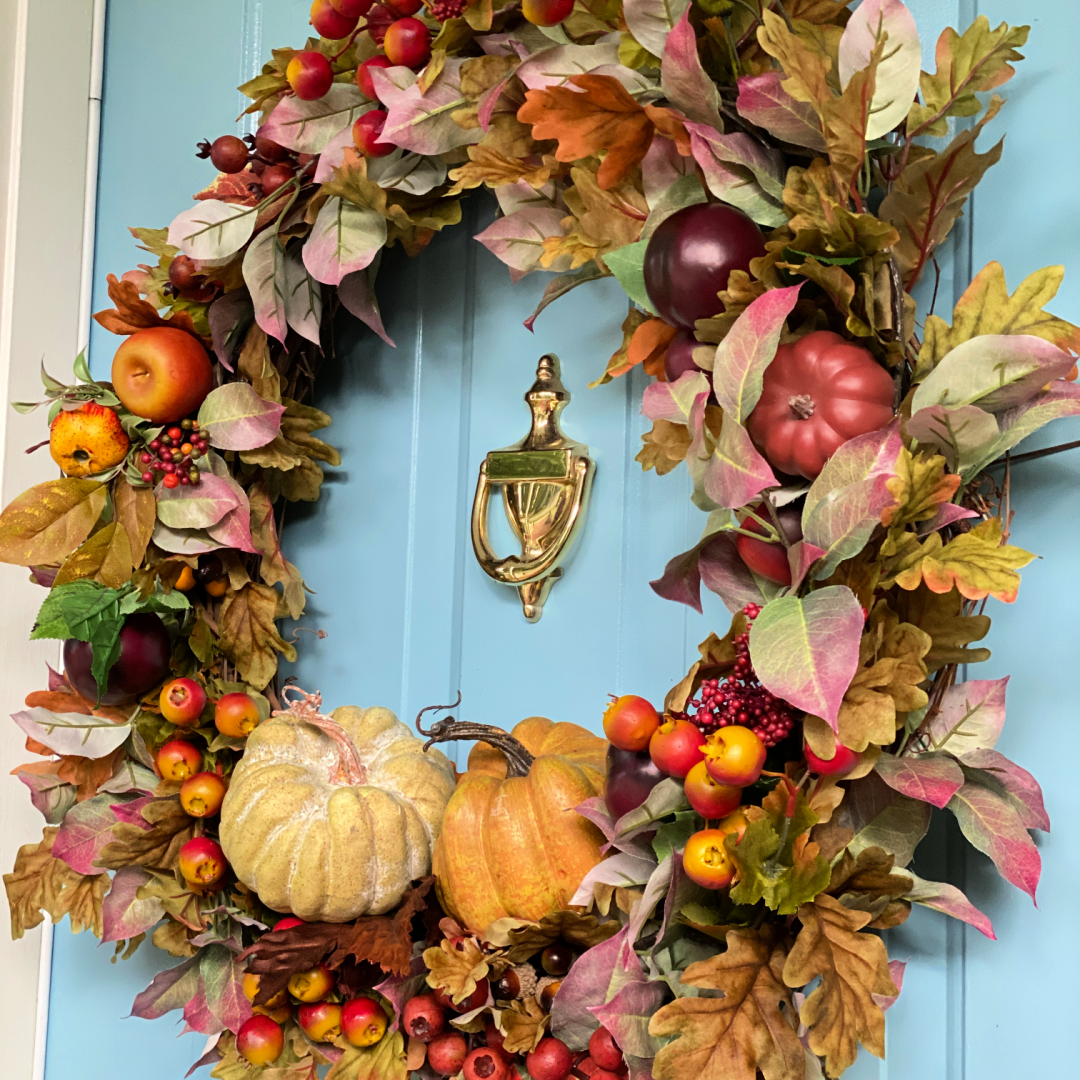
How to Make a Luxurious Wreath for Fall
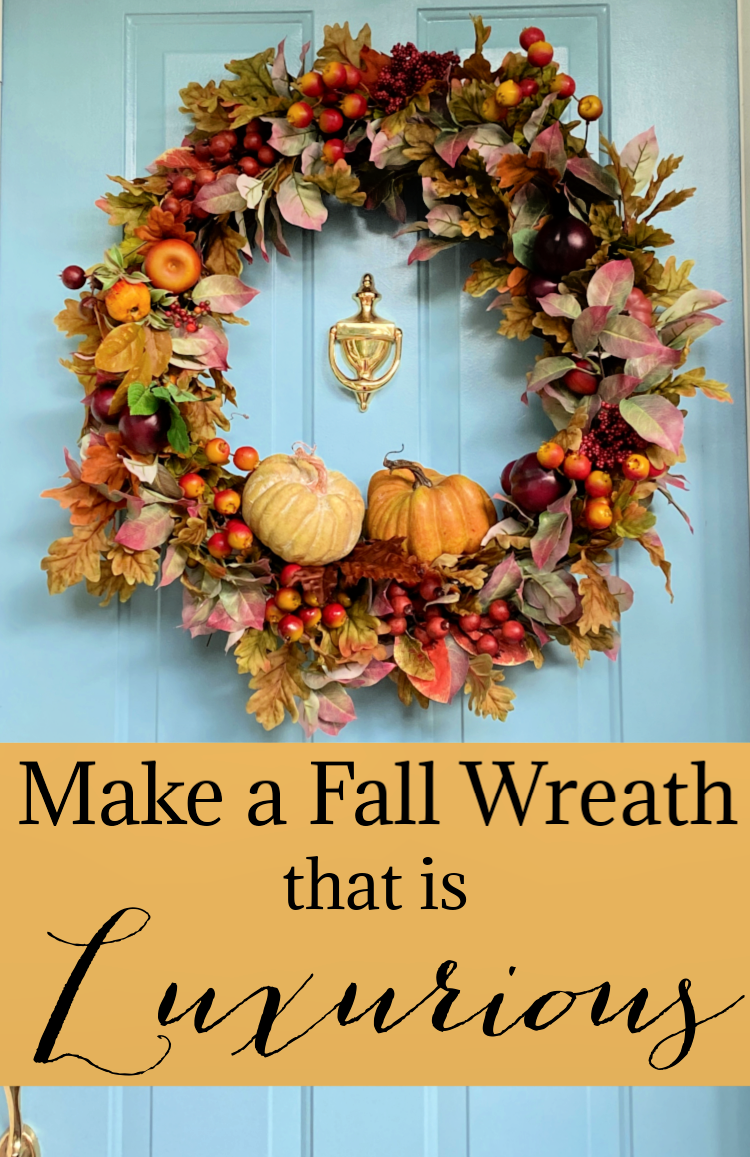
This luxurious fall wreath remains one of the prettiest and most elegant wreaths I have ever created. Filled with richly colored oak leaves, autumn fruit, berries, and rustic pumpkins, it captures all the abundance of the fall harvest. Although it looks elaborate, the wreath is surprisingly easy to assemble on a large grapevine base—and many of the elements can be removed and reused in future seasonal arrangements.
This post contains some affiliate links for your convenience. Click here to read my full disclosure policy.
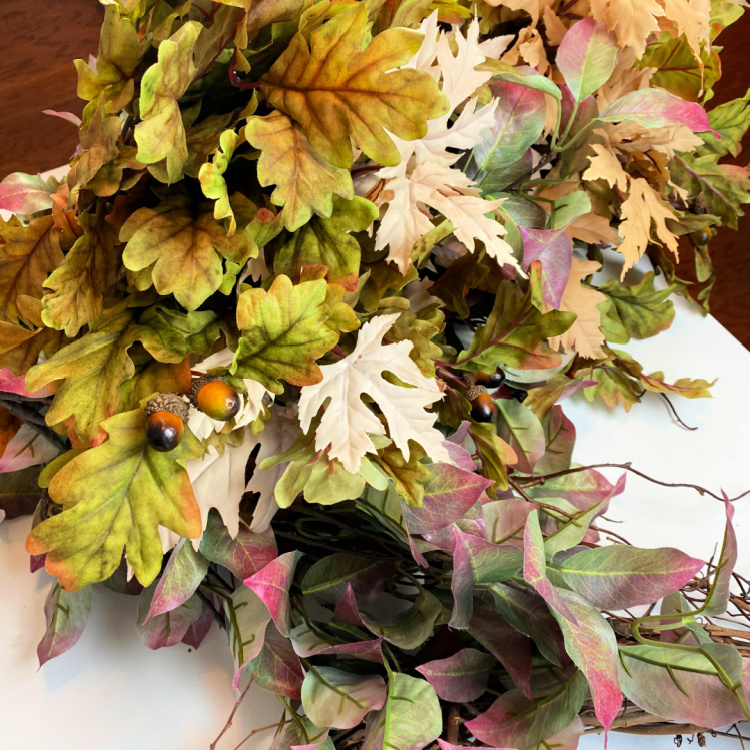
One of the best things about creating a wreath on a grapevine base is that many of the decorative elements can be removed and reused. I had an assortment of faux oak and maple leaves left over from my fall tablescape featuring oak leaves and acorns, so this wreath was the perfect opportunity to give them an entirely new look.
Supplies for a Luxurious Fall Wreath
- 24 inch grapevine wreath
- Faux beech branches
- Faux olive branches
- Faux blush eucalyptus branches
- Faux fall colored eucalyptus branches
- Artificial oak leaf branches with acorns
- Artificial maple leaf branches
- Artificial brown pears
- Artificial pomegranates
- 6.5 inch artificial orange pumpkin
- 4.8 inch artificial sage green pumpkin
Choose a Large Grapevine Wreath
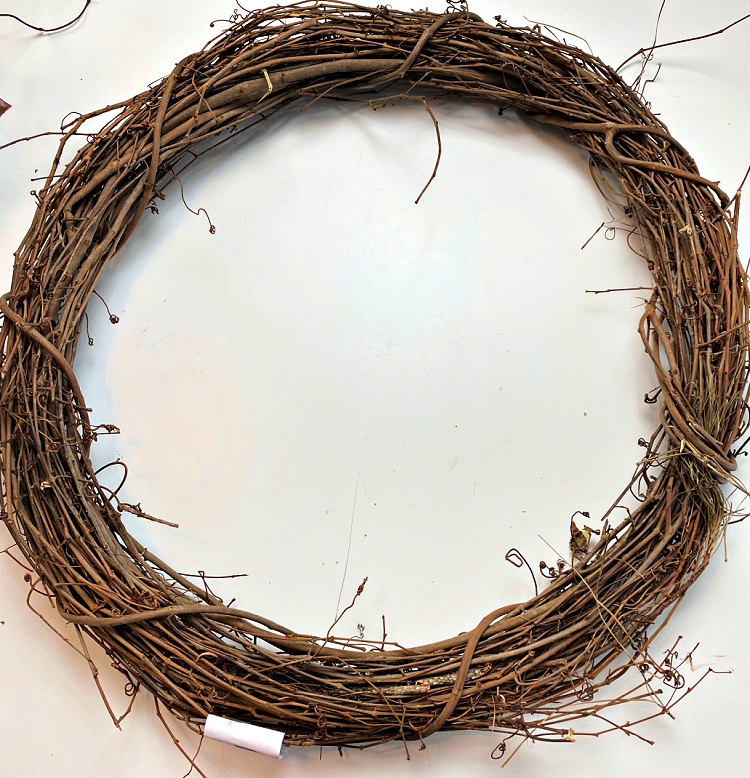
I knew I wanted this wreath to make a statement, so I began with a large 24-inch grapevine wreath form. Before selecting your wreath size, measure the door or space where you plan to display it. Remember that the finished wreath will extend well beyond the original 24 inches once all the leaves, fruit, and other decorative elements are added.
Create a Base of Fall Foliage
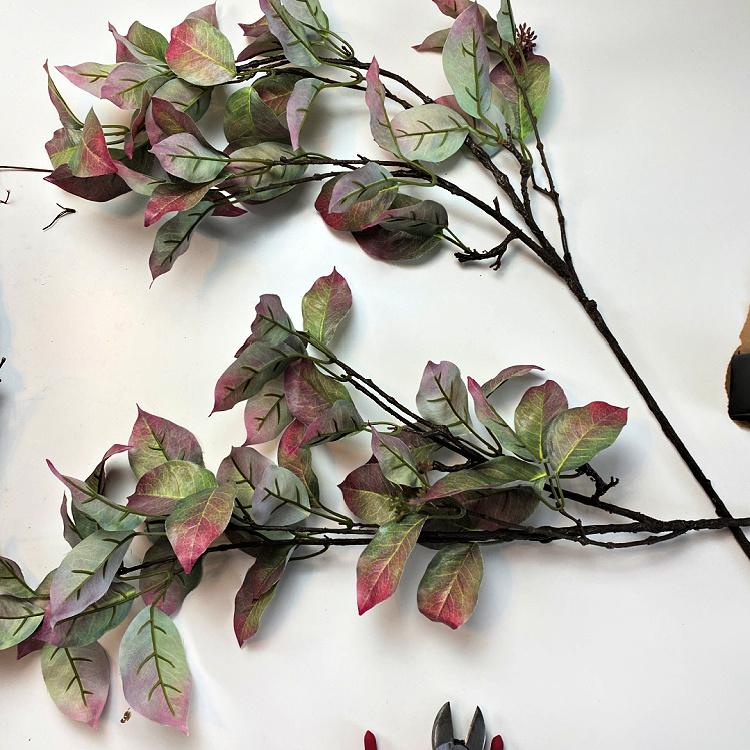
Begin with some branches. These are good size branches. I first used these on my chandelier for my Apple Tablescape. These are rather generic, kind of like dogwood leaves just starting to turn color for fall. Cut the branches leaving just about 8″ of the plain stem.
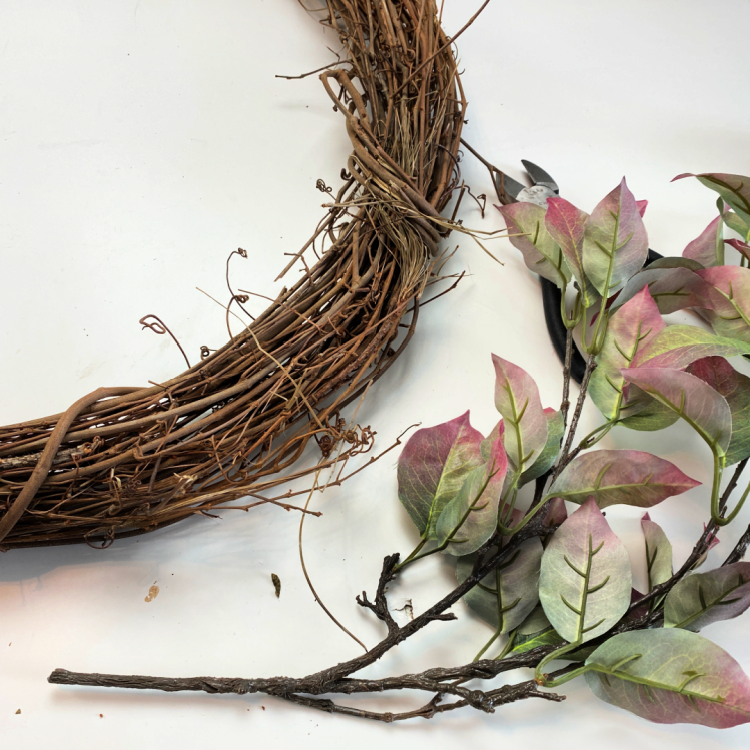
Bend the branch so that it will wrap around the curve of the wreath.
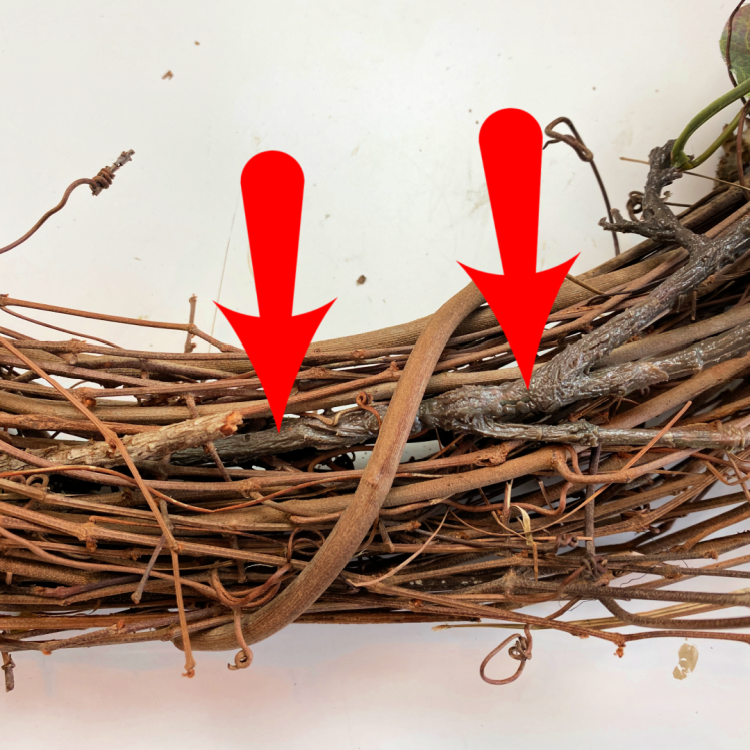
This is the easy part! You are simply going to stick the artificial stem of the branches into the grapevine wreath, in between the vines. Make sure it is secure by tugging on it gently.
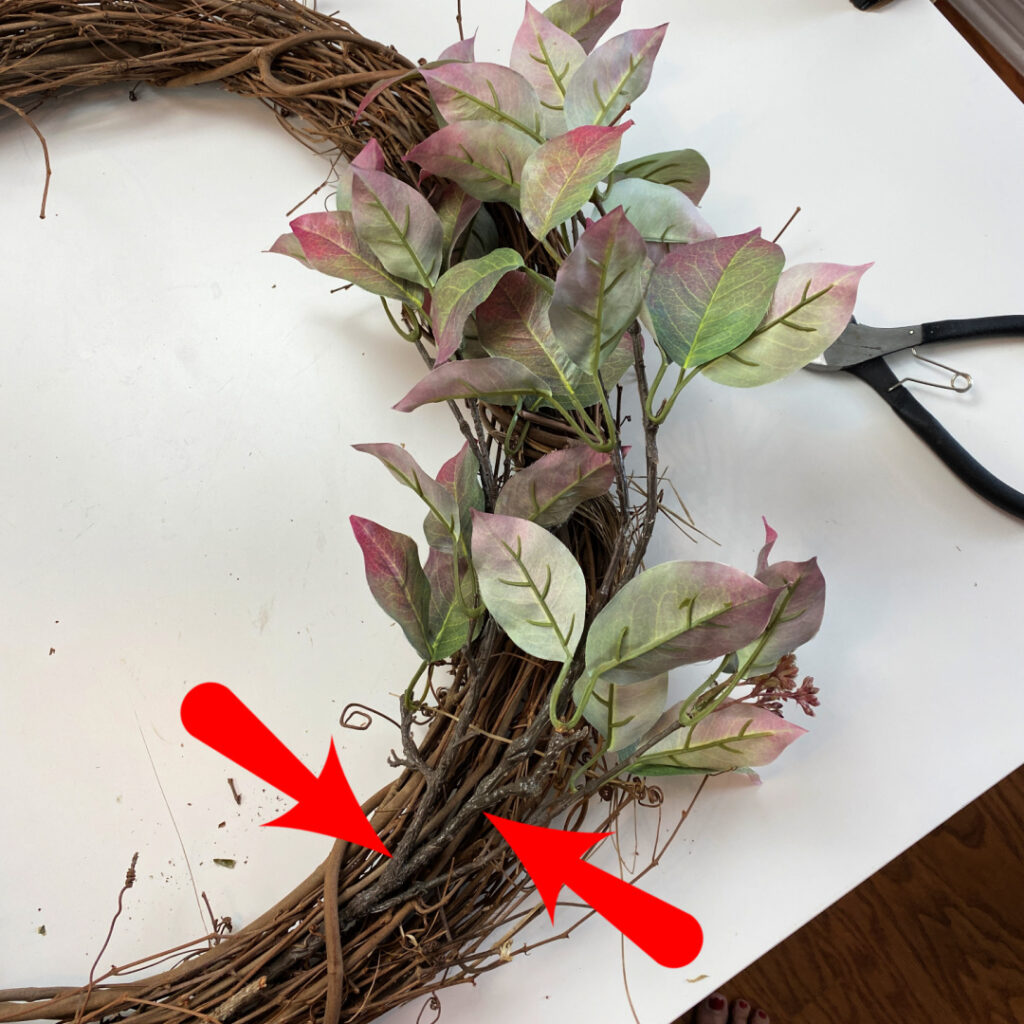
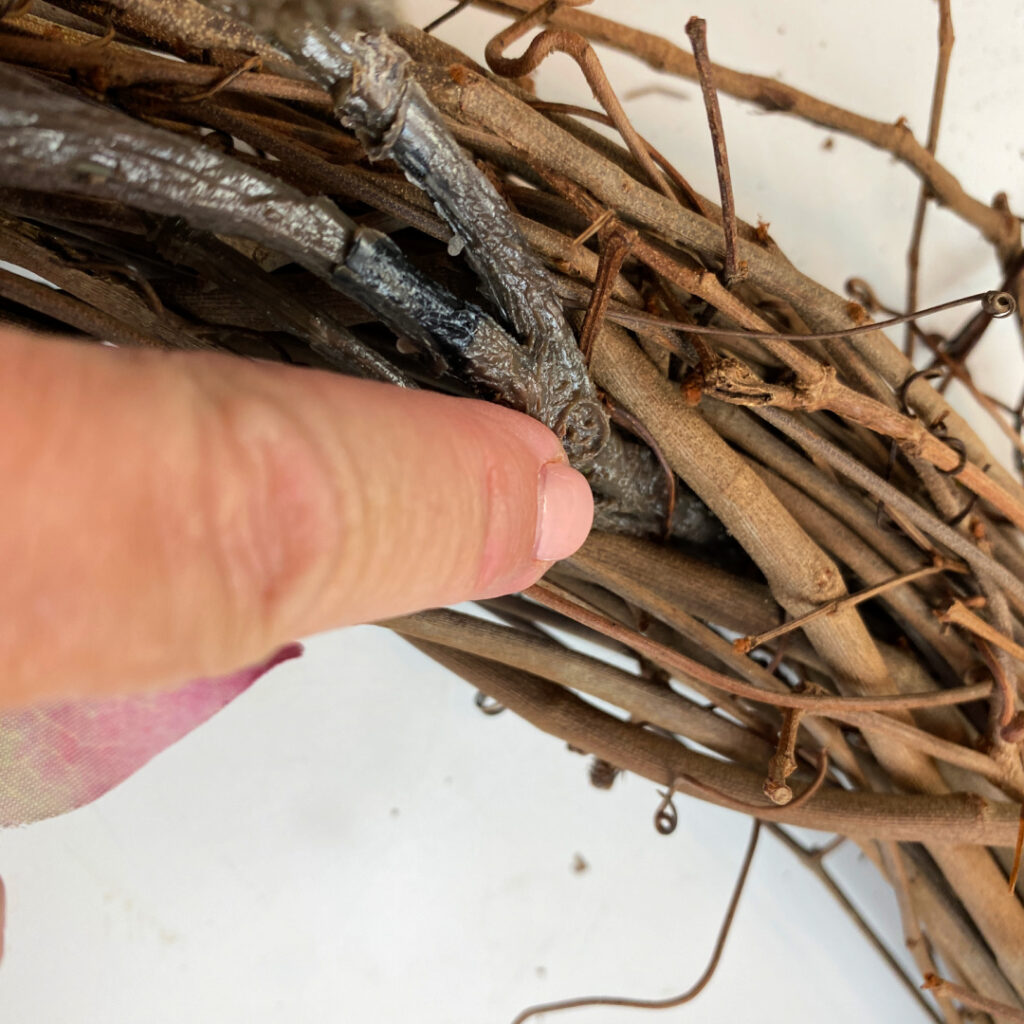
Slide each artificial stem between the vines of the wreath form, following the natural curve of the base. Tug gently to make sure it is secure. For a wreath you plan to keep intact or sell, reinforce each stem with floral wire or a small amount of hot glue. If you would like to reuse the materials later, floral wire is the better option because it can be removed without damaging the stems.
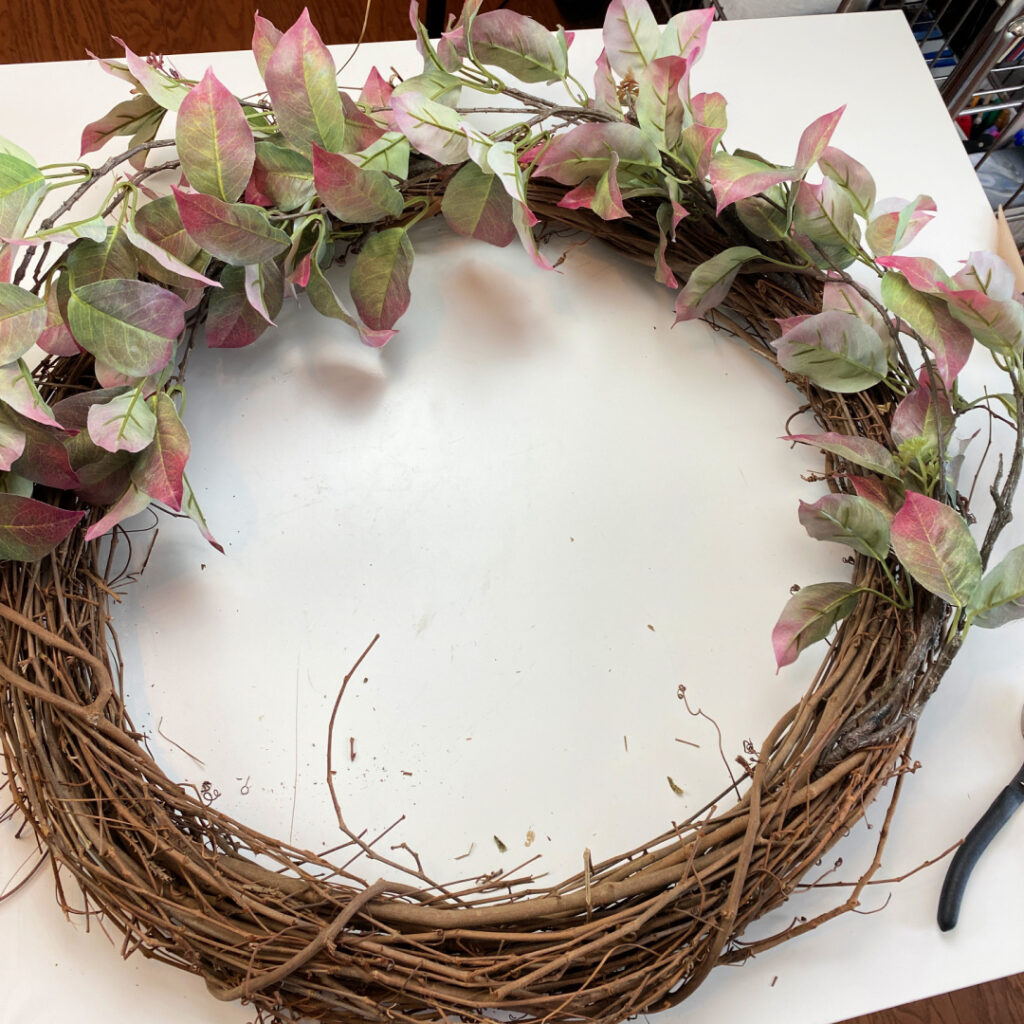
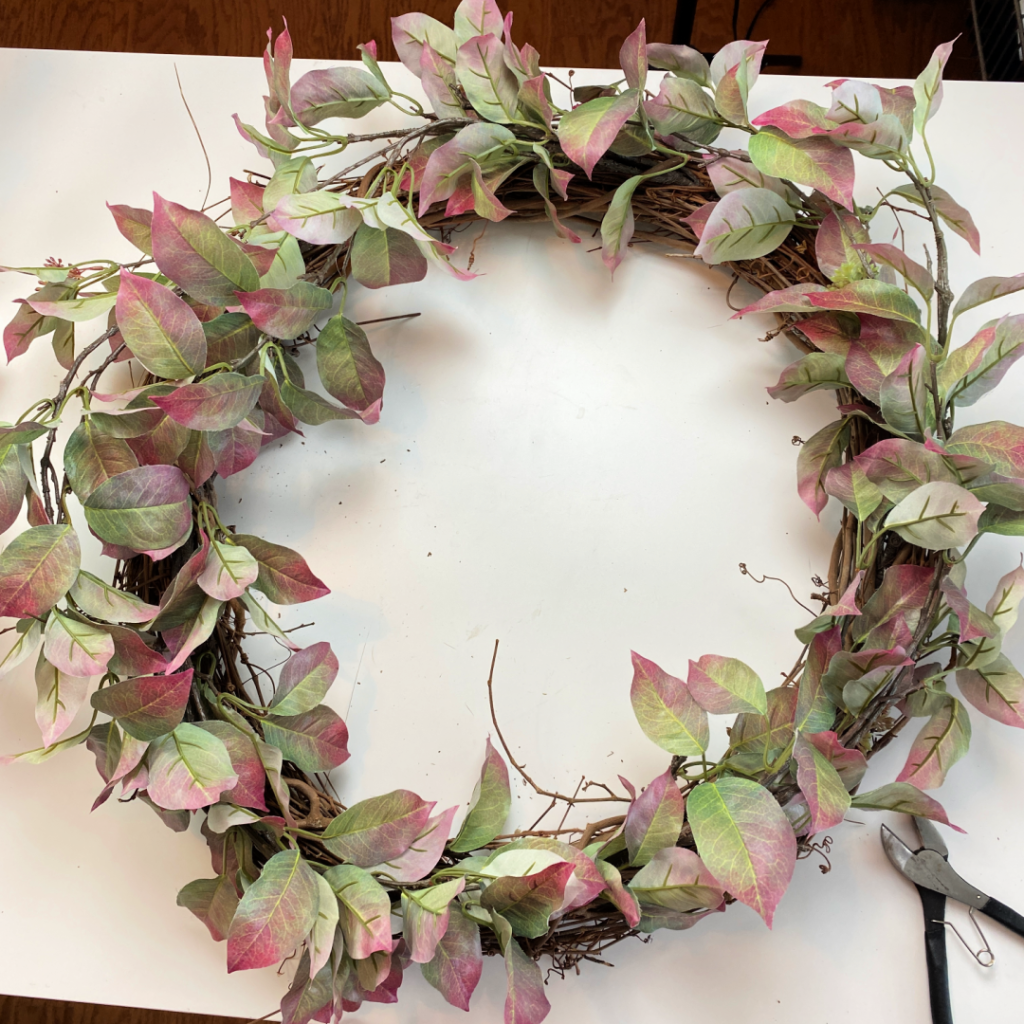
Two branches have been attached. I will only need to attach two more to have my base foliage on the wreath. The base is done, now time to add more! If we want this to be really luxurious, it needs to be REALLY full!
Layer in Oak and Maple Leaves
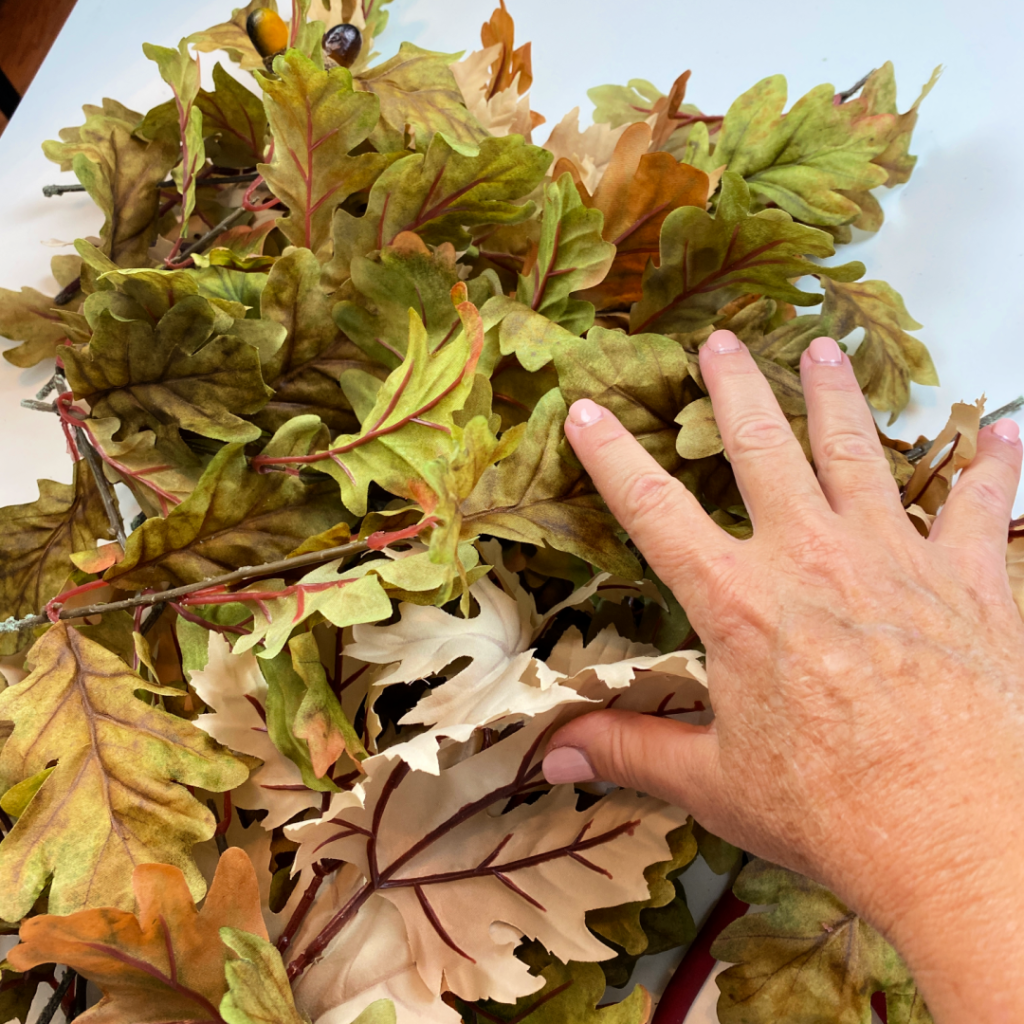
Here is this big pile of oak leaves (and a few maples) that I used for centerpieces for that tablescape on Tuesday. Most of these had already been cut down to short pieces for the centerpieces. These are the size pieces I was working with. If you are using oak leaf bushes, you can cut them apart with wire cutters.
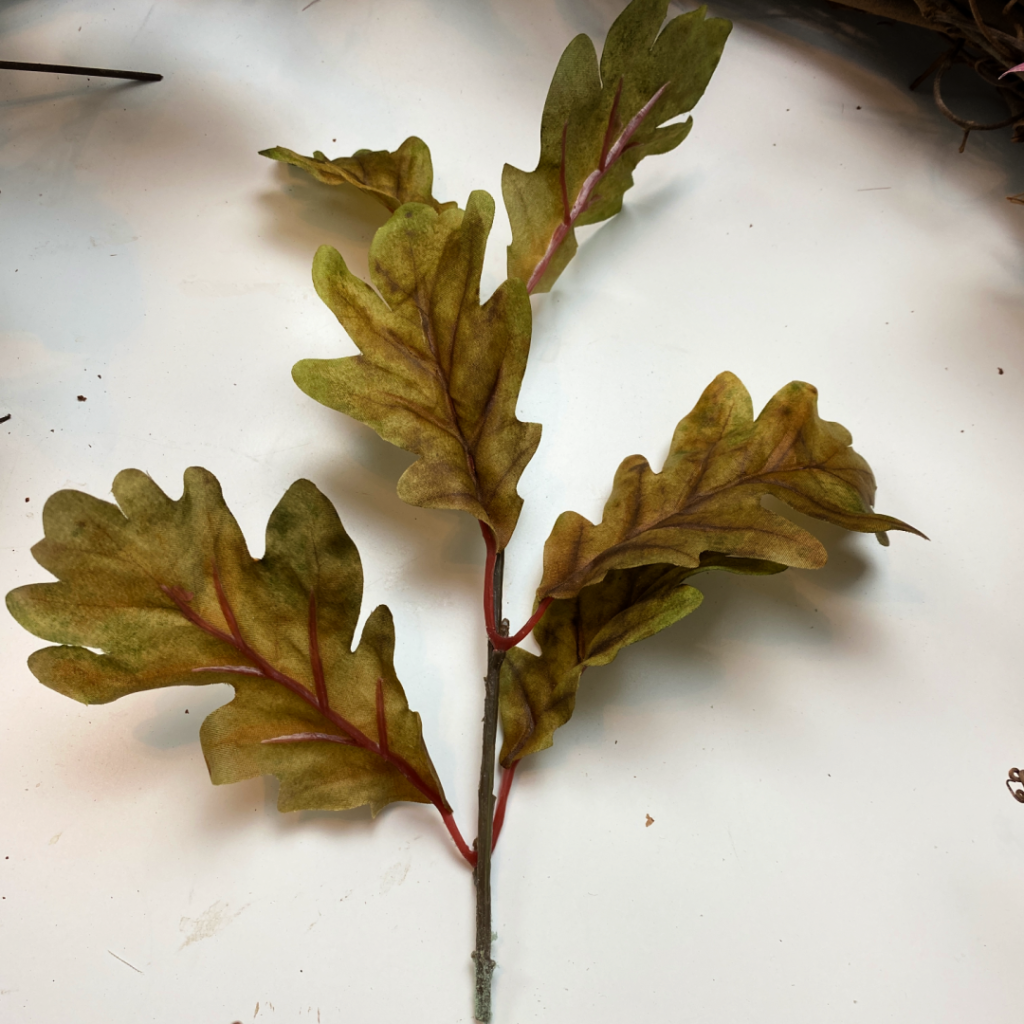
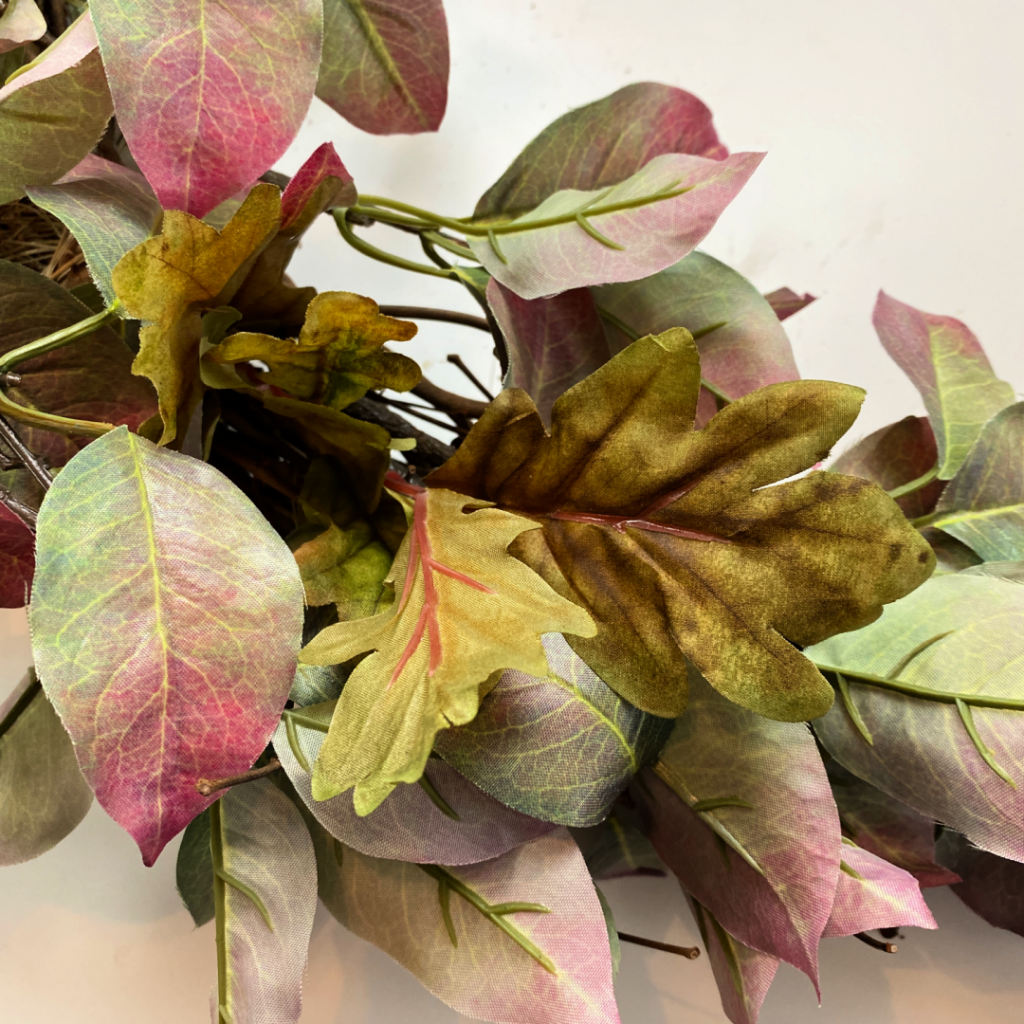
Tuck the smaller oak and maple leaf clusters into the grapevine base, distributing them around the entire wreath. Layer some over the larger branches, angle others toward the center and allow a few to extend beyond the outer edge.
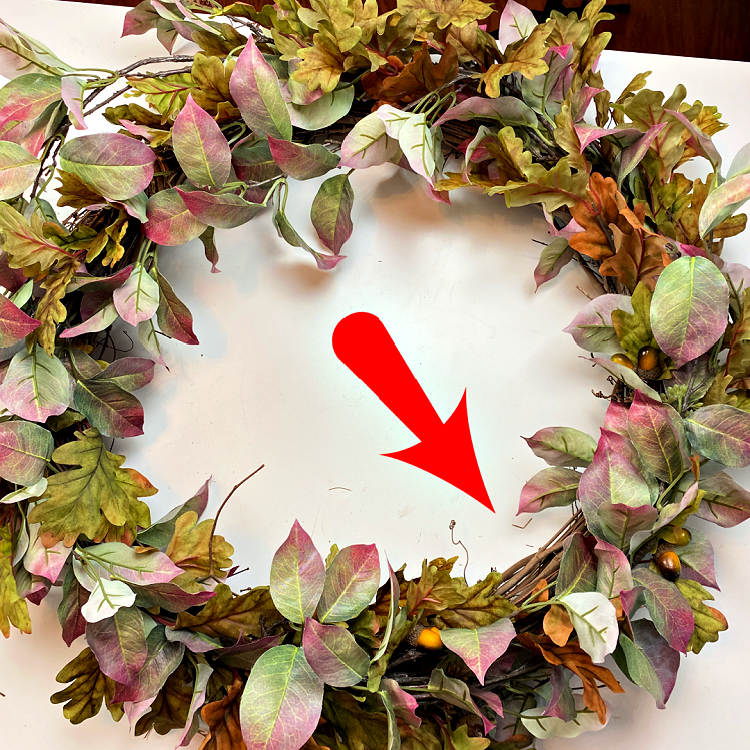
Step back frequently and look for exposed sections of grapevine, uneven areas or gaps that need additional foliage. These overlapping layers are what give the wreath its lush, abundant appearance.
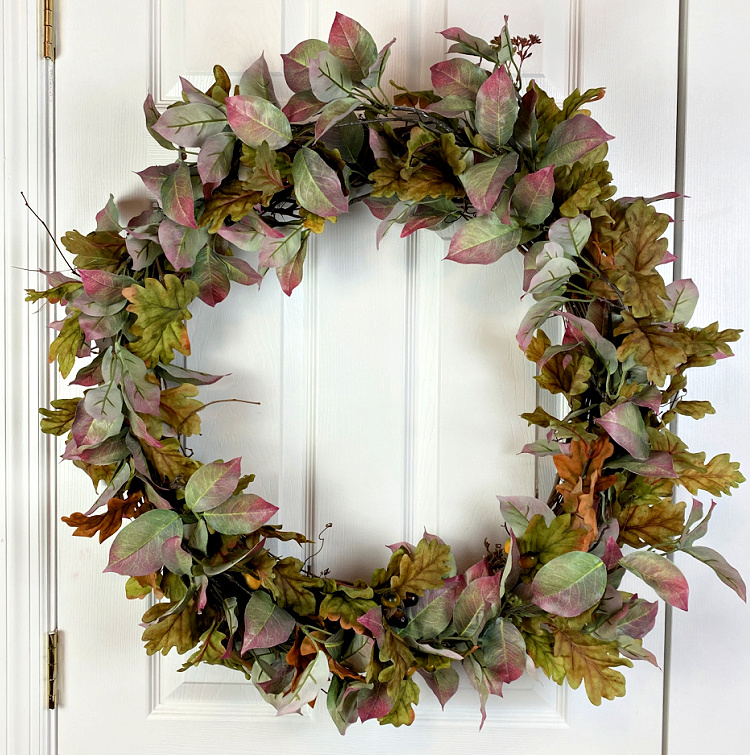
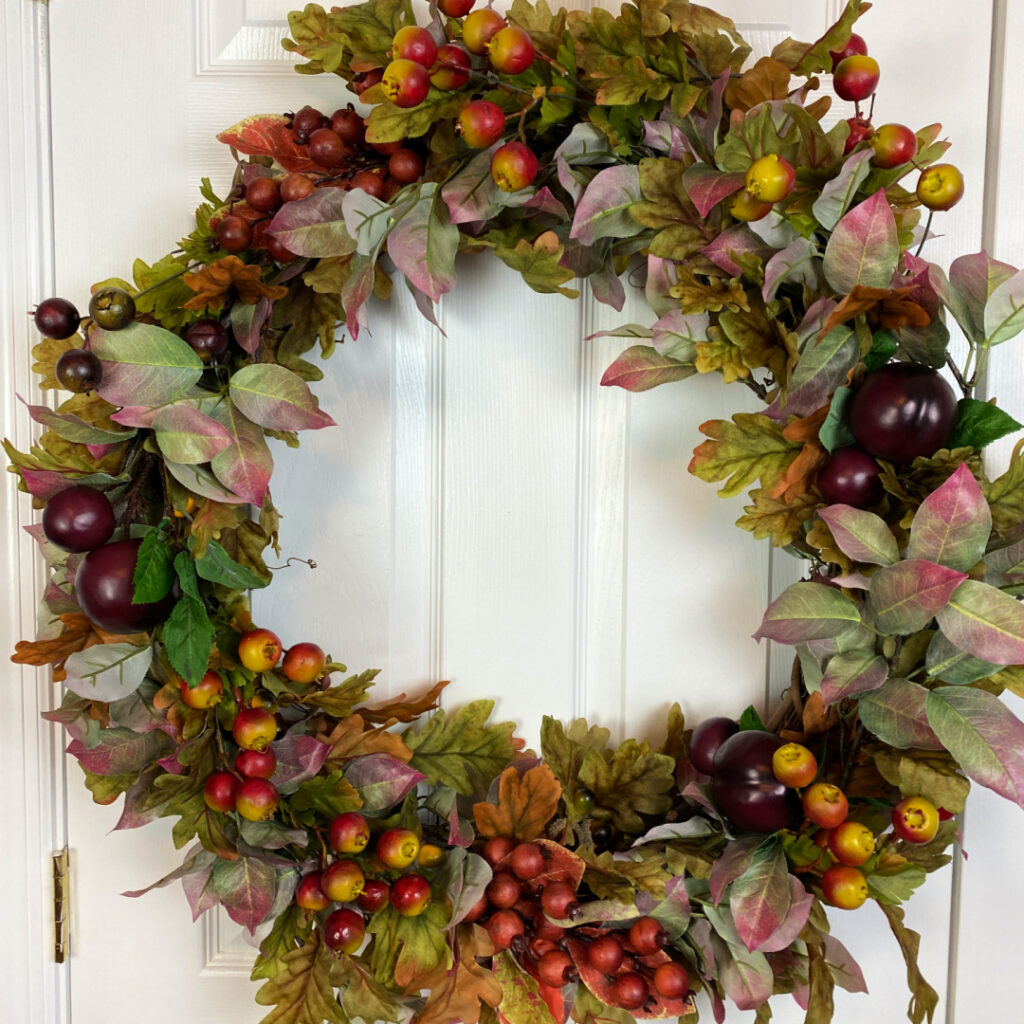
Once the foliage was full and evenly distributed, I hung the wreath on a door so I could finish styling it from a standing position. I began by adding artificial plums, followed by clusters of berries and small apples. Spacing the fruit throughout the foliage introduced rich color, dimension and the abundant harvest look I wanted. You could easily substitute pears, pomegranates, figs or other fall fruit to complement your own color palette.
Add Fruit for a Lush Harvest Look
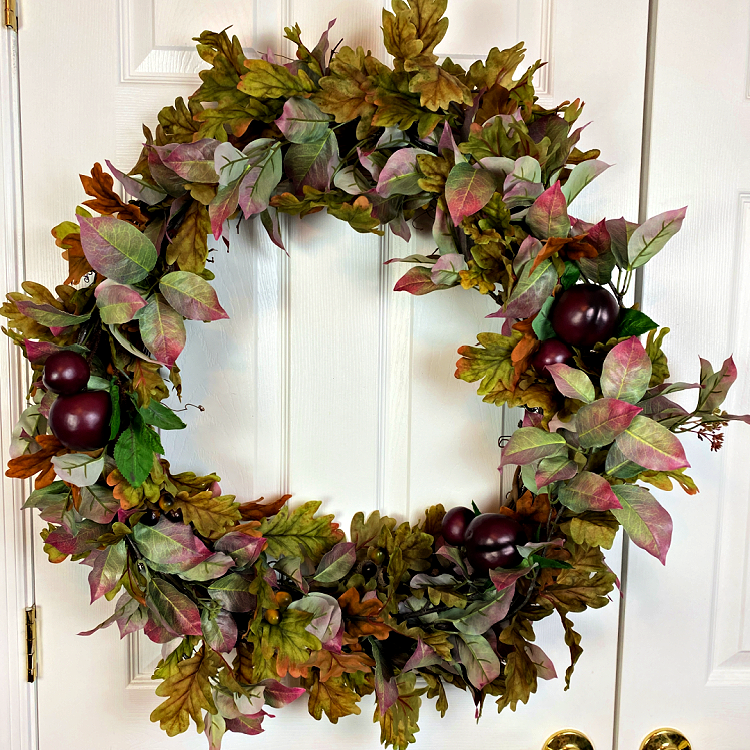
Continue adding various fruits, nuts and berries until the wreath is as full as you want it to be.
Finish the Wreath with Rustic Pumpkins
As the finishing touch, I attached two small rustic pumpkins to heavyweight floral wire and nestled them into the lower portion of the wreath. Rather than adding a traditional bow or ribbon, I used the pair of pumpkins as the focal point. Their warm color and weathered texture bring all the leaves, berries and fruit together while giving the wreath a distinctive harvest-inspired finish.
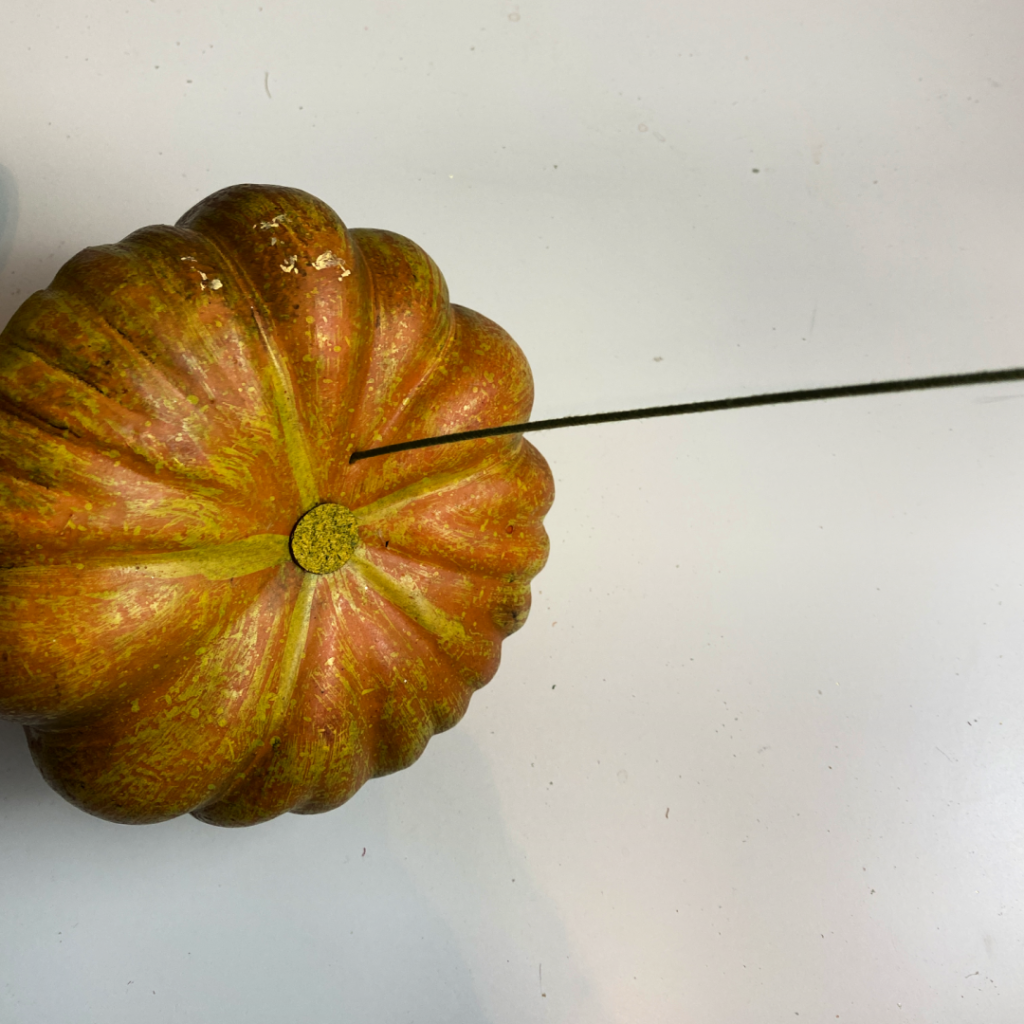
Most of the foam pumpkins you will find can be skewered onto a heavy weight floral wire and then use the wire to attach the pumpkin to your wreath.
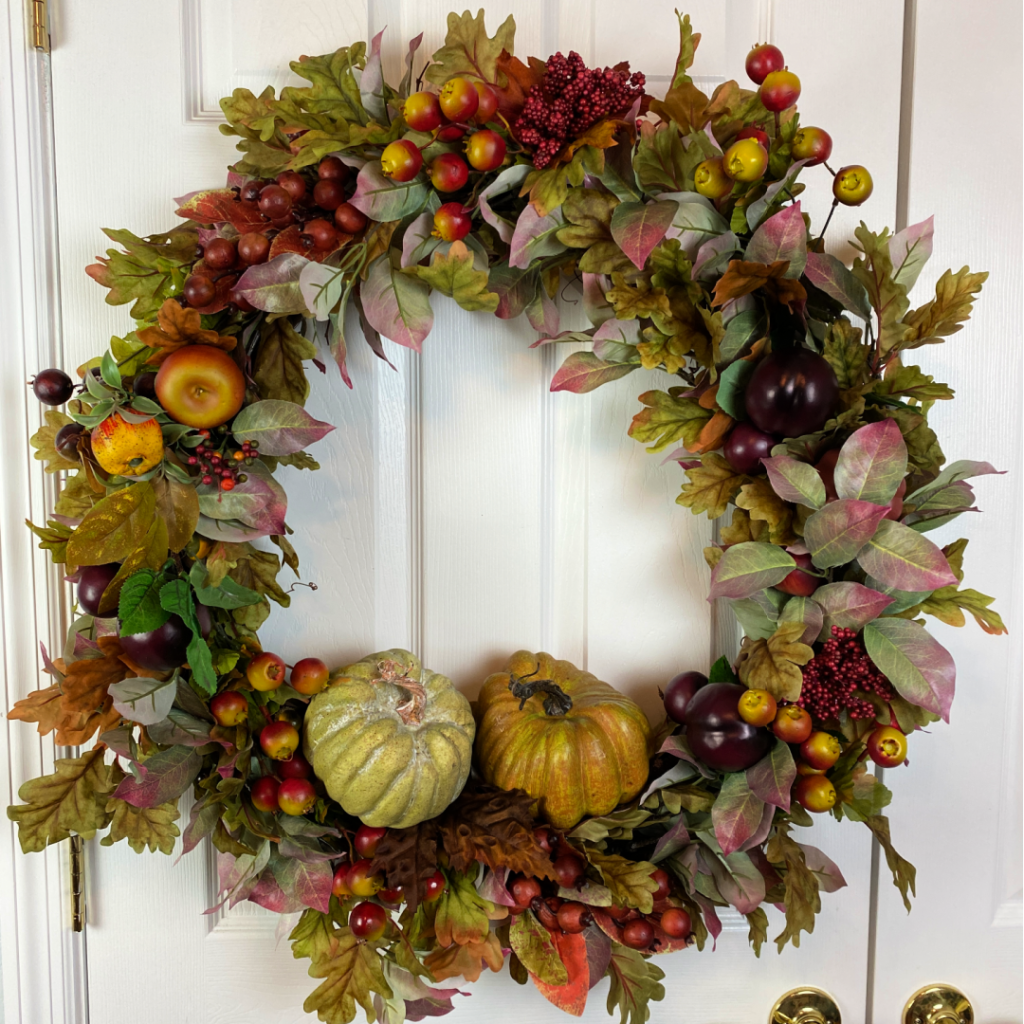
Nestled together at the bottom of the wreath, the pumpkins complete the design and add one final layer of autumn warmth and charm.
Displaying Your Fall Wreath
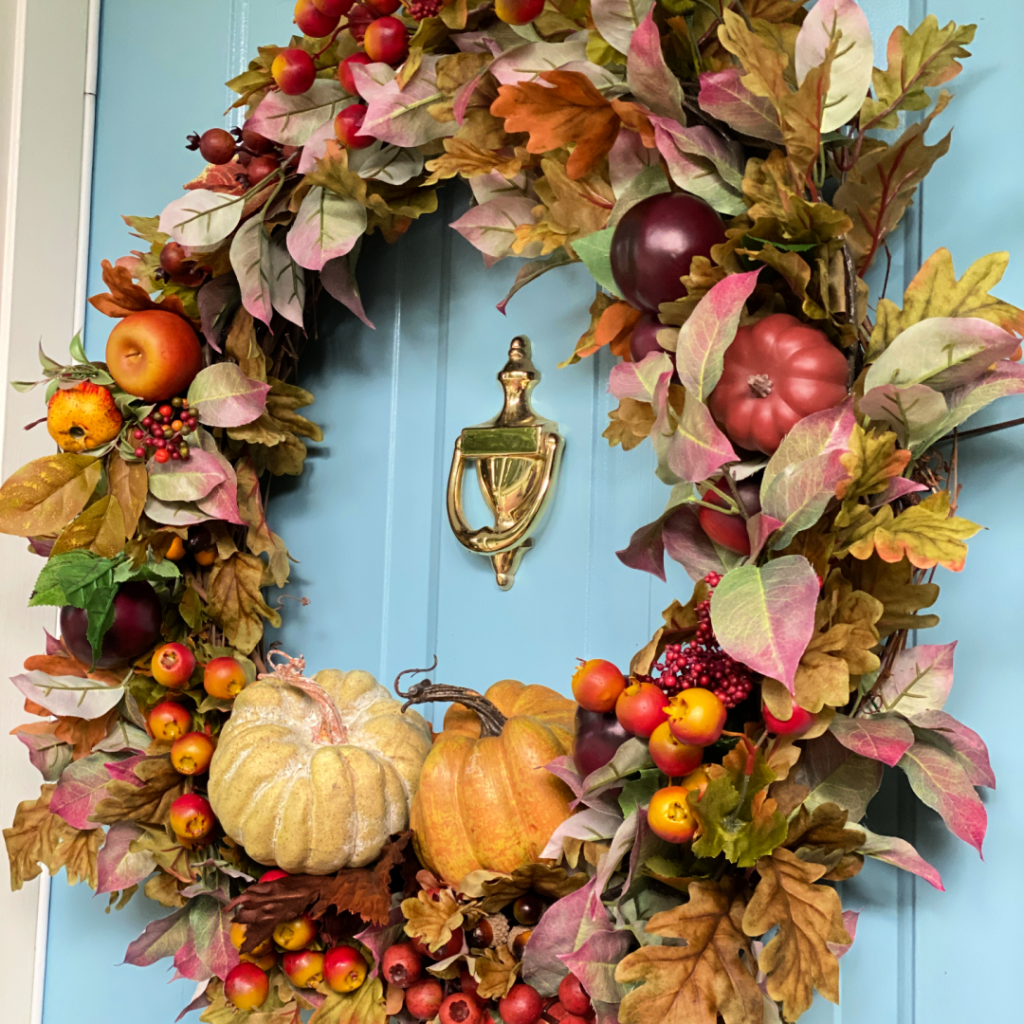
This luxurious fall wreath is proof that you can create a truly showstopping seasonal decoration using a simple grapevine base, layers of faux foliage, rich autumn fruit, and a pair of rustic pumpkins. I love how full and abundant it looks on the door—and because the pieces were tucked in rather than permanently attached, I can remove them at the end of the season and use them in something entirely new next year. I hope this inspires you to gather a few favorite fall elements and create a beautiful wreath that gives your guests a warm autumn welcome!
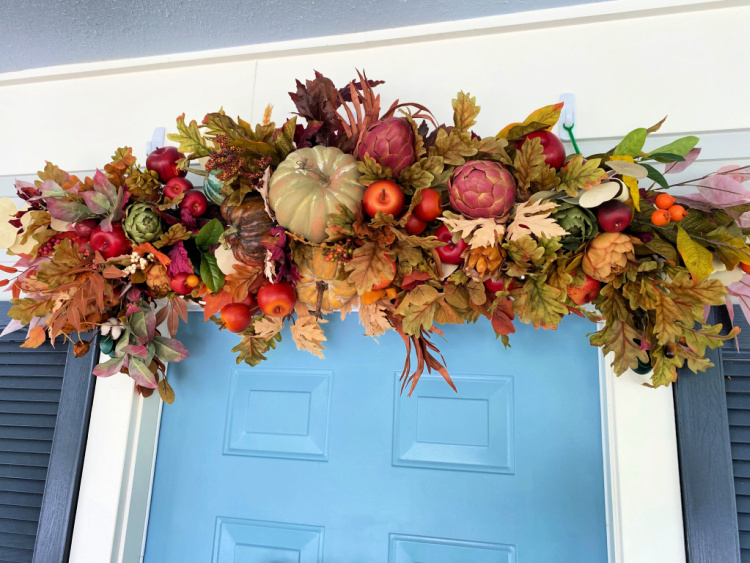
I paired the wreath with a beautiful fall arch over the doorway to create an even more abundant seasonal display. You can find the complete tutorial and all the decorating details in my post, Decorate Your Front Door for Fall.
With its layers of richly colored foliage, autumn fruit and rustic pumpkins, this wreath brings the beauty and abundance of the harvest season right to the front door. Although the finished design looks elaborate, it is simply a matter of layering the elements one at a time and stepping back occasionally to check the balance. Best of all, many of the materials can be removed and reused, making this luxurious fall wreath one you can reinterpret in an entirely new way from year to year.
If this wreath has inspired you, be sure to explore my other DIY fall wreath ideas for even more ways to welcome the season.
This wreath is truly lush and luxurious, Chloe! I love that you can take it apart and use the florals again for another project. The colors are just gorgeous! It looks striking against your blue front door. Pinned!
Thanks so much Rebecca! I am ready to deck out the whole porch!
It looks so pretty against your blue door. Can’t wait to see what you do with the porch! And I love your fall finds at the bottom.
Thanks Andrea, I have a fun project for Hometalk that is an update of something I did a couple of years ago, I can’t wait!
Prrtty wreath Chloe, I love these seasons!
Cindy
Thank you Cindy, I do too!!
Chloe this is so beautiful! You make the most amazing stuff friend. Love how natural this looks and that it can be kept up for 3 months!
Thanks so much Chas, it was time for something truly fall on the front door!
Very pretty.
Thank you so much Rebecca!
Love the fruit and foliage look. Every time you make something I think, that one is my favourite, but then you go and post something new. You’re so talented. I am in awe of people who can do this. My mother could do it but alas, I cannot.
Thank you Karen. I have the same problem, people ask what is my favorite wreath, or what is my favorite tablescape. I can never pick!
This is gorgeous Chloe and you always make it look so easy.
Thank you Sandra! I can’t wait to finish the additional pieces to coordinate with it! Big reveal next week!
What a bountiful fall wreath! Your wreaths always look so professional!
Liberty
Thank you so much Liberty, I love the lushness of it!
No I just found these wreath tutorial, and wanted to add a tip for all fresh grapevine wreath base in the summer my yard is overgrown with muscadine vines thick , thin, with the natural curls which are the best part , I start cutting and firm tie and soak in Water for a lil bit maybe a week. This way When they dry out with the ties in place already, I have the perfect round not hard to firm circle to decorate. All seasons and holidays I do this for Easter bunny heads are the best and so cute using floral wire ties and as gifts fresh flowers on top center of head where the ears are formed,
Those are do e before soaking by getting extra long vines and twisting at the point I want the ears. Tie down And soak again this really has to be thought of the previous summer to have enough vine. I made a Cindy Lou Who head last Xmas with the left over vibes from fall. Sometimes ideas just come I to my imagination as I’m twisting or rounding the vines can make their own design all in their own .
Nature is a wonder!!!