Making a Tissue Paper Garland with Tassels
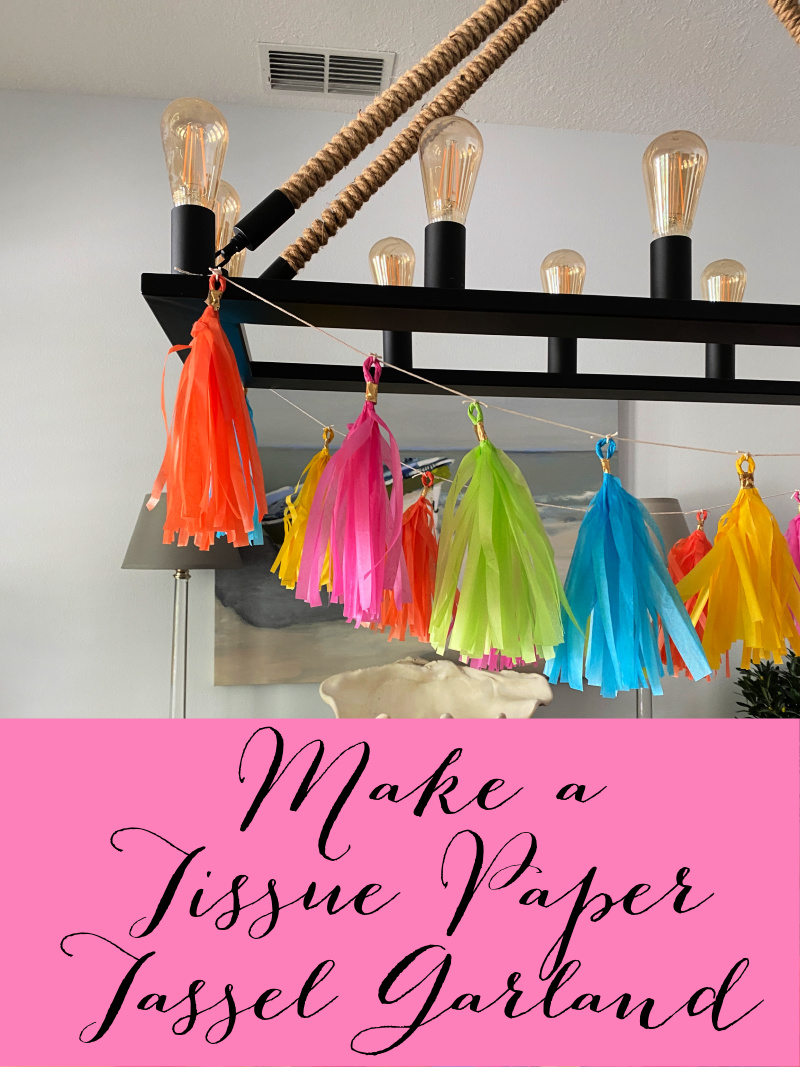
I am ready to set a fun table for Cinco de Mayo. I couldn’t think of a more appropriate way to add some colorful decor to my chandelier above my fiesta table!
This post contains some affiliate links for your convenience. Click here to read my full disclosure policy.
I am so happy to be joining a group of creative bloggers for our monthly Creative Craft Blog Hop. All of these bloggers have different skills and different talents, so please take a moment to visit the bloggers listed at the end of this post. Much thanks to Andrea from Design Morsels for hosting these wonderful hops!
If you would like to make a fun tissue paper tassel garland like this, read on!
SUPPLIES YOU WILL NEED:
Tissue Paper
Rotary Cutter
Self healing cutting mat
Decorative Washi tape
String

Begin with a single sheet of tissue paper. I selected a variety of colors that would coordinate with my fun fiesta themed table. You can pick up tissue paper locally, or order it online where you can select packages of different solid colors to coordinate with your party theme.
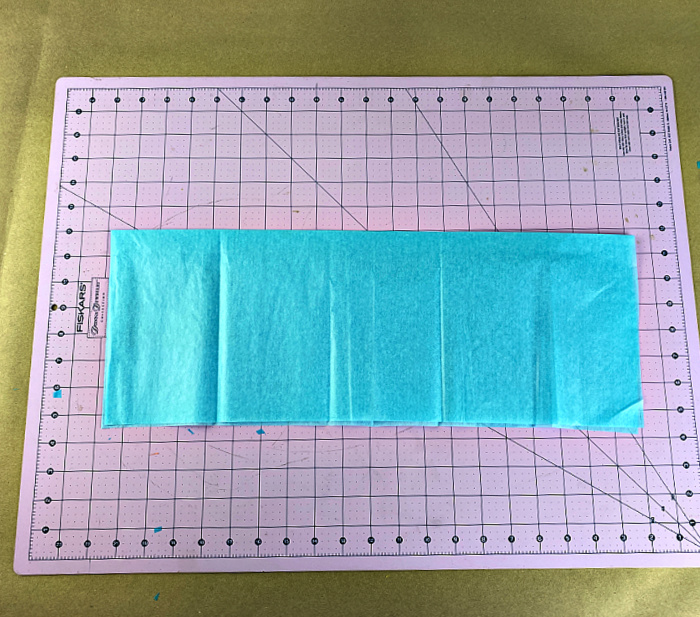
Fold your piece of tissue paper in half lengthwise.
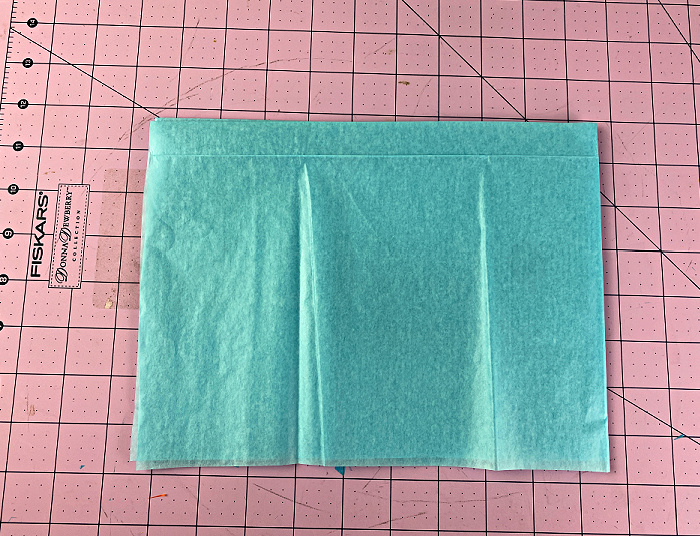
Fold it in half widthwise, and then fold widthwise once more. Your one piece of tissue paper will make two tassels.

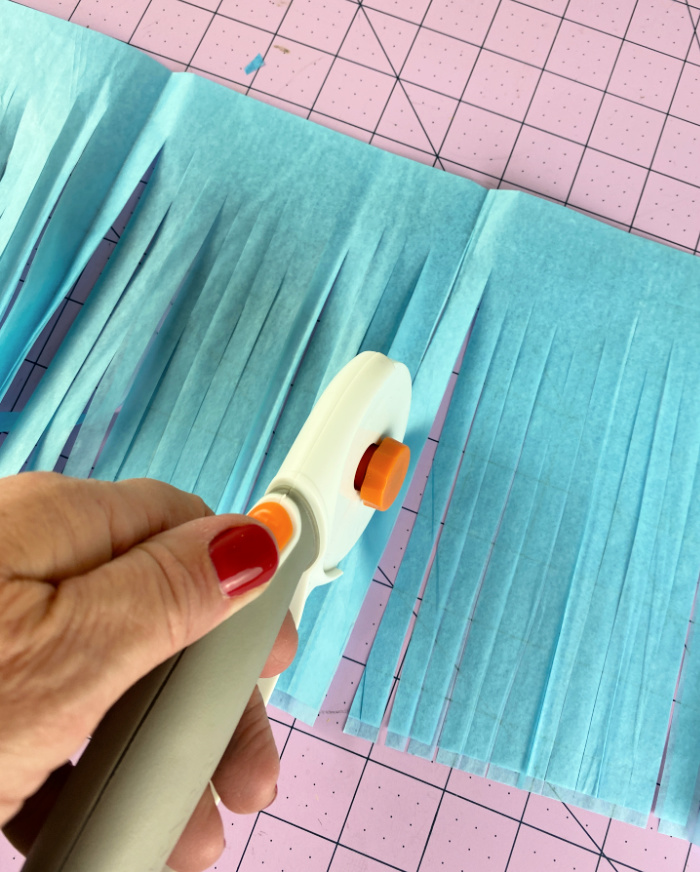
Next, cut your fringe starting from the bottom, unfolded side. Cut up to the top leaving about a two inch band that is uncut. Your strips can be as thin or as thick as you’d like. Using a rotary cutter will make this go much more quickly and easier!
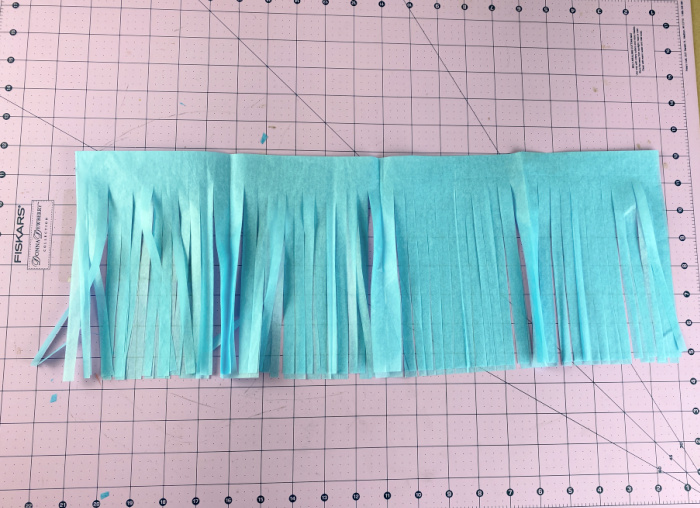
After you have cut all of your fringe, gently unfold your tissue paper.
Cut the long length of fringed tissue in half.
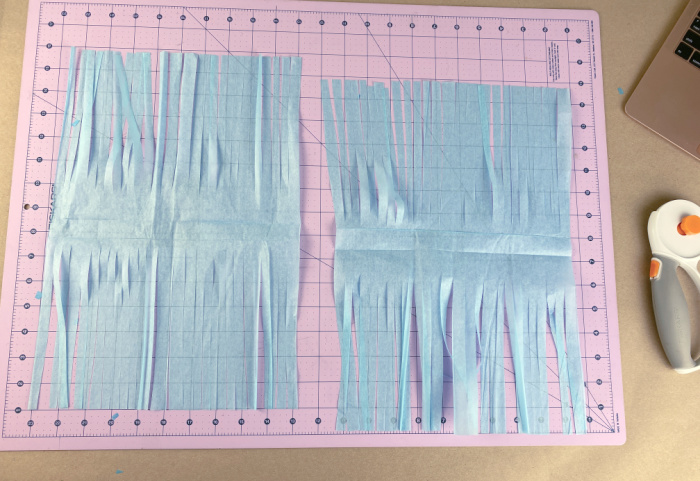
Separate each of your halves as shown above. Each one of these will become one tassel.
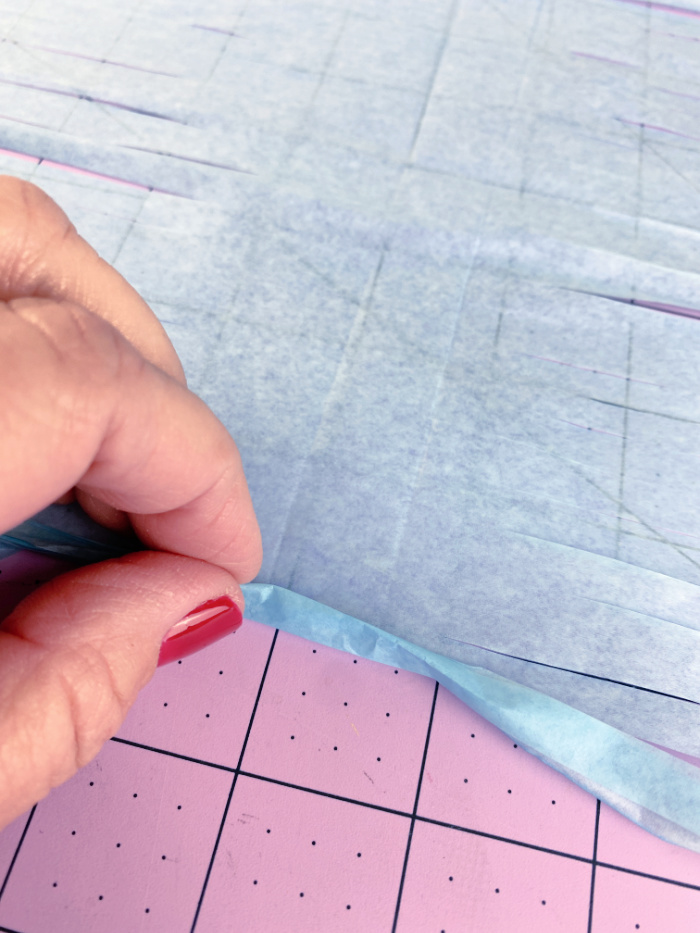
Now roll up the tissue right down the middle of the the uncut center of a piece.
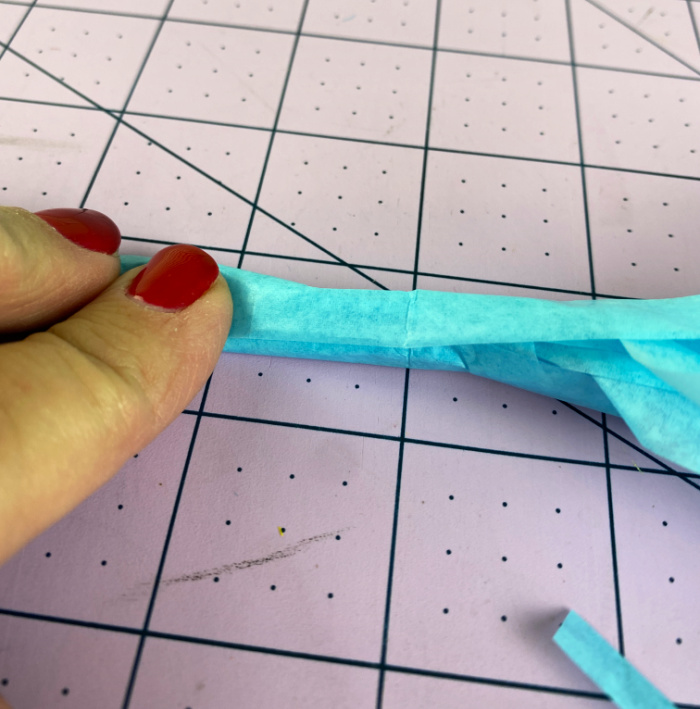
Roll the tissue completely to the end, making sure the fringed ends don’t get tangled as you roll it.


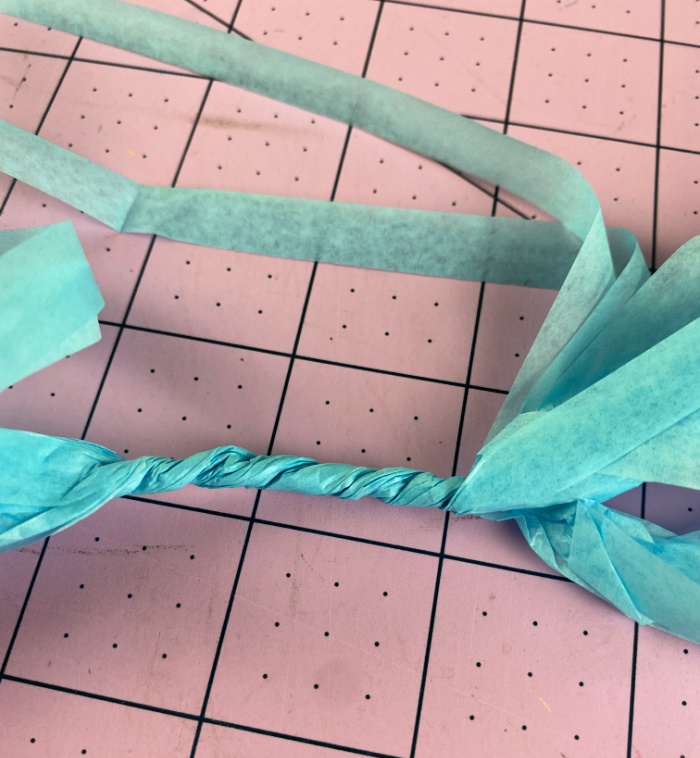
Twist the rolled part of the tissue paper very tightly.
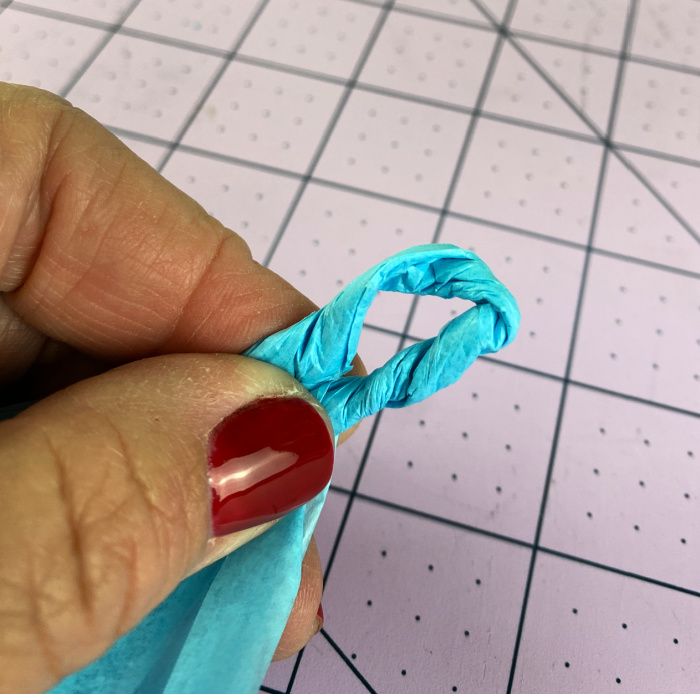
Fold over the twisted part to make a loop.

Wrap a piece of decorative tape around the twist to secure the loop.
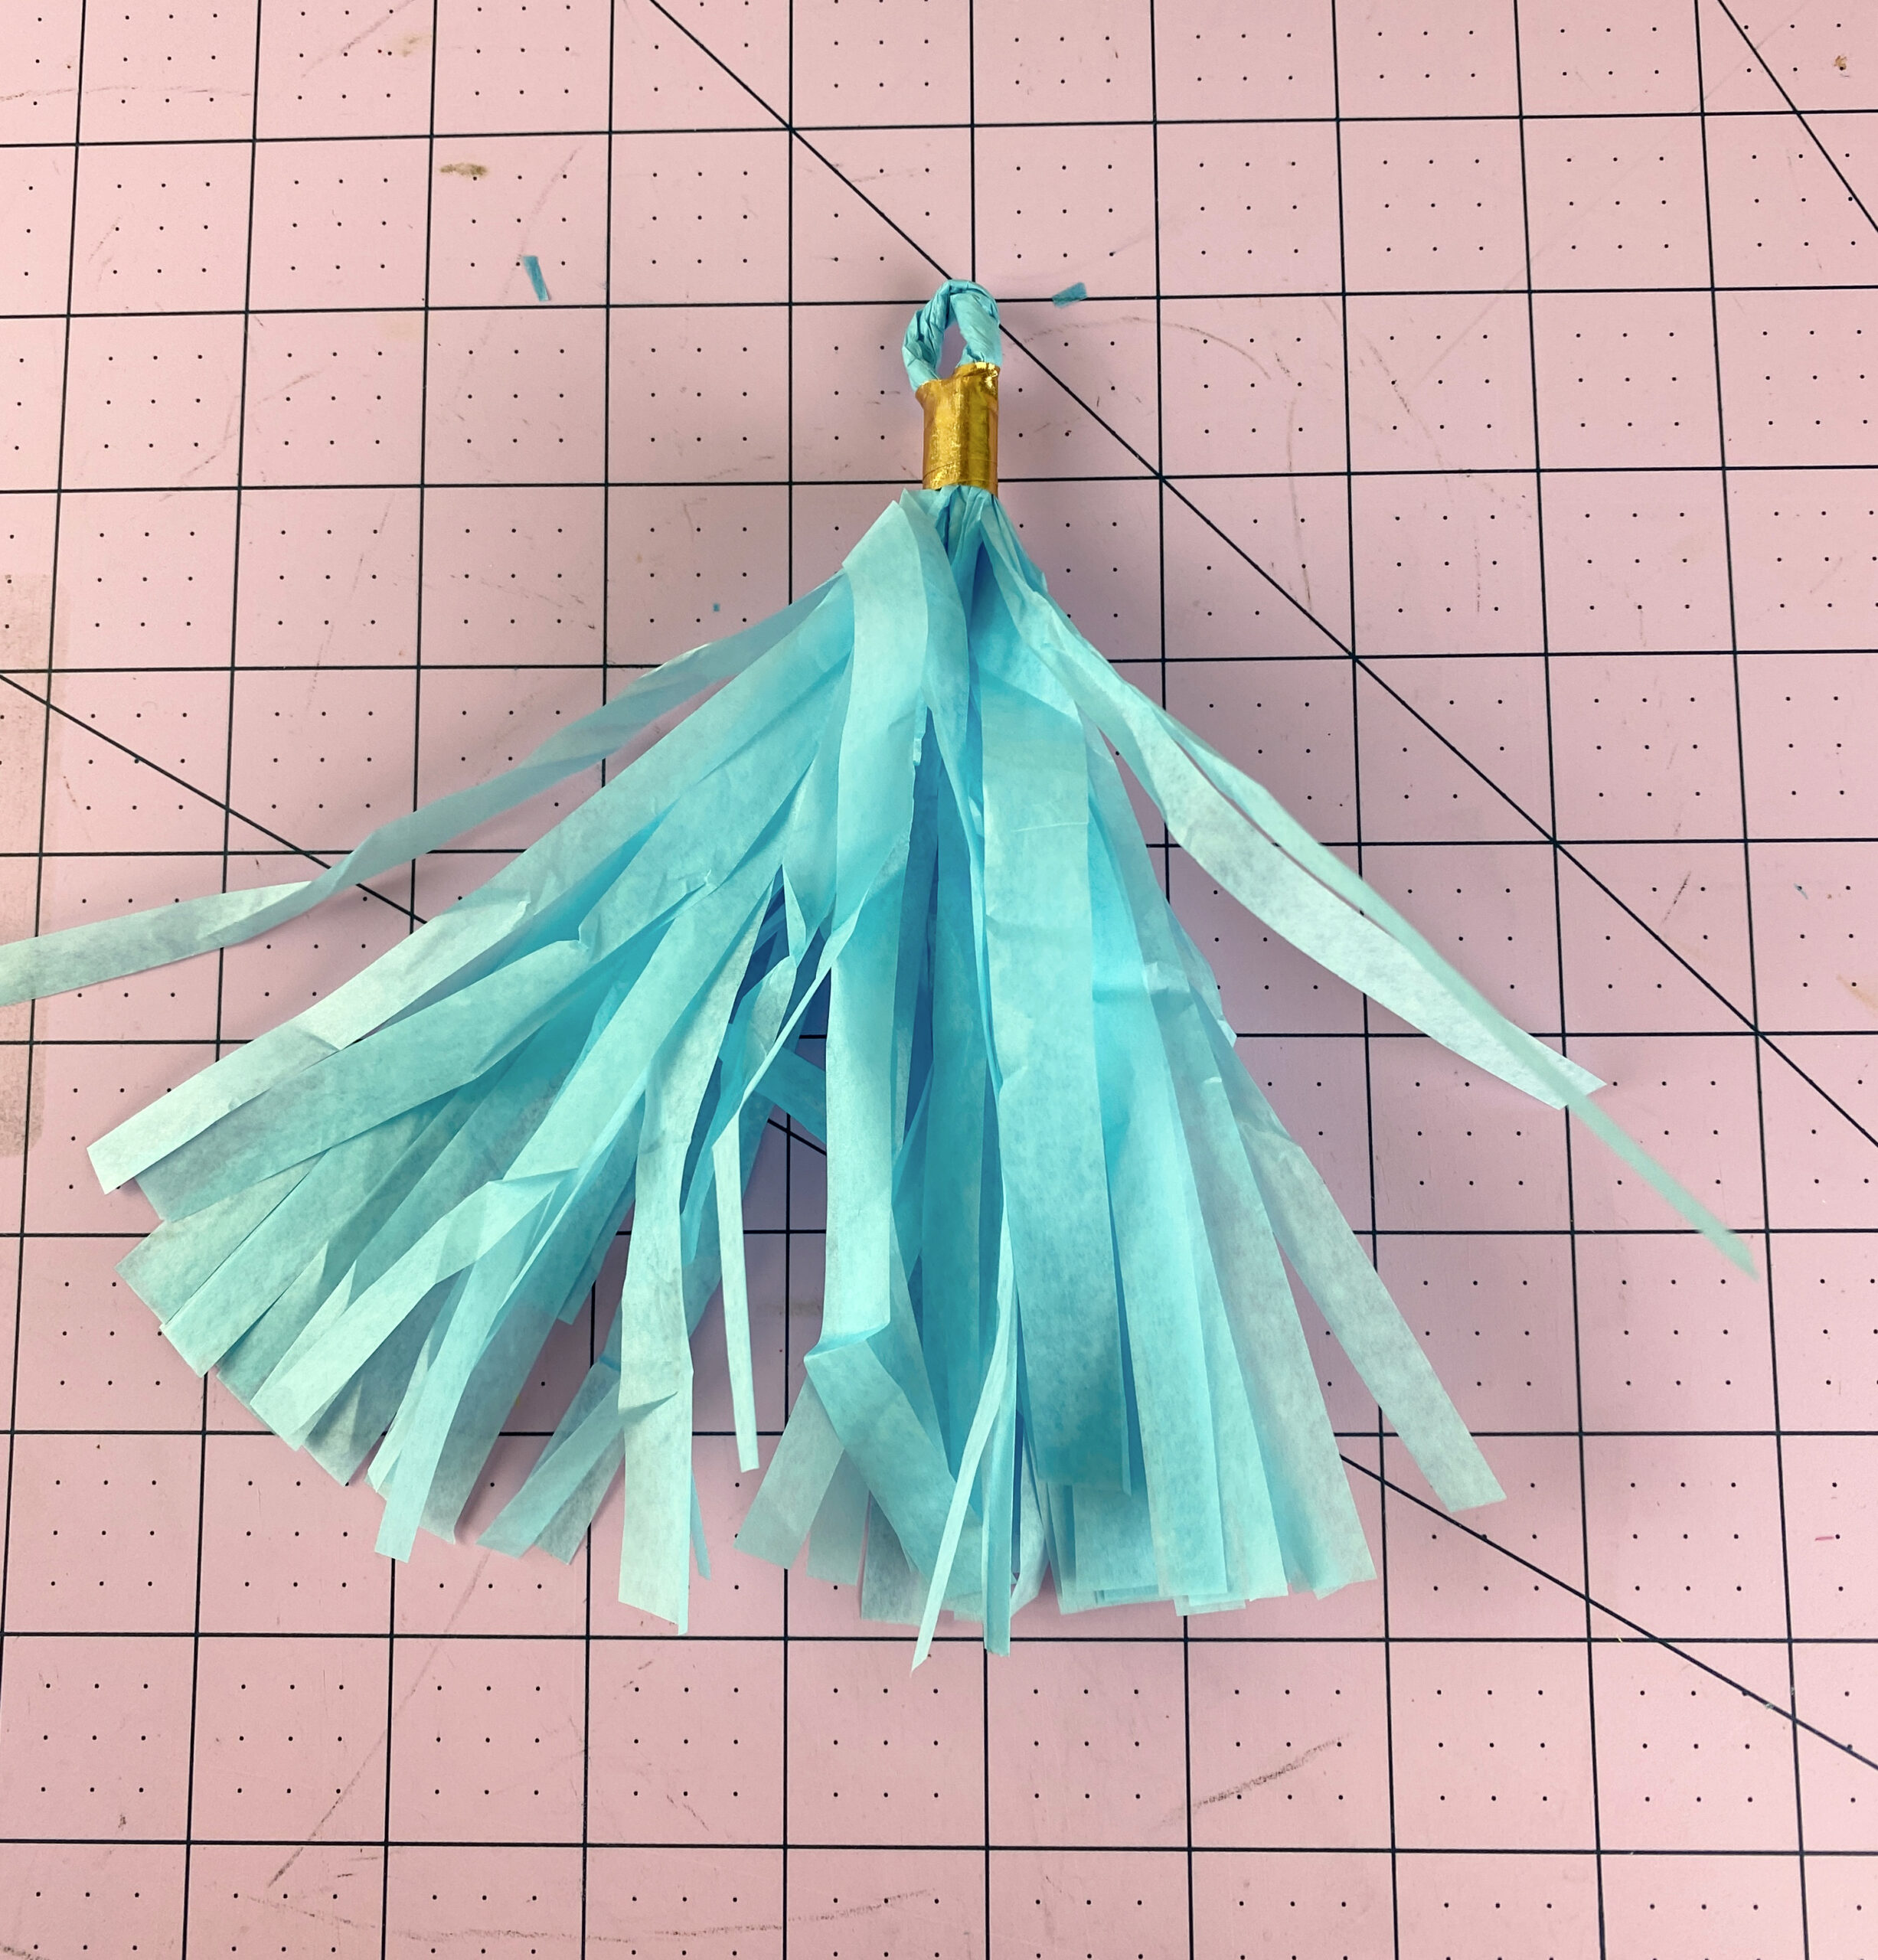
There you are…you have your first tassel! It may take a little time, but is absolutely worth the effort!
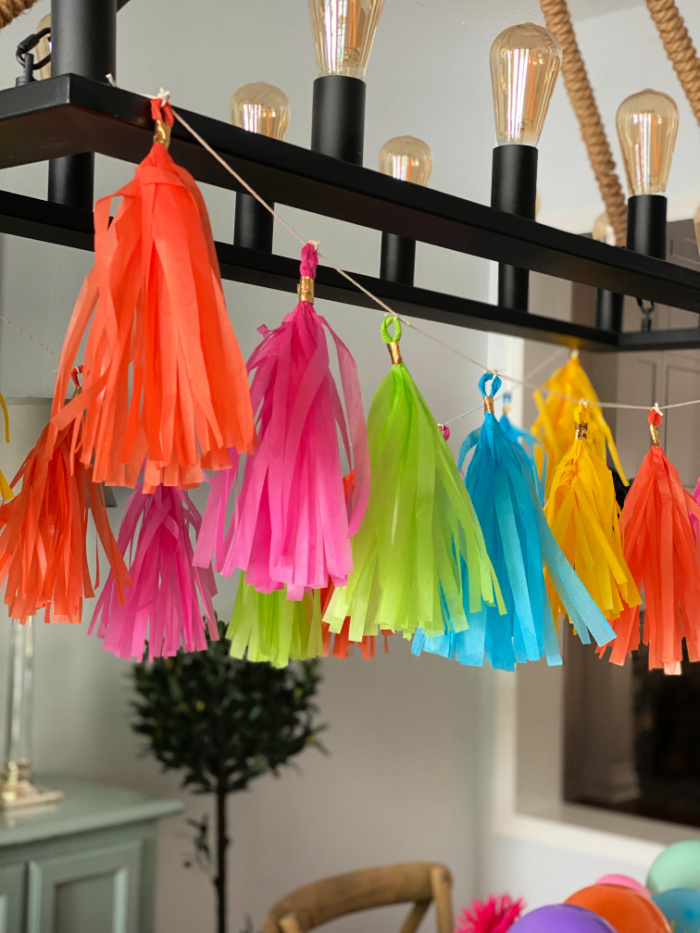
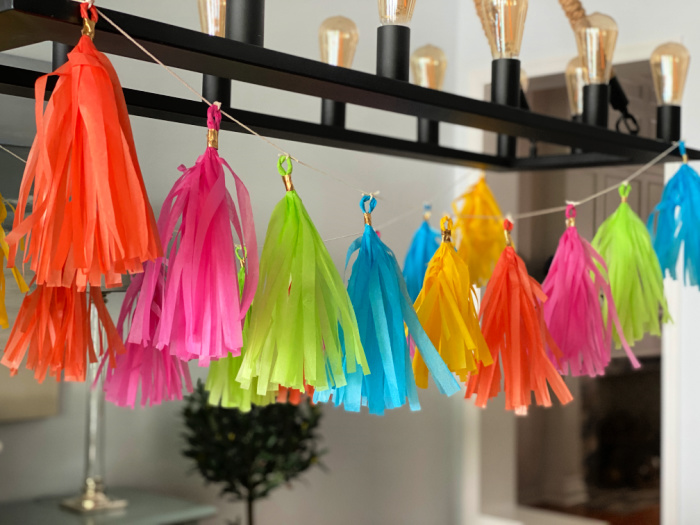
I tied my string up to my chandelier and then I tied each tassel onto the string, spacing them about 5 inches apart.

I selected bright bold colors for my fiesta garland. These garlands are perfect for so any different occasions! I used these hanging from my chandelier, but they would be fun hanging on my mantel, too!
Visit the rest of these fun bloggers and check out their crafts!
Creating a Customized Pillow Cover With the Cricut
Creations Flowering Tea Cup Centerpiece
Easy and Beautiful Bottle Painting
Wood Art Gift Cards For Mother’s Day
Making a Tissue Paper Garland with Tassels
Pottery Barn Inspired Faux Textured Clay Vase DIY
Your paper tassel garland is so festive Chloe and affordable too! Love your colors you chose and it’s perfect for a fiesta! Thanks for the tutorial and happy to be hopping with you again. ♥
What a bright, colourful addition to your Cinco de Mayo party and I love the added sparkle of the decorate tape. So festive!
Olé Chloe! Your are ready for a fiesta! The tassels look adorable, such a fun idea and decoration!
Chloe, your colorful tassel garland is perfect for so many celebrations…or “just because!” Pinned! Blessings, Cecilia @My Thrift Store Addiction
What a fun way to celebrate Cinco de Mayo, Chloe! And knowing how to make this adorable garland from your easy to follow tutorial makes it so versatile in decorating for just about any occasion! Thanks for sharing!
Great addition to the Cinco de Mayo party. Pretty and festive with those bright colors.
Thanks for the instructions, they are really clear and easy to follow 🙂
I can’t wait to see the rest of the table. Very fun for Cinco De Mayo. I forgot all about that one and this is one I could make. You could really make it for any holiday just by changing the colors. Would be cute for baby shower.
It was so fun to chat while you made these the other day. They’re so fun and festive and could be adapted for so many ocassions. Thank you so much for sharing!!!
Very cute and festive! I have pinned it. I love saving leftover tissue paper for things like this.
Chloe, I love this idea! It would also make a festive garland for a mantel! I can’t wait to try this!! Great tutorial. Thanks for sharing.
These are just the cutest! And they are perfect for a Cinco de Mayo festive table! Thank s for sharing Chloe!
Chloe, your tassels are so festive and I love the vibrant colors! What a fun way to decorate for Cinco de Mayo! I’m going to remember these for my next celebration. My daughter would love them! Thanks for the inspiration. It’s always fun to hop with you, my friend!
Oh Rebecca, I bet your daughter would love to both make these, and to decorate with them!
Chloe, what a festive way to add color for a Cinco de Mayo party. Love the great instructions. Happy crafting, friend.
Thanks Carol! Enjoy today!
Chloe, these are so fun and festive…perfect for Cinco de Mayo! I have been wanting to get a rotary cutter and you have convinced me. This is such a great craft and would be great to do for any celebration. Wishing you a wonderful week, my friend! Pinned!
Thanks so much Lynne! I don’t know where I would be without my rotary cutter! I guess I would have carpal tunnel or arthritis! It really makes projects go so much faster! You will love it on fabric, too! Thanks for pinning!