Soft Sherbet Colored Summer Wreath
I have no idea what made me decide to make a wreath with a tail, or shaped this way, but I just didn’t want to do the same old thing. I kind of think this wreath was a cross between a wreath and a swag. I did know that I wanted to do something with soft muted colors. I also like that this wreath is full with lush greenery.
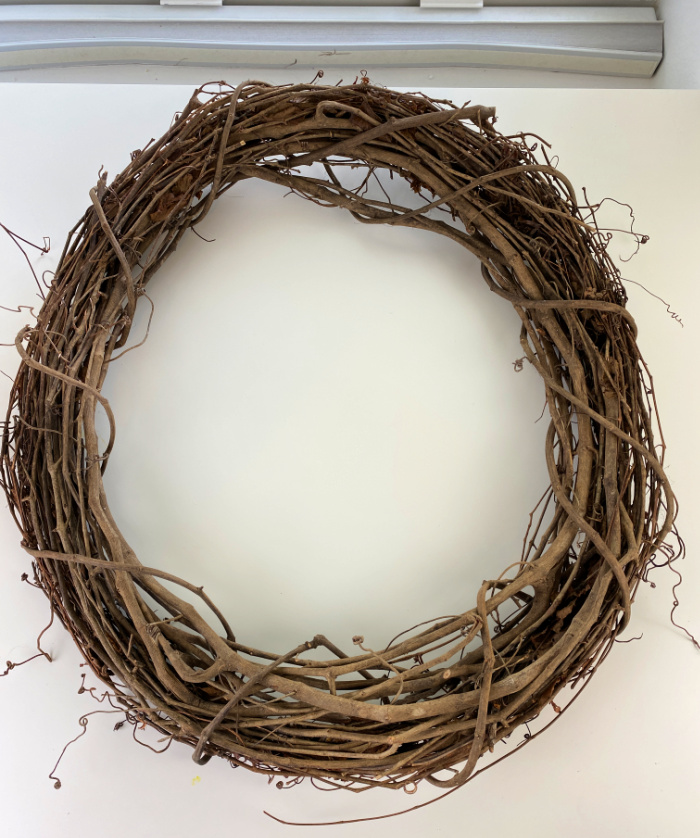
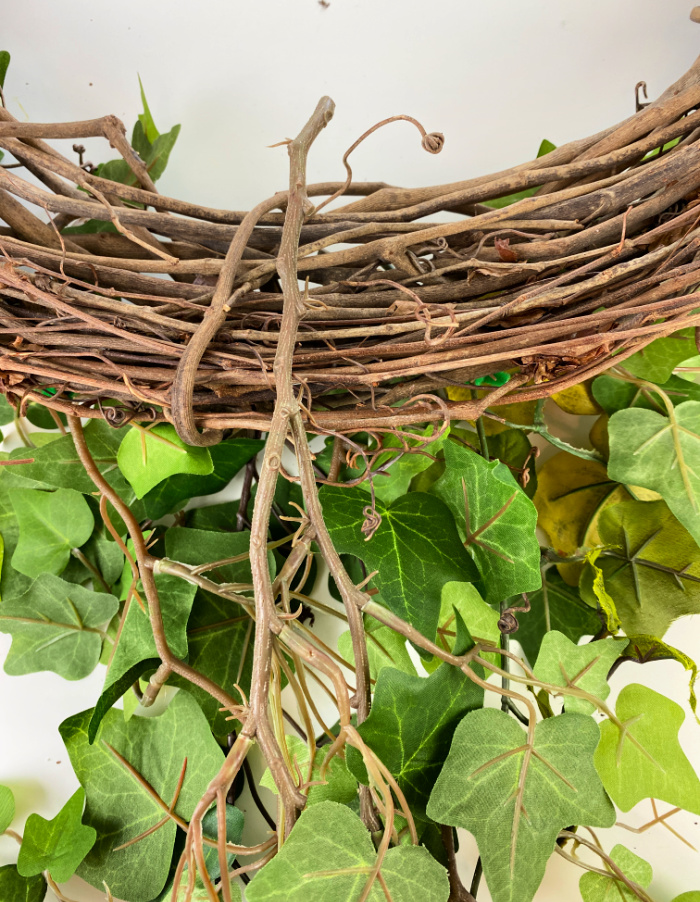
I began this with a large grapevine wreath. The grapevine wreath form I used is a 24″ wreath. You can find these at any craft store, just find one wherever you have the best coupons or price for!
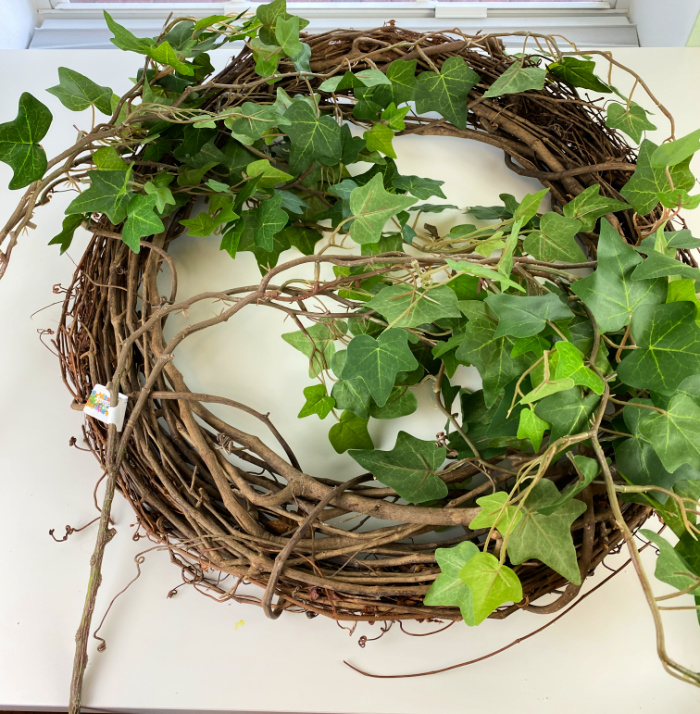
A large ivy vine is a great piece to use to add a lush look to a summer wreath. I do the same thing when shopping for artificial greenery and flowers as I do for my wreath forms, take advantage of sales and coupons at your local craft stores. Sometimes you can find some artificial green plants at thrift stores. If they are dusty, they can be rinsed in a bucket of water and left in the sun to dry.
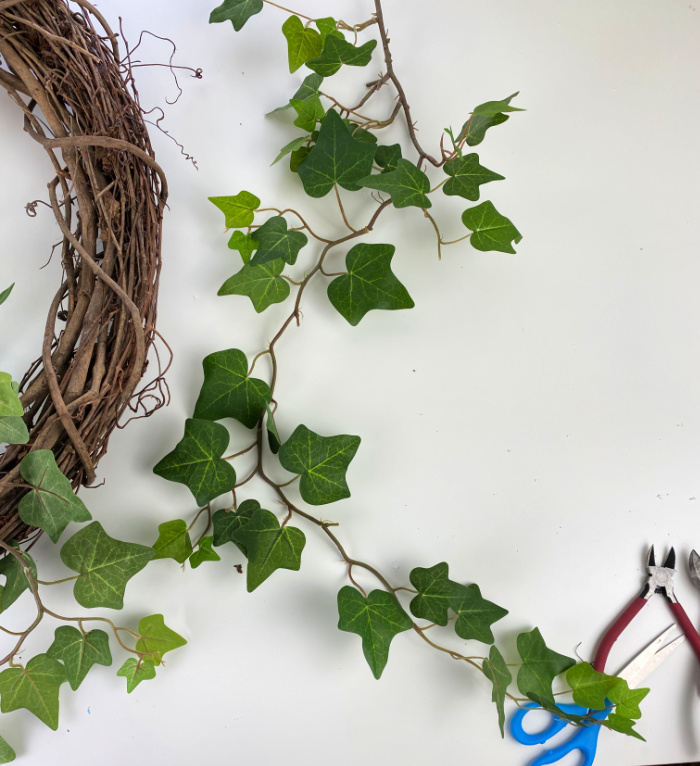
Use wire cutters to cut the pieces of the vine into as many pieces as you want or need. It all depends upon how large the vine you buy is. It is usually more economical to purchase an ivy vining plant than individual ivy stems.
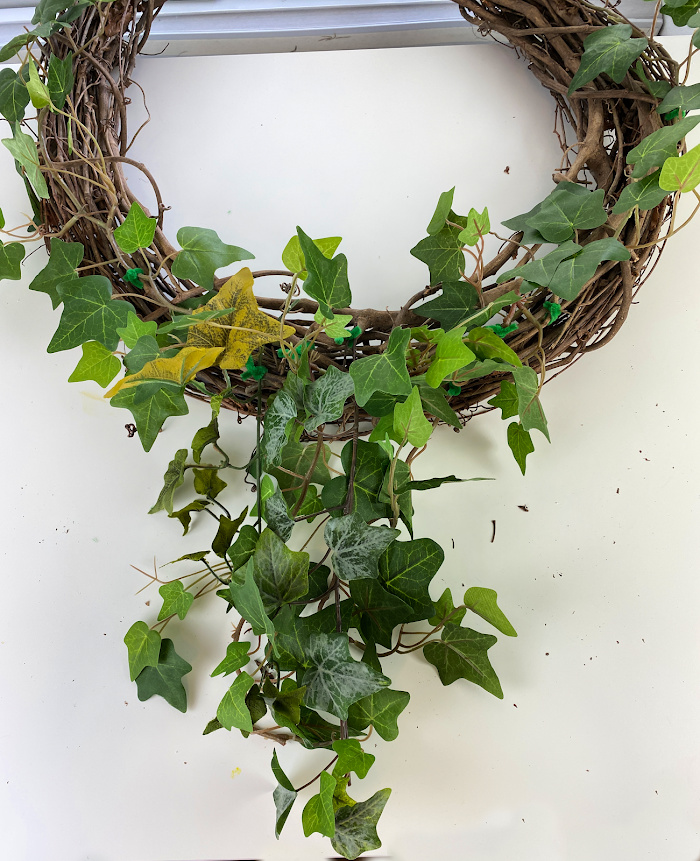
Attach the ivy to the grapevine wreath like shown above. Simply weave the plastic stem among the vines.
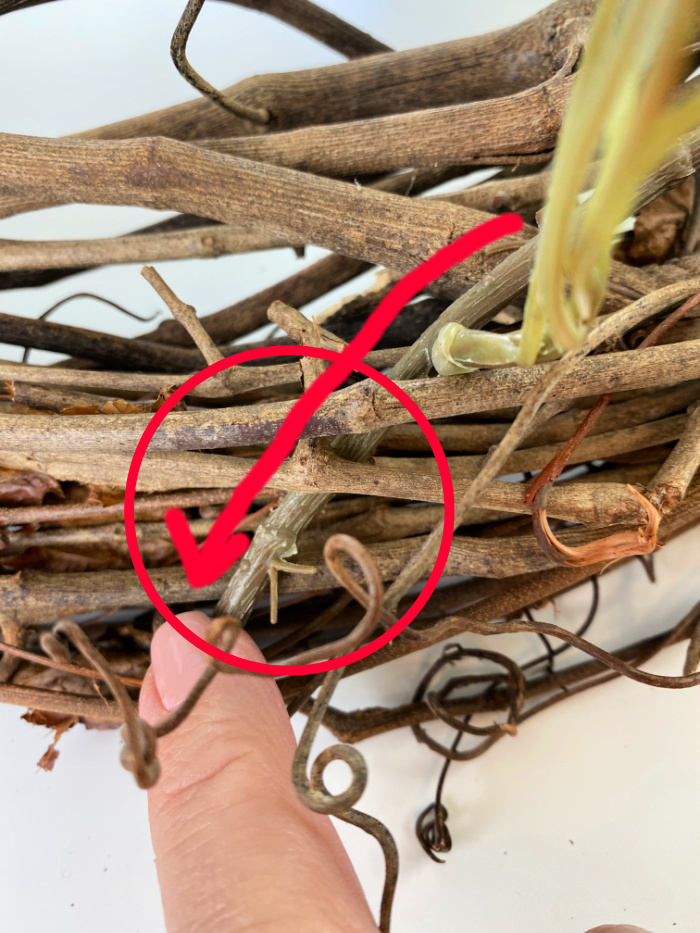
Follow the red line above to see how I have woven the stem of the ivy among the grapevines to secure it between the grapevines. You can always tug on them a little to make sure they are secure. By not using hot glue
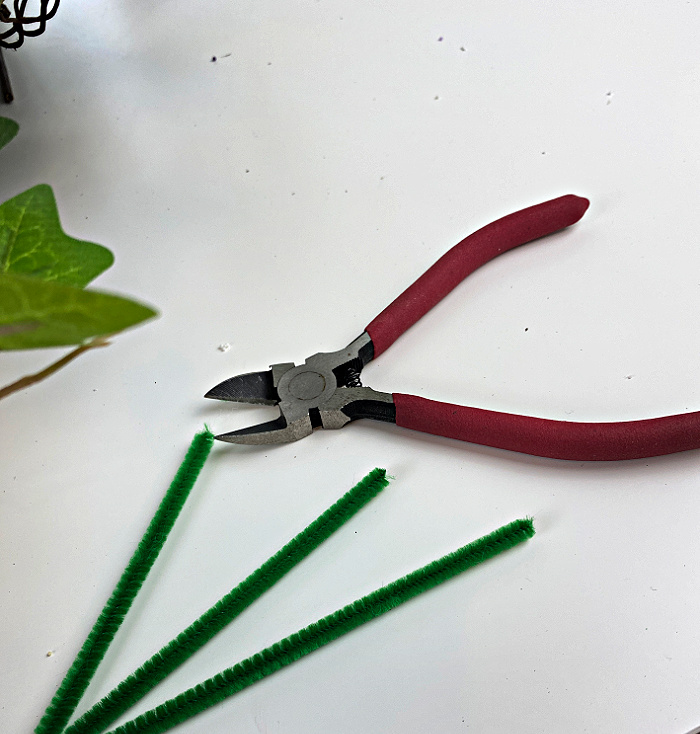
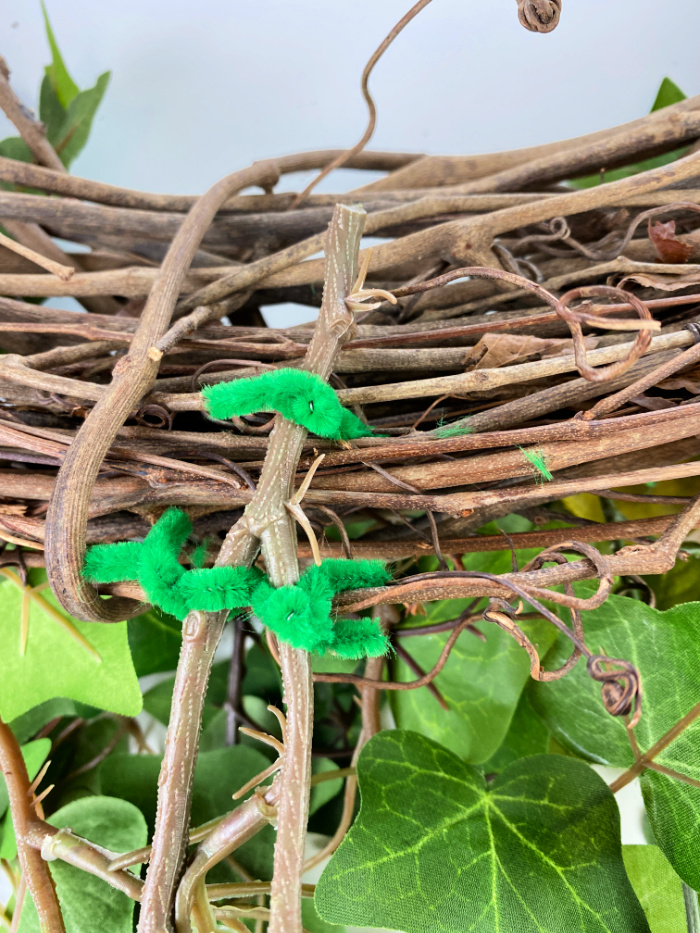
Cut some green pipe cleaners in half.
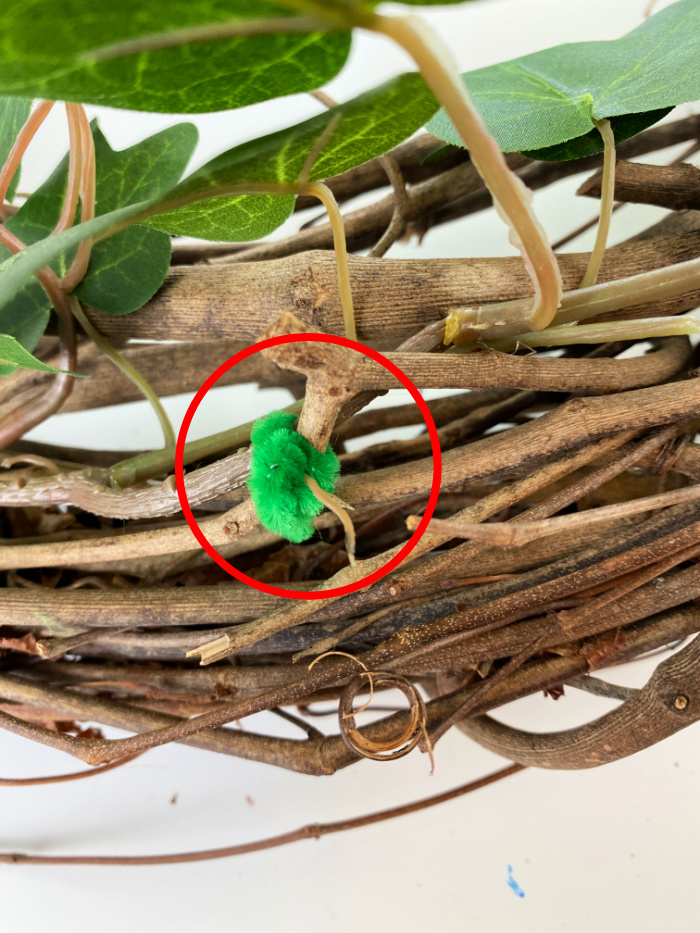
Use those half pipe cleaners to secure the faux fines to the grapevine wreath so it is secure in several places.
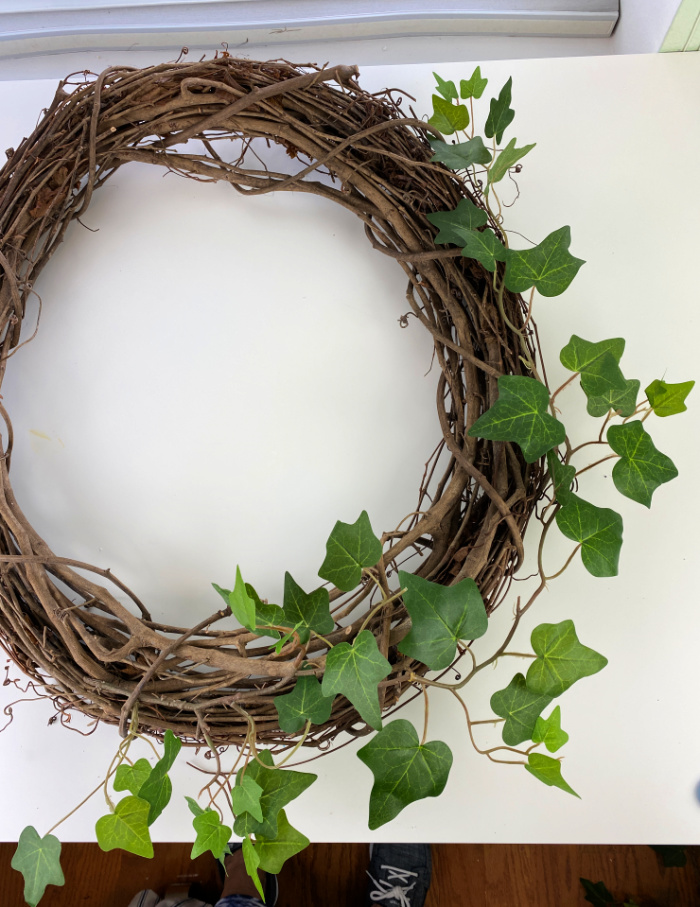
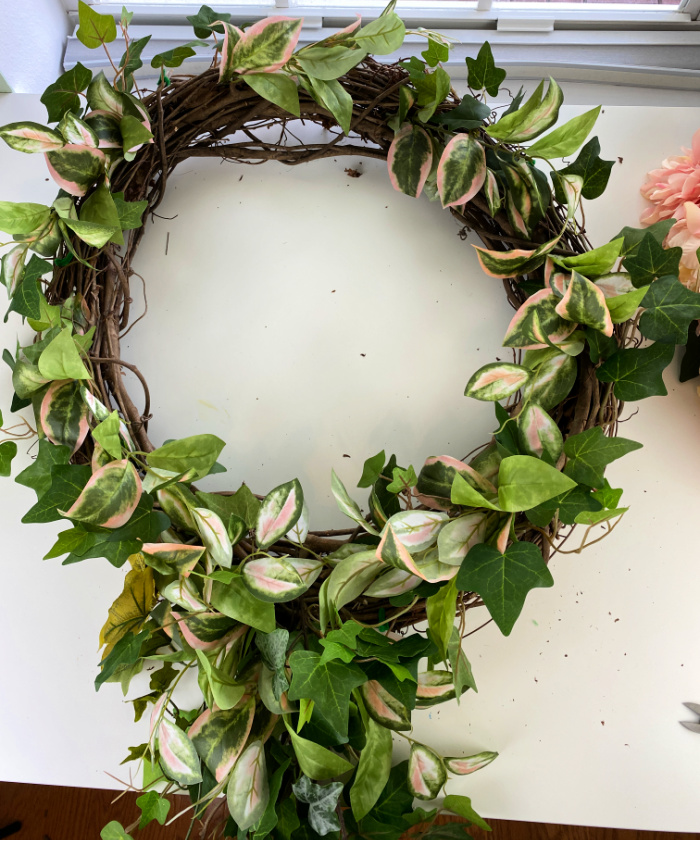
Keep adding ivy to your grapevine wreath until your wreath is as full as you want it to be. If you are going to add flowers at the top like mine, you don’t want to add a lot of the ivy to the top. That ivy would be a waste, as it will be hidden by the flowers.
This is where I made this wreath a little different than I usually do. I gave this wreath a little bit of a “tail”. I feel like this is almost a mix between a wreath and a swag.
Turn the wreath over upside down. Take a cluster of the ivy leaves and place them at the bottom of the wreath on the back side.
Use those half pieces of pipe cleaners to secure that “tail” onto the base of the wreath. Make sure it is secure enough that there is no wobble to this piece.
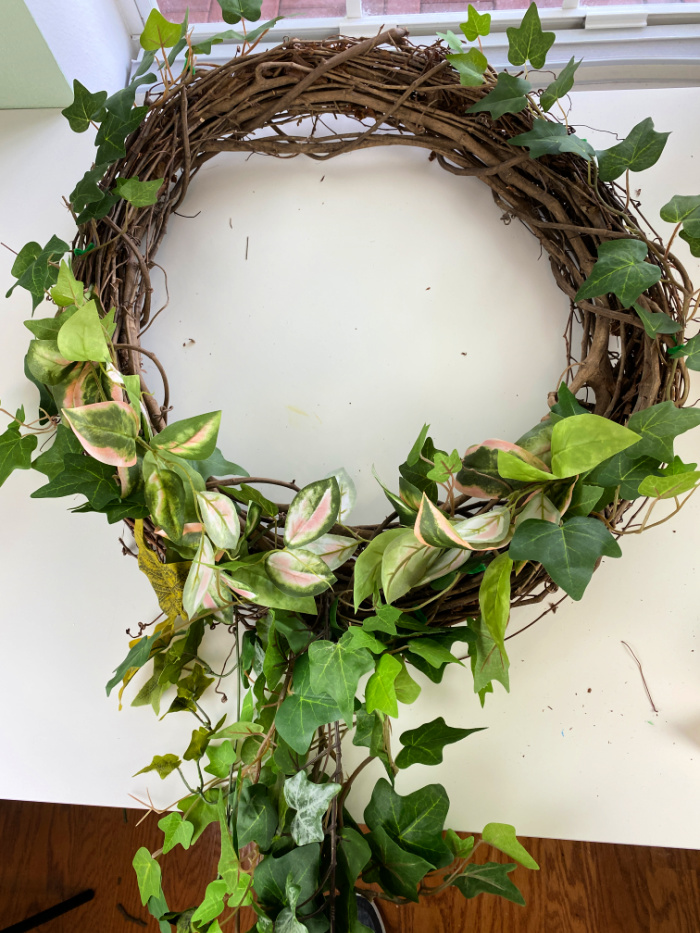
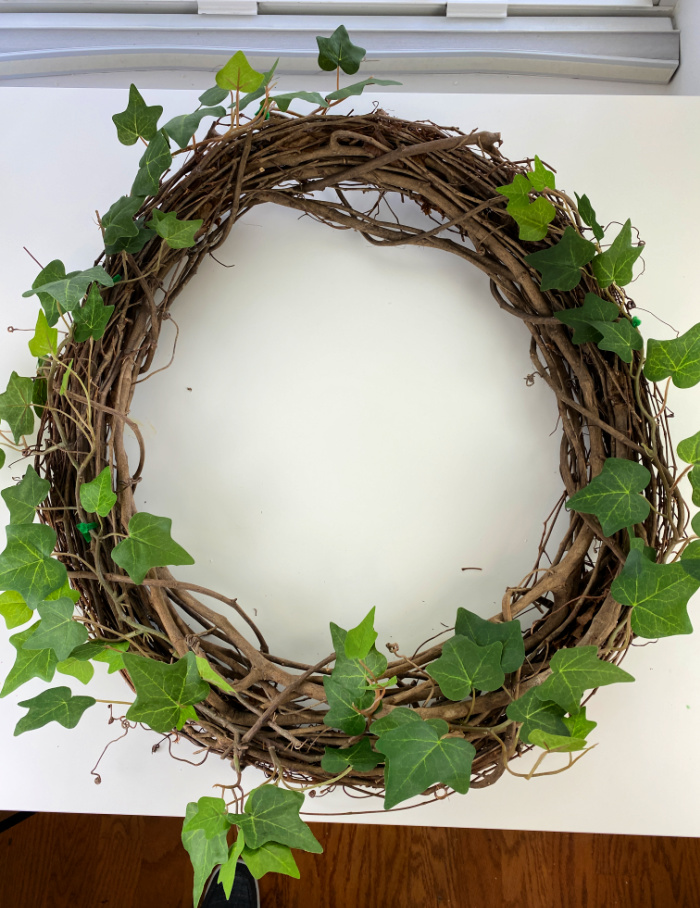
After securing the bottom piece, turn the wreath back over and add additional greenery if you would like. I added some greenery with variegated leaves with a touch of pink to coordinate with the soft colors I was going to use on this wreath.
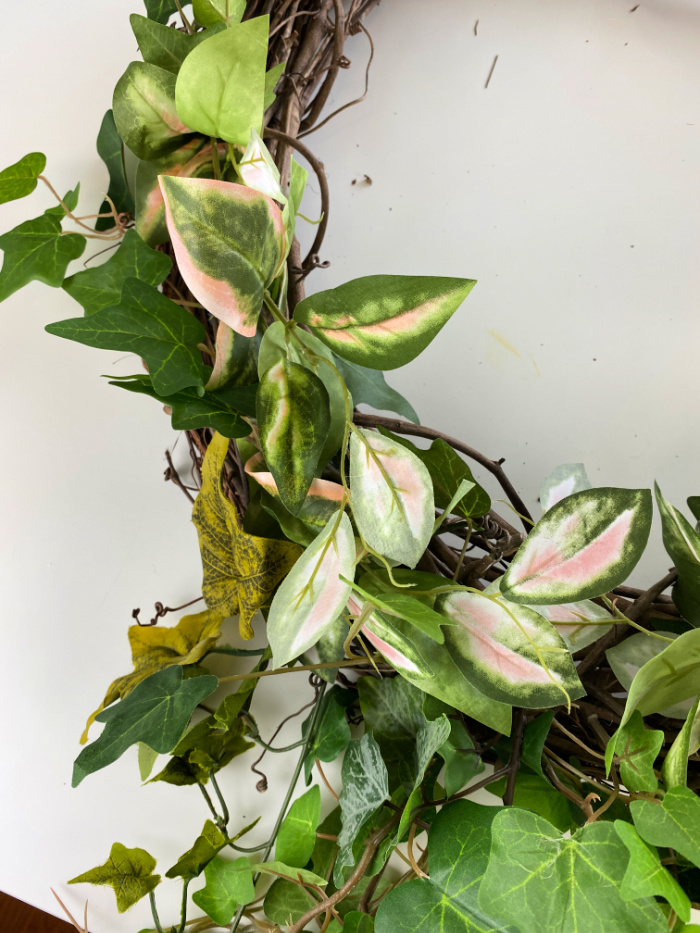
Here you can see how I added a mix of the foliages throughout the wreath. Notice how I kept the foliage sparse along the top of the wreath.

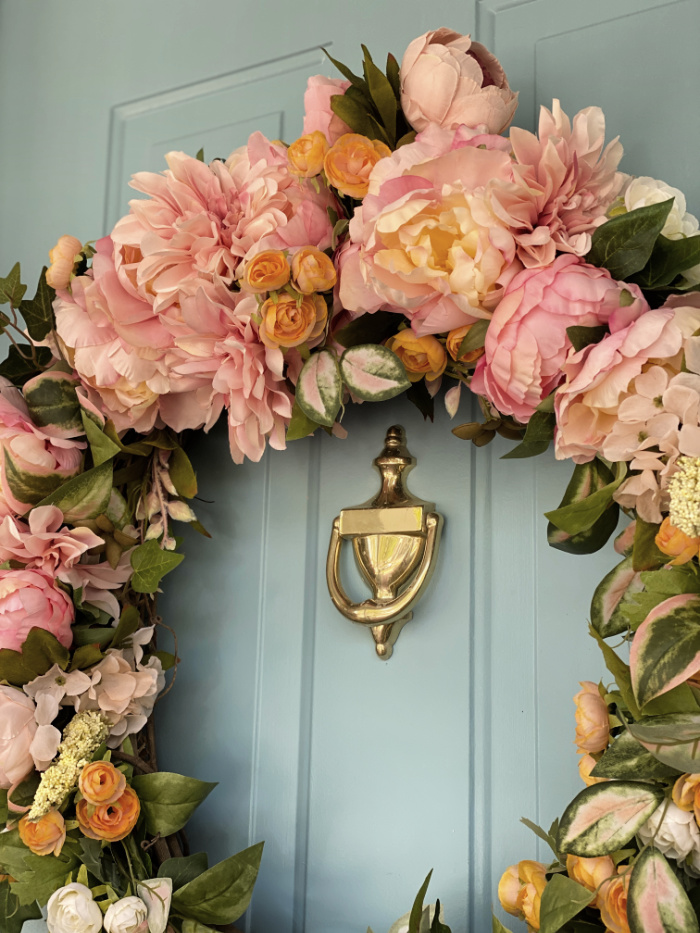
The rest was the fun and easy part, just adding the flowers. Select whatever flowers you want. I selected a number of sherbet colored blooms, using the larger blooms toward the top. Taper down to the smallest blooms toward the bottom of your wreath. You do not need to add flowers all the way around with this kind of wreath, you can just add them around the top 3/4 of the wreath. Do make sure you also tuck a few of the tiny blooms in among the larger blooms. Cut blooms apart if they come as multiple blooms on a stem and use the same techniques as you do with the ivy to make sure they are secure.
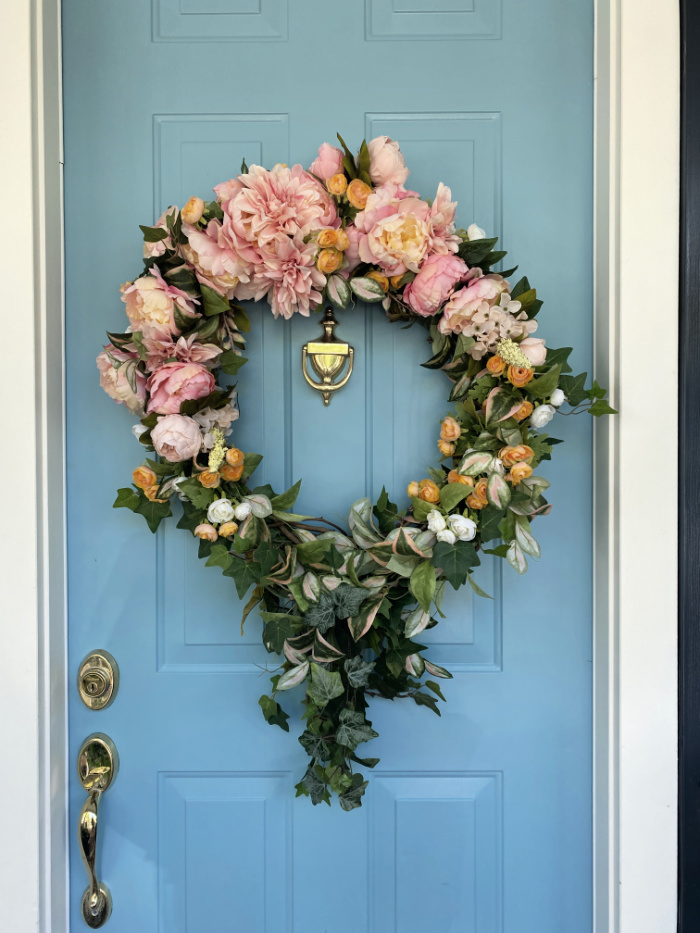
This is a lovely wreath that will be perfect for welcoming guests all summer long with the soft colors and lush greenery.
Beautiful!
Thank you so much Rebecca!
Love it, some of my most favorite colors.
Thanks so much Rebecca! Aren’t they so soft and pretty? Of course I have to ask, is your Crabtree family from southern Ohio?
It’s beautiful, as all your wreaths!
Thanks so much Cynthia! This one has been up for a bit, but I have an idea I think I will change it up with something I can add some flags to for the 4th of July. This summer is coming WAY too fast!
This is really quite beautiful!. Great Job!
Thank you so much Cindy!
This is gorgeous, so full and lush. I bet you could sell this for a pretty penny. What are the blooms? Peony and what else (you should put that in there for flower challenged people like me).
Thank you so much Andrea. I often think I should sell them, but dealing with shipping is an issue and you can’t over sell them locally. There are some peonies and some little ranunculus, and maybe some dahlias. Sometimes with artificial flowers it is so difficult to tell what kind they are because I think they are rather ‘made up’ kinds. I will go back and do some editing!
Your wreath is so beautiful Chloe! One of these would be so expensive of you bought it. Well done my friend!
Thank you Kim. I would not even want to think what it would cost! I love making these on grapevine bases because they can be taken apart and changed over and over again!
This is so unique and I love the soft colors
Thank you so much Sandra.
so pretty, I love those gorgeous soft colors!
Really pretty Chloe. Love the tail. For the floral challenged, my floral teacher would say Buy a big bush of flowers, it’s already color coordinated. Just cut it apart.
So pretty Chloe! I love the “tail”! I like to work with grapevine wreaths because it’s so easy to weave things into them, no glue needed at all! Love the soft blooms and colors…
Wow-what a beautiful wreath Chloe, I love how it turned out and it looks great on your door. Hugs friend.
Very pretty, I like it. Thanks so much for linking up with me at A Themed Linkup 56 for Crafts and DIY. Pinned!
Thanks so much Dee!
Chloe, Thank you so much for sharing with us at the TFT Party! I Love your Wreath!! Absolutely beautiful. Featuring you this week on Shoestring Elegance! Congrats! 😉
Theresa
Thank you so much Theresa! I will head over to share something new this week!
Chloe,
I just pinned this stunning wreath. I’d love to share it on my weekend round up- Dirt Road Adventures with a link to your tutorial for sure.
Thank you SO much Rachel! You are so sweet! I appreciate it!
Absolutely STUNNING! I learned a lot from reading how you made this. With the door knocker in there and the tail, the wreath looked a bit like a heart. LOVED IT! What a gift you have to share the glory of nature’s color and beauty to others.
Thank you so much JoDena, I was very happy with how this turned out!
Chloe, I love it! Your floral choices are amazing! I love the sherbet colors against your door! BTW, I have about the same color door. Very inspired!