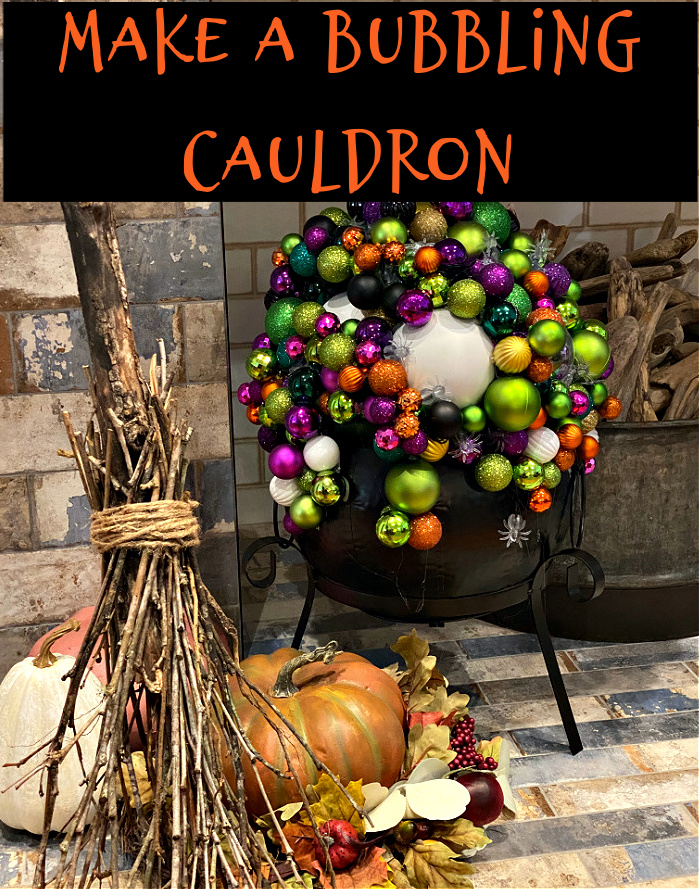
This Adorable Halloween Cauldron Will Make a Spectacular Party Centerpiece
Halloween has become every bit as much an occasion for adults to celebrate as it has for children! No matter if you are hosting a party or just want to add this to your front porch to delight trick or treaters, this is a charming bubbling Halloween Cauldron will add to the festivities! Can you believe that a cauldron was found in the River Thames that is over 3,000 years old?
This post contains some affiliate links for your convenience. Click here to read my full disclosure policy.
Get started with a cauldron:
Begin with a black metal cauldron on a stand like this one! Believe it or not, At Home had this for sale for just $29.99! If you can’t find it in stock there, Grandin Road still has them available (although more expensive) this Halloween season.

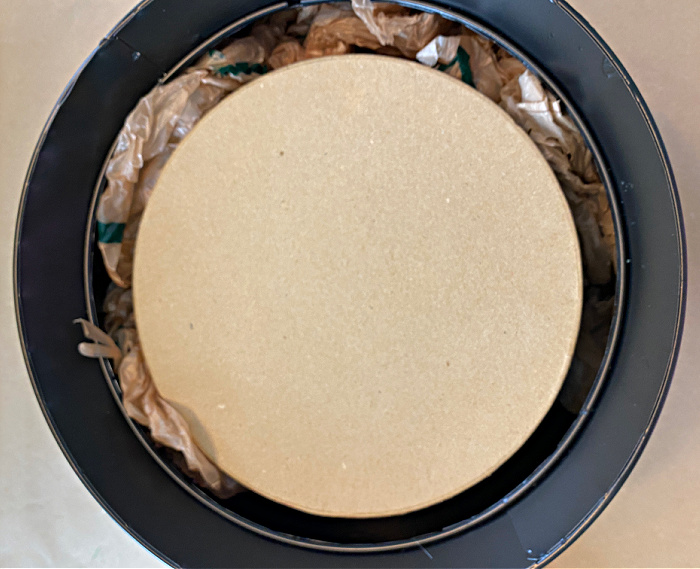
You will want to fill up your cauldron with something. I was fortunate to have this cardboard box that fit right down in mine. You can use any cardboard box, it does not have to be round.
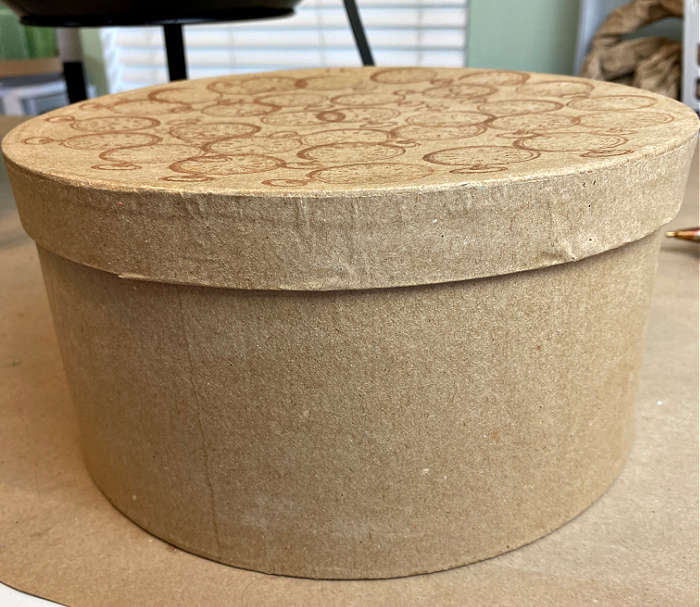
Put your box down in the cauldron and fill all of the space around it so it does not shift around. I filled mine with leftover plastic grocery bags.
Now you will be ready to start “decorating”!
Time for the “bubbles”:
I had lots of leftover ornaments from last year’s Christmas Archway
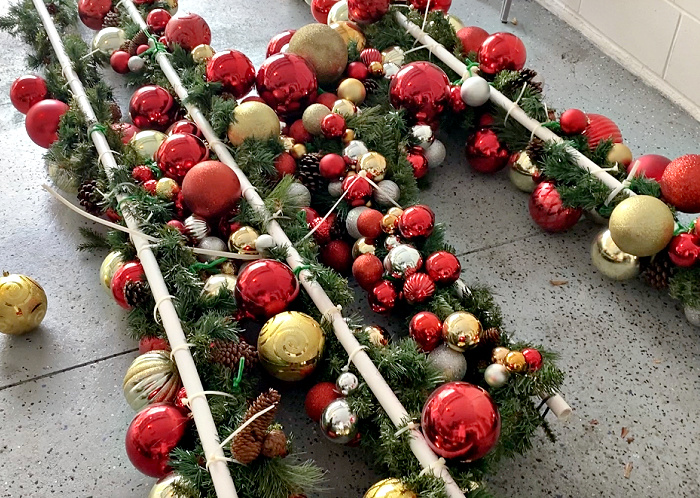
I simply cut off some of them and painted then the color I wanted with spray paint.
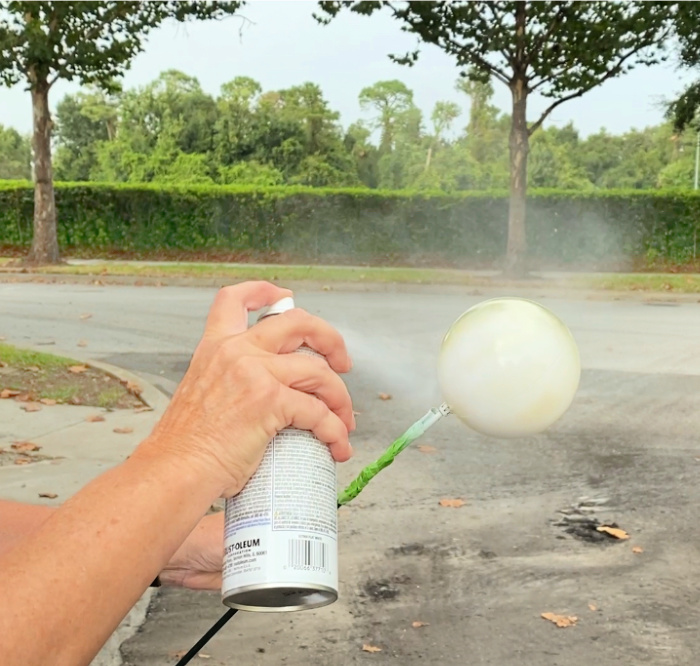
Regardless of where you come up with them, you want to assemble a large collection of different size unbreakable ornaments in the colors you want to use. I primarily used white, clear, green, purple, orange and black. You also want to make sure you have a variety of sizes of ornaments to work with.

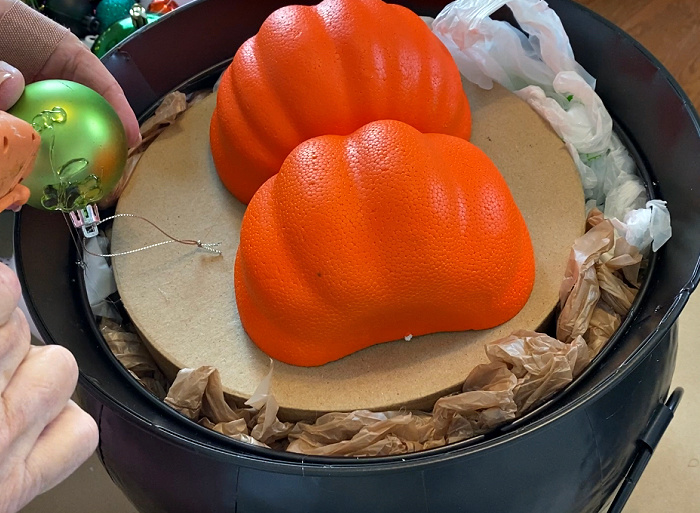
To get started, you just begin with large ornaments glued to the top of your cardboard. I had this broken styrofoam pumpkin from the dollar store, so I decided to just add the pieces to the cardboard to fill in some of the space that will not show later. You can do that with some smaller cardboard boxes if you would like.
Next, just begin using hot glue and your glue gun to attach the ornaments. When you begin, you will glue the ornaments so they are secured to either the edge of the cauldron or the cardboard.
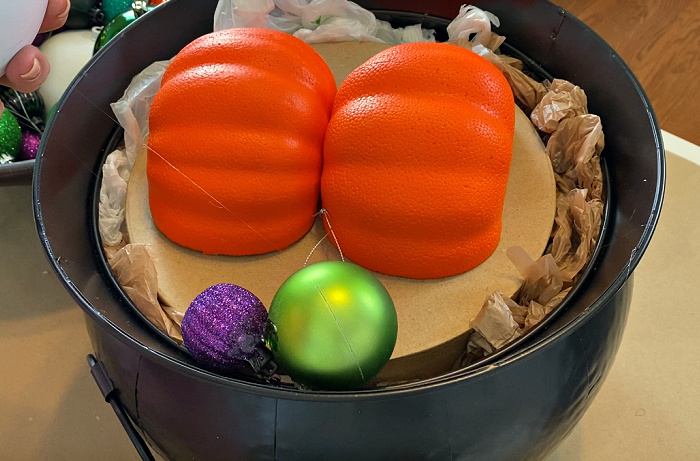
As you move along, you can just make sure each ornament is glued to another ornament or two.

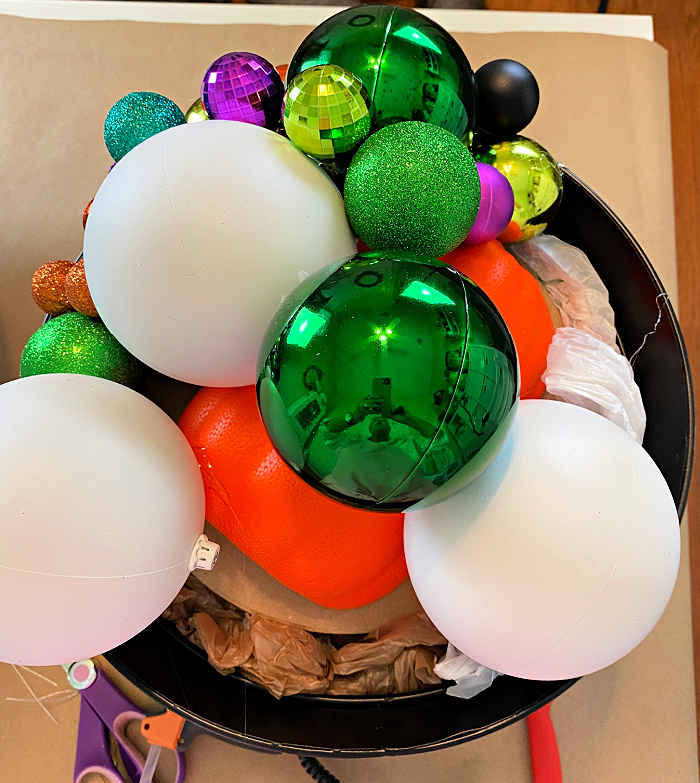
Continue filling your cauldron and building up the “bubbles” until they would be “boiling” over.
To make your cauldron “boil” over, you will gather some of your smaller ornaments and glue them down the sides of your cauldron in a few locations. Halloween is one of the few times when you don’t need to worry about the glue strings! They simply become “spider webs”!

Light up your cauldron:
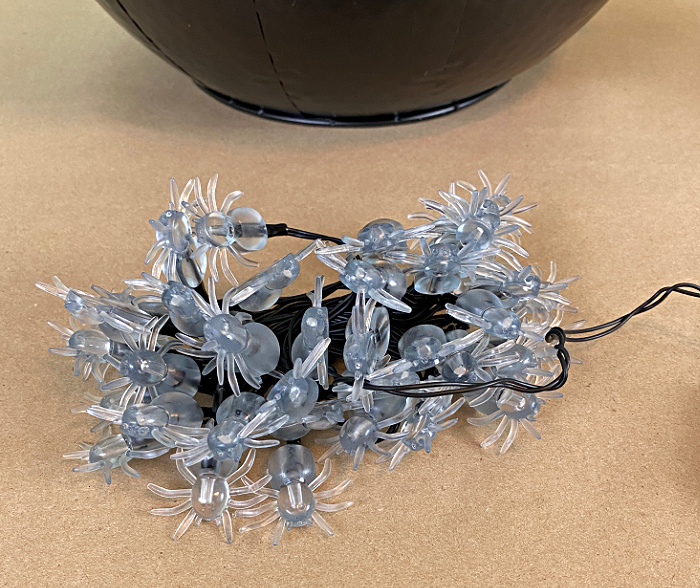
If plan on using this on a party table as a centerpiece, but will also have it on your front porch to greet trick or treaters, you may want to add some lights! You can buy these battery operated spider lights from Amazon. There are all kinds of fun lights you could use, another one to consider is eyeball lights. EEK! The witches are brewing up eyeballs!!!
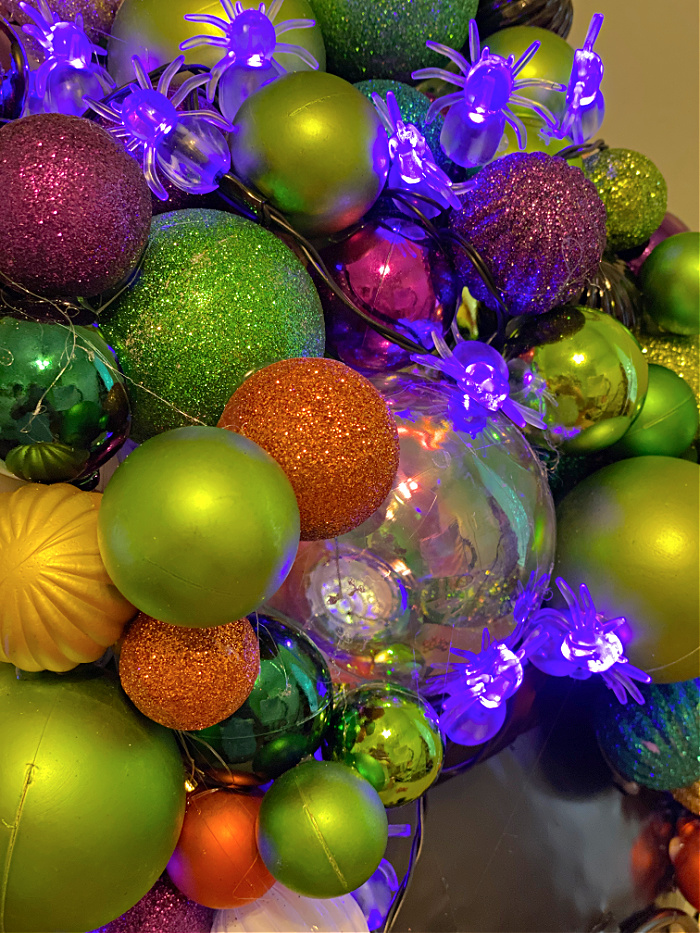
Work your lights in tucking them in and out all around the ornaments, hiding the cord the best that you can. The best way to do it is to use a tiny bit of hot glue to secure the spiders where you want.
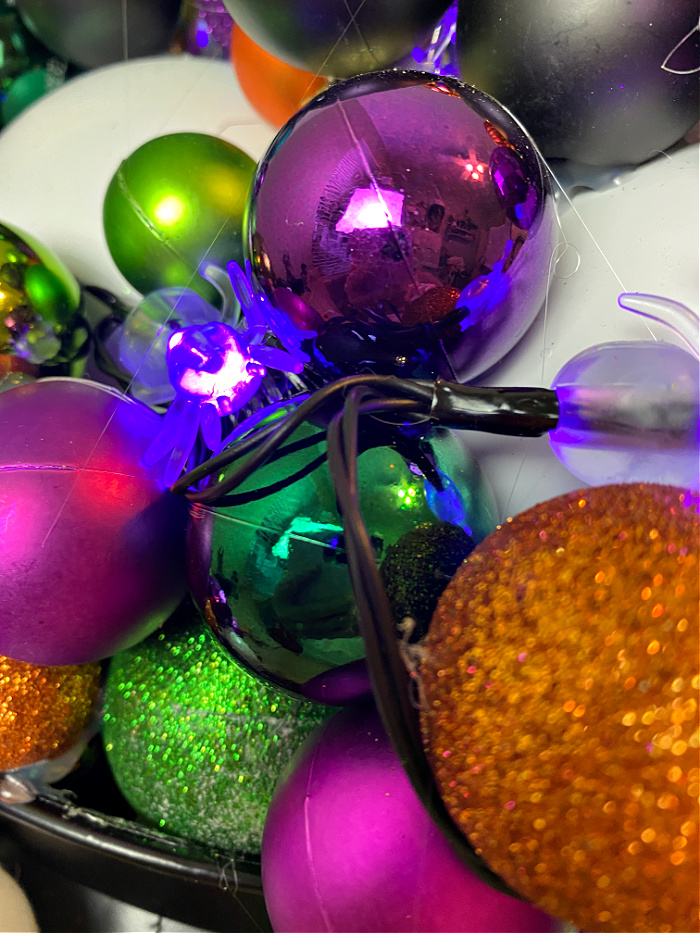
There will be spots where the cord is showing quite a bit like below. You can simply take some of your smallest ornaments and glue them to the larger ornaments around them to cover the cords to finish off your cauldron.
When you have secured all of your spiders, run the cord down the side of your cauldron.
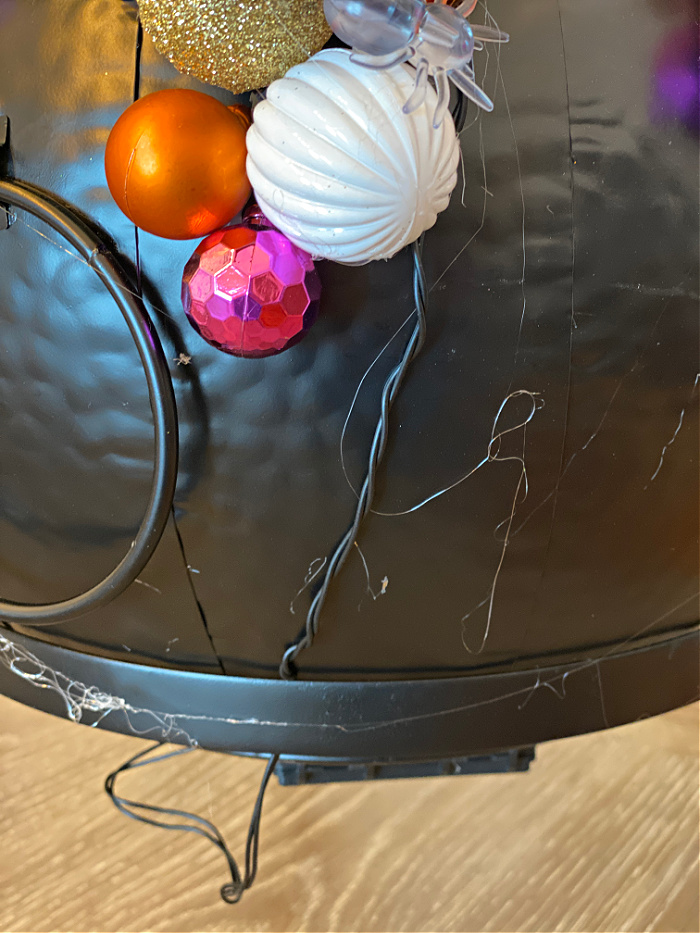
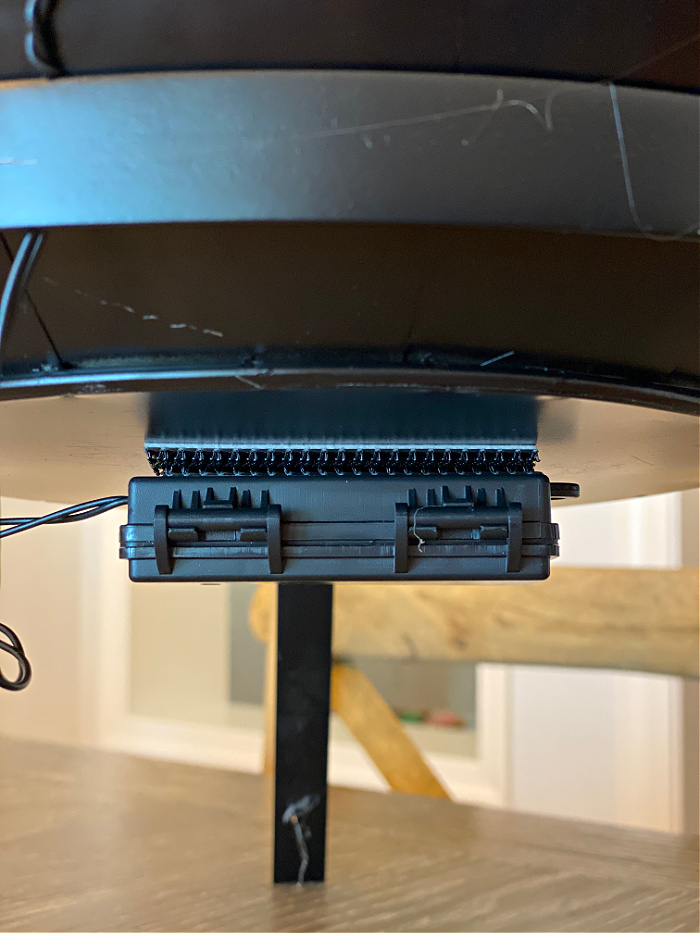
Use Velcro sticky fasteners to attach the battery pack to the bottom of your cauldron so you can easily turn your lights on and off.
What I wished I had known before I began:
When making a craft for the first time, there is always something I learn along the way. I always want to pass those tips on to you, so you can learn from my mistakes! About 2/3 of the way through, I began taking these tops off of the ornaments which made them fit together so much better! Take it from me! Prep your ornaments by removing these first. A simple pair of pliers will gently remove these tops!

Supplies for making a bubbling cauldron:
- Cauldron
- hot glue gun
- hot glue sticks
- clear ornaments
- colored ornaments
- spider lights
- Velcro sticky fasteners
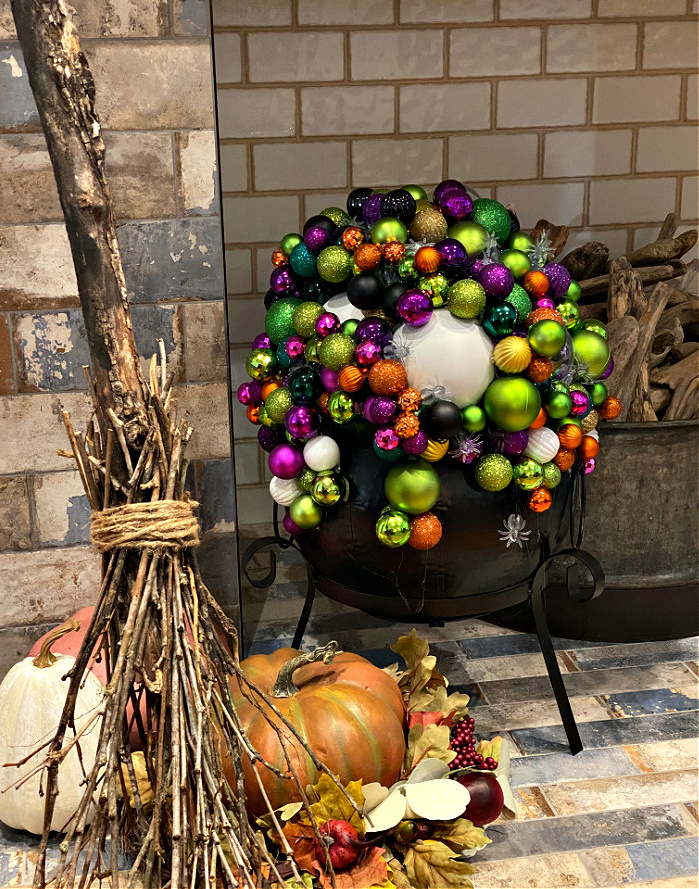
There you have it! You will have a completely finished and eerie cauldron ready to display for Halloween!
If you are looking for more Halloween cauldron ideas, you may want to make your plastic Halloween cauldron look more realistic, I have a great tutorial on how to do that at What is Brewing with this Creepy Cauldron.
You can read more about why we associate Halloween with witches and brooms at History.com.
Tomorrow I will share how I made that rustic witch’s broom next to my cauldron and fireplace! It is quick, simple, and essentially free!
PLEASE PIN THIS!
For lots more Halloween DIY decorations, head on over here!
So cute Chloe!!! Love it!
Thanks so much Jenna!
Super cute idea! Thanks for the inspiration. I’m
Wow Chloe, this looks amazing! I need one of these for my home – I LOVE Halloween 🙂 I’m looking forward to seeing it in person soon… 🙂
Thanks so much Chas! Isn’t it cute? I can’t wait to have you visit!
I love the colours. I was oohing and aahing over all the photos. I always enjoy watching your work.
Thank you so much Karen! You are so very kind!
Love the way you did this project for Halloween…Awesome!! I like to use the Alien double sided tape, instead of; the velcro. I have used this tape on my brick to put up lights or whatever you want to. My lights stayed up all during Christmas last year through the cold & wild winds. Have a blessed day.
Oh Lois, thank you, and thank you for that information, I have never heard of it, but it sounds like something I NEED!!
Absolutely adorable! Too much work for me now but I sure loved doing stuff like this in my younger day! Well done as usual!
Spooktacular Chloe! How wonderfully creative! Thanks for the great instructions too. Pinned.
How great is this for Halloween? Love all the bright colors.
Such a cute idea! BUBBLES! I like the clear ones with the iridescence and then maybe just gree ones for a goulish brew! Lol . Love it!