
DIY Glowing Snowballs
DIY Glowing Snowballs
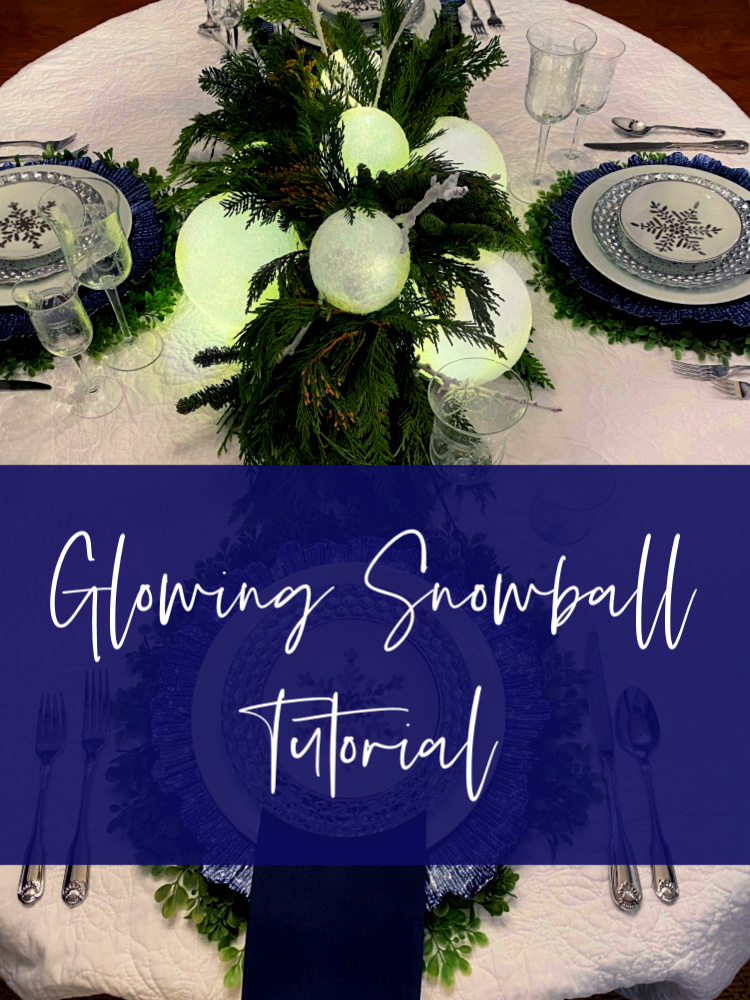
These glowing snowballs are SO EASY to make. After sharing my Winter Wonderland Tablescape on Hometalk TV last week, the big question was how did I make the light up snowballs. If you missed how I used these as a glowing centerpiece, you can see it at my Cozy Winter Tablescape.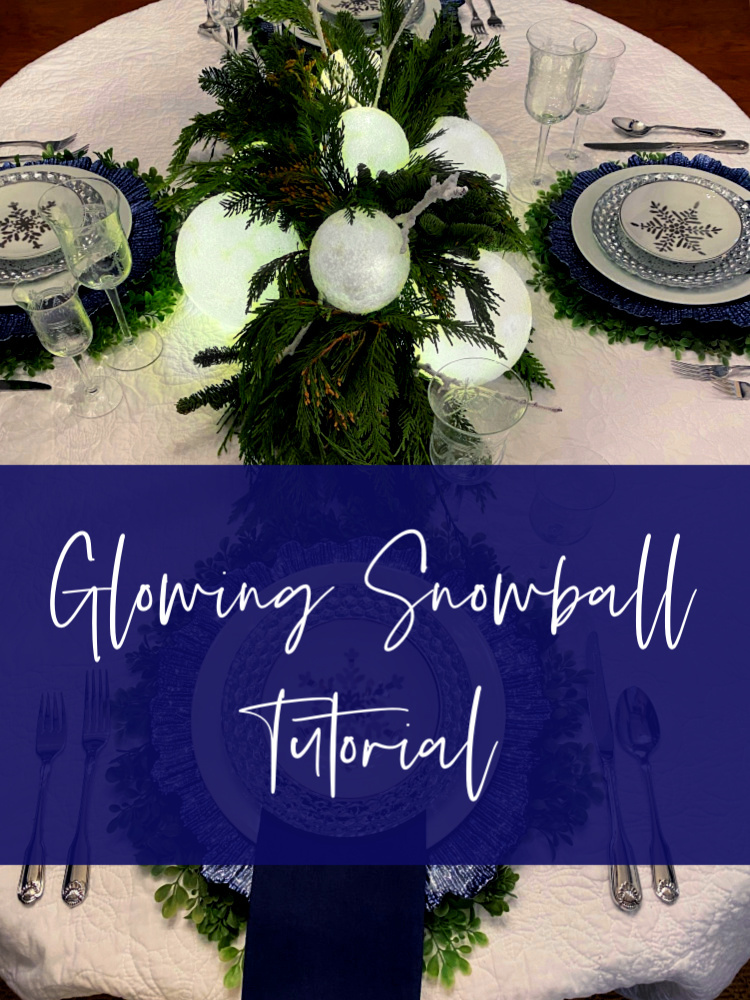
This post contains some affiliate links for your convenience. If you click on any of the links in this post, I may get a small commission that will in no way affect the price of anything you might purchase. Click here to read my full disclosure policy.
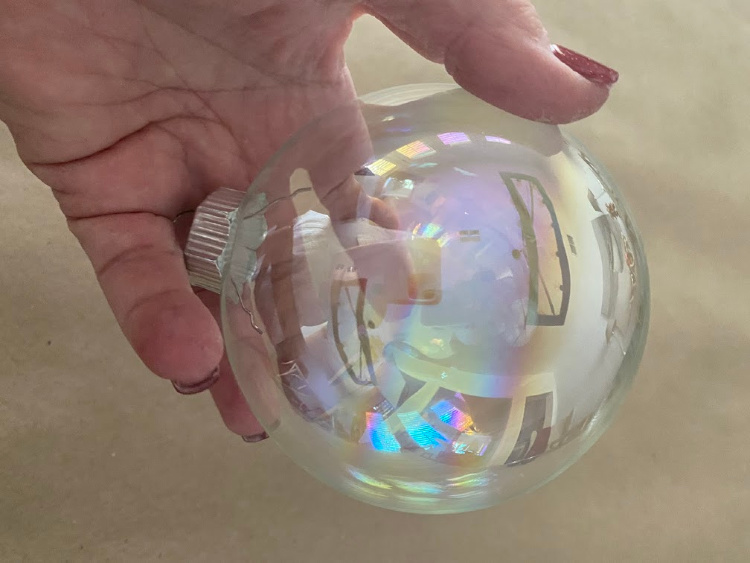
I made three different sizes of the snowballs. For the two smaller ones, I used clear Christmas ornaments. Some of them were plastic and some were glass, either one will work for you. Remove the ornament hanger from the top of the ornament. 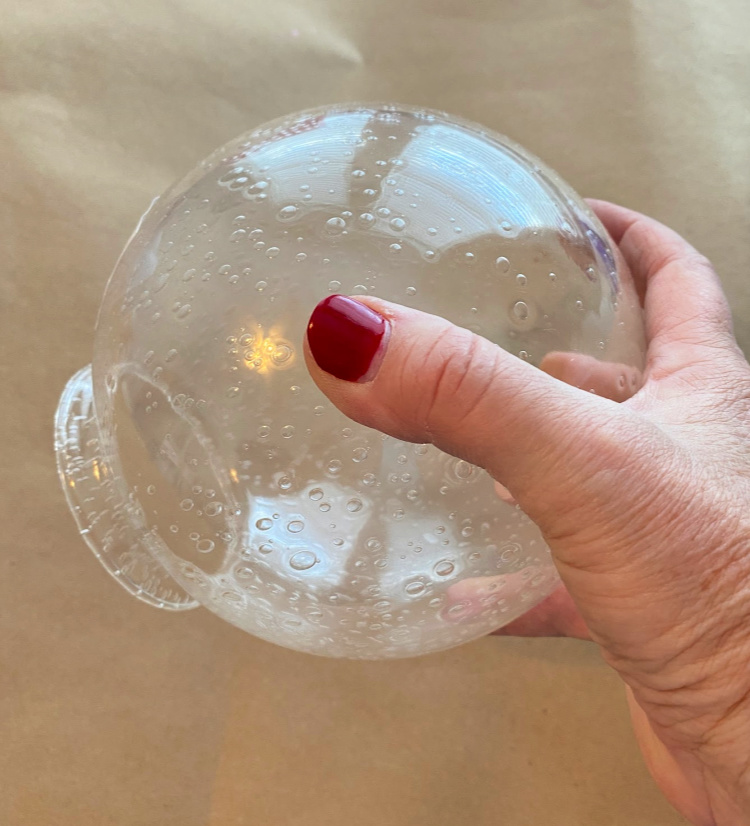
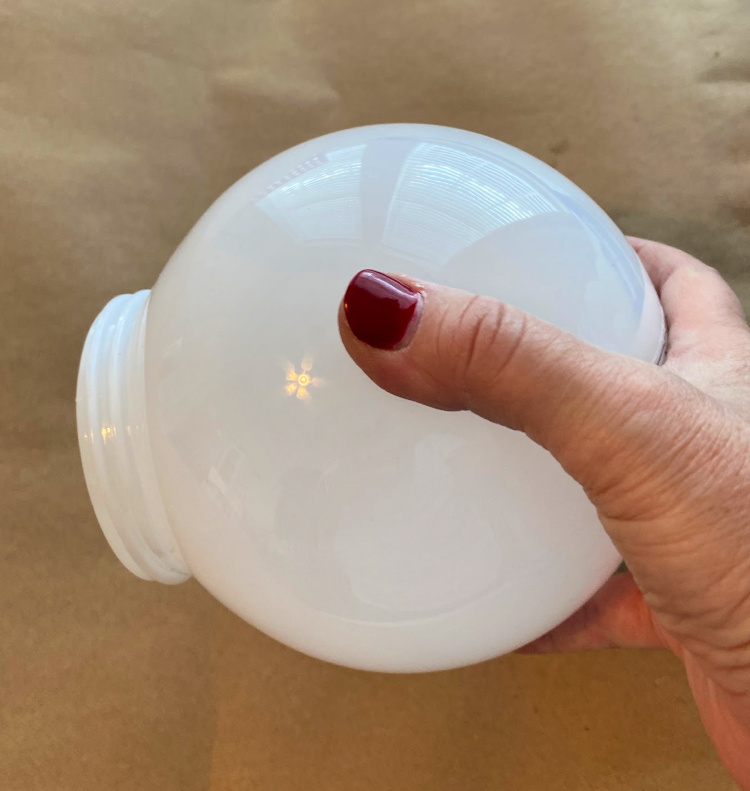 I wanted to try making these snowballs with both these pebbled glass bulbs and the white plastic ones. I found both of these at Home Depot.
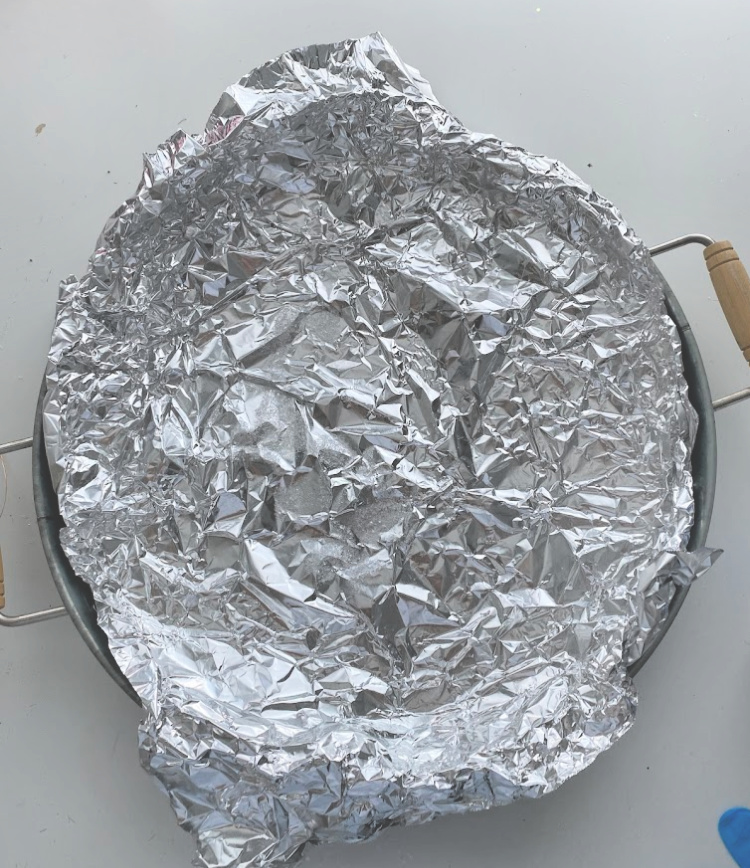
Use a tray of some kind and line it with aluminum foil. This will catch all of the Diamond Dust that does not stick to the Mod Podge. 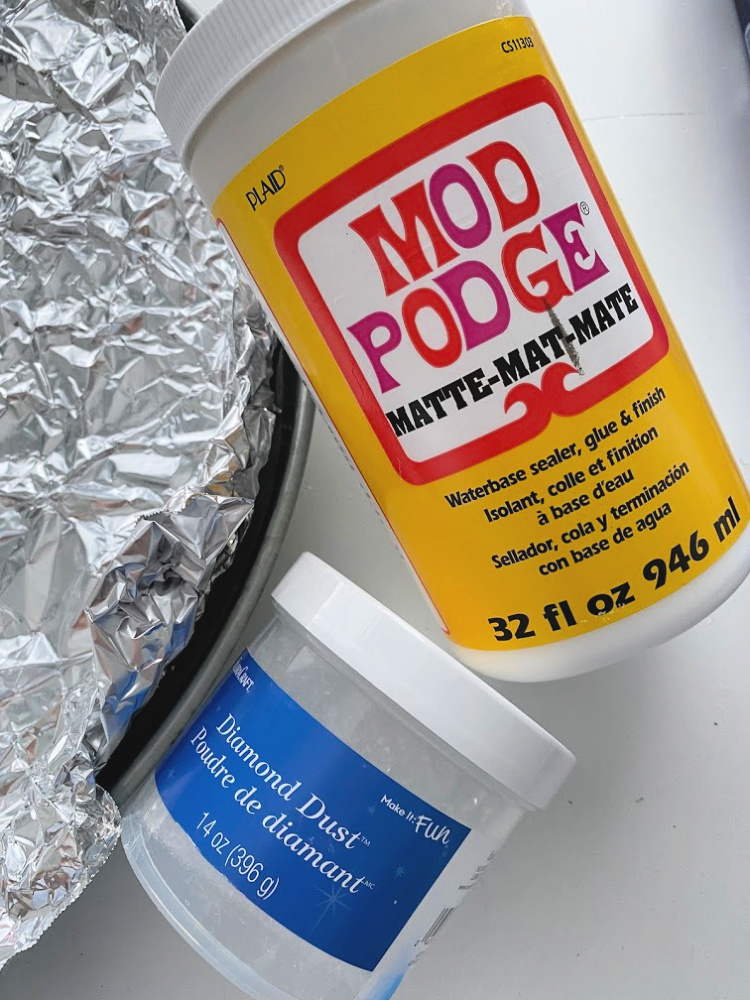
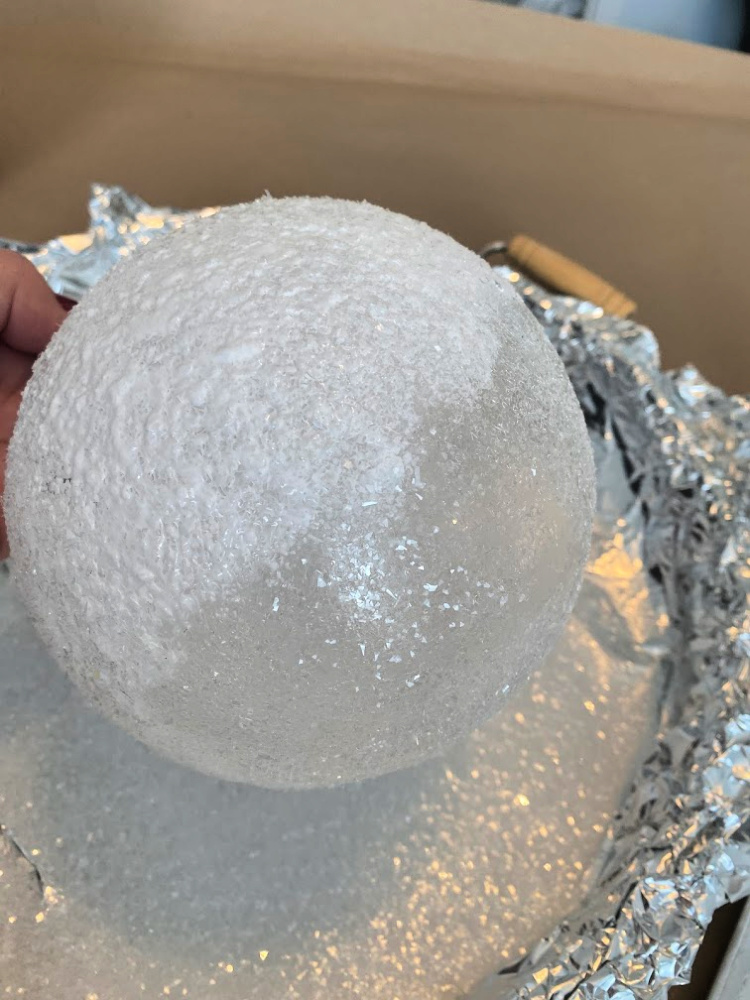
Each globe, being an ornament or a light fixture globe, was painted with a coat of Mod Podge. You will want to paint the globes one at a time and while the Mod Podge is still wet, pour Diamond Dust over the entire ornament. You will do that over the aluminum foil lined tray. This makes it easy to lift up the foil and pour an excess Diamond Dust back into the container. 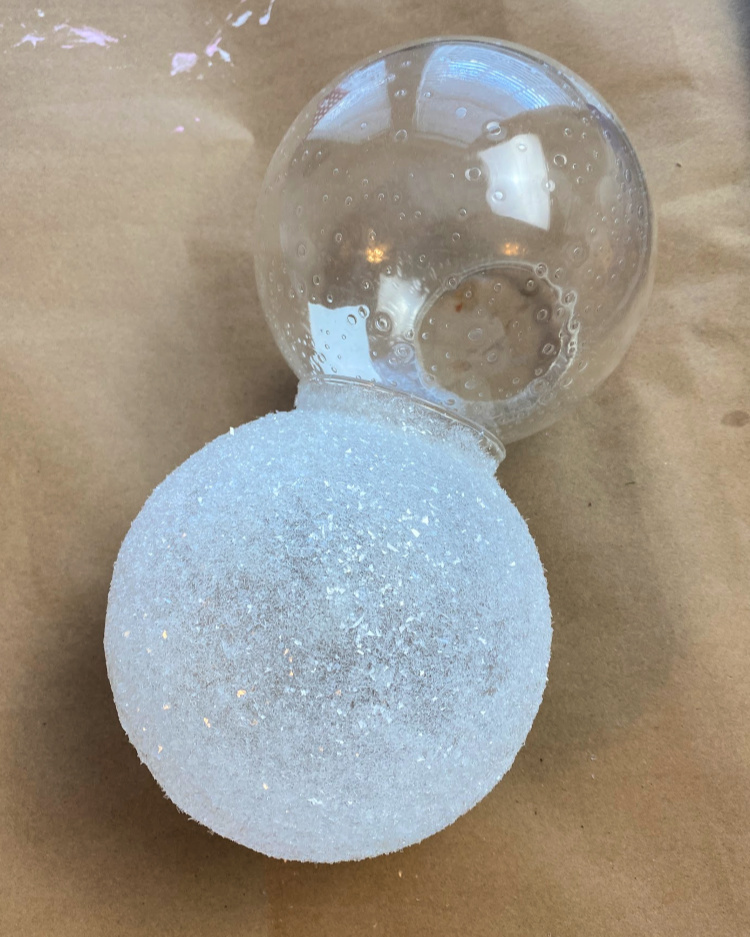
This shows you one coat of the Diamond Dust on the pebbled glass ball. 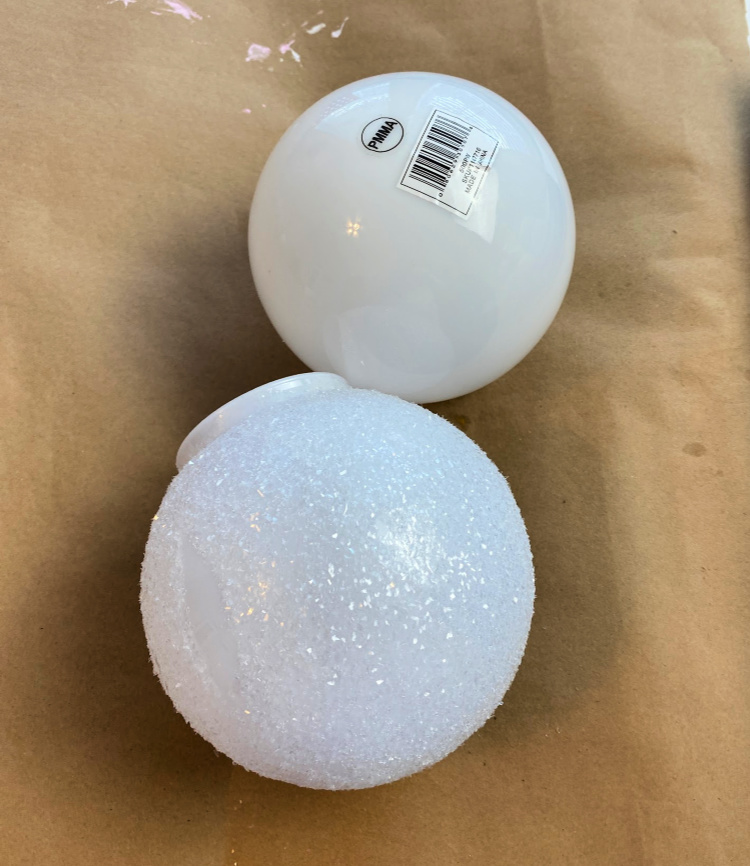 This shows one coat of Diamond Dust on the white plastic globe. You can do either of these, you just need to do what you are comfortable with. I used two layers of the Diamond Dust on the clear ornaments and lamp globes, one on the white globe. If you are putting a second coat of Mod Podge with a sponge brush, make sure you dab it on, don’t brush it on, or the Diamond Dust will catch pieces of the black sponge on the snowball.
 This is an example of the second coat being applied to one of the clear globes. You can see where the second coat has been put on, and where it has yet to be applied.
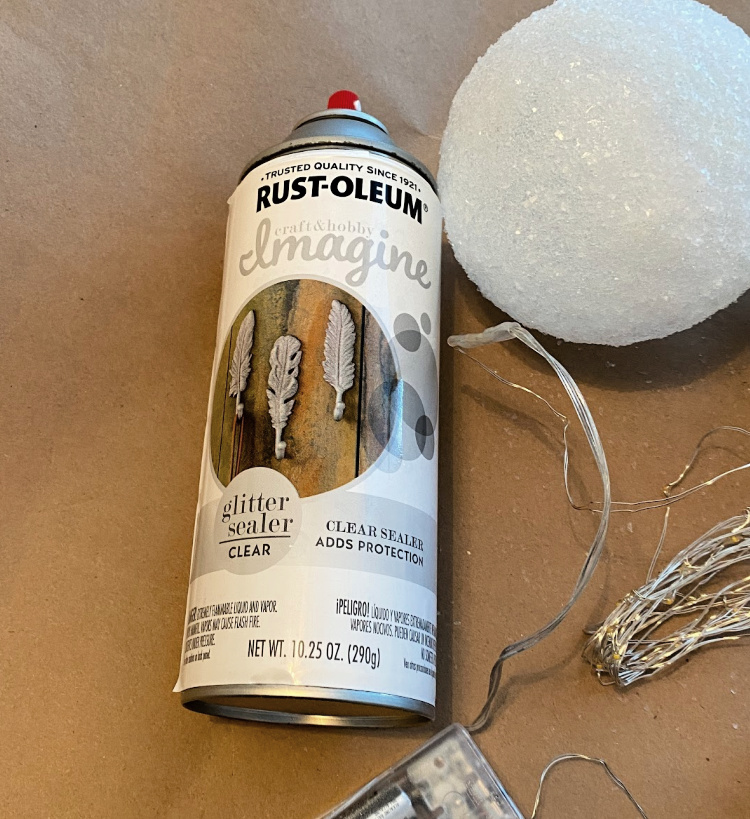
When you have all of your globes finished you will want to seal them. I sealed mine with Rustoleum Clear Glitter Sealer this will keep the Diamond Dust from coming off of your globes. Keep in mind that Diamond Dust is basically glass and might cut you. You can wear gloves when doing this project and the sealer will keep the Diamond Dust from coming off on your hands. 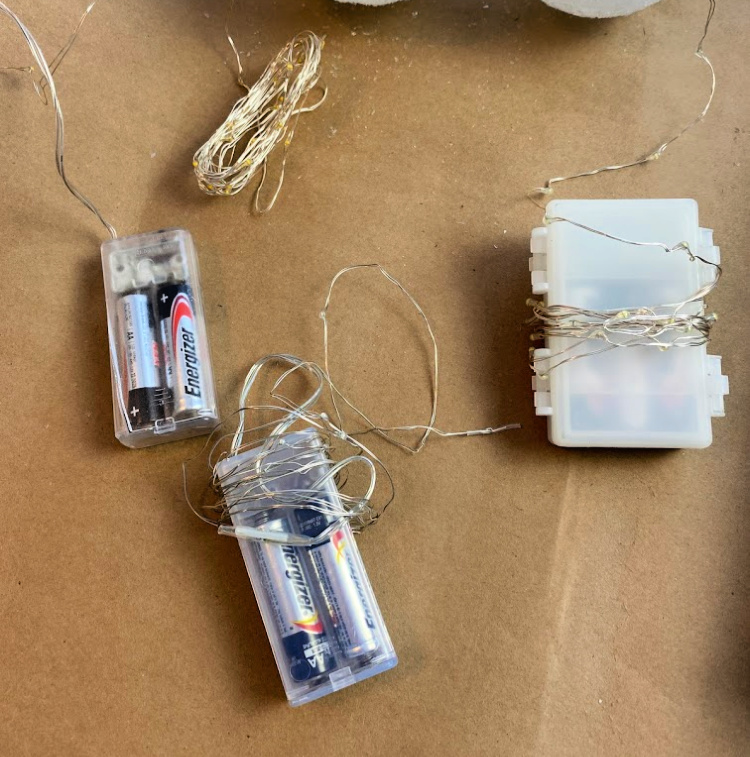
It is time to light them up! Use any battery powered fairy lights and feed them into the globes. The larger globes will hold the lights and the battery pack, for the ornament globes, only the lights will fit inside, you will need to hide the battery pack in the arrangement where you are displaying the snowballs.
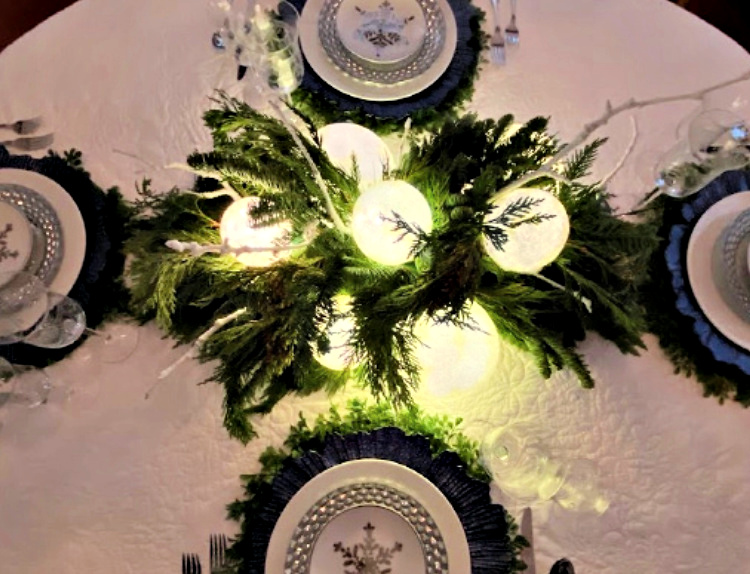
I used these in a centerpiece as shown above. I tucked them in around the greenery. To secure them above the floral foam, I used a wood skewer or dowel and put them over it. You can see more of this centerpiece at A Cozy Winter Tablescape.
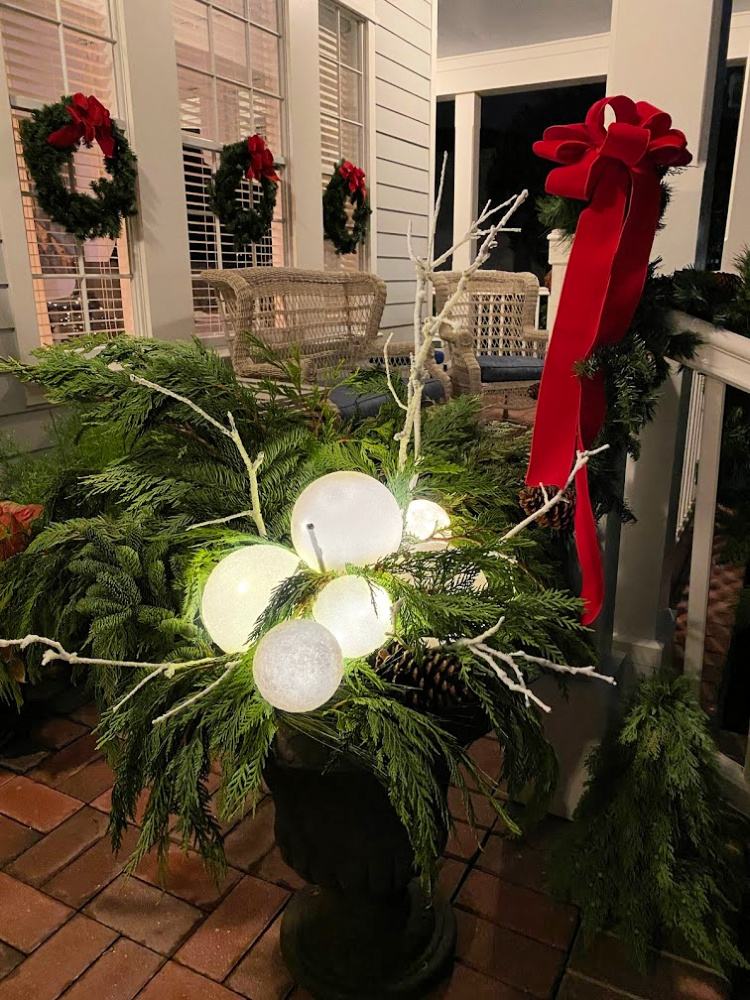
I did the same to the globes to add them to an urn on my front porch. I hope you like this project and will think about making some glowing snowballs for yourself!
Supplies for this project:
Diamond Dust
Mod Podge
Rustoleum Glitter Sealer
Clear Ornaments
Globes
Very cool Chloe, and great tutorial! I love these, anything with lights and sparkle gets my vote!!
Love the idea Chloe, so creative and fun and add the right touch.
Absolutely yes!! Thank you Chloe.
Thanks so much Tracy!
and where do you get the batteries and lights??
I like these lights:https://amzn.to/3FGOQI8
Beautiful!! Did you use warm white or cool white fairy lights for your centerpiece?
I used warm white for mine.
Beautiful, love it .will definitely make it.
Thank you Jojo! They are so easy and so fun to add to your winter decorations!