
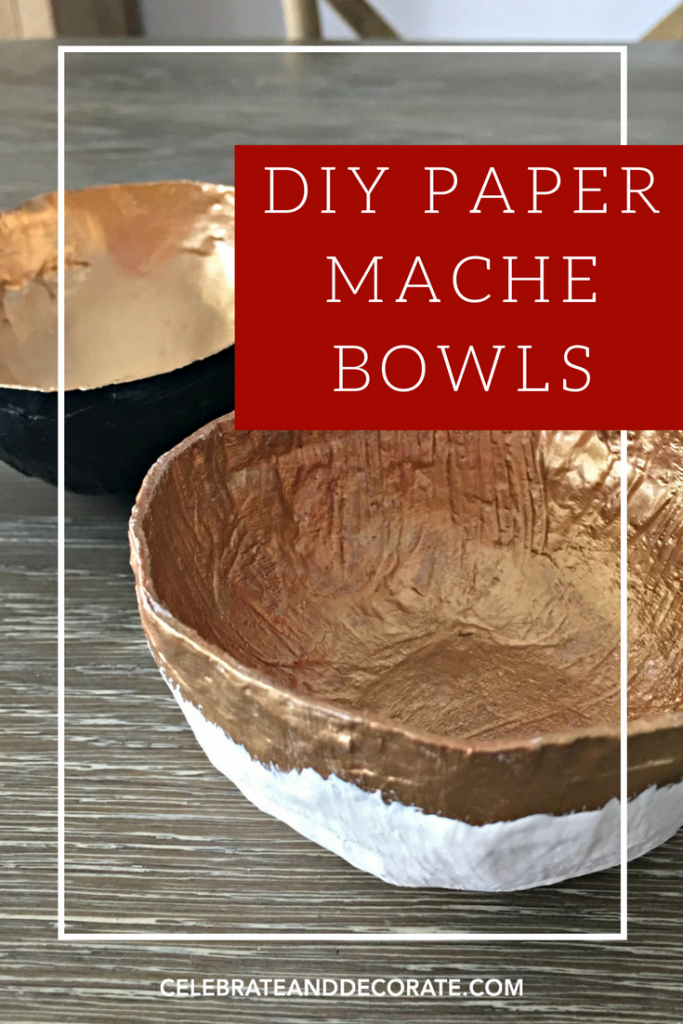
DIY Paper Mache Bowl
Wondering how to paper mache? This is such an easy art project that I love to do. It can be time consuming, but you can find this is a relaxing project. All you need is some old newspapers or paper towels, Mod Podge, a bowl and some plastic wrap! Try these easy techniques
It is time to get back in the craft room with this fun project! Today I am showing you how I made my DIY paper mache bowl. I saw beautiful paper mache bowls at a booth at an art show and I thought these would be an easy project that I could personalize for myself! I enjoyed making a paper mache bowl. As the summer heats up here in Florida, this is a great project for me to do inside the air conditioning. In your neck of the woods, this might be a good rainy afternoon project.
This post contains some affiliate links for your convenience. Click here to read my full disclosure policy.
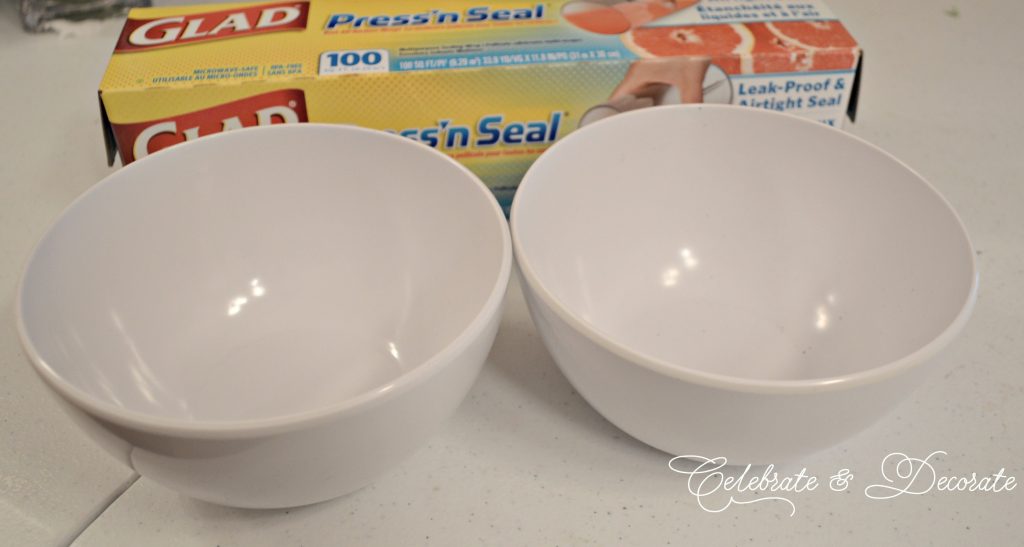
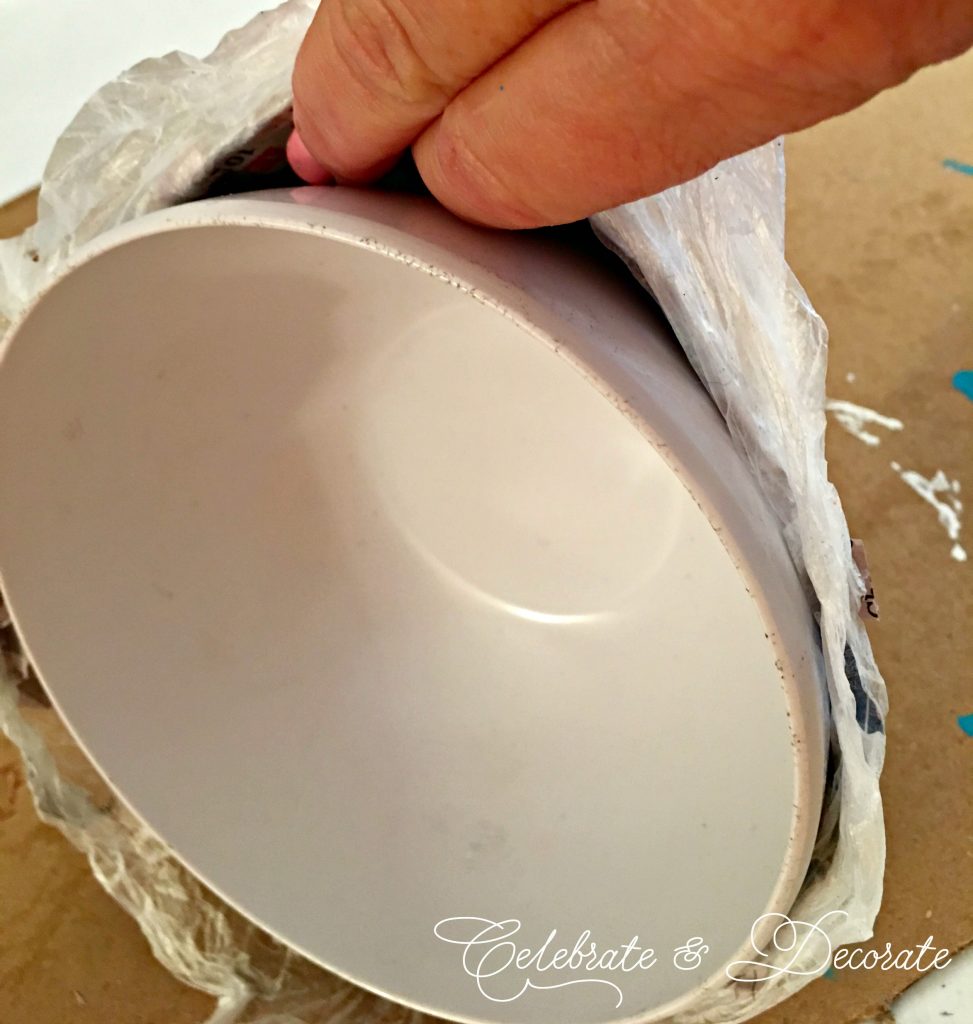
Making a paper mache bowl is a great paper mache project if you have never tried paper mache before! I began with a plastic bowl without a ridge around the bottom. You may choose to use a balloon instead of building your bowl over a bowl.
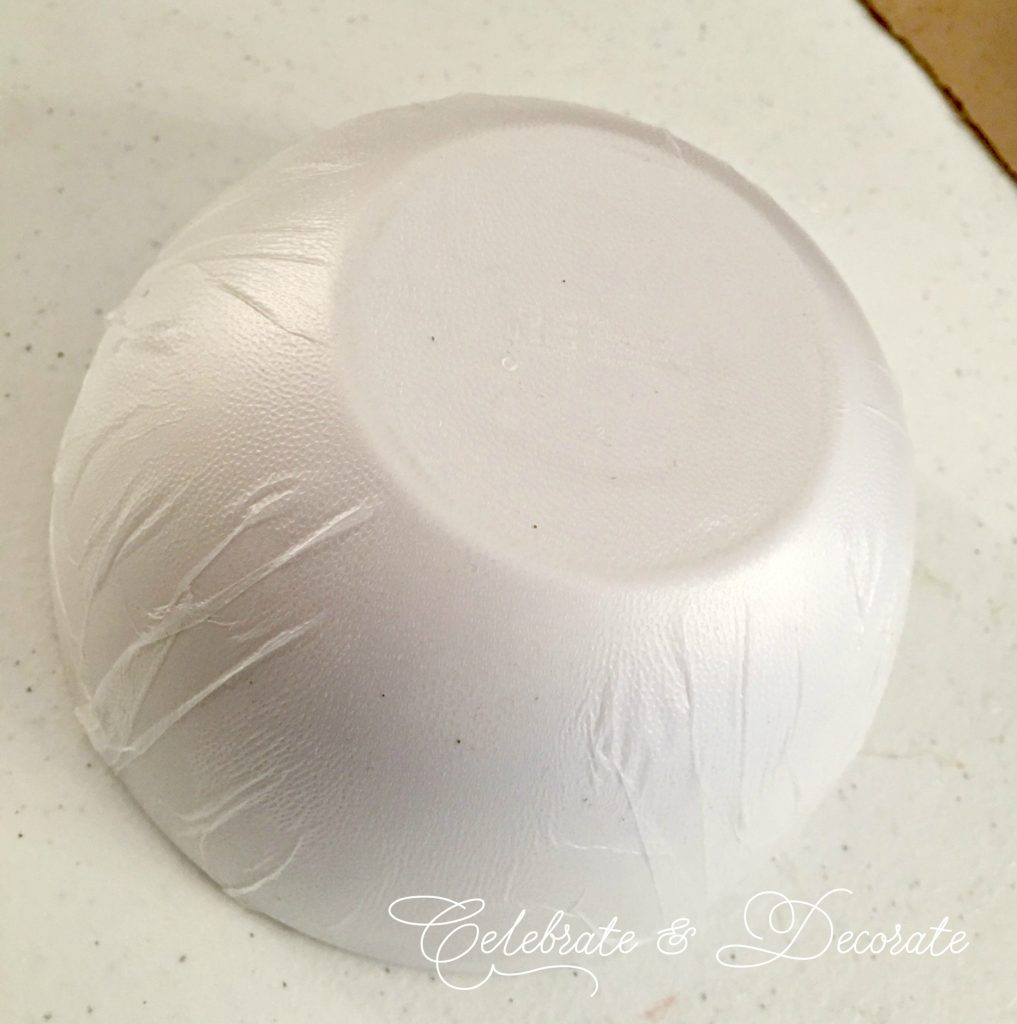
Cover the entire bowl as tightly as possible with a layer of plastic wrap. This will allow you to remove the paper mache from the bowl after you have built up several layers. The dry time will depend upon the humidity where you are. Make sure you cover your work area so you don’t end up with hard paper mache on your table.
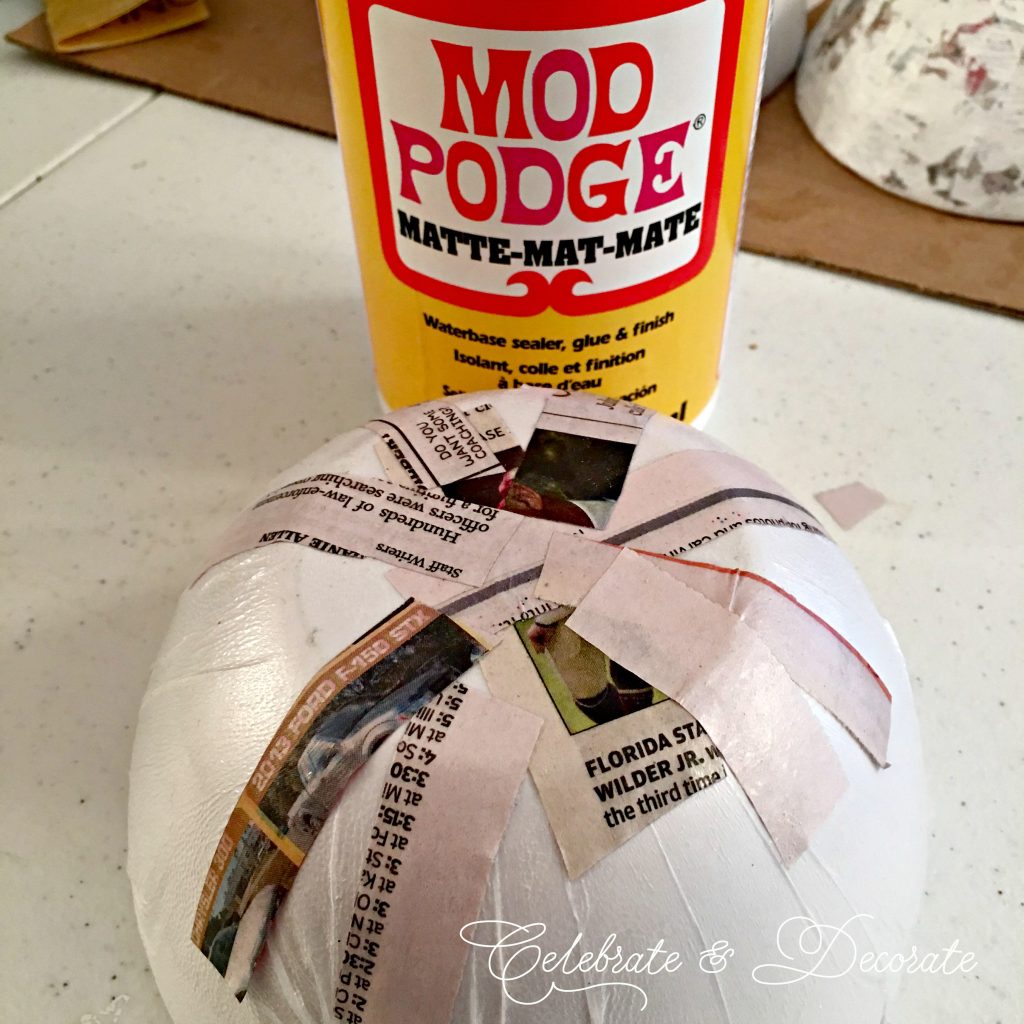
Next it is time to start building up the layers of paper mache. If you use flour and water, you must use up all of that you have mixed up, as it will harden if you try and save it. For this reason I chose to use the Mod Podge method. Old newspaper is my paper of choice, I have tried different sizes and suggest you cut it no longer than 4 inches long by 1/2 inch wide, BUT, that does depend on the size of the piece you are making.
Alternative papers to newspaper:
You can get creative by trying a different kind of paper:
tissue paper
crepe paper
toilet paper
paper towel

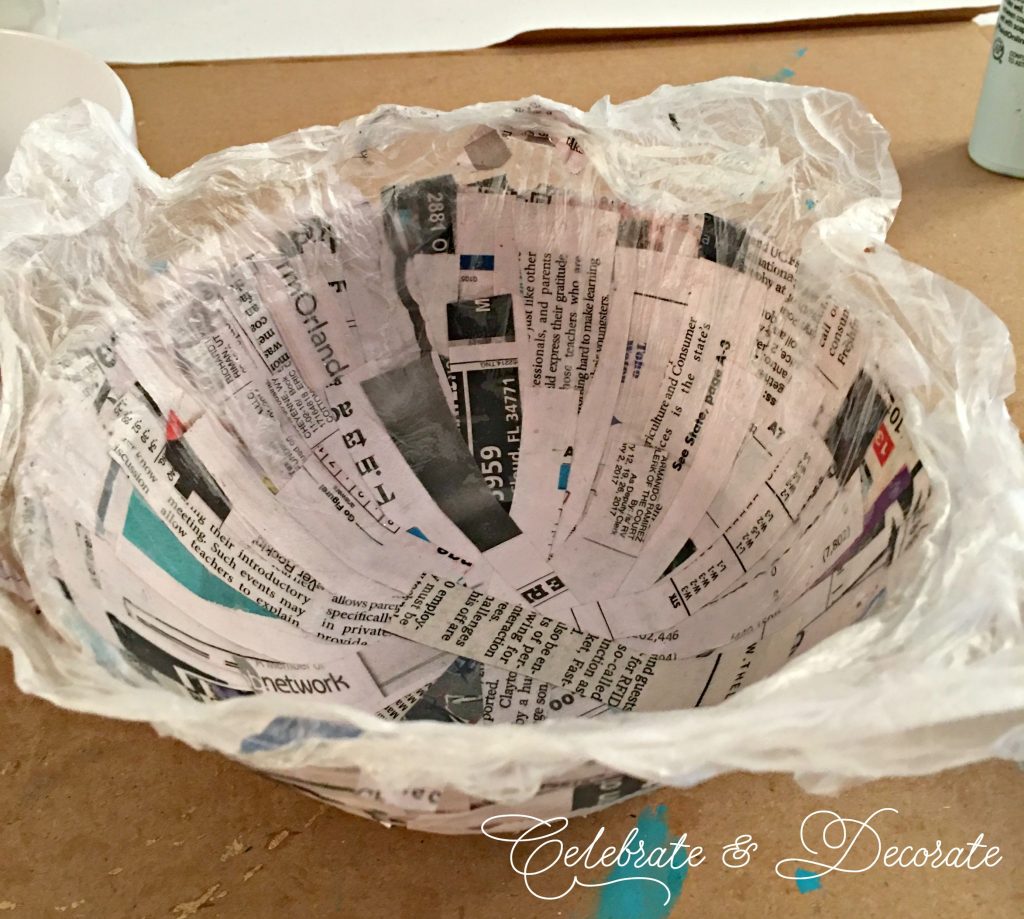
Dip your paper strips in the Mod Podge. I just poured out some Mod Podge onto a coated paper plate and dipped my layers of newspaper strips in it and placed on my bowl. You need to make sure that you scrape off any excess paste from your strips of newspaper before you put it on the bowl. Try and make your last layer as smooth as possible on the outside of your shape.
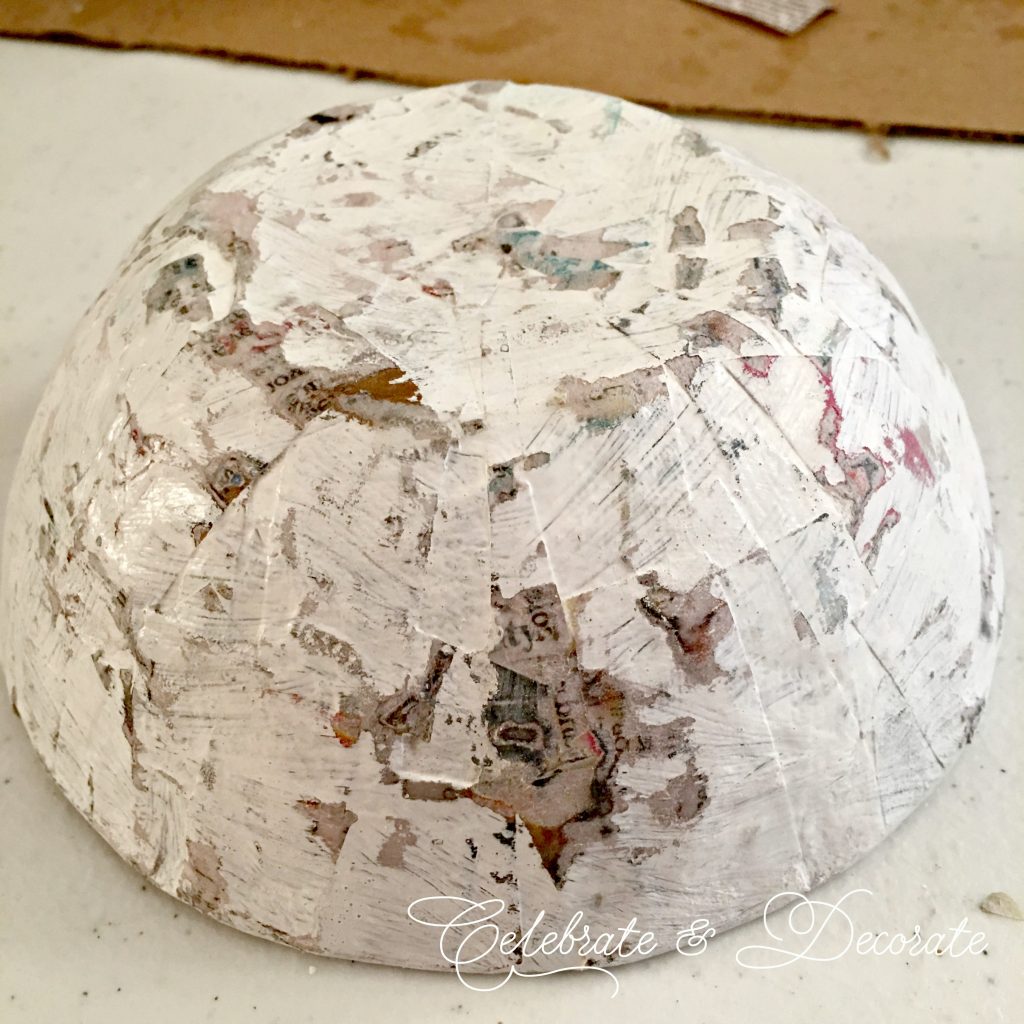
Too much Mod Podge will cause the paper to lump up and keep the bowl from being smooth. Here is my bowl covered with several layers of the newspaper strips. I try to put at least four layers of paper on my bowls but found six or seven layers were even better.
The trickiest part I found was removing my bowl from the mold. I found I sometimes needed to use a butter knife to separate the mold bowl from the Press ‘N Seal. Others have suggested coating your bowl with vaseline as a release agent, but I found everything slipped around too much with that method.
I found I usually had the edge of my paper mache bowl turned out a little, but I was trimming it anyway, so it wasn’t a problem. IF, while you are pulling your paper mache bowl off, your bowl starts to tear, you haven’t got enough layers on your bowl. Not to worry, push the paper mache back down on the bowl mold and add another layer or two of the paper mache.
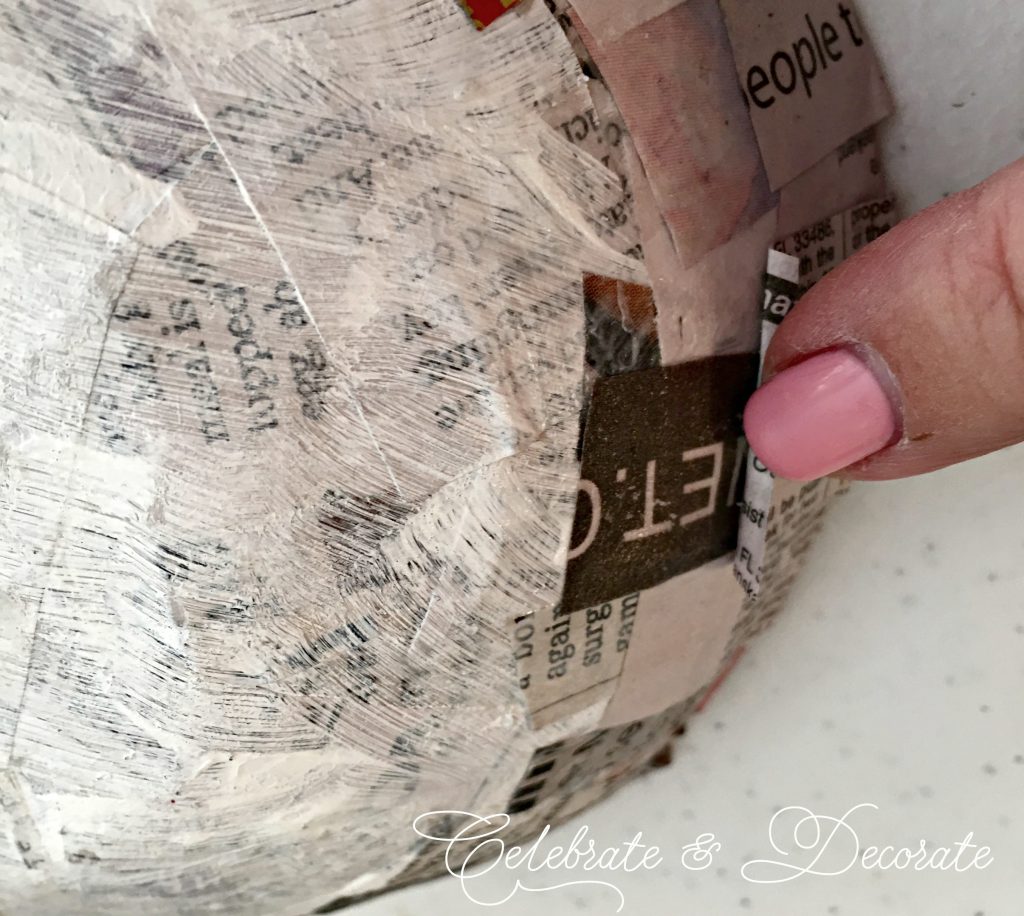
If there are spots like this where edges of the paper has not stuck down, you can use a paint brush to add a little more Mod Podge onto the bowl to ‘glue’ it down.
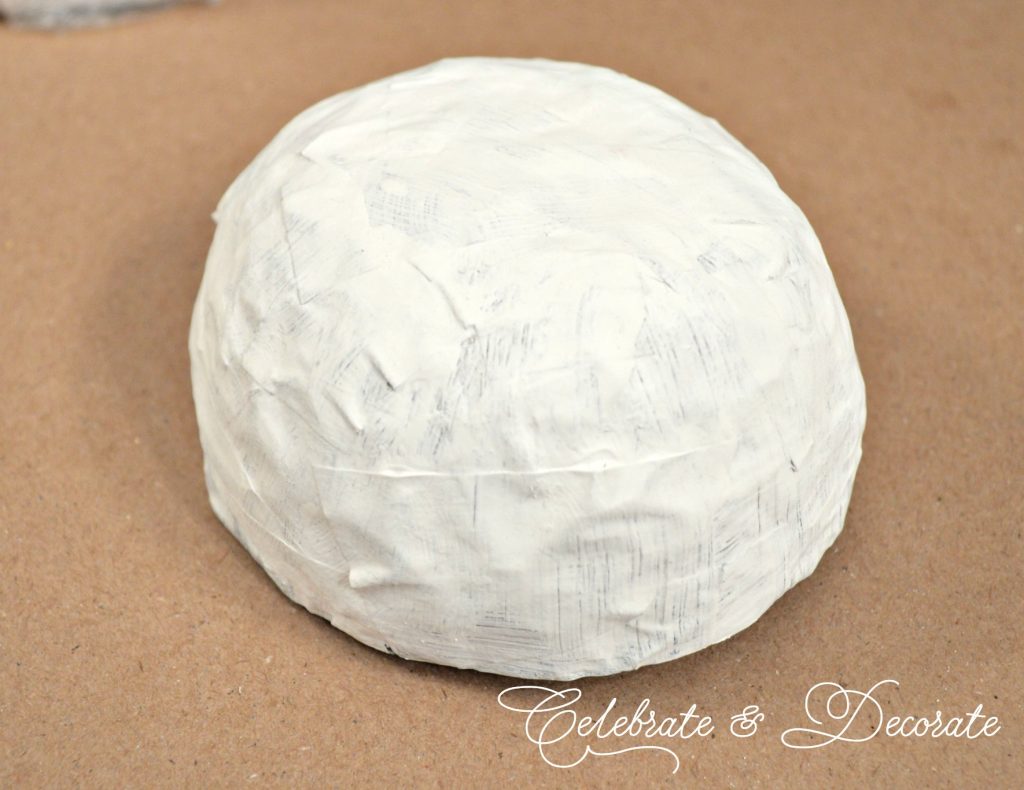
At this point I like to put a rough coat of white acrylic paint on my bowl, since this will help me see where I will need to smooth out my bowl. This shows one of the spots that will need to be sanded and how easy it is to see after a coat of paint has gone onto it.

The next step is to sand the bowl. Fewer layers will make your bowl pliable, not firm. The bowl will be hard enough that you can sand it pretty hard. I sand it all over to try and smooth down everyplace that isn’t smooth enough for my liking. After sanding the bowl well, I am ready to put on another coat of paint.
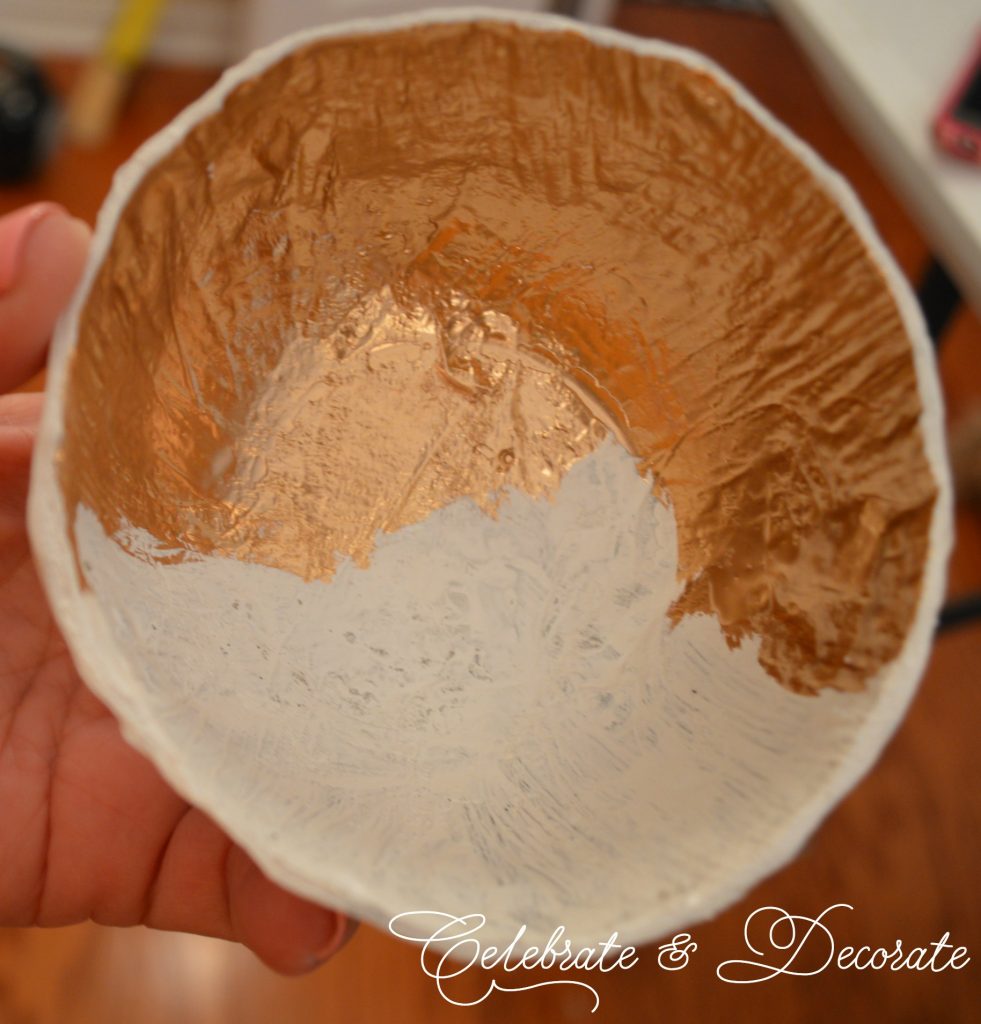
I gave this bowl a second coat of white paint after sanding it and then painted the inside with gold gilding. I am kind of in love with this gilding, so I used it on all of my bowls. You can get creative as you would like with your paints. If you like bright colors, go ahead! You can use acrylic paints to paint interesting designs on the outside of your bowl!
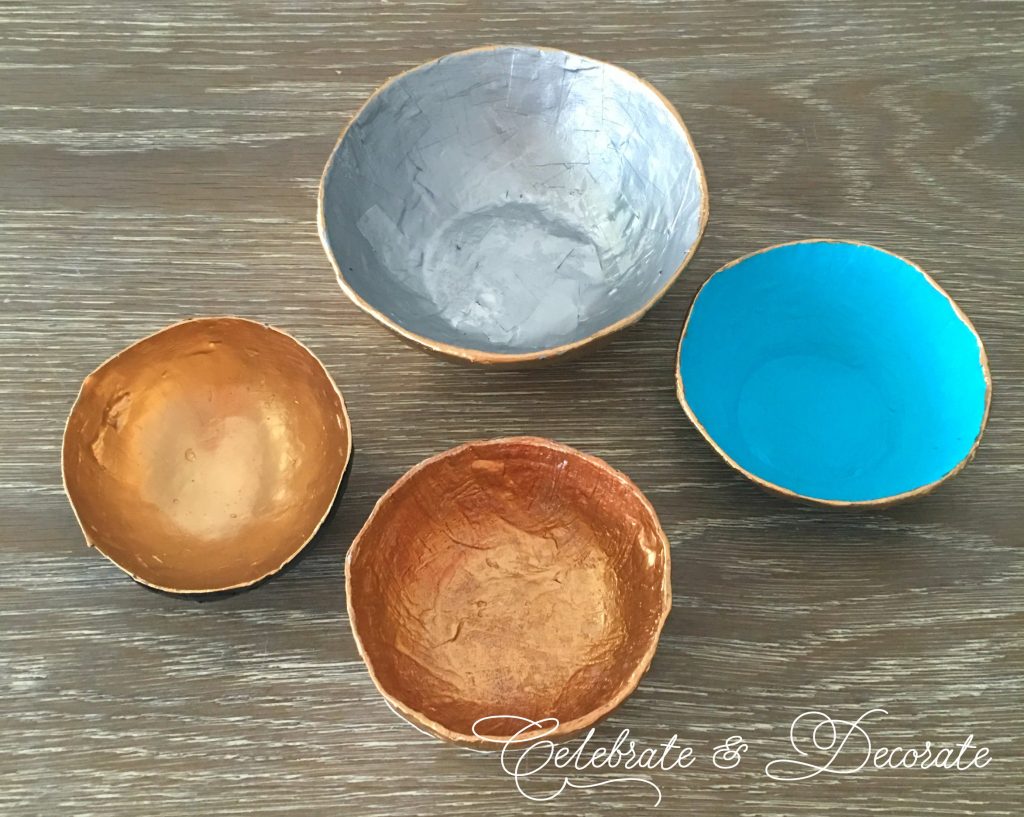
The gold is so rich. The bowl on the far left was made on a balloon, you can see how very smooth the inside of that bowl came out compared to those that were made over the Press ‘N Seal. A small bowl is a good size for tossing your keys when you come in the door, and now you have a piece of art to hold them!
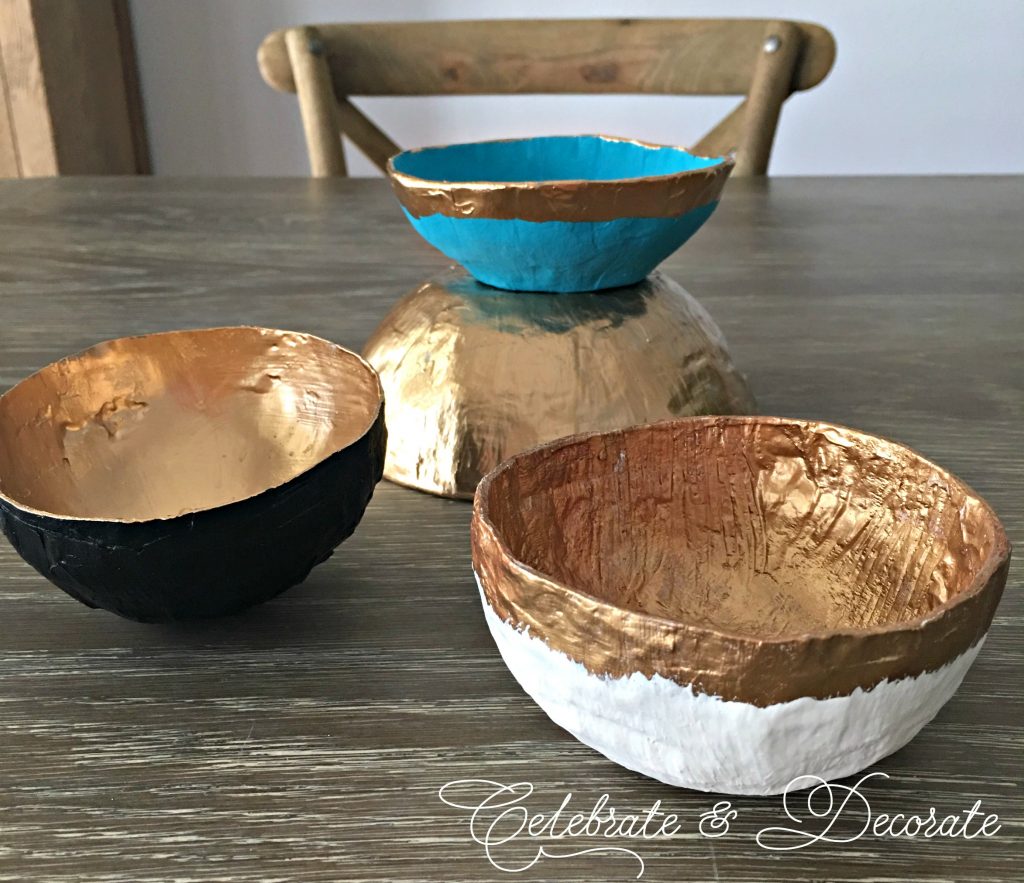
I don’t think I have perfected the process, but I am happy with these pretty little bowls. This is a fun craft that is great for doing with kids!
What do you need for paper mache:
Try these recipes for paper mache:
Easy paper mache with flour and water:
2 cups of hot water (not boiling water, just tap hot) and 1 cup of white flour
Pour white four in a bowl and add the hot water until you have a consistency that will work for you. Stir it well so there are no lumps. You can use an immersion blender if you have one!
Paper mache with glue:
1 part PVA glue with 2 parts water (PVA glue is polyvinyl acetate, commonly known as school glue or white glue) Elmer’s glue is a PVA glue.
Paper mache paste with Mod Podge
You can use Mod Podge straight from the jar for your paper mache project. This is my favorite method!
Supplies for making a paper mache bowl:
Flour
Water
Mod Podge
Paint brushes
Paper (newspaper, tissue paper, etc.)
Acrylic paints
Bowl
Press ‘n Seal (or other plastic wrap)
If you are looking for more paper crafts, check these out:
Make a tissue paper garland!
How to make tissue paper pom poms!
OR

How to make coffee filter roses!
tissue paper
toilet paper
crepe paper
brown craft paper
paper napkins
watercolor paper
Yes! See the recipes above!
Your bowls are so pretty, Chloe…love the gold. You must have a lot of patience to try out new projects! Happy Thursday!
Thanks Pam, it was fun.
Very pretty! You did a great job, I really like them. Would also make a nice gift too!
Thank you Naomie.
I use the ones I make to give cookies, small gifts or a cocoa mix and cute cup as a secret Santa gift. The receiver always seems to enjoy the personal touch, the less than perfect look of my “creations”. And no returning of the vessel requires. They can keep or toss.
Great idea Kenna, I might spend some time making more of these and putting them in my gift closet!
You have lots of patience and ENERGY!
Your bowls are pretty.Love the colors.
Thanks Bonnie!
Hi Chloe. I make lots of paper mache items; bowls and plates for holiday cookie giving or as decorator items. Then throw away. No storing required.
I use good old Stay Flow starch (Wallmart). Very inexpensive, easy to use and clean up. I typically apply 5-7 layers of newspaper. You can also buy unprinted newspaper at most craft stores or even Goodwill. I only use Modge Podge after the piece has dried, then I apply 2-3 coats. Turns out brick hard. Depending on the type of MP you decide to use, your item can even be gently waterproof.
I most often us thinner wrapping paper as my final decorative choice. Again cheap and can be purchased on clearance from most discount stores like Ross, Marshals, TJ Maz or Goodwill or paper from Michaels.
I have also found that cutting or tearing your paper in irregular sizes and shapes actually creates a smoother, stronger exterior surface .
Good luck with your projects.
Hi Kenna! I really appreciate all of those tips, I was kind of happy with my first projects, but I will get that starch and try that!
Can you put food in these bowls, stick in water?? Where do you get different colors of pain??t
No, you can’t put them in water and I would not put food in them, they are purely decorative. I got the paint at Michael’s and on Amazon.
Thanks, is their a paint that I can use, so I can put food in them. And does the paint have to be Martha Stewart?
It isn’t the paint that makes it unusable with food, it is that they are basically made of paper, so any moisture would make them weaken and eventually fall apart.
ok THanks!
I love this. It brings back memories. Long ago as a scout leader, we did face masks. We used oval shaped balloons to get the facial shape. The results were often outstanding …. in addition to the facial features …. noses, lips, eyebrows, lashes, etc we painted in eyes, skin tones, expressions. The final touch was drilling two small holes through which colorful ribbon was drawn to tie the masks onto one’s face. A darling ornament to hang upon a wall much like a painting. I had forgotten how much fun this medium was … intend to renew the experience. Your tips inspire me! Thank you, Chloe, for a wonderful blog … my favorite. ❤️
These DIY paper mache bowl is awesome. I love the color and bowls.
Thanks for sharing with us!
These came out great Chloe and where did you find the time to do these while chasing after the little ones?
These are so cool Chloe, just beautiful!! They do sound hard to make though 🙂
Pretty bowls and beautiful colors. Thanks chloe! keep it up!
Beautiful!
beautiful color and pretty bowls
These DIY paper mache bowl is awesome.Thanks for sharing with us! I love the color and bowls.
Excellent!
I thought I would try some bowls. Do I wet the shop towels for each layer or just the first layer.
Thank you for sharing your ideas and beautiful work.
You use dry newspaper pieces, coat them with Mod Podge and then put them on. You repeat that process with each layer.
This post is very nice.
These DIY paper mache bowl is awesome.Thanks for sharing with us! I love the color and bowls.