How To Make Magical Party Lights this Summer for Just a Few Dollars!
Get to your local dollar store and pick up some of these party bowls and you can make these fun lights to add some magic to your summer nights!
I choose every product I use or feature. I may earn an affiliate commission if you buy from one of the product links, at no extra cost to you. This income supports this site. See the terms of use and the full disclosure policy.
Let’s get the supplies!

Off to Dollar Tree! It is so disappointing that things are no longer just $1.00, but I certainly understand. I am really fortunate to have quite a few Dollar Tree stores within 5 miles of my home so when one of them doesn’t have something, I can try another!
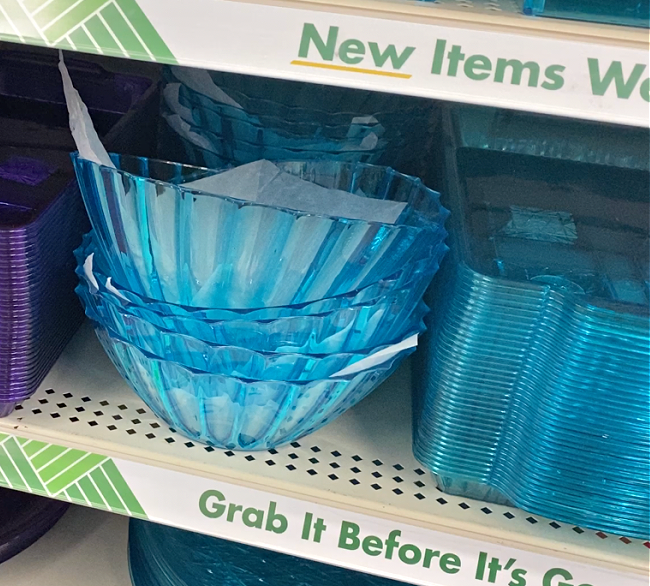
I was planning on making these summertime lights with the clear bowls like I did for Christmas and putting something colorful inside of them, perhaps some of the colorful leis from Dollar Tree. When I got to the aisle I was pleasantly surprised to discover these colorful bowls! They had them in pink and blue at this store, and I spotted them in red at another Dollar Tree, so pick your favorite color!
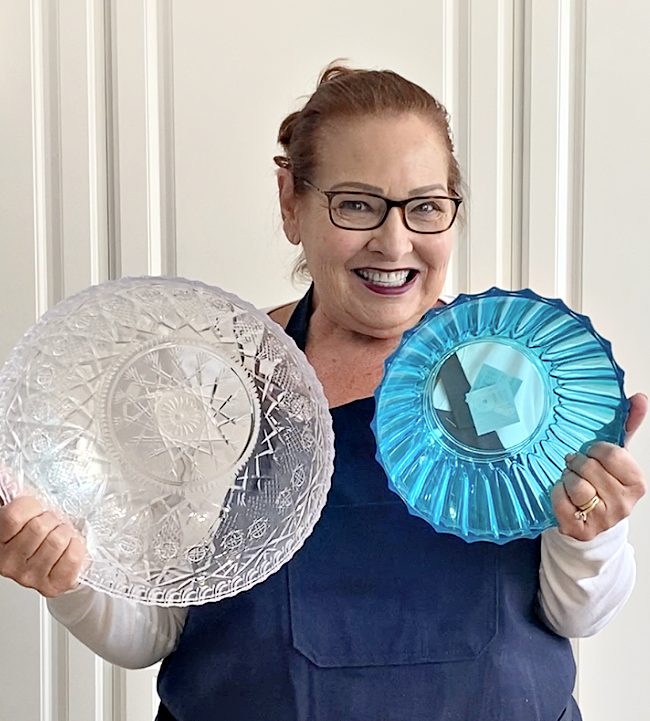
I decided to go with blue! I picked up some of those big “crystal” clear punch bowls and some of the smaller blue bowls. You will want to get some fairy lights. These are the ones I like!
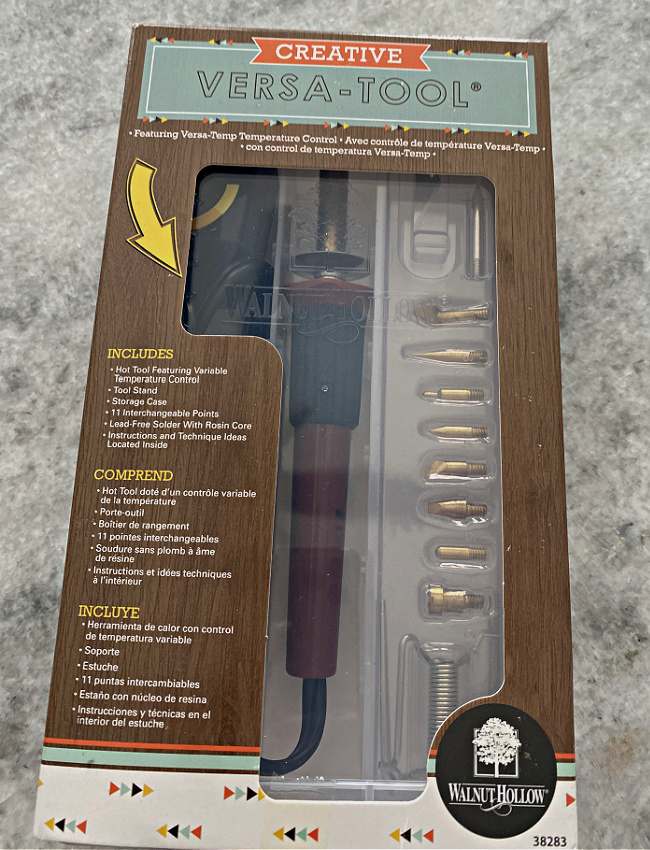
In the past I have used an old glue gun for this process, but I have upgraded to this heat tool and I highly recommend it. It is not expensive and works MUCH better, and I imagine it is also much safer!
The adhesive I like to use for this project is Gorilla Clear Grip, but E6000 will work just as well, also!
Let’s make this project!
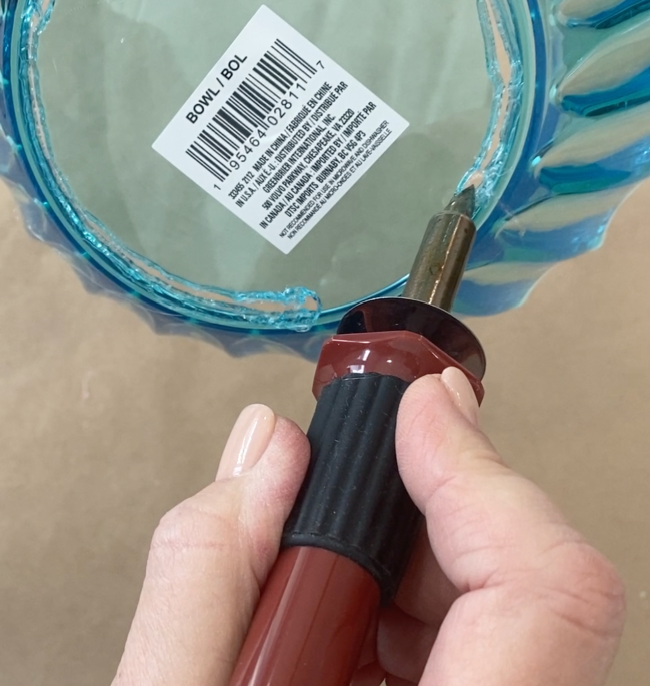
Use the heat tool at medium heat to melt around the edge of the bottom of the smaller blue bowl.
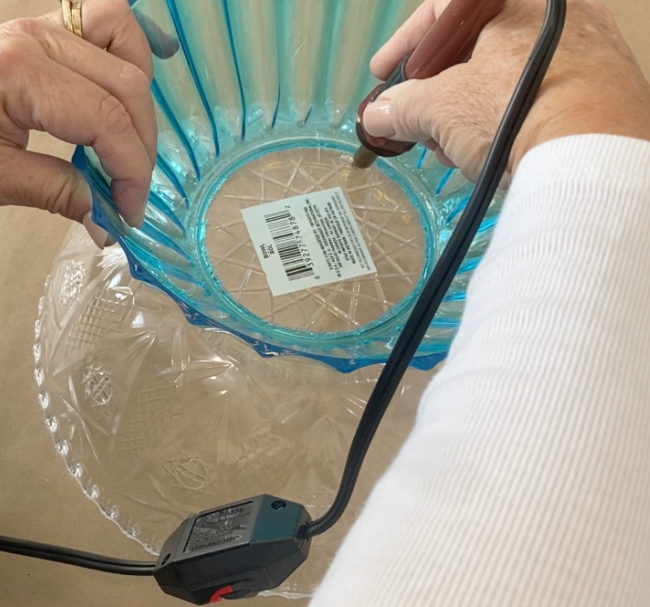
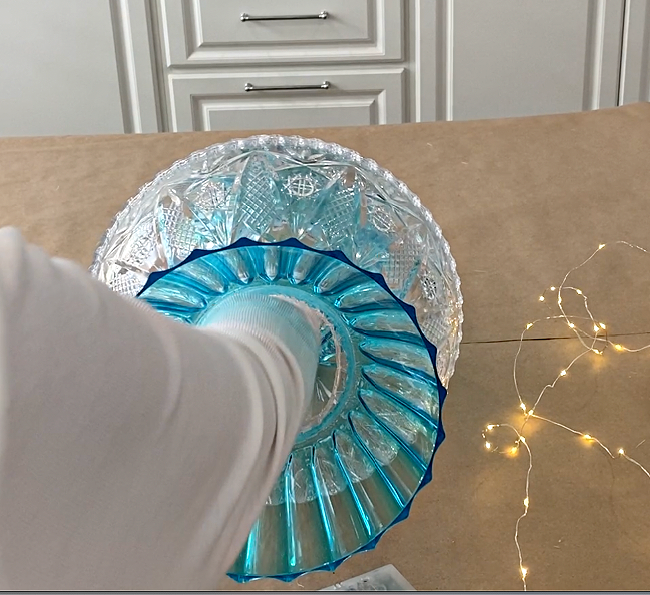
Make a hole in one of the large cut crystal bowls using the hole in the blue bowl as a guide for the size for the hole. The holes should be about the same size.
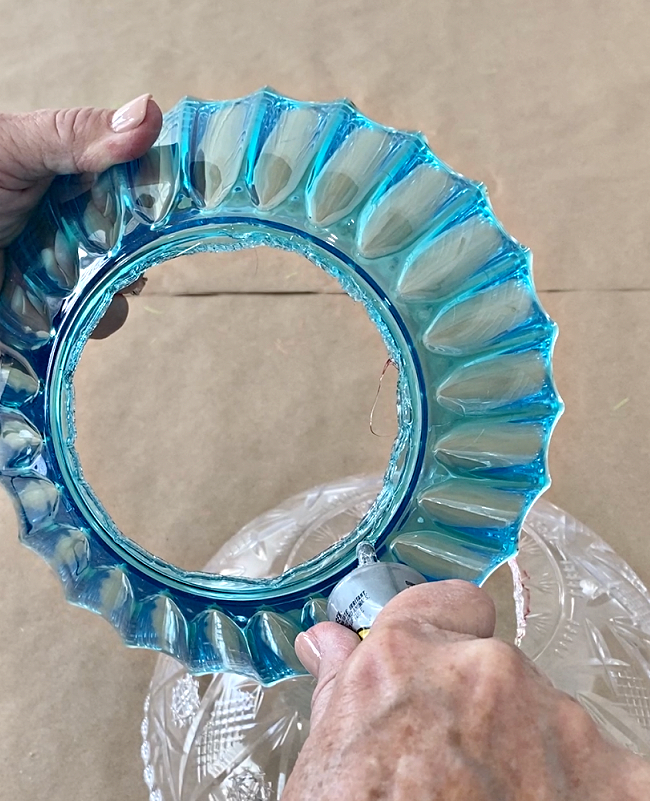
Apply your adhesive on the raised edge around the hole on the bottom of the blue bow. as shown above.
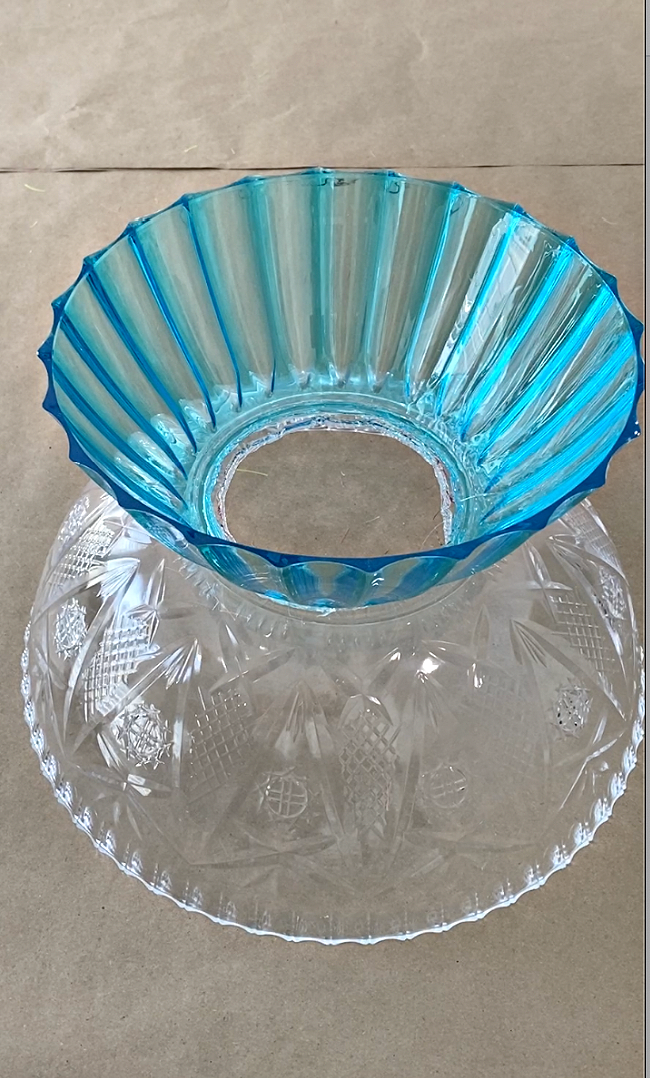
Put the blue bowl down on the clear one, lining it up carefully. You may hold the blue bowl down until the adhesive sets or sit something heavy like a book on top of the blue bowl to keep the pieces together as the adhesive sets up.
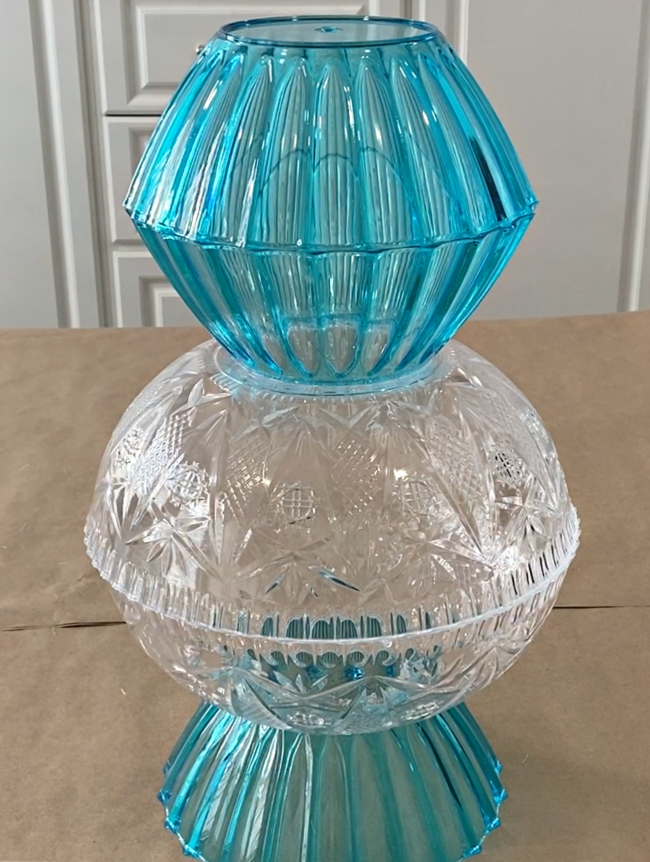
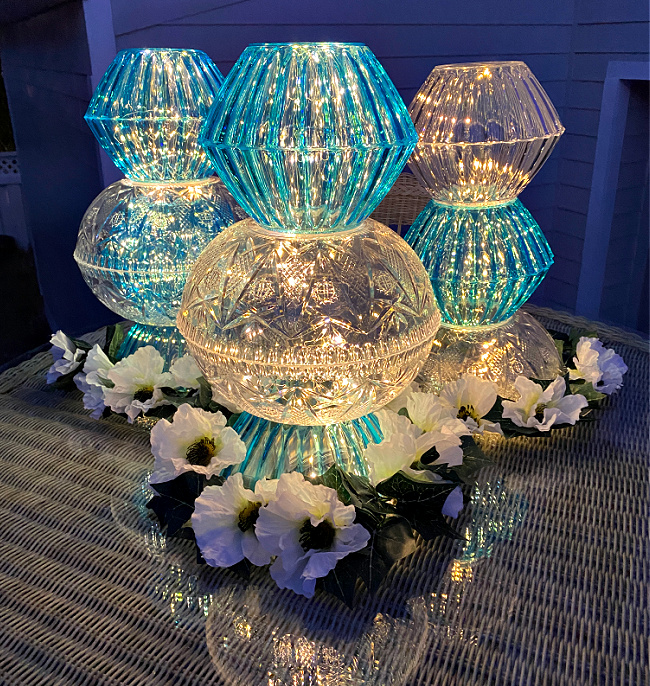
The first light to make will be this simple one, one blue bowl for the base, a pair of the clear crystal bowls and a pair of the blue bowls. You can use any combination of the bowls to make these.
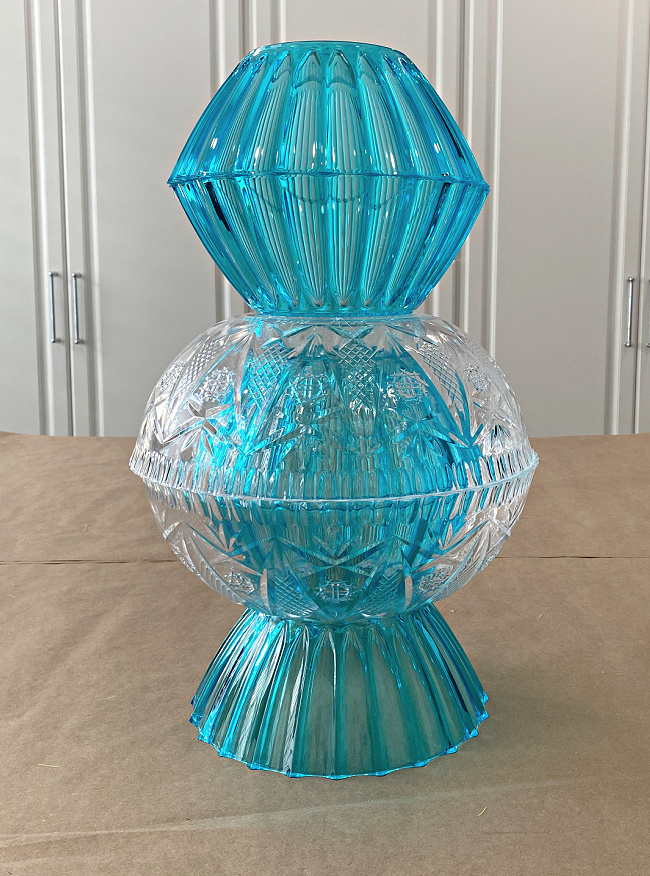
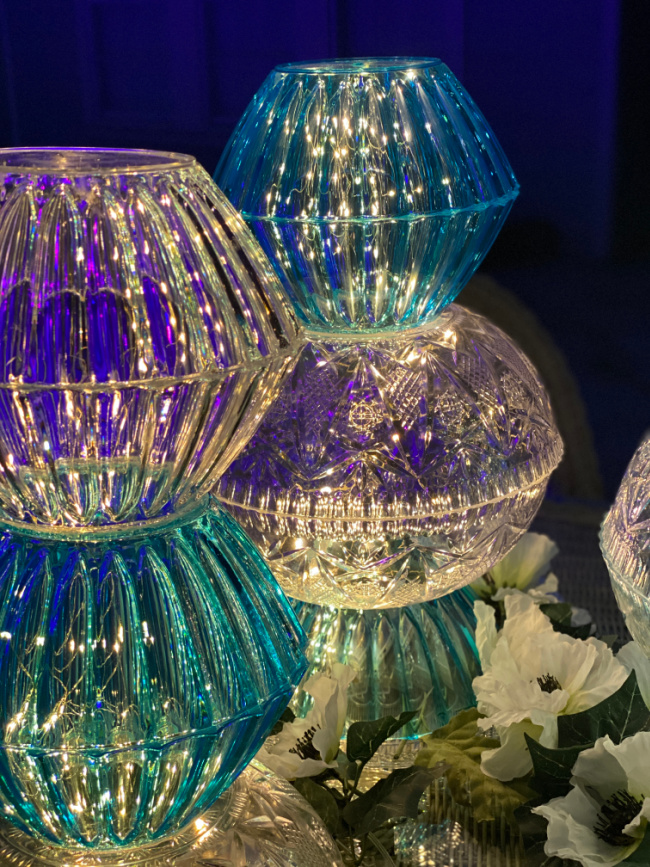
This turned out to be one of my favorites after the lights went into them! Inside the crystal bowls I put a pair of the blue bowls attached to one another. I used the adhesive to attach the pair of blue bowls to one another and then attached them to the bottom of the one crystal bowl before attaching the crystal bowls to one another.
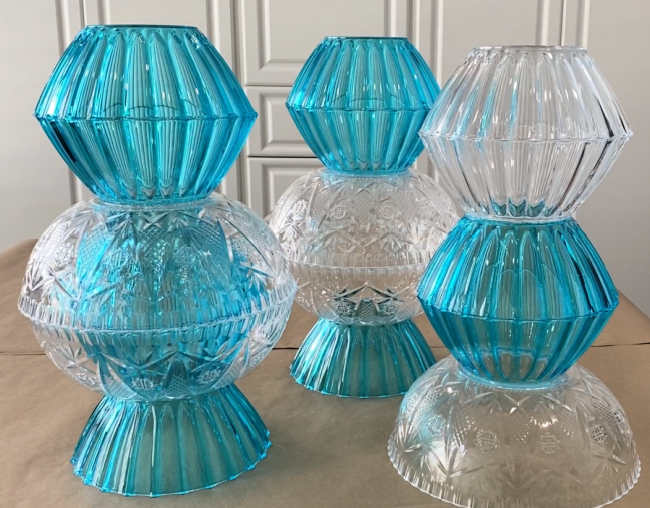
These are the three different ones I made. These are so easy and kind of addictive, I could have just kept making them!

Take your fairy lights and take a piece of tape, (I used clear, waterproof floral tape) and tape the end of the lights.
This is why it is very important to make your tower of lights only tall enough that you can reach to the top AND that the holes are large enough that you can reach through. Reach up and tape the end of the lights to the top of the top bowl. Stuff the lights up into the bowls, so that they are distributed as evenly throughout the bowls.
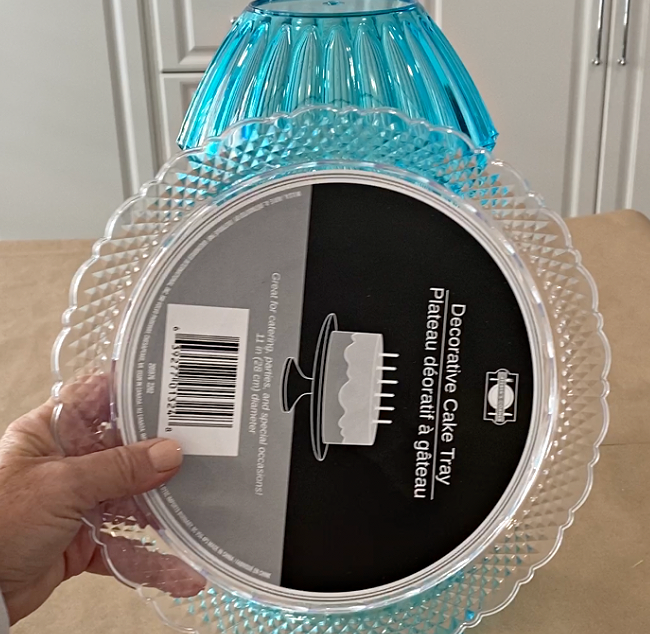
You can stand up your light. A Dollar Tree cake tray makes a good base for each of your lights. You can rest your fairy light battery packs on these instead of just on the tabletop.

I tucked some silk flowers and ivy around the bottom of the lights for a pretty display. These would be perfect for an evening alfresco dinner.
So pretty Chloe! they certainly don’t look like plastic bowls from the Dollar Tree!
Chloe, These bowls look like actual crystal. I thought they were glass until I saw you put a hole in the bottom. These are so pretty and the ways to use this is endless. You are so darn creative!
How creative and clever!!
They look fancy especially on a night outside on the patio.
Thanks for your creative ideas!
So beautiful, Thanks so much for sharing
Just gorgeous!
Did you make the holes any other way beside melting them?
I just melted them. I have seen some people drill them, but I always tend to crack the bowls when I use a drill.
Awesome awesome. Might have to make
Thanks so much, they are so fun to have on at night!